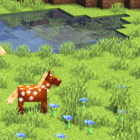
Seamatis’ Vibrant Shaders 1.20, 1.19.4 → 1.18.2
| Developer | 👤Seamatis |
|---|---|
| Style | 🌅Realistic |
| Support GPUs | |
| Loaders | |
| Performance Impact | Low |
| Settings | 20 |
| Features | Water Waves+31 |
| Created | Feb 28, 2016 |
| Updated | Feb 27, 2017 |
| Stats |
|
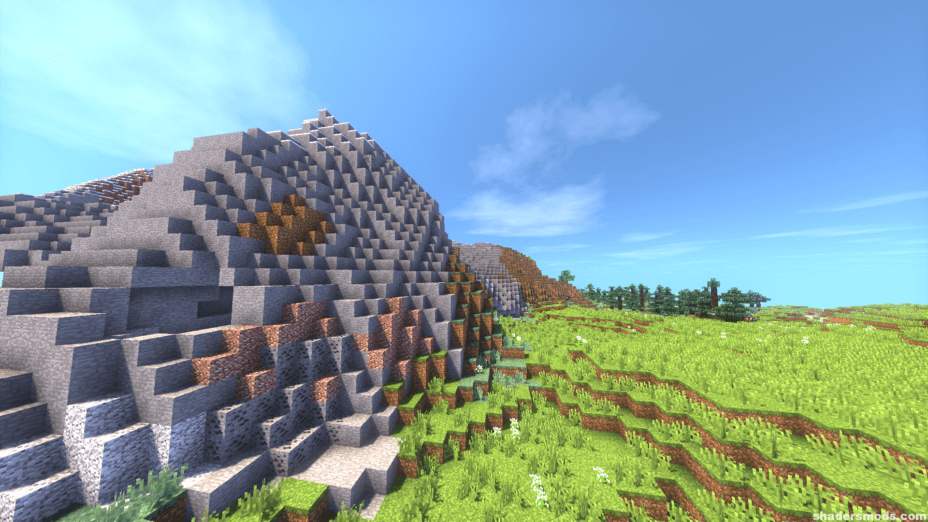
Fans of Chocapic13’s Shaders should know full well that a nigh-endless stream of shaders uses that classic pack as a sort of compass for developing something unique. The Vibrant Shaders by Seamatis is just one among the great number of such packs. Seamatis’ Vibrant Shaders is one of the oldest shader packs, released in mid-February of 2016, but it’s compatible with the latest version of Minecraft. That means shields, special attack animations, and other blocks are all included and doctored up a bit to have better lighting and shading effects than they normally do in Minecraft.
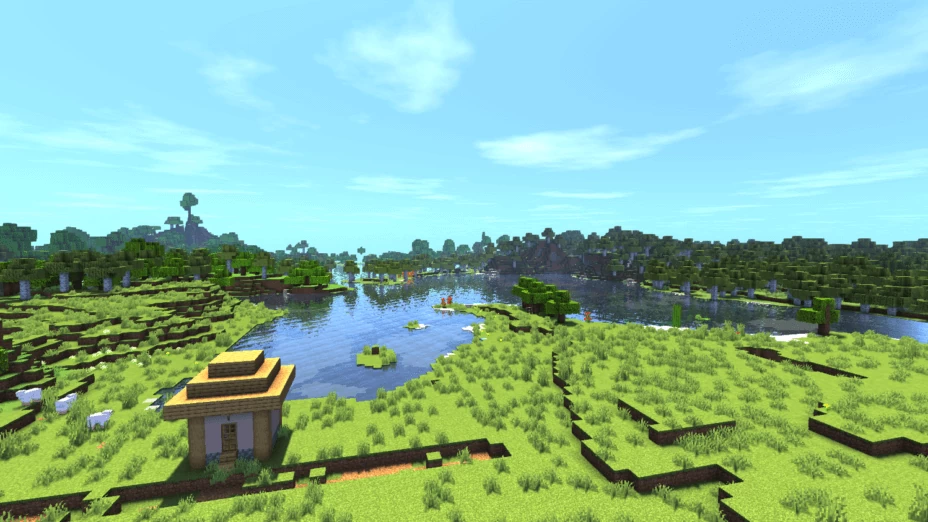
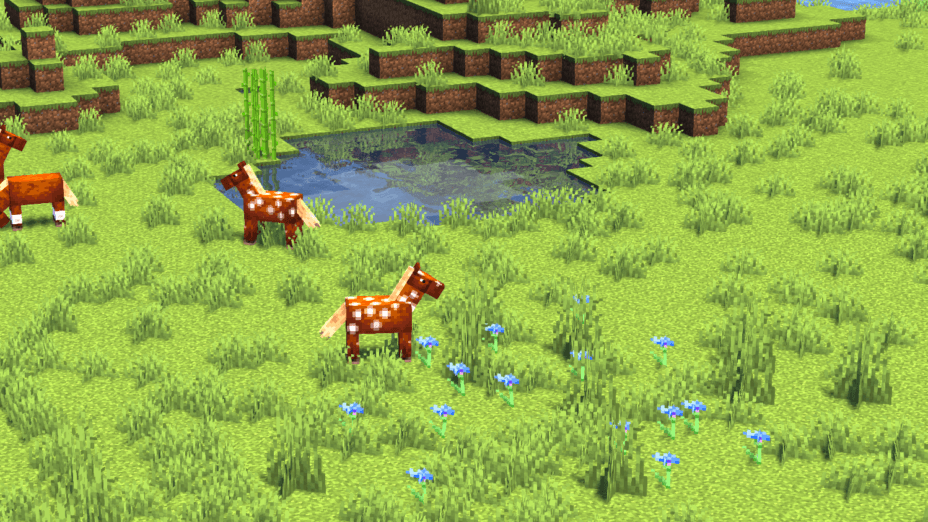
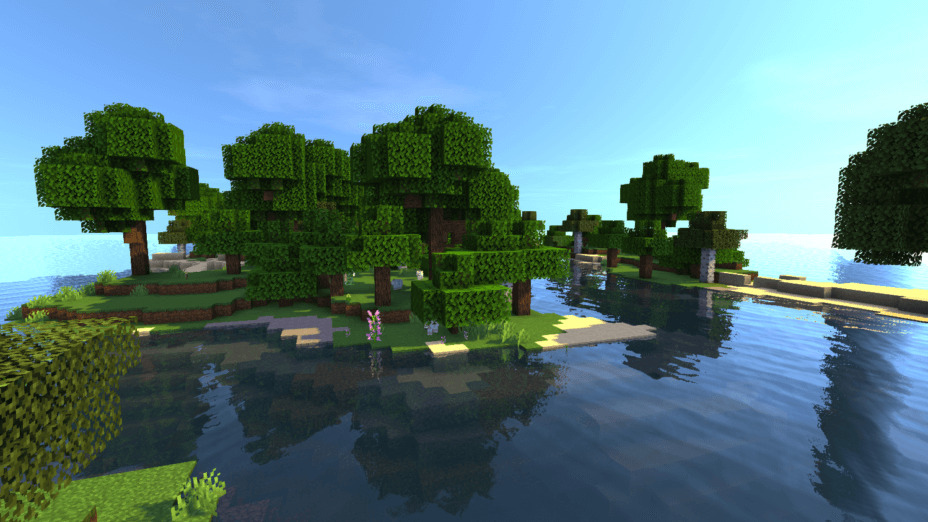
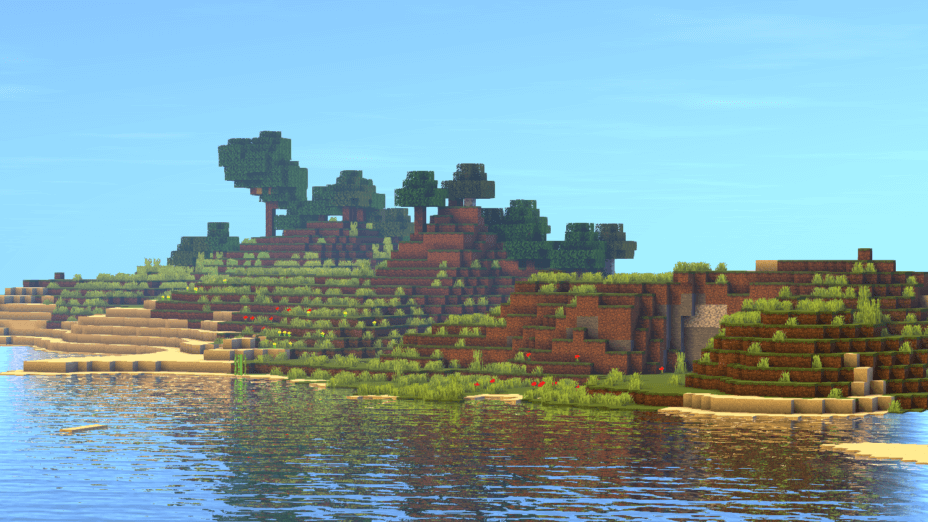
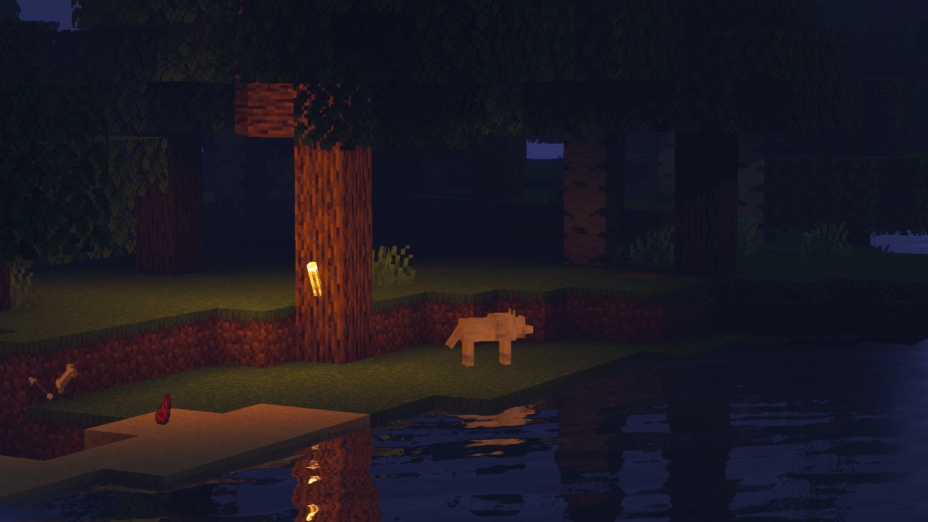
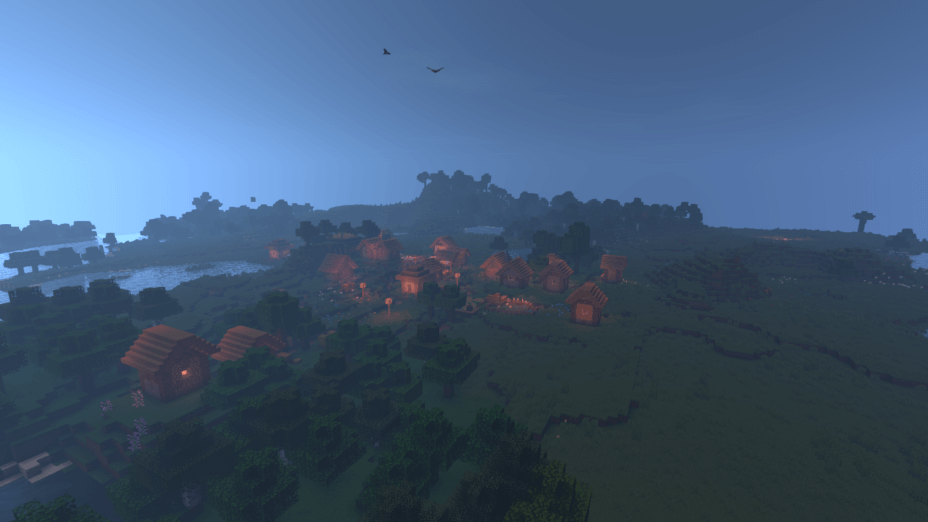
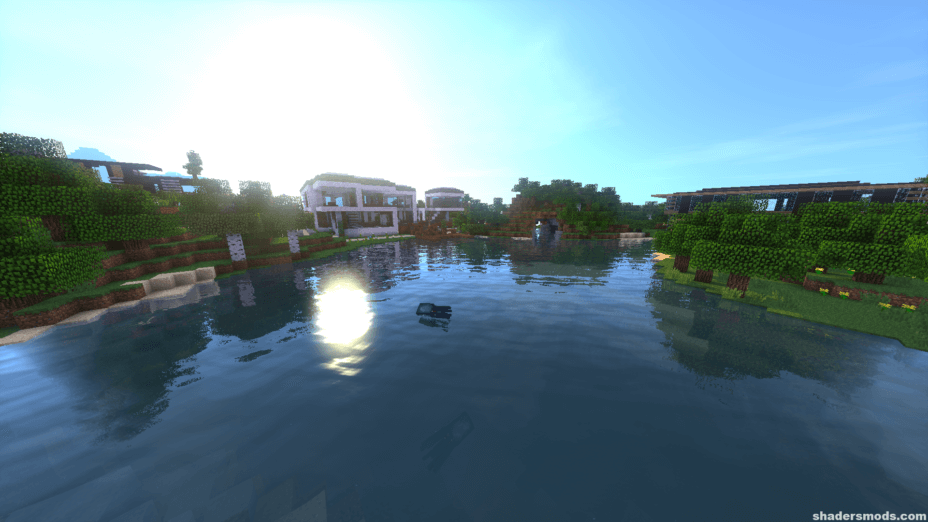
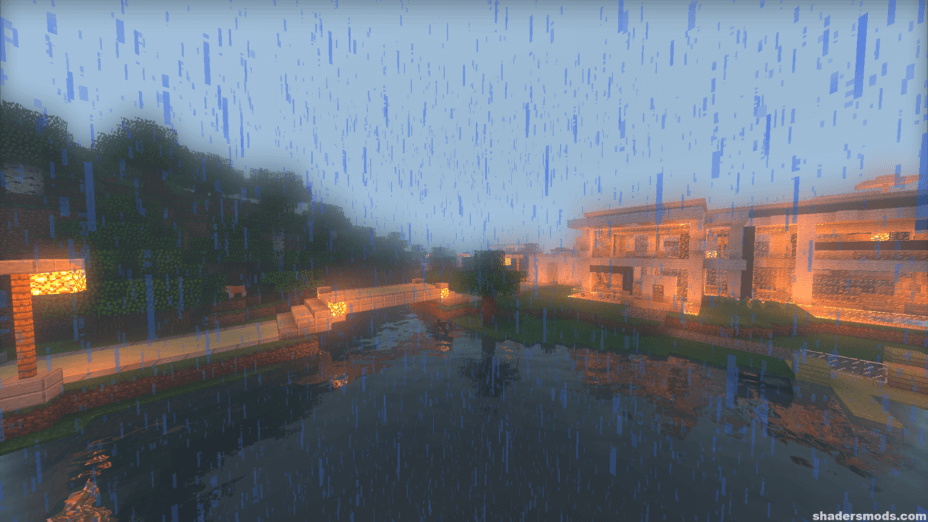
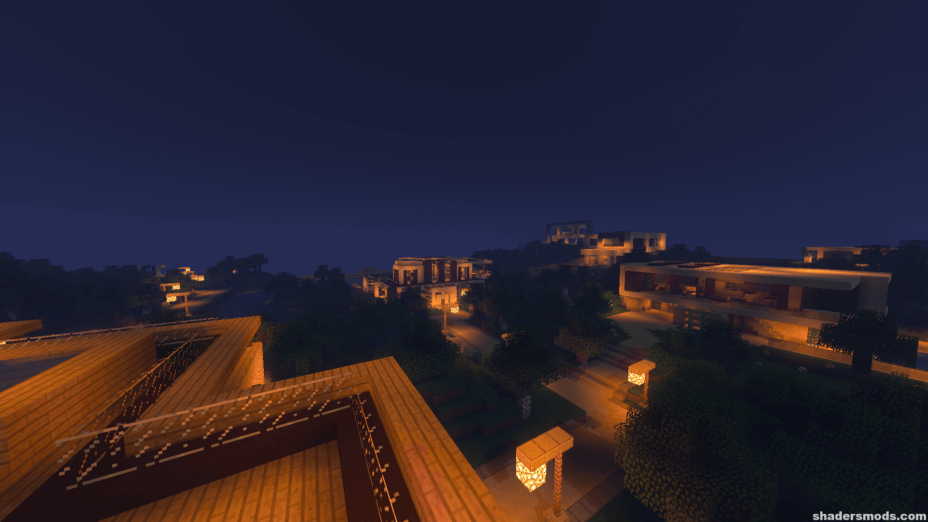
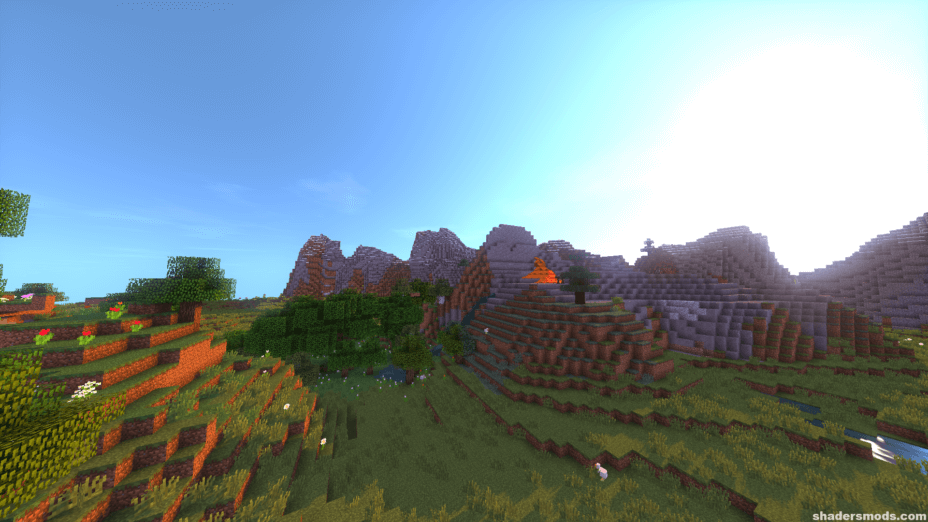
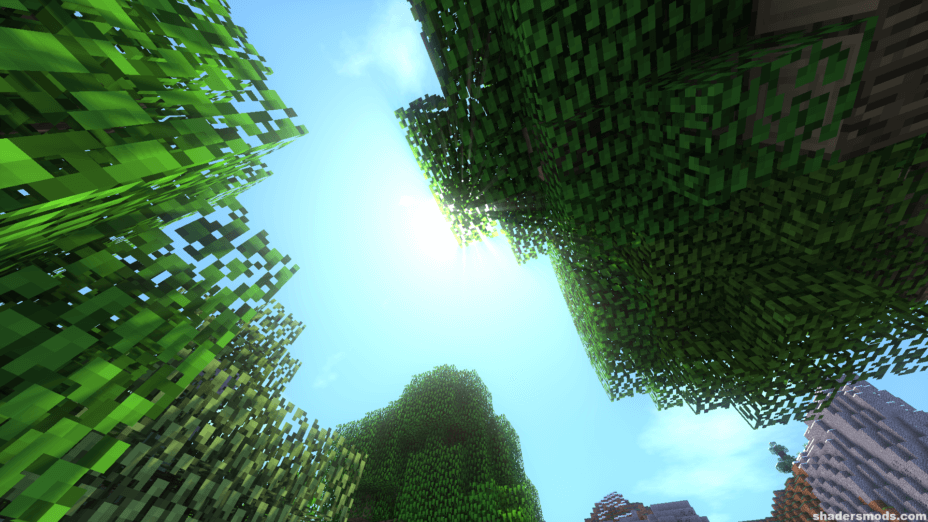
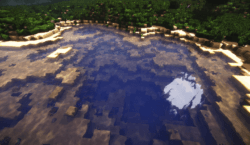
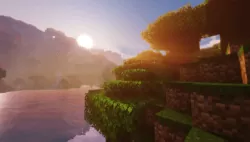
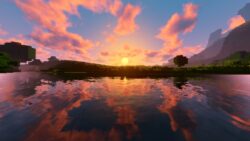
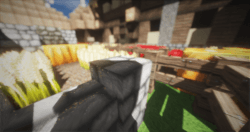
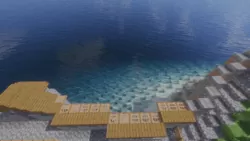
Seamatis’ Vibrant Shaders change up Minecraft visuals in a few ways. Besides adding dynamic shadows which waver and move along with the light source which creates them, this shader pack also adds waving terrain, so you can look forward to watching wide fields of grass and tree leaves wiggling and shaking while you walk by. Water also gets new waves and ripple effects, but the best upgrade for the most abundant liquid in Minecraft is probably the true reflections the water casts. Overall, Seamatis’ Vibrant Shaders make the world more vibrant. More colors, more movement, more.
It should be no surprise then that Seamatis’ Vibrant Shaders mod won’t run with any old GPU stuck in your PC. And it won’t run at all if you’re relying on Intel HD Graphics, like the ones built right into most motherboards. That’s just not going to fly for this shader pack. With that said, your best bet is a fast and powerful AMD brand card, though this mod is also compatible with many different Nvidia GPUs, especially in the GTX line of cards. Something around GT 500 and above would be more than good enough to handle everything this shader pack does.
If you want to add a sense of realism to your Minecraft world, Seamatis’ Vibrant Shaders are better than most for accomplishing just that. While other shader packs bring weird colors, constant movement, and other oddities into the game, this one is pretty tame and believable. For a more surreal experience, you’ll probably want to find a different pack than this one. The colors and lighting don’t seem to be too bright or too dark, which puts them right in the middle range where most players expect them to be. You shouldn’t get any colorful surprises while using Seamatis’ Vibrant Shaders.
- 1.20
- 1.19.4
- 1.19.3
- 1.19.2
- 1.19.1
- 1.19
- 1.18.2
- 1.18.1
- 1.18
- 1.17.1
- 1.17
- 1.16.5
- 1.16.4
- 1.16.3
- 1.16.2
- 1.16.1
- 1.16
- 1.15.2
- 1.15.1
- 1.15
- 1.14.4
- 1.14.3
- 1.14.2
- 1.14.1
- 1.14
- 1.13.2
- 1.13.1
- 1.13
- 1.12.2
- 1.12.1
- 1.12
- 1.11.2
- 1.11.1
- 1.11
- 1.10.2
- 1.10.1
- 1.10
- 1.9.4
- 1.9.3
- 1.9.2
- 1.9.1
- 1.9
- 1.8.9
- 1.8.8
- 1.8.7
- 1.8.6
- 1.8.5
- 1.8.4
- 1.8.3
- 1.8.2
- 1.8.1
- 1.8
- 1.7.10
- 1.7.9
- 1.7.8
- 1.7.7
- 1.7.6
- 1.7.5
- 1.7.4
- 1.7.2
- 1.7
- 1.6.4
- 1.6.2
Features
Over 31 new features are available in Seamatis’ Vibrant Shaders to enhance your gaming experience.
📊 Performance Impacts
Decrease in performance can vary from device to device, driver version, and many other factors, you should test yourself on your machine for the best result.
- None
- No performance decreases
- Small
- ~5%
- Medium
- ~10%
- High
- ~25%
- Extreme
- +50%
-
- Ambient OcclusionMedium
- Simulating how light interacts with objects and surfaces.
-
- Atmospheric SkySmall
- Simulates realistic atmospheric scattering.
-
- BloomSmall
- Enhance the game's lighting and create a more realistic and immersive visual experience
-
- CausticHigh
- Simulating the way light is refracted and reflected by the water's surface
-
- Cel ShadingSmall
- Technique used to give the game a more stylized, cartoon-like appearance.
-
- CustomizationNone
- Customize various aspects of the game's visual effects.
-
- Depth of FieldMedium
- Making objects closer to the camera appear sharp and in focus, while objects farther away appear out of focus and blurry.
-
- Lens FlareSmall
- Simulating the way light scatters and reflects inside a camera lens.
-
- LightMedium
- Enhance the game's overall visual quality.
-
- Motion BlurHigh
- Simulates the way that fast-moving objects appear to blur in the real world.
-
- Moving CloudsMedium
- Simulates the movement of clouds across the sky and can be used to create the appearance of a dynamic and ever-changing sky
-
- Parallax WaterMedium
- Enhances the realism of water by simulating the parallax effect.
-
- Photorealistic SkyboxesMedium
- Replacing the in-game sky with high-resolution, realistic images of the sky.
-
- Realistic NightskyMedium
- More realistic and immersive night sky.
-
- Realistic RainMedium
- More natural and immersive rain experience.
-
- Realistic SkyMedium
- More realistic and immersive sky experience.
-
- Realistic WaterHigh
- More realistic and immersive water experience.
-
- ShadowsSmall
- Simulate how light is blocked and scattered by objects in the environment.
-
- Sun RaysMedium
- Simulate the appearance of sunlight streaming through trees leaves, objects, clouds, or other atmospheric conditions.
-
- SunriseSmall
- More realistic and immersive sunrise experience.
-
- SunsetSmall
- More realistic and immersive sunset experience.
-
- VibrantSmall
- More saturated colors and realistic lighting.
-
- Volumetric CloudsHigh
- Simulate the way that clouds appear to have volume and depth in the real world rather than just flat textures.
-
- Volumetric LightHigh
- Simulating the scattering of light in the atmosphere and in the environment.
-
- Water ReflectionsMedium
- Simulating reflections on the surface of the water.
-
- Water WavesMedium
- Movement of waves on the surface of the water.
-
- Waving GrassSmall
- Simulating the way it moves and sways in the wind.
-
- Waving LavaSmall
-
- Waving PlantsSmall
- Simulating the way they move and sway in the wind.
-
- Waving TreesSmall
- Adds movement to the leaves and branches of trees, making them look more alive and realistic.
-
- Wet EffectSmall
Seamatis’ Vibrant Shaders allow you to change more than 20 settings to suit your needs.
| Settings | Description | Options |
|---|---|---|
| Cel Shading | Puts black (or desired color) lines/borders around Minecraft terrain |
|
| Color Boost | by CaptTatsu |
|
| Depth of Field | Blurs non-focused objects |
|
| Desaturate Night | by CaptTatsu |
|
| Distant Blur | Blurs distant terrain |
|
| Dynamic Handlight |
| |
| God Rays | Godrays intensity, 15.0 is default. |
|
| Hexagonal Bokeh | Disabled: circular blur shape. Enabled: hexagonal blur shape |
|
| HQ Shadow Filter | Higher quality/more accurate shadow filter, decent FPS loss. |
|
| Lens Effects | Includes lensflares |
|
| Shadow Filter | Standard shadow filter, little to no FPS loss. |
|
| Waving Deadbush | Looks odd when enabled, will be fixed soon |
|
| Waving Fire |
| |
| Waving Flowers |
| |
| Waving Grass |
| |
| Waving Lava |
| |
| Waving Leaves |
| |
| Waving Lilypad |
| |
| Waving Water |
| |
| Waving Wheat |
|
How To Install Seamatis’ Vibrant Shaders
- Support Forge / Vanilla
- Extra features
- Good performance
- Support Fabric / Quilt
- Better performance, depend on your hardware
- No modding required Support Forge
- No modding required Older versions of Minecraft are supported
Optifine Installation Guide
Note
Your device must have Java installed to run the Forge and Optifine installers.
Quick Java Installation Guide
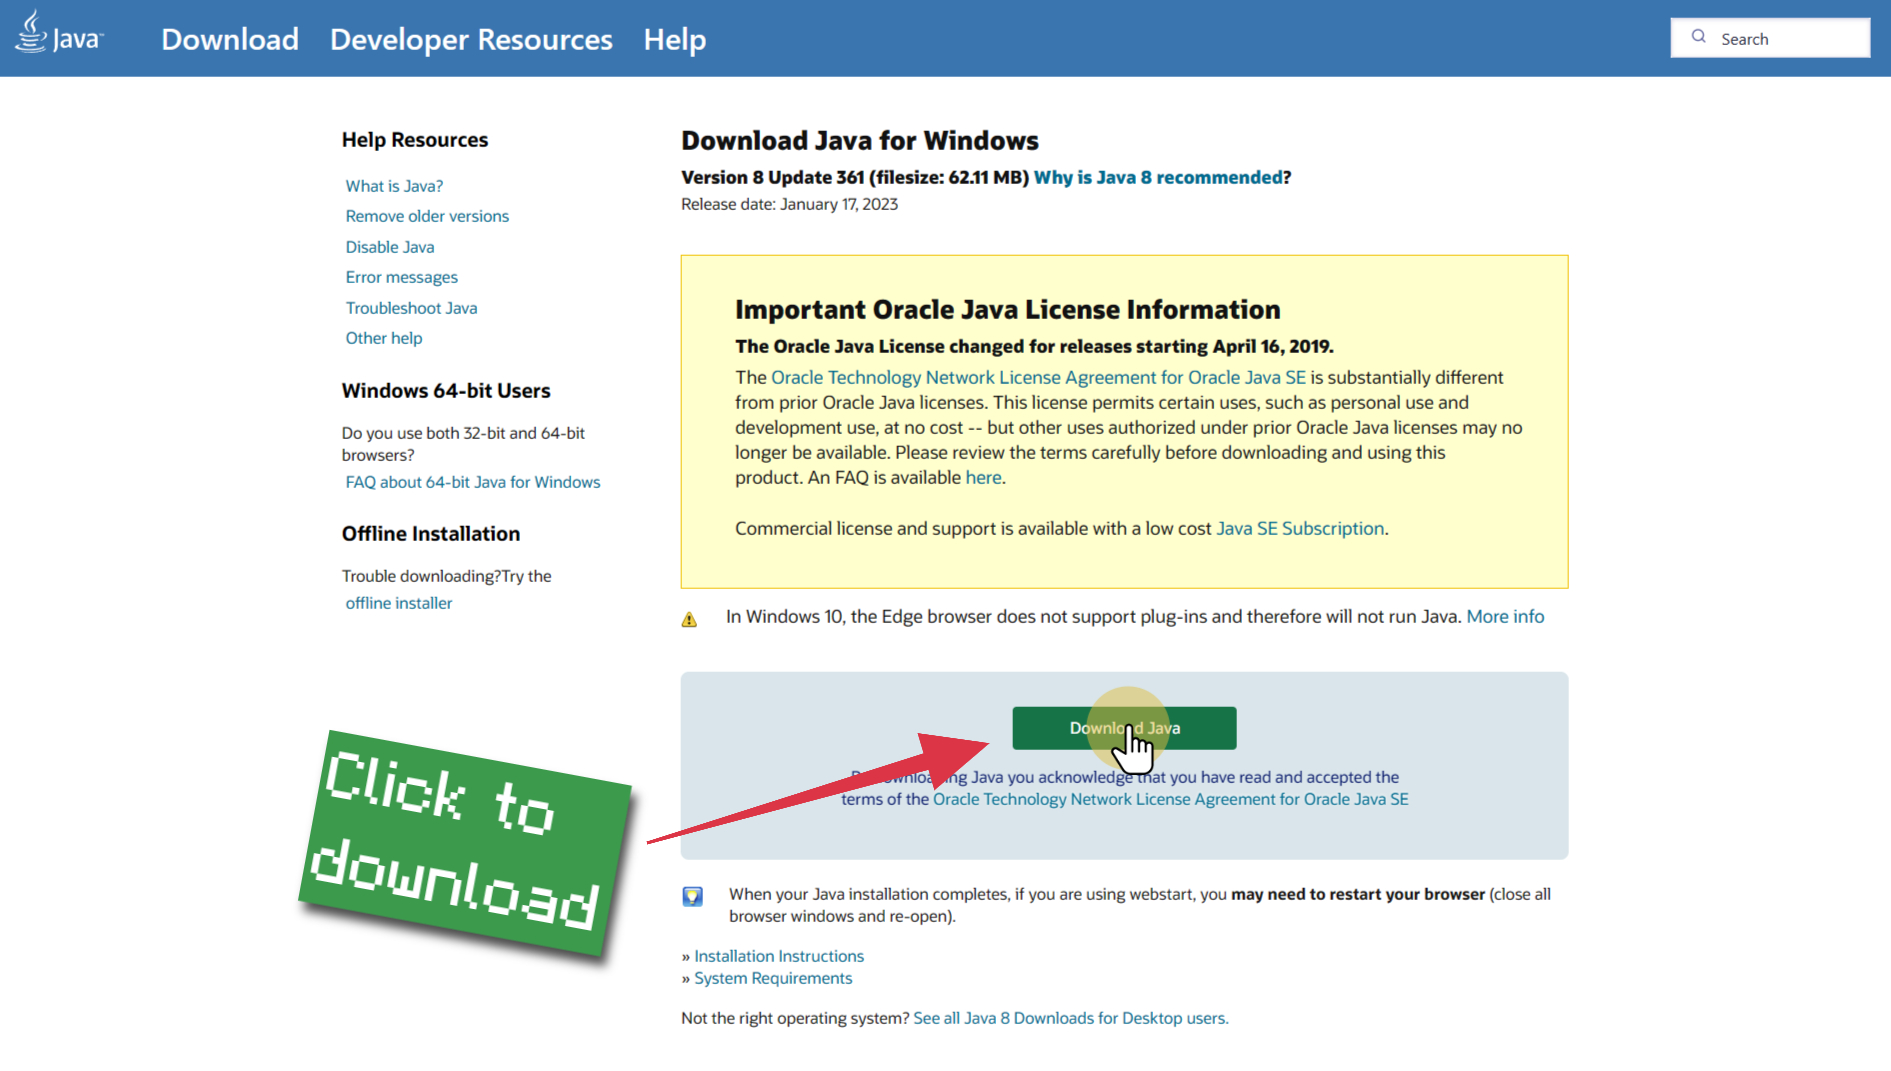
Download Java
Download the Java installer from the official website here.

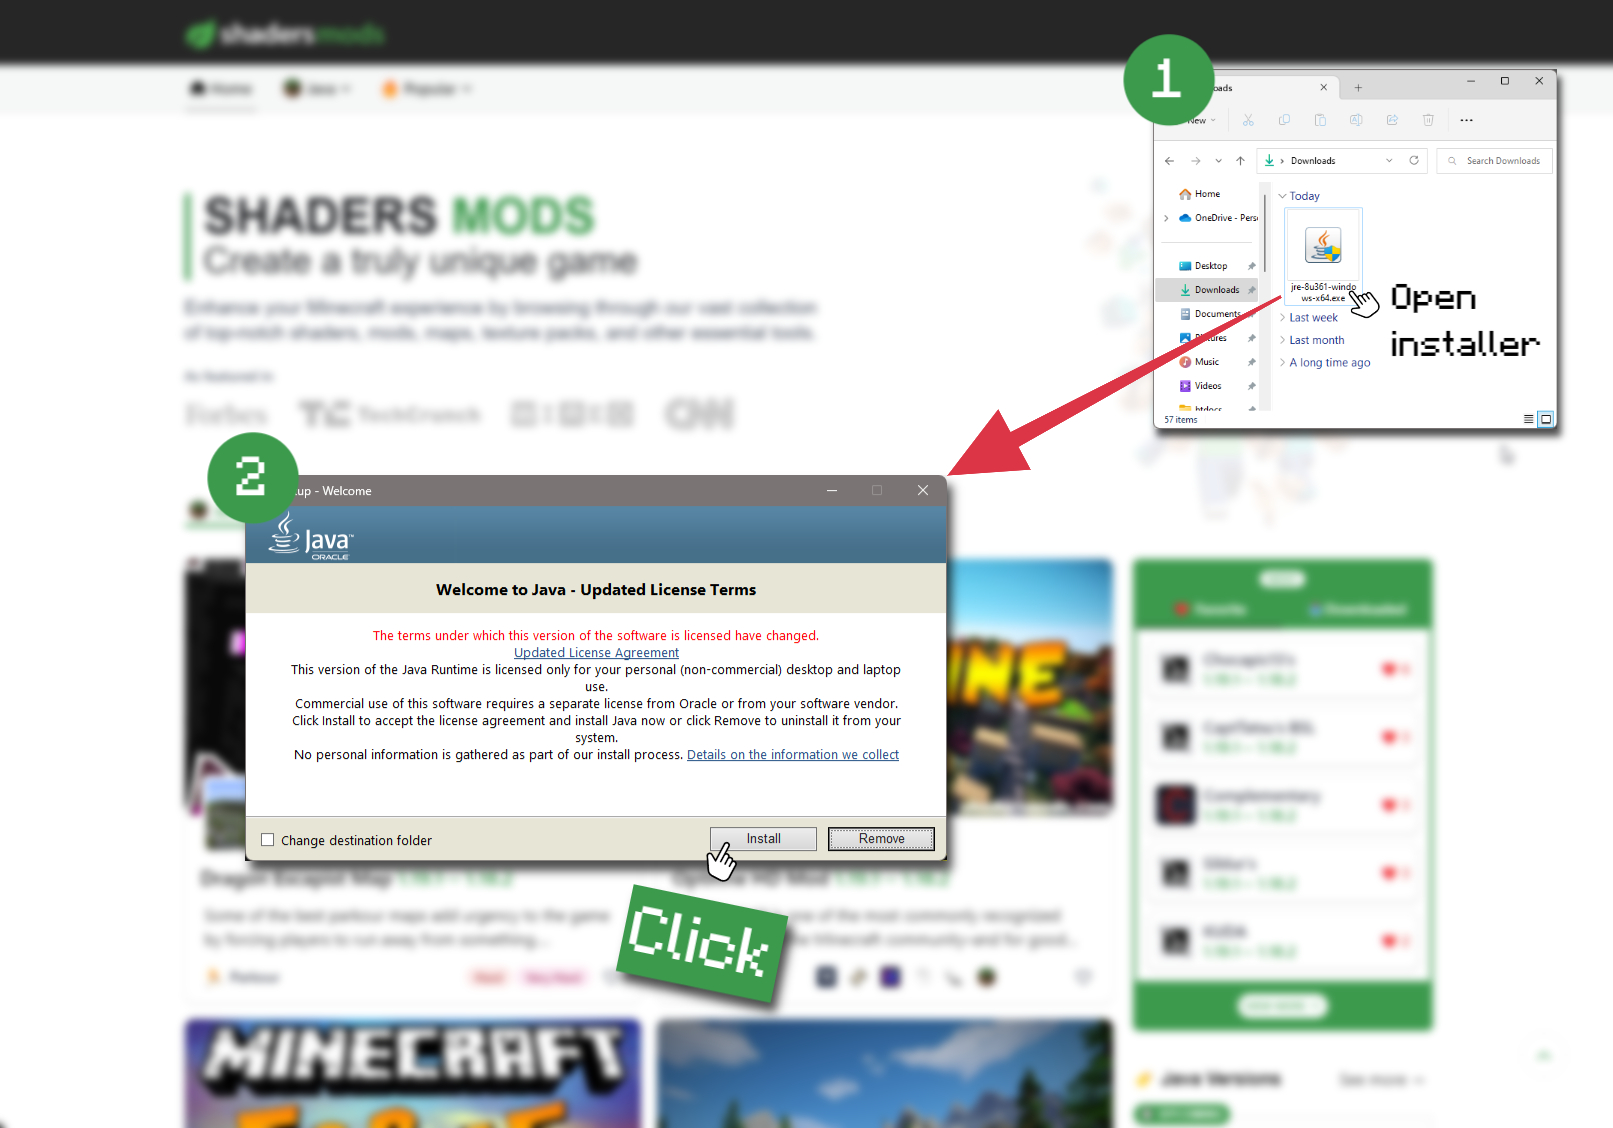
Open Installer
Once you have downloaded the file, run it and click the Install button.

How to install Seamatis’ Vibrant Shaders with Optifine?
Download Optifine
Get the latest version of Optifine for your Minecraft version.
Download OptifineInstall Optifine
Run the Optifine installer and follow the on-screen instructions to complete the installation.

Download Seamatis’ Vibrant Shaders
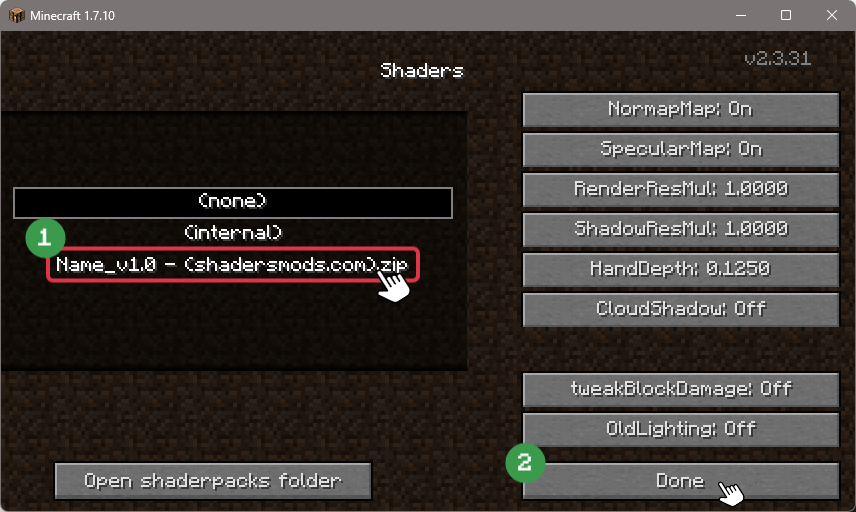
Go to the download section and get shaders zip file. Unzip the file if necessary, as some shader developers may bundle multiple shader versions in one zip file.
Launch Minecraft
Start the Minecraft launcher and make sure you have the Optifine profile selected.

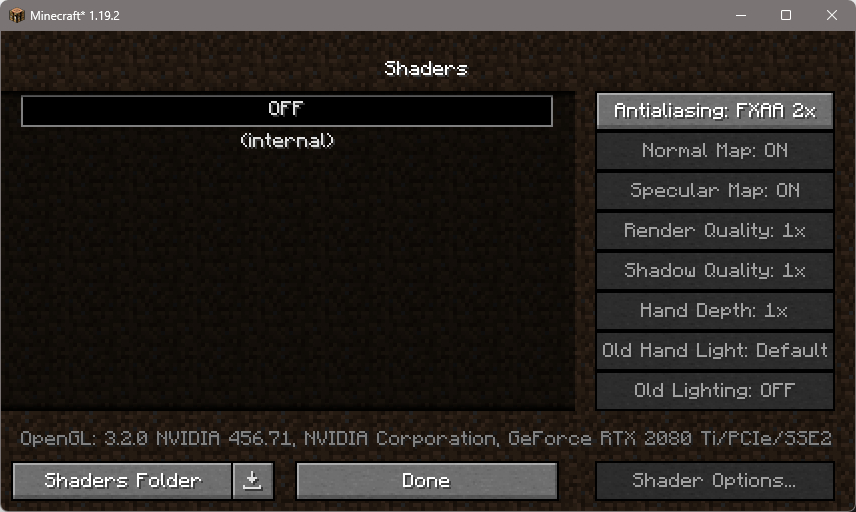
In-game Shaders menu
Go to Options > Video Settings > Shaders to access the shaders menu.

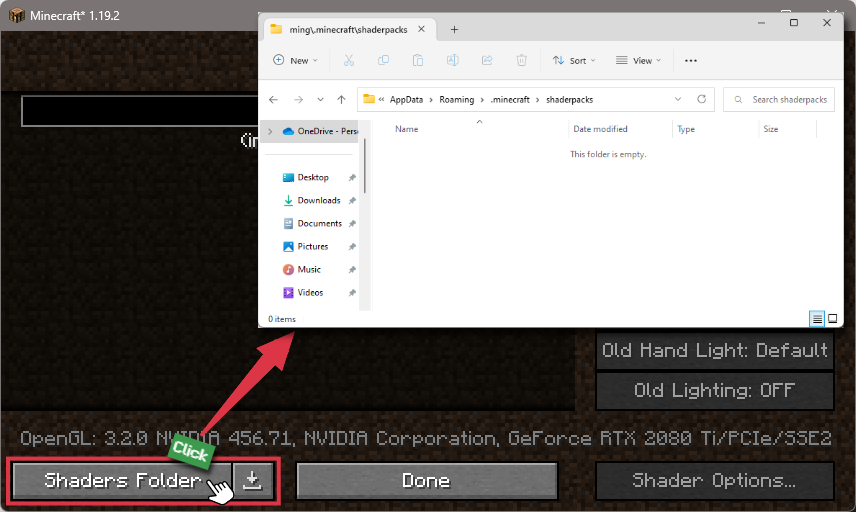
Open shaderpacks folder
Click on the "Shaders Folder" button to open the folder where shaders are stored, so you can add or remove shaders as desired.

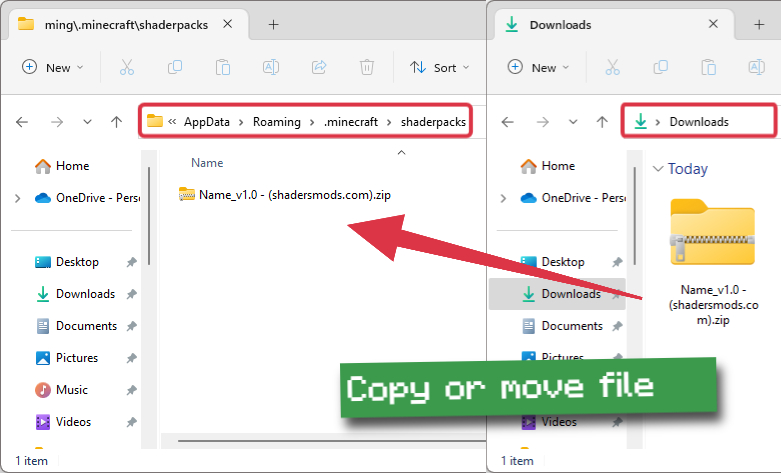
Install Seamatis’ Vibrant Shaders
Copy or move the downloaded Seamatis’ Vibrant shaders zip file into the shaderpacks folder.

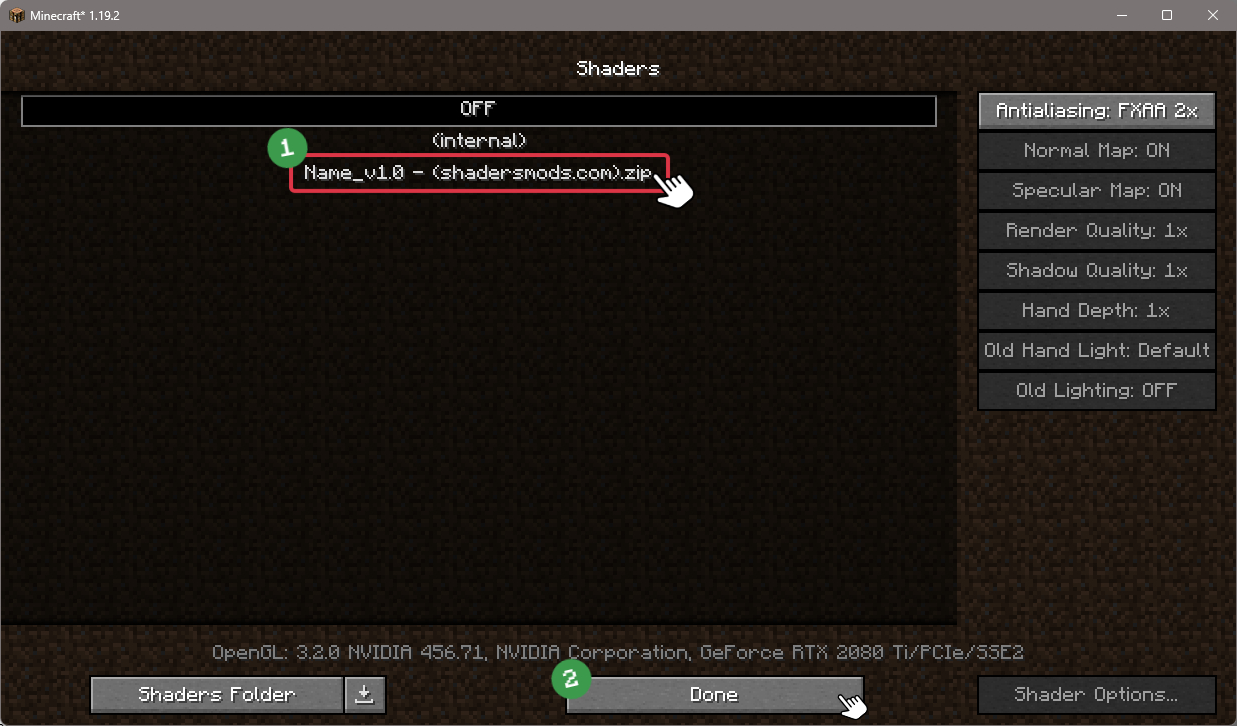
Select Seamatis’ Vibrant Shaders
Choose Seamatis’ Vibrant shader pack from the list of available shaders in the options menu.

How to install Seamatis’ Vibrant Shaders with Forge and Optifine?
Quick Installation Guide
Install Forge
Obtain the latest version of Forge that is compatible with your Minecraft version.
Download Minecraft ForgeLaunch Minecraft
Start the Minecraft launcher and select the version of Minecraft you want to install Forge on. Run the game once by clicking on the "Play" button to create necessary files for Forge.

Install Forge Client
Double-click on the Forge installer jar file and choose "Install Client" in the window that appears.

Install Optifine
Download the Optifine jar file after Forge is installed. Move the Optifine jar file to the mods folder in the .minecraft directory.
Download Optifine
Launch Forge Profile
Launch Minecraft using the "Forge" profile, Optifine will be automatically loaded along with Forge.

Install Chocapic13's Shaders
Now the installation is the same as from the above Optifine instructions, just follow the steps starting from step 5.
Iris Installation Guide
Note
Your device must have Java installed to run the Iris installer.
Quick Java Installation Guide
Download Java
Download the Java installer from the official website here.

Open Installer
Once you have downloaded the file, run it and click the Install button.

How to install Seamatis’ Vibrant Shaders with Iris?
Download Iris Shaders
Find the latest version of the Iris Shaders installer and download it.
Download Iris InstallerInstall Iris Shaders
Open the downloaded jar file, and choose the preferred game version and installation type.
⯈ Iris Install:
If you don't plan on using any other mods with Iris, choose this option.⯈ Fabric Install:
Choose this option if you want to use Iris with Fabric and other mods. The Iris jar files will be copied to the mods folder within the .minecraft directory.
Start Installation
After selecting the game version and installation type, click the "Install" button to start the installation process.
Launch Minecraft
Start the Minecraft launcher and make sure you have the Iris profile selected.
Note
Select the Fabric profile if you opt for the Fabric installation type.
In-game Shader Menu
Open the Minecraft game and go to Options > Video Settings > Shader Packs to access the shaders menu.
Tip
To simplify the process, simply drag and drop the shader ZIP file directly into the Minecraft window, bypassing the next two steps.
Open shaderpacks folder
Click on the "Open Shader Pack Folder" button to access the folder where shaders are stored.

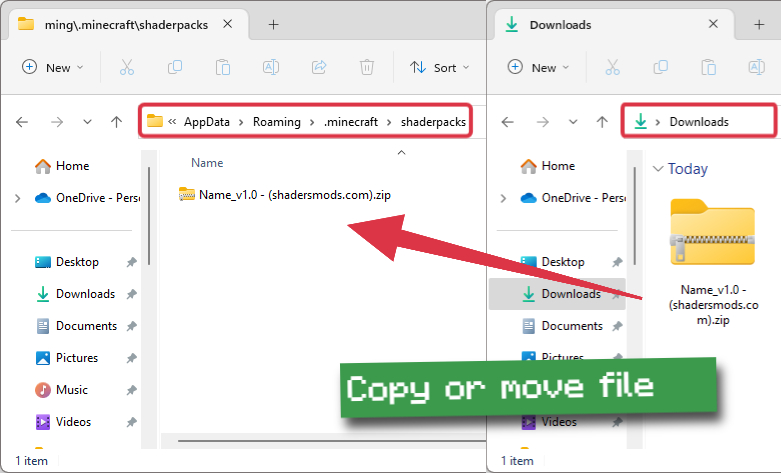
Install Seamatis’ Vibrant Shaders
Copy or move the shaders zip file into the shaderpacks folder.

Select Seamatis’ Vibrant Shaders
Choose installed shader pack from the list of available shaders in the options menu and click the "Apply" or "Done" button to select it.
Tip
When the shader pack is selected, its name will be changed to yellow.
GLSL Installation Guide
Warning
How to install Seamatis’ Vibrant Shaders with GLSL Shaders Mod?
Install Forge
Download the latest version of Forge that is compatible with your Minecraft version.
Download Minecraft ForgeLaunch Minecraft
Start the Minecraft launcher and select the version of Minecraft you want to install Forge on. Run the game once by clicking on the "Play" button to create the necessary files for Forge.

Install Forge Client
Double-click on the Forge installer jar file and choose "Install Client" in the window that appears.

Install GLSL Shaders Mod
Download the GLSL jar file after Forge is installed. Move the GLSL jar file to the mods folder in the .minecraft directory.
Download GLSL Shaders
Launch Forge Profile
Launch Minecraft using the "Forge" profile, and GLSL Shaders will be automatically loaded along with Forge.

In-game Shaders menu
Go to Options > Shaders to access the shaders menu.

Open shaderpacks folder
Click on the "Open shaderpacks folder" button to open the folder where shaders are stored.

Install Seamatis’ Vibrant Shaders
Copy or move the downloaded shaders zip file into the shaderpacks folder.

Select Seamatis’ Vibrant Shaders
Choose Seamatis’ Vibrant shader pack from the list of available shaders in the options menu.

📥 Seamatis’ Vibrant Shaders — Download
Something You Should Know
- Our links are only from the official developer, so you can be sure they are secure.
- No modifications or edits are made to the files.
🔄 Update Logs
v2.1
- Reworked day/night colors/brightness to look similar to Kuda Shaders.
- Tweaked bloom.
- High-quality shadow filter [by Chocapic13].
- Color boost [by CaptTatsu].
- Night Desaturation [by CaptTatsu] (This effect only changes torchlight color at night).
- New “Blue sun” glow is made from tweaking fog variables, not an actual effect.
- Tweaked clouds/sky color.
- Tweaked the water bump code (looks much nicer from the previous update).
- Darker and more saturated sunrises and sunsets.
- Readded sun reflection by Chocapic13.




Comments (15)
I tried both standard and ultra both have black screen fix it
sorry,whit google traduction,i don’t see it’s anglish post here.so,i said :where i’m is the map in picture ?
sorry for my bad anglish…
“Wow, some of these map are impressive.can you find them on this site?”