
Werrus Shaders 1.20, 1.19.4 → 1.18.2
| Developer | 👤Werrus |
|---|---|
| Style | 🌅Realistic |
| Support GPUs | |
| Loaders | |
| Performance Impact | Low |
| Settings | 28 |
| Features | Water Waves+34 |
| Created | Feb 14, 2015 |
| Updated | Sep 19, 2019 |
| Stats |
|
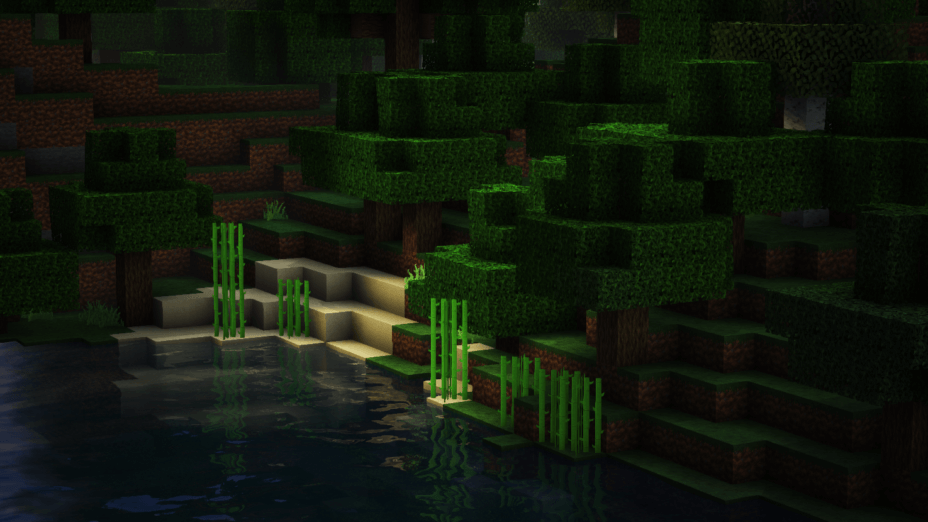
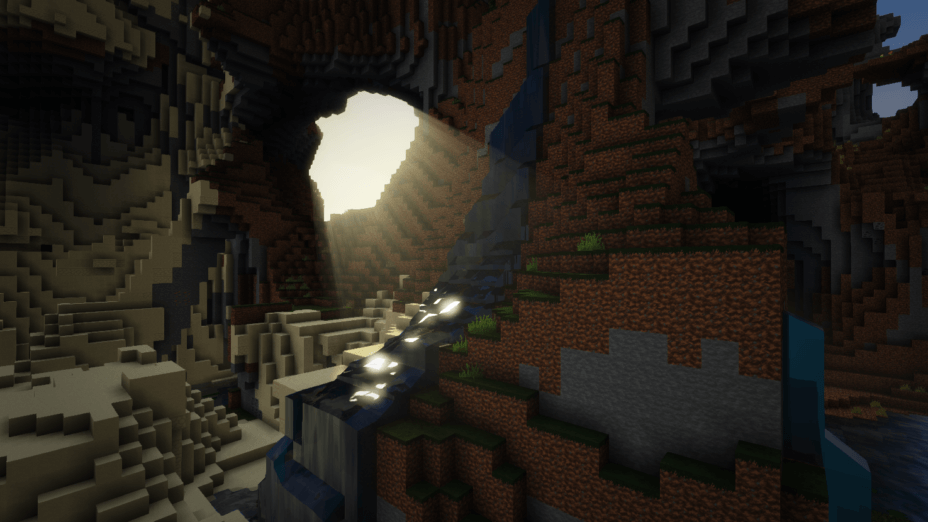
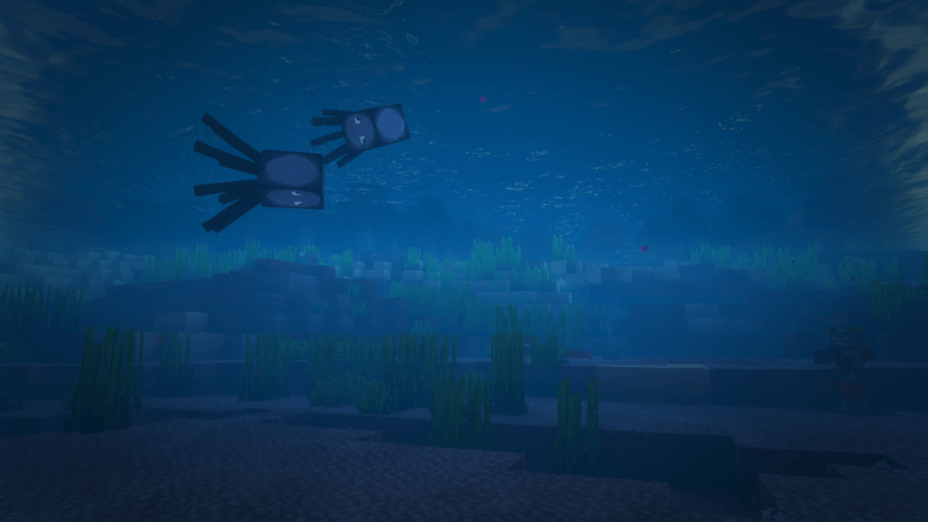
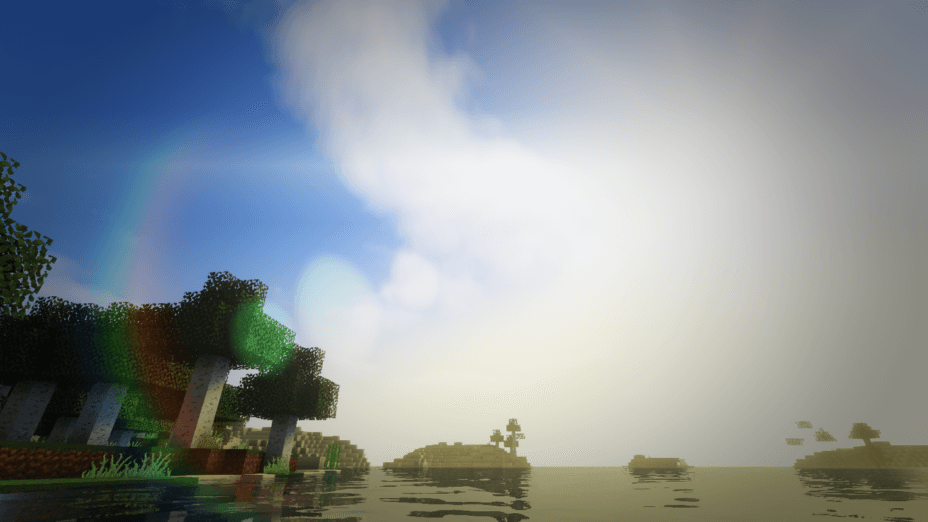
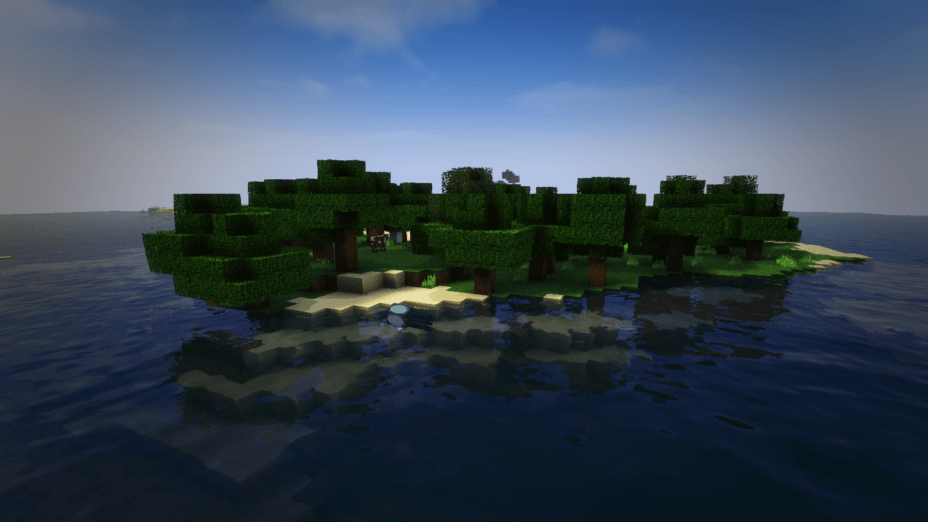
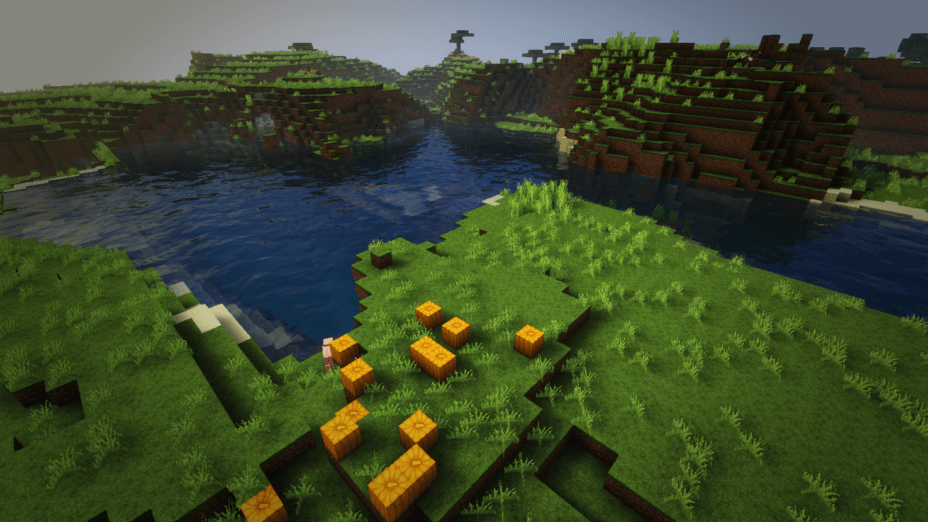
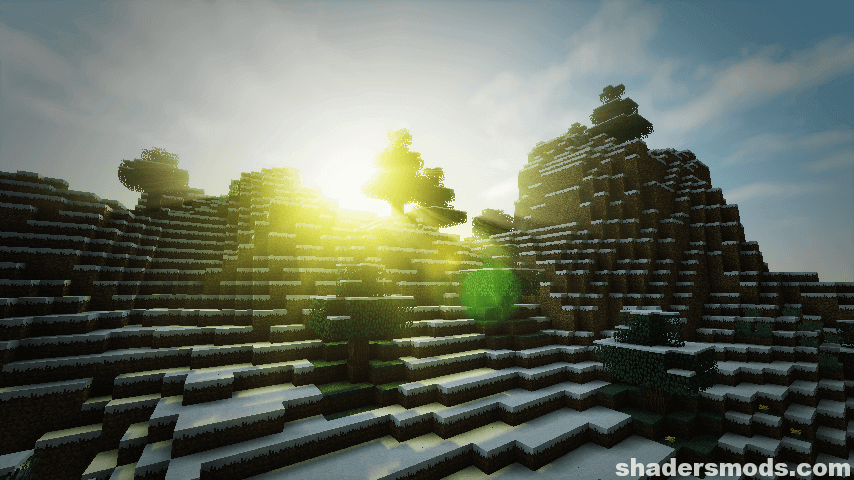
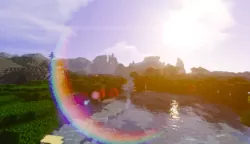
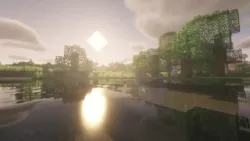
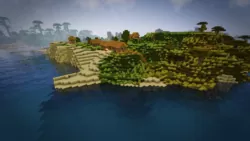
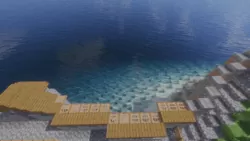
The Werrus Shaders pack brings realistic skies, clouds, lights, and shadows into the world of Minecraft. Those lights and shadows are highly affected by the clouds in the sky, and those floating bits of fluff can cause streaks of darkness to roll across the land below. You don’t get shadows like this in vanilla Minecraft. Realistic lighting effects like these are why most players download and install a shader pack in the first place, but not all shader packs have lighting like Werrus Shaders. Released in mid-February of 2015, Werrus Shaders is compatible with the latest Minecraft versions.
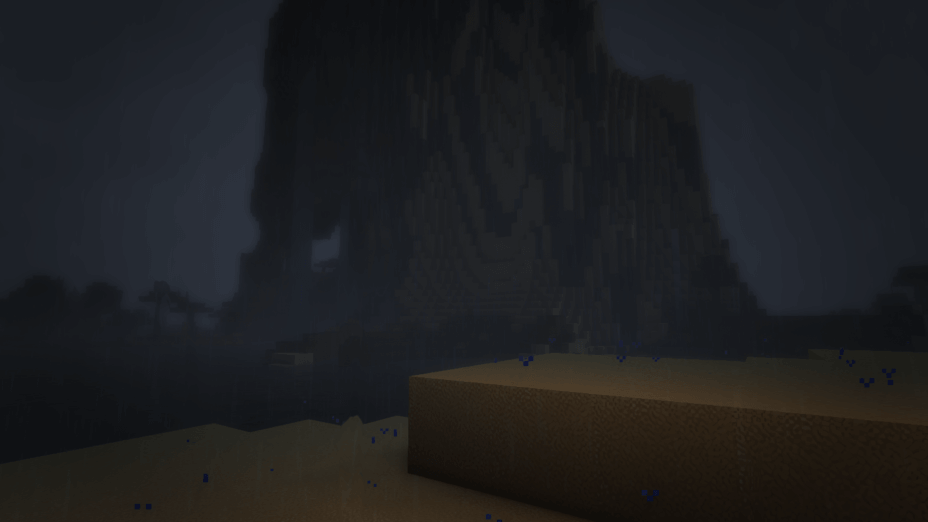
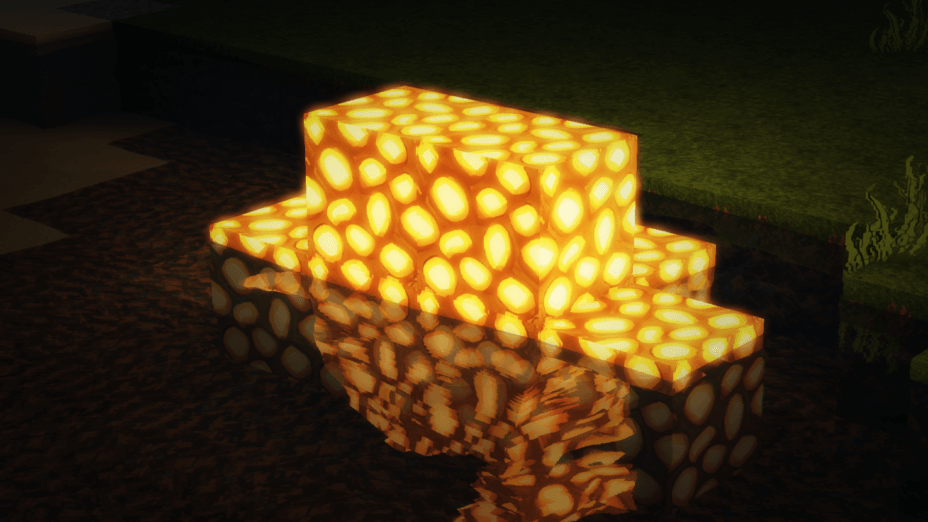
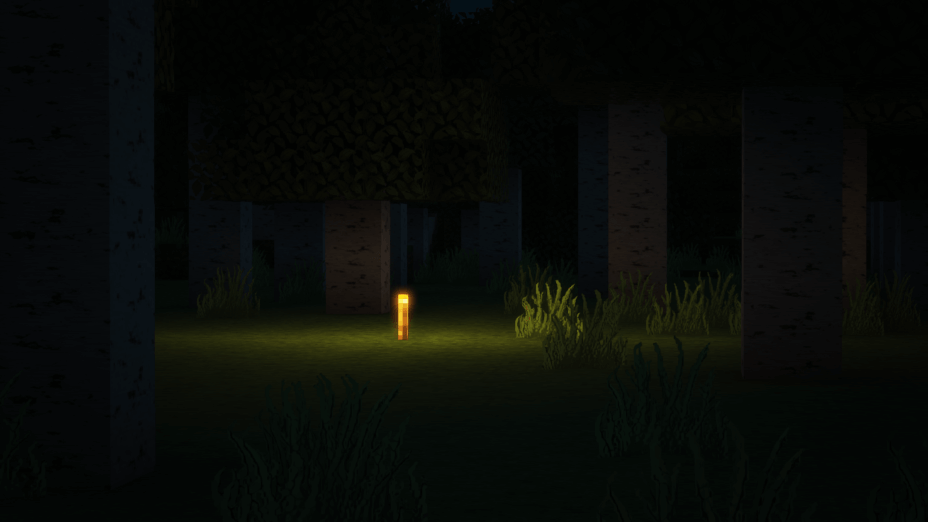
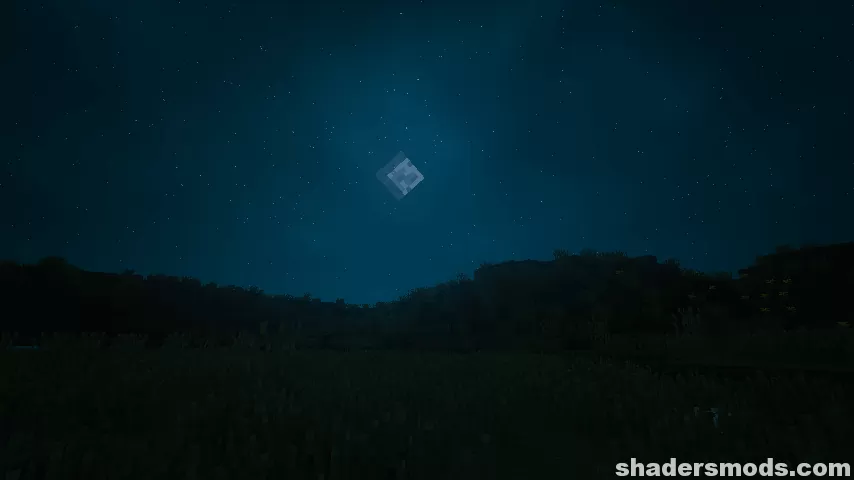
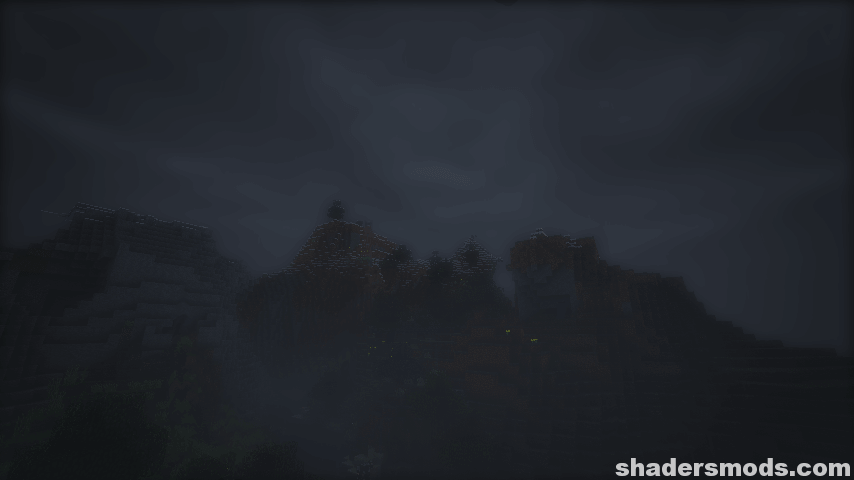
Work is currently being done to bring Werrus Shaders to a state where it will be fully compatible with Minecraft, but that time has not come yet. Because it borrows a few pieces from Chocapic13’s Shaders, this pack is actually a nice way to see bits and parts of that other popular pack in action. The darkness in this shader pack is almost overwhelming when the sun goes down, so you may want to turn up your brightness setting if you plan on using it. This also makes it literally impossible to explore caves unless you bring along plenty of torches or other light sources to illuminate the way.
This isn’t like in vanilla Minecraft, where you can still see vague outlines and shapes of your surroundings, even in caves with no lights. As for the requirements of the Werrus Shaders pack, they tend to be pretty average and right in the middle. You can use this pack with integrated graphics, but things aren’t going to look very good. On the other hand, a high-end GPU can take the visuals to another level altogether, giving you a Minecraft world that looks so good you might just never want to turn the Werrus Shaders off again.
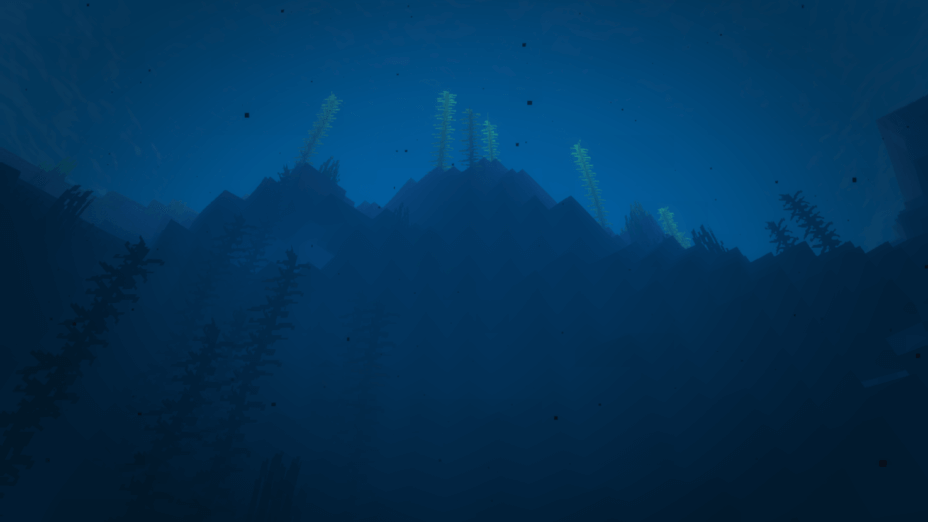
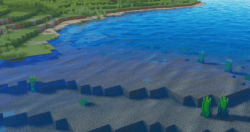
Because there are two different versions of the Werrus Shaders pack, players with a variety of different PCs should be able to use it without a hitch. You have the standard version, then the HFPS version, or the High FPS version, which dumbs down some of the effects to lessen the drag on FPS, which comes with turning on the shader mod. Other adjustments can be made to increase FPS, like cutting down the render distance and turning off reflections. Thankfully this shader pack doesn’t do much to change the appearance of water, so turning off reflections doesn’t really hurt anything.
- 1.20
- 1.19.4
- 1.19.3
- 1.19.2
- 1.19.1
- 1.19
- 1.18.2
- 1.18.1
- 1.18
- 1.17.1
- 1.17
- 1.16.5
- 1.16.4
- 1.16.3
- 1.16.2
- 1.16.1
- 1.16
- 1.15.2
- 1.15.1
- 1.15
- 1.14.4
- 1.14.3
- 1.14.2
- 1.14.1
- 1.14
- 1.13.2
- 1.13.1
- 1.13
- 1.12.2
- 1.12.1
- 1.12
- 1.11.2
- 1.11.1
- 1.11
- 1.10.2
- 1.10.1
- 1.10
- 1.9.4
- 1.9.3
- 1.9.2
- 1.9.1
- 1.9
- 1.8.9
- 1.8.8
- 1.8.7
- 1.8.6
- 1.8.5
- 1.8.4
- 1.8.3
- 1.8.2
- 1.8.1
- 1.8
- 1.7.10
- 1.7.9
- 1.7.8
- 1.7.7
- 1.7.6
- 1.7.5
- 1.7.4
- 1.7.2
- 1.7
- 1.6.4
- 1.6.2
Features
Over 34 new features are available in Werrus Shaders to enhance your gaming experience.
📊 Performance Impacts
Decrease in performance can vary from device to device, driver version, and many other factors, you should test yourself on your machine for the best result.
- None
- No performance decreases
- Small
- ~5%
- Medium
- ~10%
- High
- ~25%
- Extreme
- +50%
-
- Ambient OcclusionMedium
- Simulating how light interacts with objects and surfaces.
-
- Atmospheric SkySmall
- Simulates realistic atmospheric scattering.
-
- BloomSmall
- Enhance the game's lighting and create a more realistic and immersive visual experience
-
- CausticHigh
- Simulating the way light is refracted and reflected by the water's surface
-
- Cel ShadingSmall
- Technique used to give the game a more stylized, cartoon-like appearance.
-
- CustomizationNone
- Customize various aspects of the game's visual effects.
-
- DarkNone
- Enjoy exploring dark and mysterious environments, such as caves or ruins.
-
- Depth of FieldMedium
- Making objects closer to the camera appear sharp and in focus, while objects farther away appear out of focus and blurry.
-
- Lens FlareSmall
- Simulating the way light scatters and reflects inside a camera lens.
-
- LightMedium
- Enhance the game's overall visual quality.
-
- Motion BlurHigh
- Simulates the way that fast-moving objects appear to blur in the real world.
-
- Moving CloudsMedium
- Simulates the movement of clouds across the sky and can be used to create the appearance of a dynamic and ever-changing sky
-
- Normal MapSmall
- Add depth and detail to surfaces without increasing the number of polygons.
-
- Parallax WaterMedium
- Enhances the realism of water by simulating the parallax effect.
-
- Photorealistic SkyboxesMedium
- Replacing the in-game sky with high-resolution, realistic images of the sky.
-
- Realistic NightskyMedium
- More realistic and immersive night sky.
-
- Realistic RainMedium
- More natural and immersive rain experience.
-
- Realistic SkyMedium
- More realistic and immersive sky experience.
-
- Realistic WaterHigh
- More realistic and immersive water experience.
-
- ShadowsSmall
- Simulate how light is blocked and scattered by objects in the environment.
-
- Sun RaysMedium
- Simulate the appearance of sunlight streaming through trees leaves, objects, clouds, or other atmospheric conditions.
-
- SunriseSmall
- More realistic and immersive sunrise experience.
-
- SunsetSmall
- More realistic and immersive sunset experience.
-
- Tone MappingSmall
- Adjusting the brightness, contrast, and saturation levels.
-
- VignetteNone
- Darkening effect around the edges of the screen
-
- Volumetric CloudsHigh
- Simulate the way that clouds appear to have volume and depth in the real world rather than just flat textures.
-
- Volumetric FogHigh
- Create the appearance of fog that is lit from within, casting shadows and creating a sense of depth.
-
- Volumetric LightHigh
- Simulating the scattering of light in the atmosphere and in the environment.
-
- Water ReflectionsMedium
- Simulating reflections on the surface of the water.
-
- Water WavesMedium
- Movement of waves on the surface of the water.
-
- Waving GrassSmall
- Simulating the way it moves and sways in the wind.
-
- Waving PlantsSmall
- Simulating the way they move and sway in the wind.
-
- Waving TreesSmall
- Adds movement to the leaves and branches of trees, making them look more alive and realistic.
-
- Wet EffectSmall
Werrus Shaders allow you to change more than 28 settings to suit your needs.
| Settings | Description | Options |
|---|---|---|
| BLOOM | Enable bloom effect |
|
| CELSHADING | Cartoon-like effect |
|
| CLOUDS | Enable clouds |
|
| DISTANT_BLUR | Constant distance blur |
|
| DOF | Enable depth of field (blur on non-focused objects), not compatible with motion blur! |
|
| DYNAMIC_HANDLIGHT | Emitting light around player when holding light-emitting item |
|
| FAKE_SHADOW | Enable fake shadow |
|
| GODRAYS | Enable godrays effect |
|
| HEXAGONAL_BOKEH | Disabled : circular blur shape. Enabled : hexagonal blur shape |
|
| LENS_EFFECTS | Enable lens flare effects |
|
| LQ_SPECULAR_MAPPING | Land only reflect sky and sun |
|
| LQ_WATER_REFLECTIONS | Water only reflect sky and sun |
|
| MOTION_BLUR | Enable motion blur effect |
|
| NIGHT_STAR | Enable sparkling stars on night time sky |
|
| RAIN_DROPS | Create rain drops on screen |
|
| SHADOW | Enable shadow |
|
| SHADOW_FILTER | Smooth shadow |
|
| SHAKING_CAMERA | Create shaking camera effect |
|
| SPECULAR_MAPPING | Enable land reflection |
|
| SSAO | Enable ssao effect |
|
| VIGNETTE | Enable vignette effect |
|
| WATER_CAUSTIC | Enable water light effect |
|
| LQ_WATER_REFLECTIONS | Water only reflect sky and sun |
|
| WATER_REFRACT | Enable underwater movement |
|
| WAVING | Enable waving block |
|
| WAVING_SHADOW | Moving shadow (WAVING need to be enabled) |
|
| WAVING_WATER |
| |
| WIP_VARIABLE_PENUMBRA_SHADOWS | Explained, requires a powerful PC to run this! (not compatible with SHADOW_FILTER) |
|
How To Install Werrus Shaders
- Support Forge / Vanilla
- Extra features
- Good performance
- Support Fabric / Quilt
- Better performance, depend on your hardware
- No modding required Support Forge
- No modding required Older versions of Minecraft are supported
Optifine Installation Guide
Note
Your device must have Java installed to run the Forge and Optifine installers.
Quick Java Installation Guide
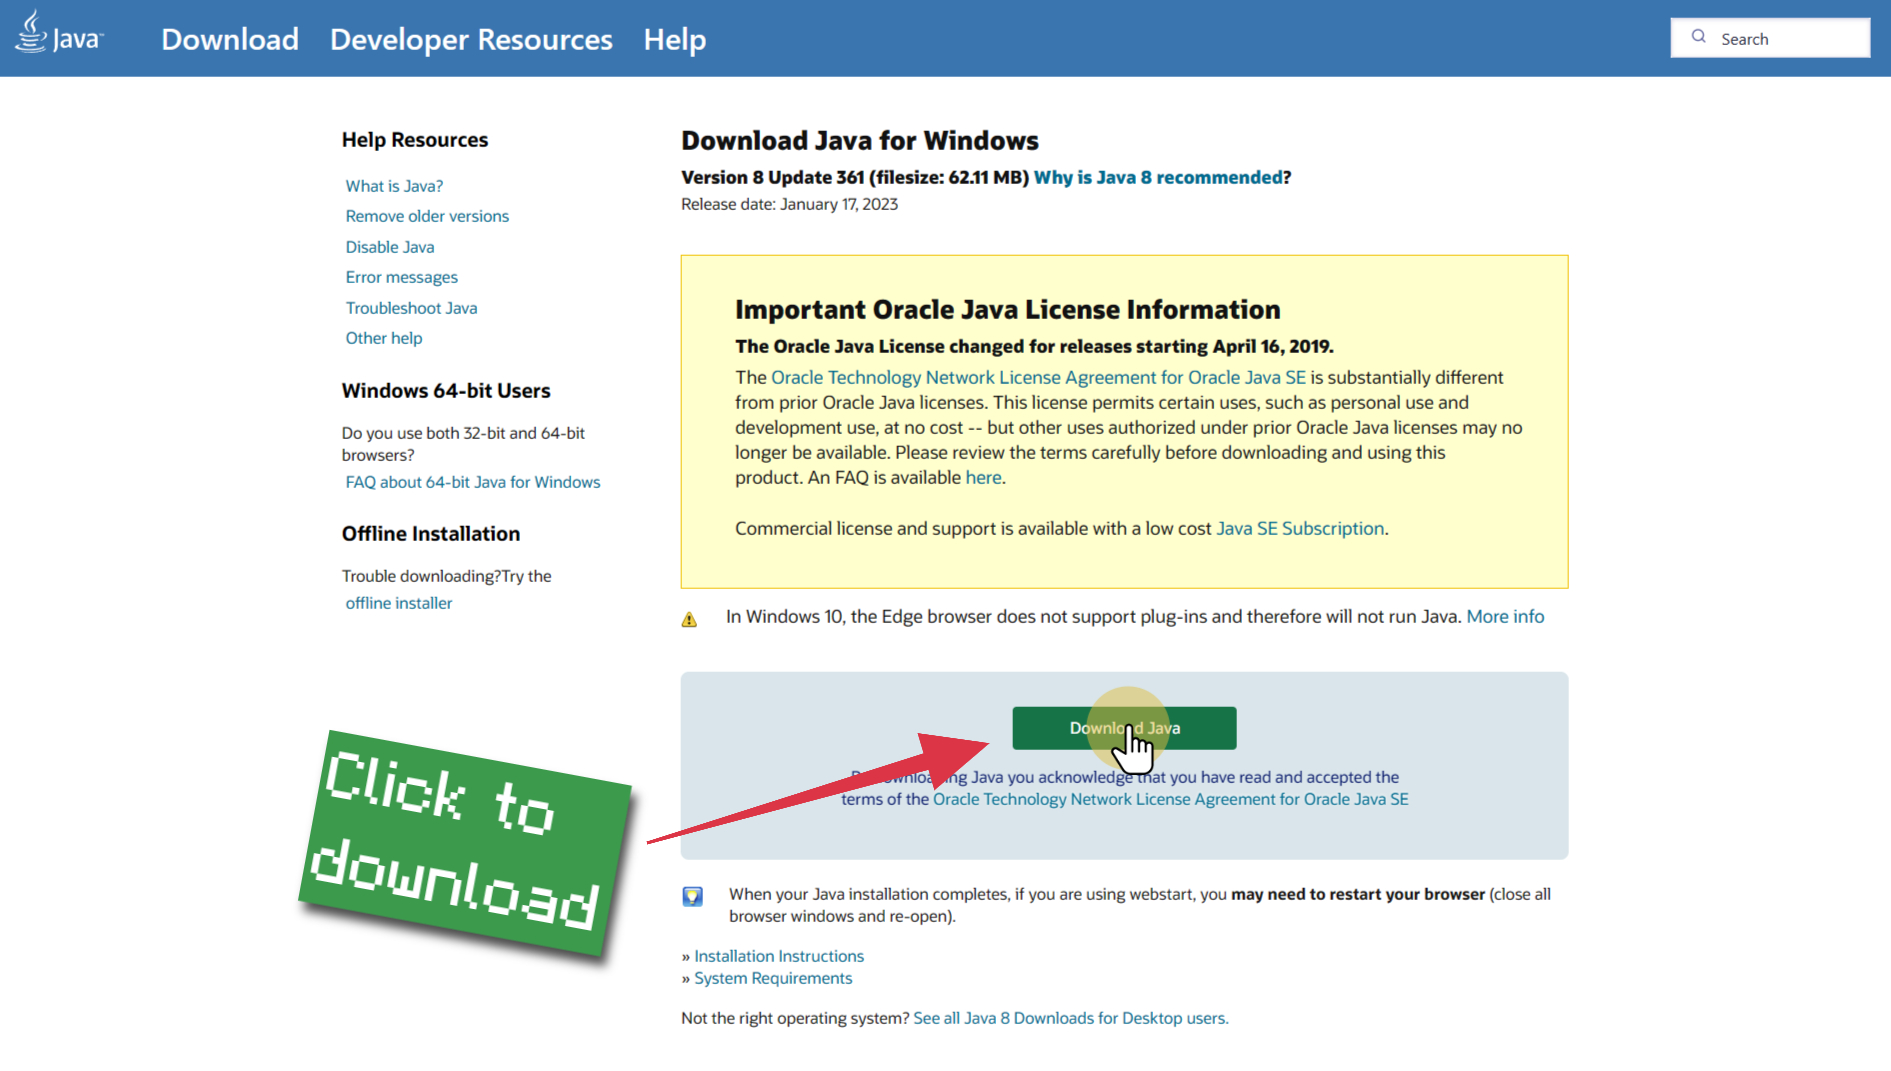
Download Java
Download the Java installer from the official website here.

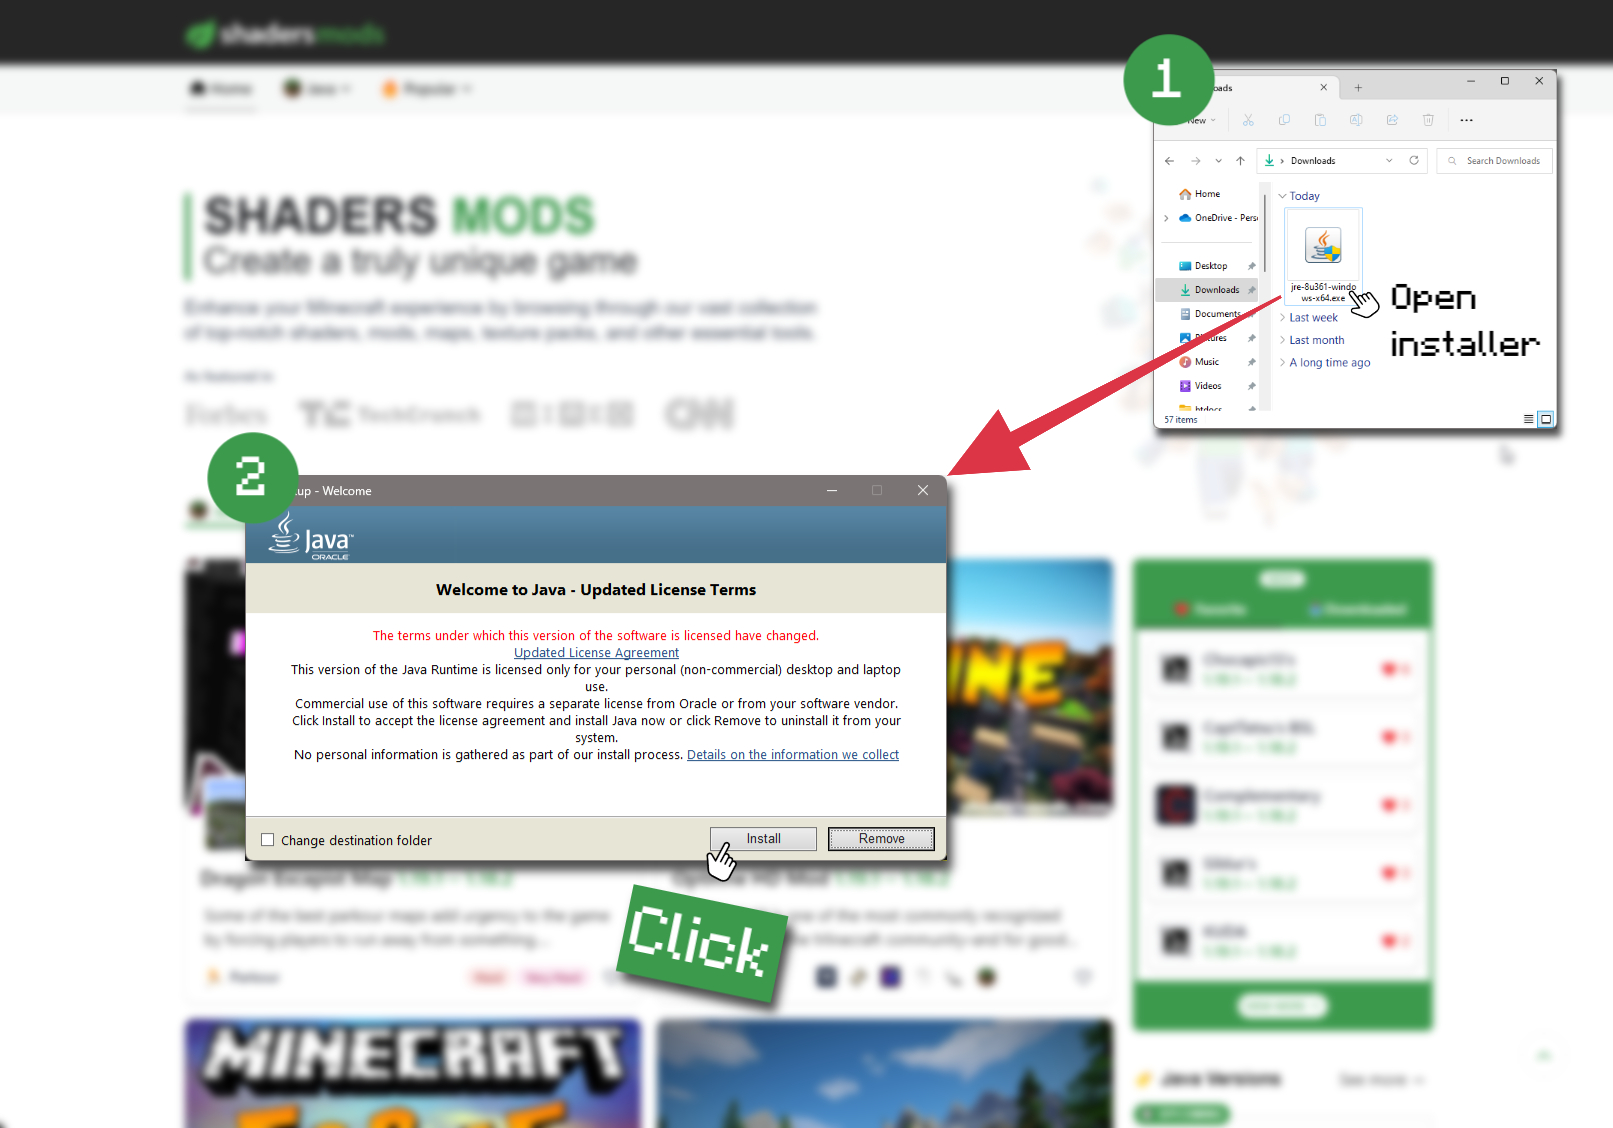
Open Installer
Once you have downloaded the file, run it and click the Install button.

How to install Werrus Shaders with Optifine?
Download Optifine
Get the latest version of Optifine for your Minecraft version.
Download OptifineInstall Optifine
Run the Optifine installer and follow the on-screen instructions to complete the installation.

Download Werrus Shaders
Go to the download section and get shaders zip file. Unzip the file if necessary, as some shader developers may bundle multiple shader versions in one zip file.
Launch Minecraft
Start the Minecraft launcher and make sure you have the Optifine profile selected.

In-game Shaders menu
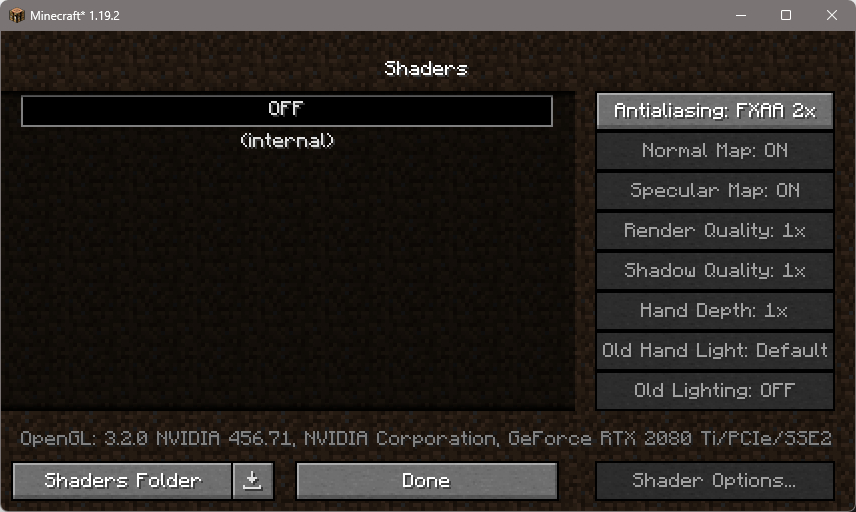
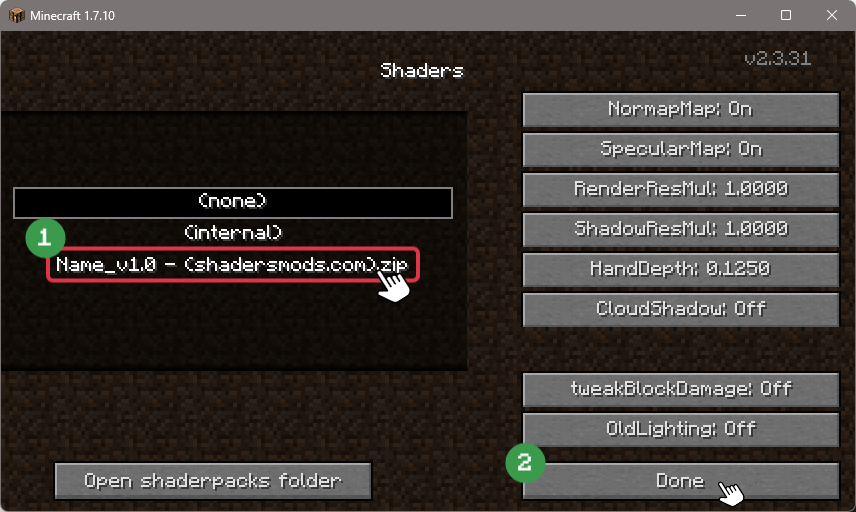
Go to Options > Video Settings > Shaders to access the shaders menu.

Open shaderpacks folder
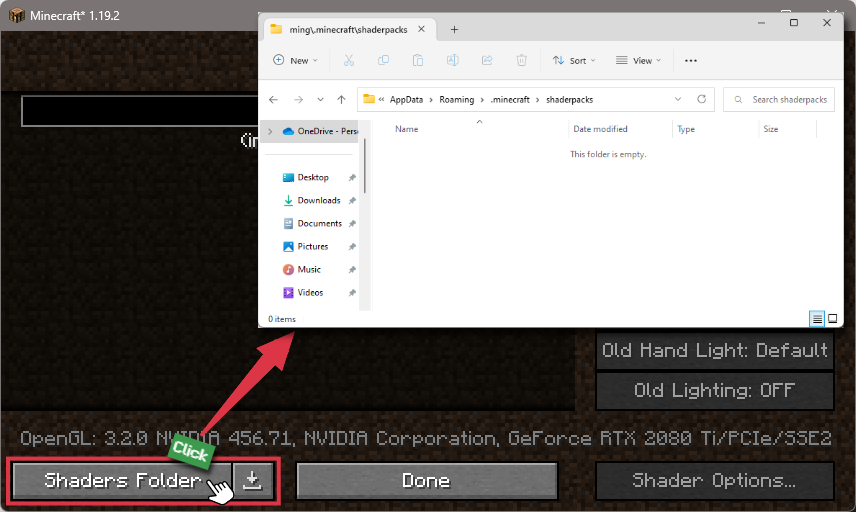
Click on the "Shaders Folder" button to open the folder where shaders are stored, so you can add or remove shaders as desired.

Install Werrus Shaders
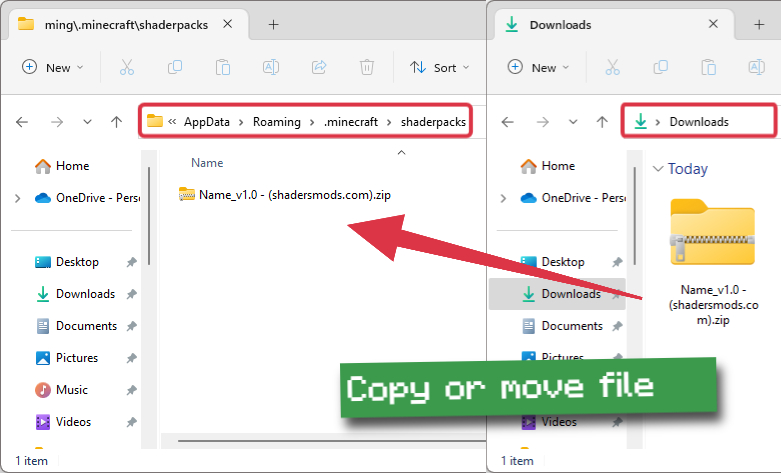
Copy or move the downloaded Werrus shaders zip file into the shaderpacks folder.

Select Werrus Shaders
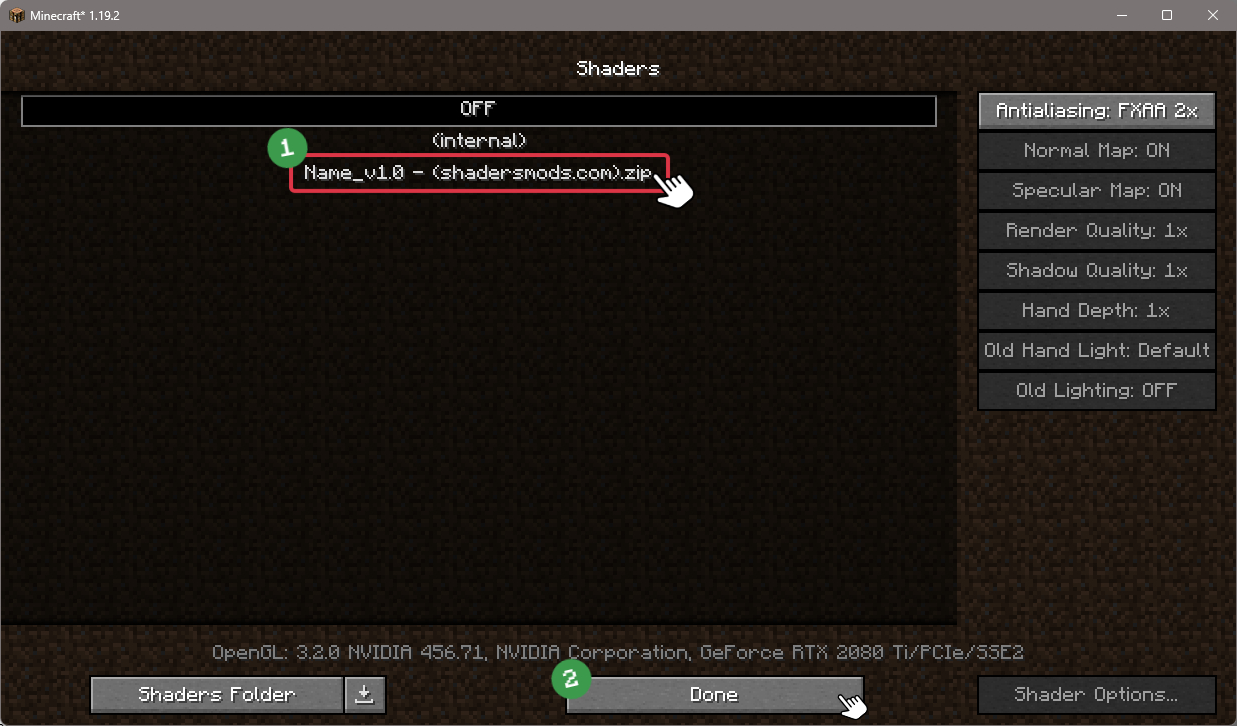
Choose Werrus shader pack from the list of available shaders in the options menu.

How to install Werrus Shaders with Forge and Optifine?
Quick Installation Guide
Install Forge
Obtain the latest version of Forge that is compatible with your Minecraft version.
Download Minecraft ForgeLaunch Minecraft
Start the Minecraft launcher and select the version of Minecraft you want to install Forge on. Run the game once by clicking on the "Play" button to create necessary files for Forge.

Install Forge Client
Double-click on the Forge installer jar file and choose "Install Client" in the window that appears.

Install Optifine
Download the Optifine jar file after Forge is installed. Move the Optifine jar file to the mods folder in the .minecraft directory.
Download Optifine
Launch Forge Profile
Launch Minecraft using the "Forge" profile, Optifine will be automatically loaded along with Forge.

Install Chocapic13's Shaders
Now the installation is the same as from the above Optifine instructions, just follow the steps starting from step 5.
Iris Installation Guide
Note
Your device must have Java installed to run the Iris installer.
Quick Java Installation Guide
Download Java
Download the Java installer from the official website here.

Open Installer
Once you have downloaded the file, run it and click the Install button.

How to install Werrus Shaders with Iris?
Download Iris Shaders
Find the latest version of the Iris Shaders installer and download it.
Download Iris InstallerInstall Iris Shaders
Open the downloaded jar file, and choose the preferred game version and installation type.
⯈ Iris Install:
If you don't plan on using any other mods with Iris, choose this option.⯈ Fabric Install:
Choose this option if you want to use Iris with Fabric and other mods. The Iris jar files will be copied to the mods folder within the .minecraft directory.
Start Installation
After selecting the game version and installation type, click the "Install" button to start the installation process.
Launch Minecraft
Start the Minecraft launcher and make sure you have the Iris profile selected.
Note
Select the Fabric profile if you opt for the Fabric installation type.
In-game Shader Menu
Open the Minecraft game and go to Options > Video Settings > Shader Packs to access the shaders menu.
Tip
To simplify the process, simply drag and drop the shader ZIP file directly into the Minecraft window, bypassing the next two steps.
Open shaderpacks folder
Click on the "Open Shader Pack Folder" button to access the folder where shaders are stored.

Install Werrus Shaders
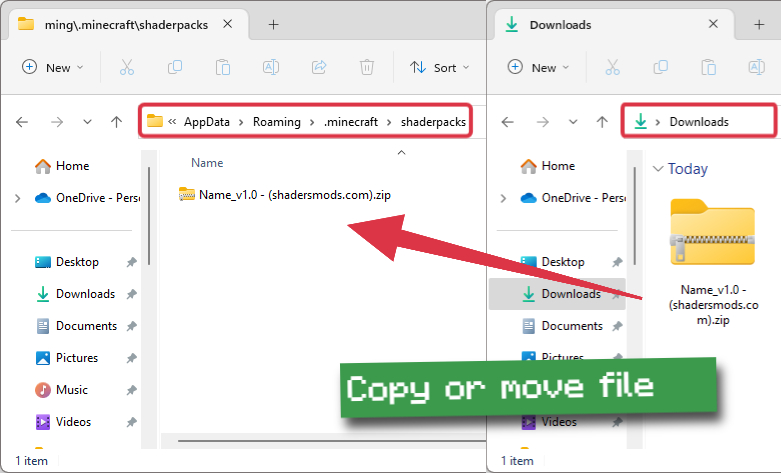
Copy or move the shaders zip file into the shaderpacks folder.

Select Werrus Shaders
Choose installed shader pack from the list of available shaders in the options menu and click the "Apply" or "Done" button to select it.
Tip
When the shader pack is selected, its name will be changed to yellow.
GLSL Installation Guide
Warning
How to install Werrus Shaders with GLSL Shaders Mod?
Install Forge
Download the latest version of Forge that is compatible with your Minecraft version.
Download Minecraft ForgeLaunch Minecraft
Start the Minecraft launcher and select the version of Minecraft you want to install Forge on. Run the game once by clicking on the "Play" button to create the necessary files for Forge.

Install Forge Client
Double-click on the Forge installer jar file and choose "Install Client" in the window that appears.

Install GLSL Shaders Mod
Download the GLSL jar file after Forge is installed. Move the GLSL jar file to the mods folder in the .minecraft directory.
Download GLSL Shaders
Launch Forge Profile
Launch Minecraft using the "Forge" profile, and GLSL Shaders will be automatically loaded along with Forge.

In-game Shaders menu
Go to Options > Shaders to access the shaders menu.

Open shaderpacks folder
Click on the "Open shaderpacks folder" button to open the folder where shaders are stored.

Install Werrus Shaders
Copy or move the downloaded shaders zip file into the shaderpacks folder.

Select Werrus Shaders
Choose Werrus shader pack from the list of available shaders in the options menu.

📥 Werrus Shaders — Download
Something You Should Know
- Our links are only from the official developer, so you can be sure they are secure.
- No modifications or edits are made to the files.
Beta:
HFPS:
High FPS versions
🔄 Update Logs
V5.0.1
- Fixed dark lighting when entering caves
- New water
- And some little changes
v5.0
- Improved lighting
- Optimization on some effect for better FPS
- Colored font
- Removed useless code
- Removed night galaxy
- And many more.
v4.6
- Readded bloom
- Changed lens flare
- Improved rain lens
- Improved raindrops
- Improved water
- Improved god rays
- Improved shadow
- And many more.
v4.5
- Added POM
- Added specular mapping
- Added motion blur
- Added WIP variable shadow penumbra
- Added DoF
- Added moving hand
- Added shaking camera
- Added new clouds
- Added new sky
- Added light jitters
- Improved water wave
- Improved water caustic
- Improved fake refract
- Fixed composite1 error with Nvidia
- And many more.






Comments (20)
Can you post a non-media fire download? it wont let me download it, mediafire just keeps spamming me with ads instead of letting me download.
For some reason my fences wave and the only way to turn it off is to disable grass movement, could this be fixed or is it inevitable?
YOUR COMPUTER CRASHED BU*LSH*T
Hmmmmm….. Whenever I start up the shaderpack, the game runs fine. BUT! THE ENTIRE SCREEN IS PITCH BLACK AND I CAN’T SEE ANYTHING.
Where do i download the shader pack?
We have the same problem…
Question: My computer is not the greatest, will this be a good shader to use that wont cause much lag on a low end PC? All the other ones I try lag like crazy, any help would be appreciate, as I feel like Im missing out on the entire PC experience missing just shaders :)
Butter
this is realy awsome
is realy cool
Cool