
Continuum Shaders 1.20, 1.19.4 → 1.18.2
| Developer | 👤dotModded |
|---|---|
| Style | 🌅Realistic |
| Support GPUs | |
| Loaders | |
| Performance Impact | Medium |
| Settings | 117 |
| Presets | 🛠️ Minimum+5 |
| Features | Normal Map+46 |
| Created | Sep 1, 2016 |
| Updated | Jul 10, 2022 |
| Stats |
|
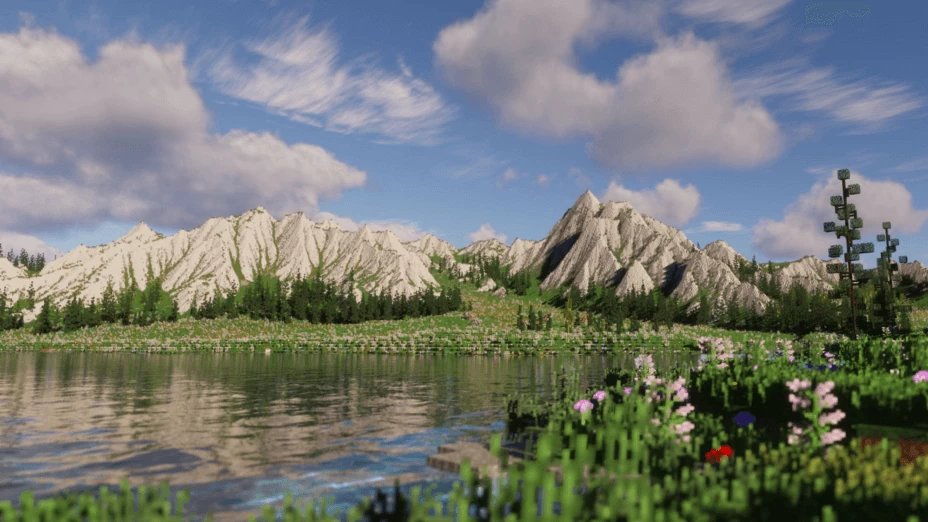
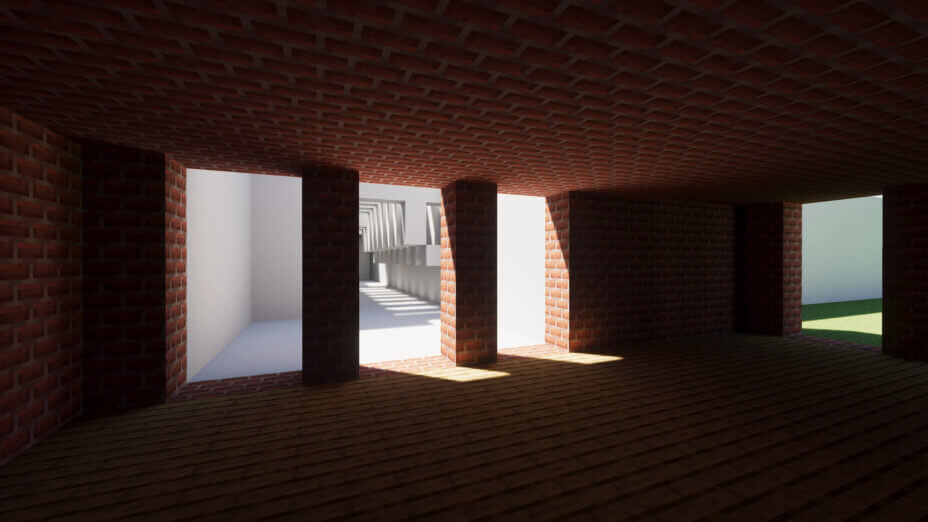
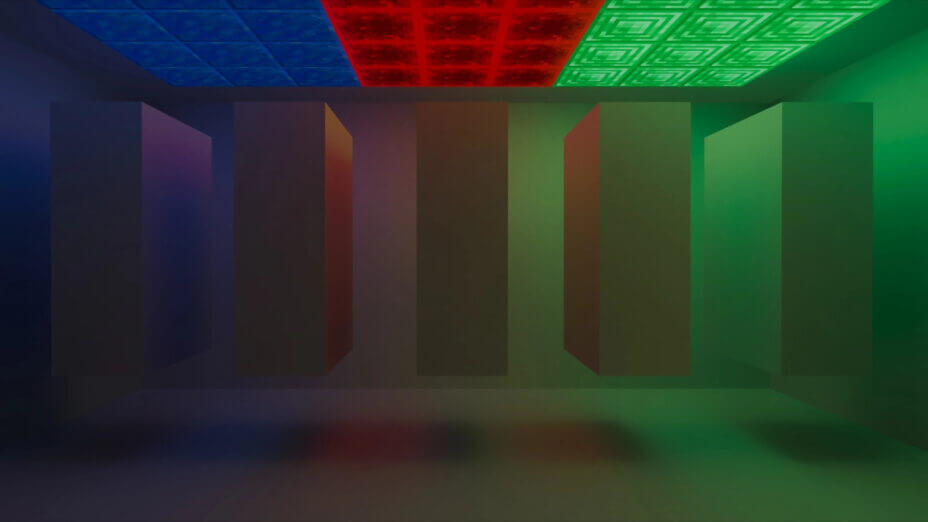
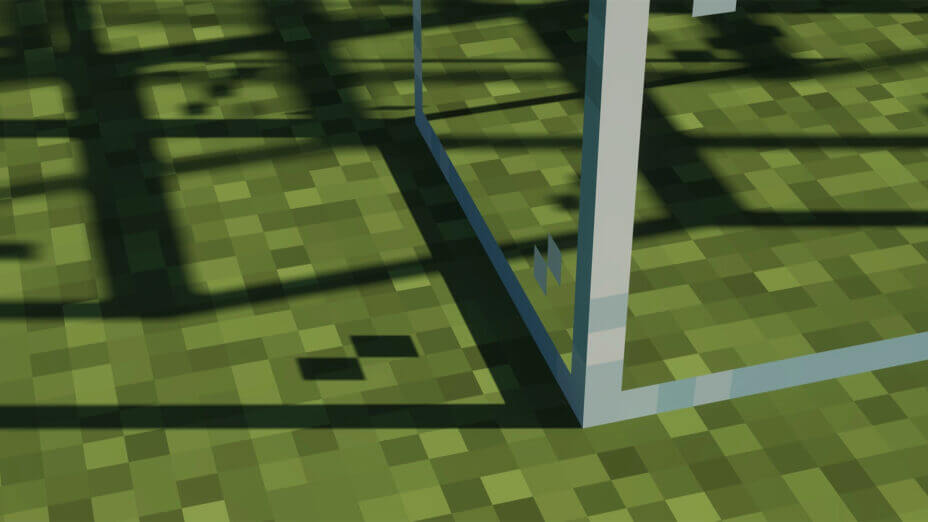
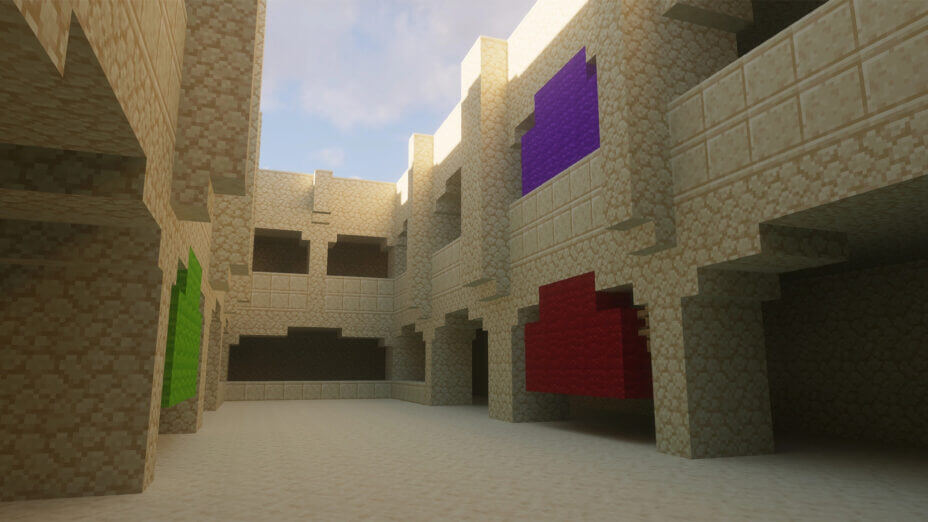
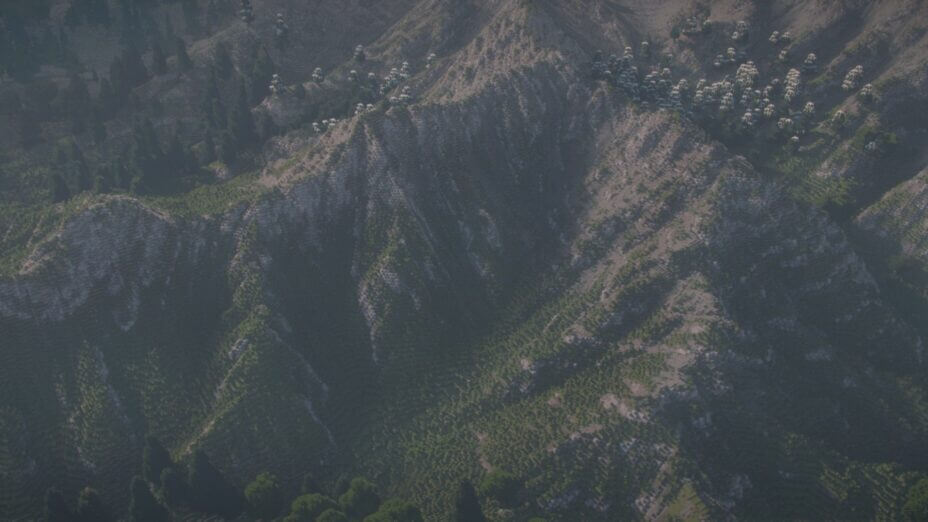
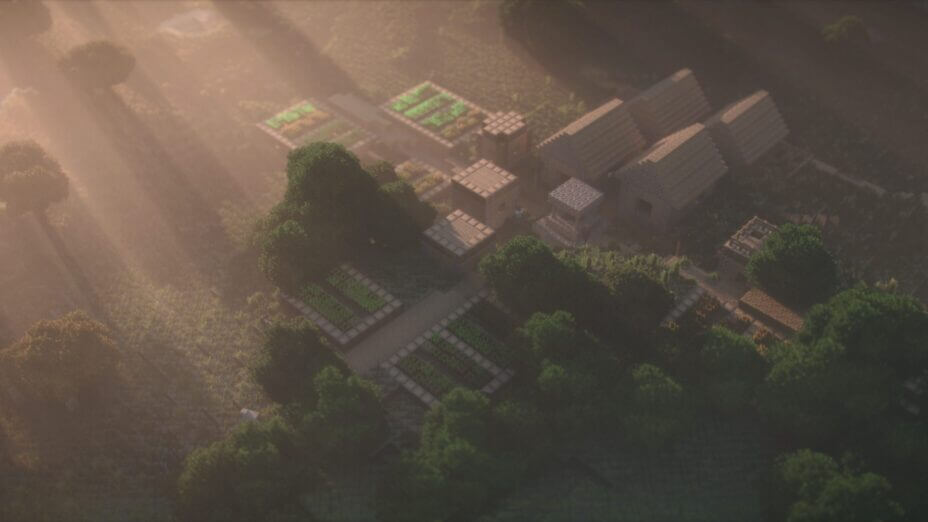
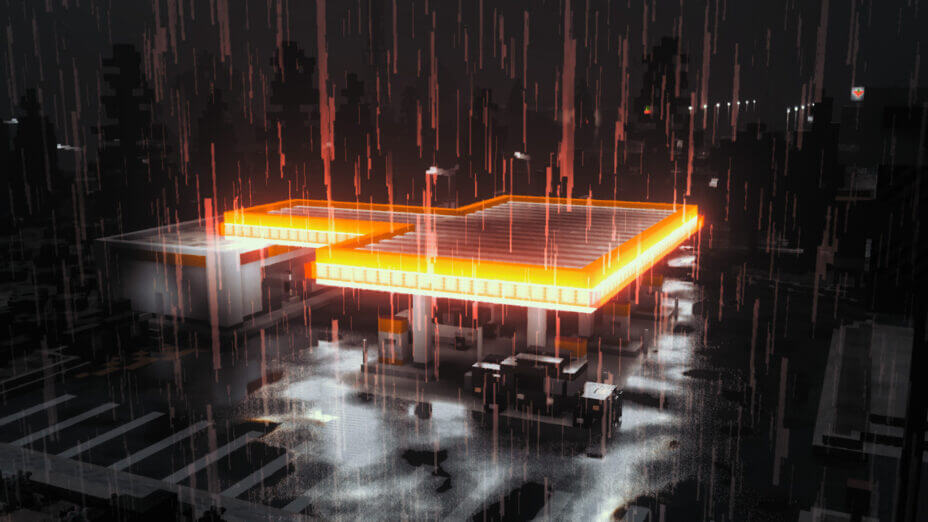
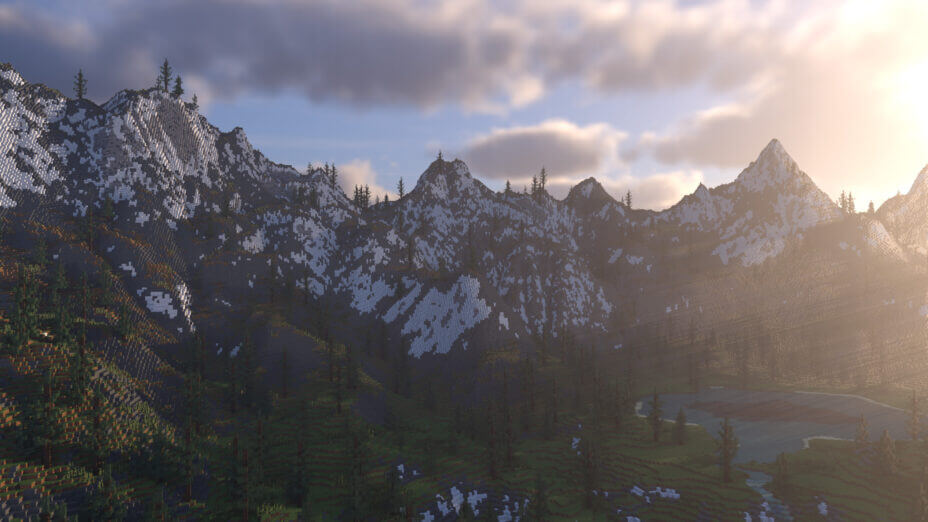
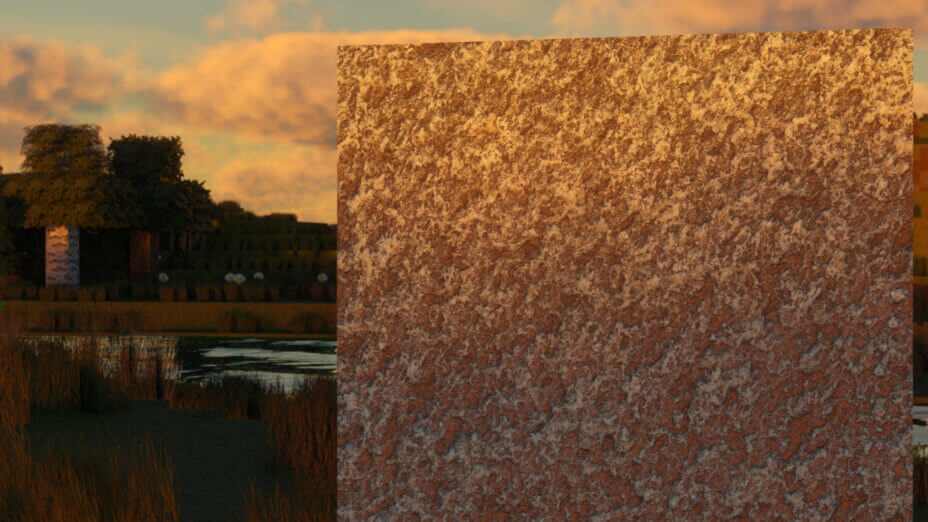
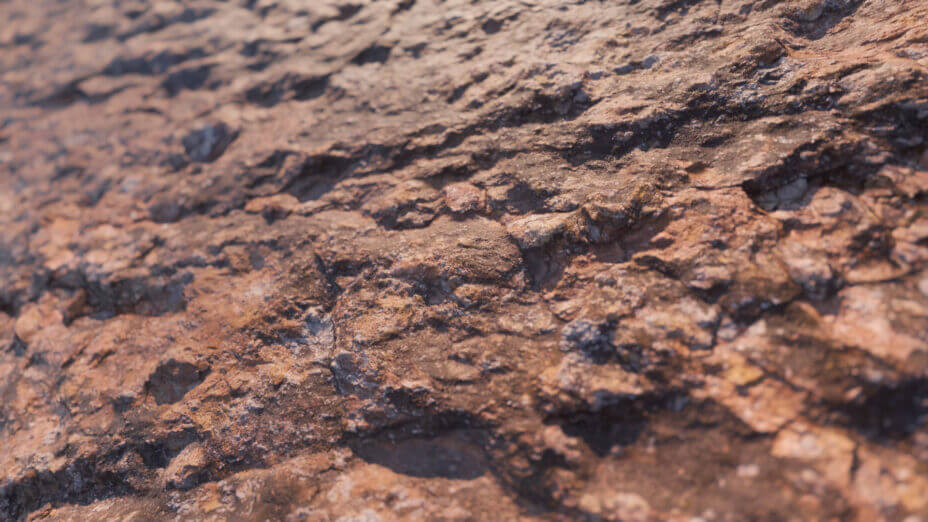
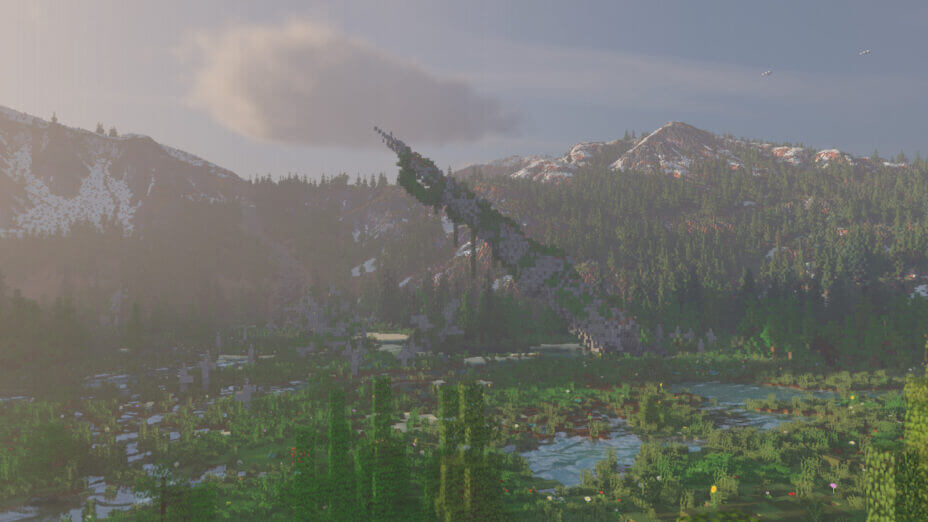
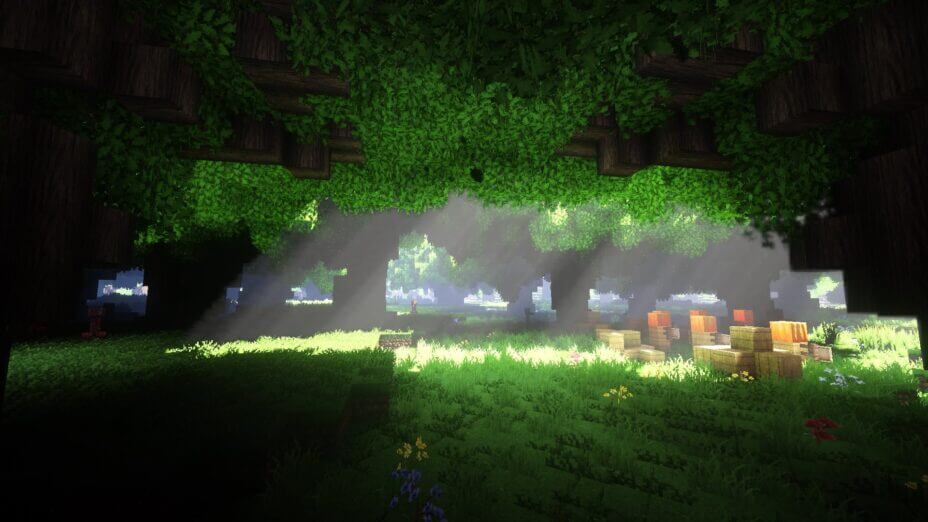
The Continuum Shaders is undoubtedly regarded as an important component of the game itself as one of the greatest shaders ever made available for the most recent versions of Minecraft.
Let’s face it, the gameplay experience won’t be as pleasant without shaders loaded in your Minecraft world and might even be less rewarding and very dull, as the gameplay aesthetics and graphics are substantially enhanced with the use of these shaders. And this is one of the key factors contributing to shaders’ unique status among Minecraft players.
The Continuum Shaders mod is the way to go if you need a shader that is dependable and can suit your needs because it is one of the greatest shader packs currently on the market and is highly well-liked by the Minecraft community.
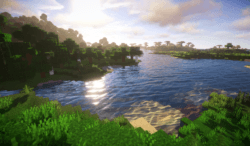
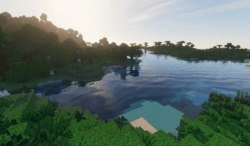
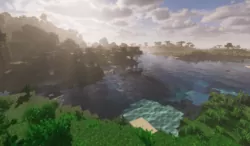
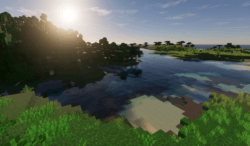
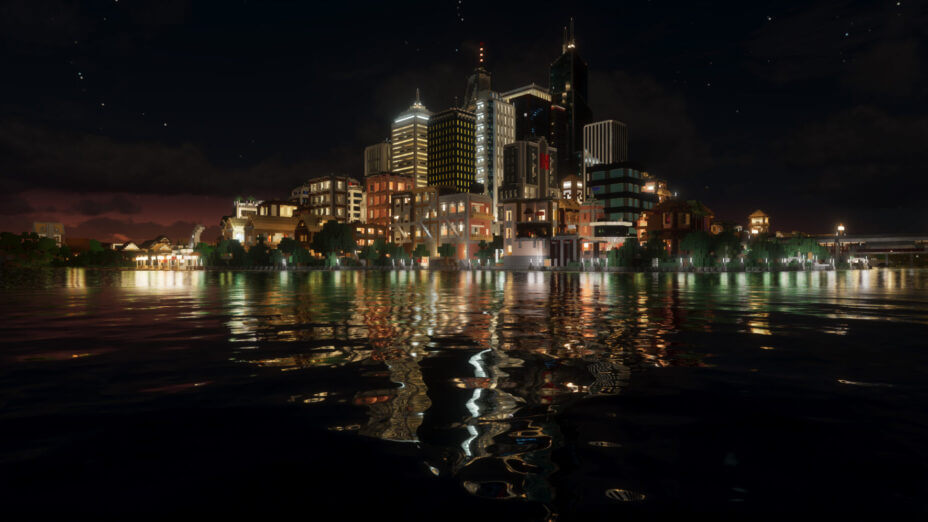
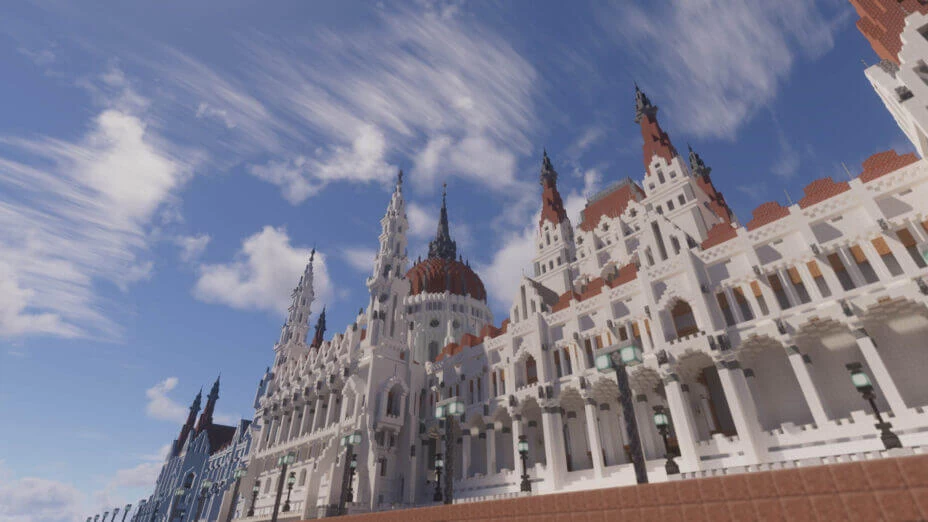
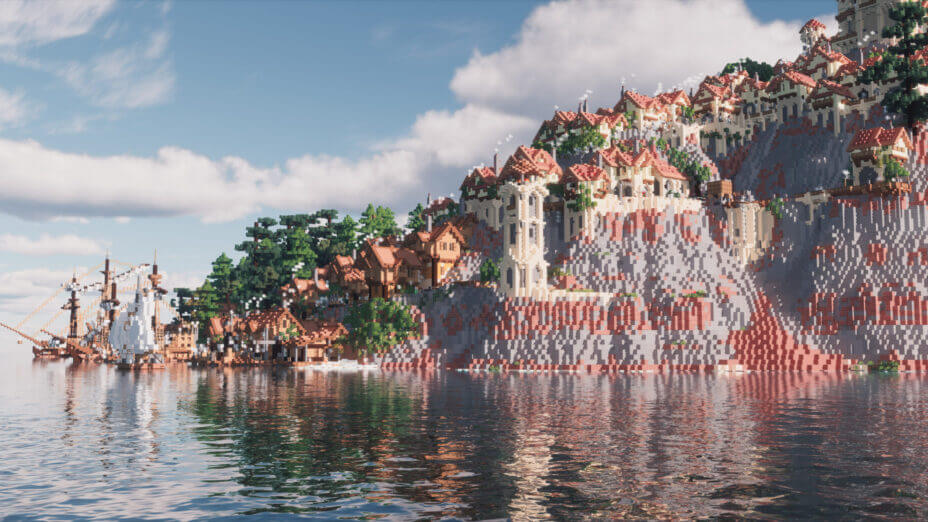
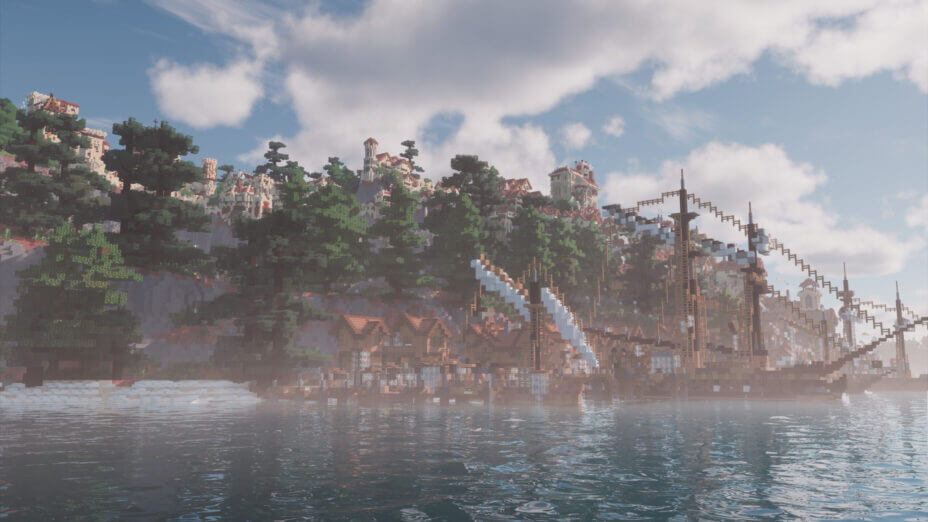
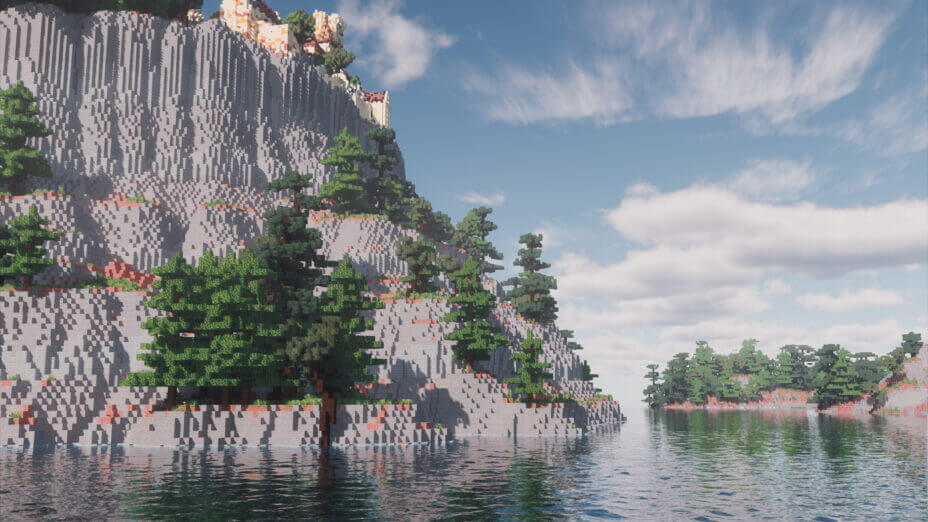
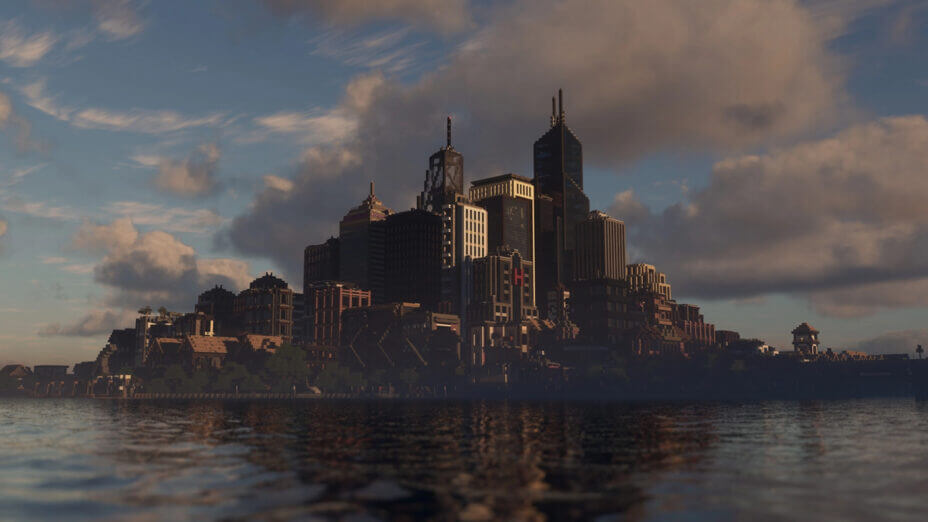
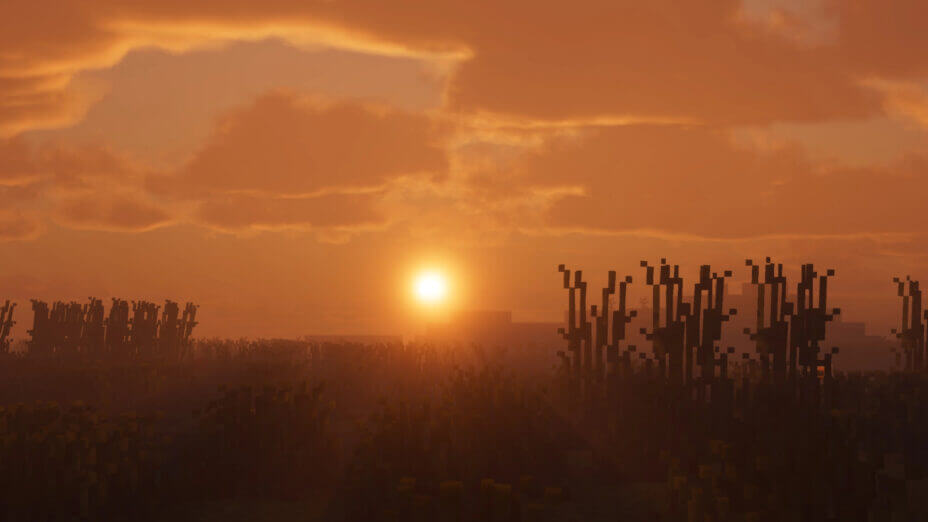
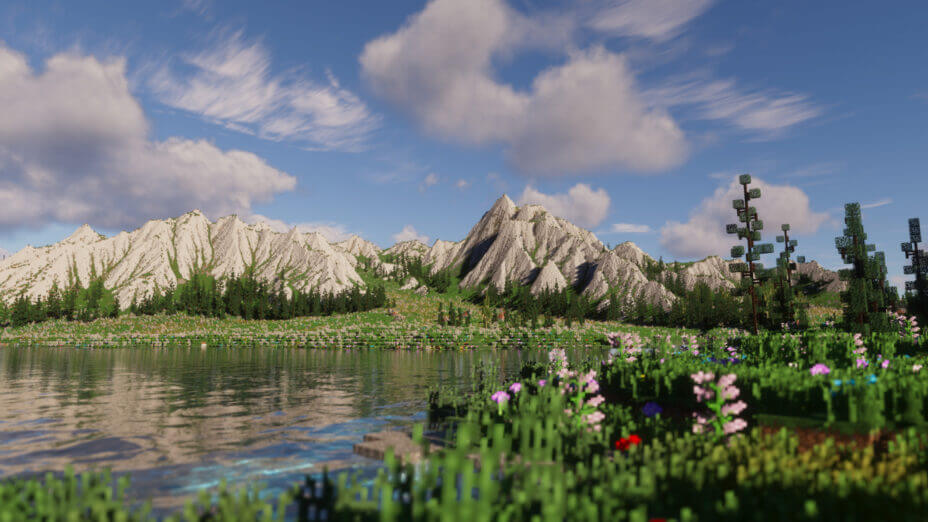
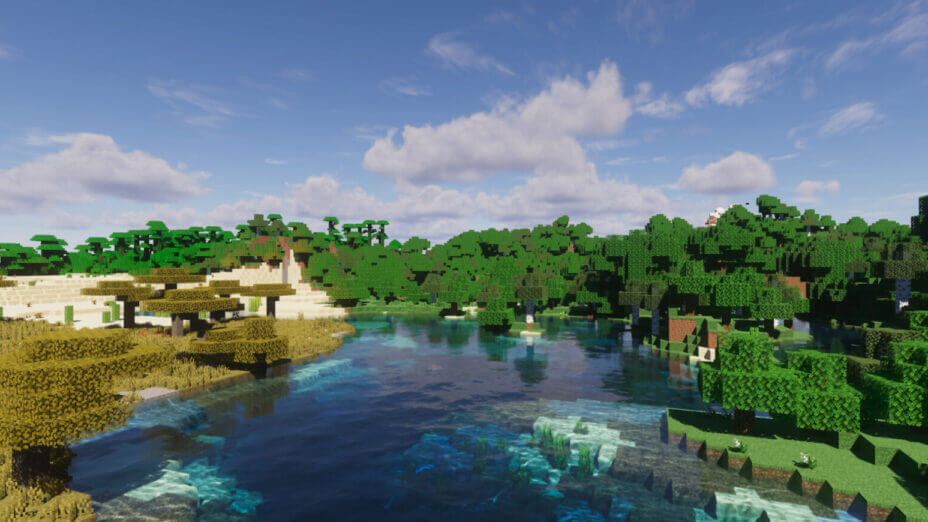
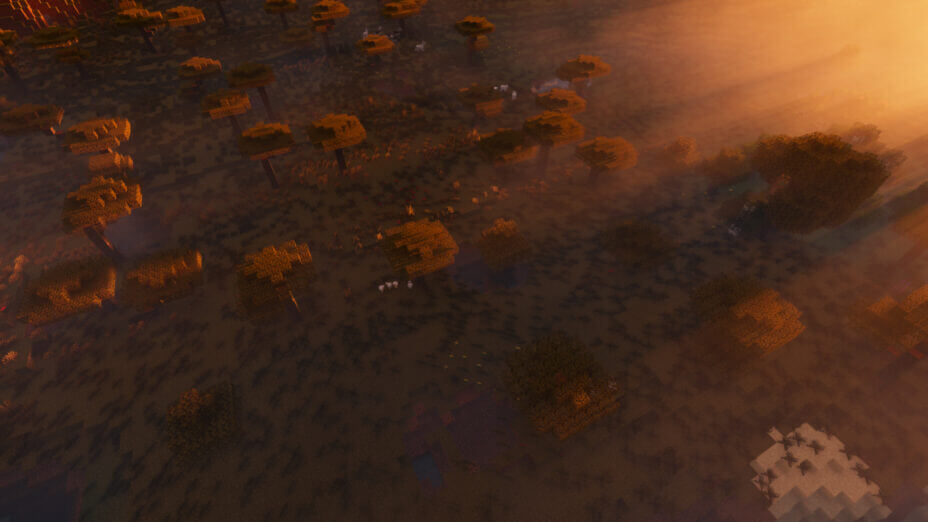
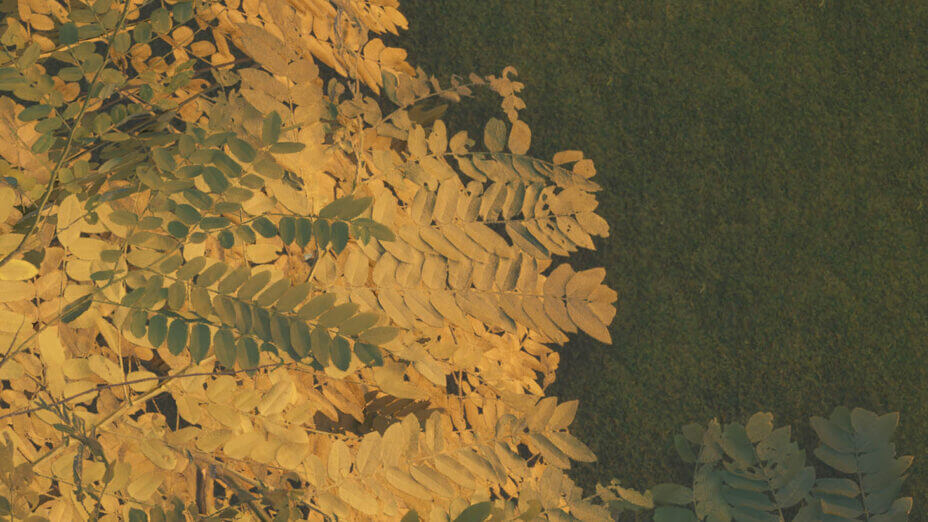
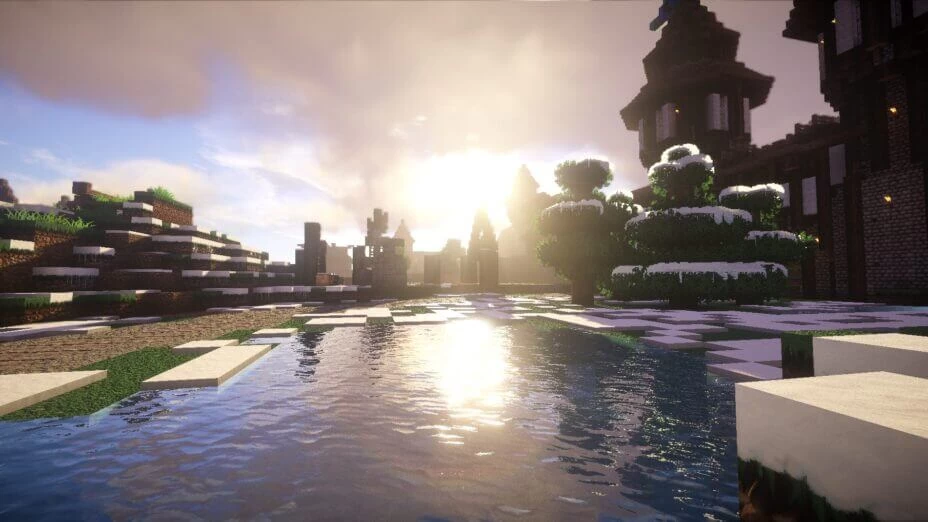
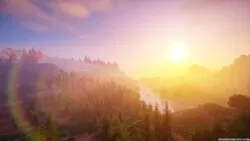
Your Minecraft world will have even more natural color and lighting effects with the usage of shader packs like the Continuum Shaders, making the surroundings much more attractive and realistic. Although the Continuum Shaders mod differs from other shaders in that it does not overtax your computer’s GPU, better framerates are still achieved as a result.
The Continuum Shaders is the way to go if you need a shader that is dependable and can suit your needs because it is one of the greatest shader packs currently on the market and is highly well-liked by the Minecraft community.
Your Minecraft world will have even more natural color and lighting effects with the usage of shader packs like the Continuum Shaders mod, making the surroundings much more attractive and realistic. Although the Continuum Shaders mod differs from other shaders in that it does not overtax your computer’s GPU, better framerates are still achieved as a result.
- 1.20
- 1.19.4
- 1.19.3
- 1.19.2
- 1.19.1
- 1.19
- 1.18.2
- 1.18.1
- 1.18
- 1.17.1
- 1.17
- 1.16.5
- 1.16.4
- 1.16.3
- 1.16.2
- 1.16.1
- 1.16
- 1.15.2
- 1.15.1
- 1.15
- 1.14.4
- 1.14.3
- 1.14.2
- 1.14.1
- 1.14
- 1.13.2
- 1.13.1
- 1.13
- 1.12.2
- 1.12.1
- 1.12
- 1.11.2
- 1.11.1
- 1.11
- 1.10.2
- 1.10.1
- 1.10
- 1.9.4
- 1.9.3
- 1.9.2
- 1.9.1
- 1.9
- 1.8.9
- 1.8.8
- 1.8.7
- 1.8.6
- 1.8.5
- 1.8.4
- 1.8.3
- 1.8.2
- 1.8.1
- 1.8
- 1.7.10
- 1.7.9
- 1.7.8
- 1.7.7
- 1.7.6
- 1.7.5
- 1.7.4
- 1.7.2
- 1.7
- 1.6.4
- 1.6.2
Continuum Shaders — Versions
Continuum RT — Screenshots
Continuum 2.1 — Screenshots
Continuum 2.0 — Screenshots
Continuum 1.3 — Screenshots
Features
Over 46 new features are available in Continuum Shaders to enhance your gaming experience.
📊 Performance Impacts
Decrease in performance can vary from device to device, driver version, and many other factors, you should test yourself on your machine for the best result.
- None
- No performance decreases
- Small
- ~5%
- Medium
- ~10%
- High
- ~25%
- Extreme
- +50%
-
- Ambient OcclusionMedium
- Simulating how light interacts with objects and surfaces.
-
- Atmospheric SkySmall
- Simulates realistic atmospheric scattering.
-
- BloomSmall
- Enhance the game's lighting and create a more realistic and immersive visual experience
-
- BlurSmall
- Simulate how fast-moving objects appear to blur in a photograph or video.
-
- CausticHigh
- Simulating the way light is refracted and reflected by the water's surface
-
- CinematicExtreme
- Create more cinematic and visually-stunning scenes in the game.
-
- CustomizationNone
- Customize various aspects of the game's visual effects.
-
- DarkNone
- Enjoy exploring dark and mysterious environments, such as caves or ruins.
-
- Depth of FieldMedium
- Making objects closer to the camera appear sharp and in focus, while objects farther away appear out of focus and blurry.
-
- Dirty LensSmall
- Simulates the effect of a dirty or scratched camera lens.
-
- Lens FlareSmall
- Simulating the way light scatters and reflects inside a camera lens.
-
- LightMedium
- Enhance the game's overall visual quality.
-
- Motion BlurHigh
- Simulates the way that fast-moving objects appear to blur in the real world.
-
- Moving CloudsMedium
- Simulates the movement of clouds across the sky and can be used to create the appearance of a dynamic and ever-changing sky
-
- Normal MapSmall
- Add depth and detail to surfaces without increasing the number of polygons.
-
- Ocean WavesHigh
- Simulating the movement of waves on the surface of the ocean.
-
- Parallax WaterMedium
- Enhances the realism of water by simulating the parallax effect.
-
- PBRHigh
- Enhances the realism of textures and materials by simulating the way light interacts with surfaces in a more physically accurate way.
-
- Photorealistic SkyboxesMedium
- Replacing the in-game sky with high-resolution, realistic images of the sky.
-
- POMHigh
- Realism of textures by simulating the way light interacts with surfaces.
-
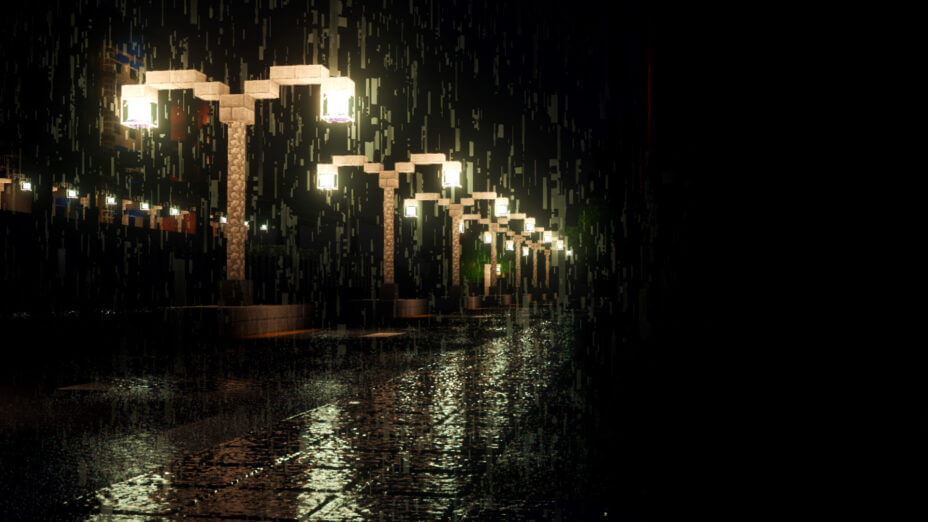
- Rain ReflectionsMedium
- Reflections during rainy weather by simulating the way light reflects off of wet surfaces.
-
- Ray-Traced ReflectionsExtreme
- Simulating how light behaves in the real world.
-
- Realistic NightskyMedium
- More realistic and immersive night sky.
-
- Realistic RainMedium
- More natural and immersive rain experience.
-
- Realistic SkyMedium
- More realistic and immersive sky experience.
-
- Realistic WaterHigh
- More realistic and immersive water experience.
-
- ShadowsSmall
- Simulate how light is blocked and scattered by objects in the environment.
-
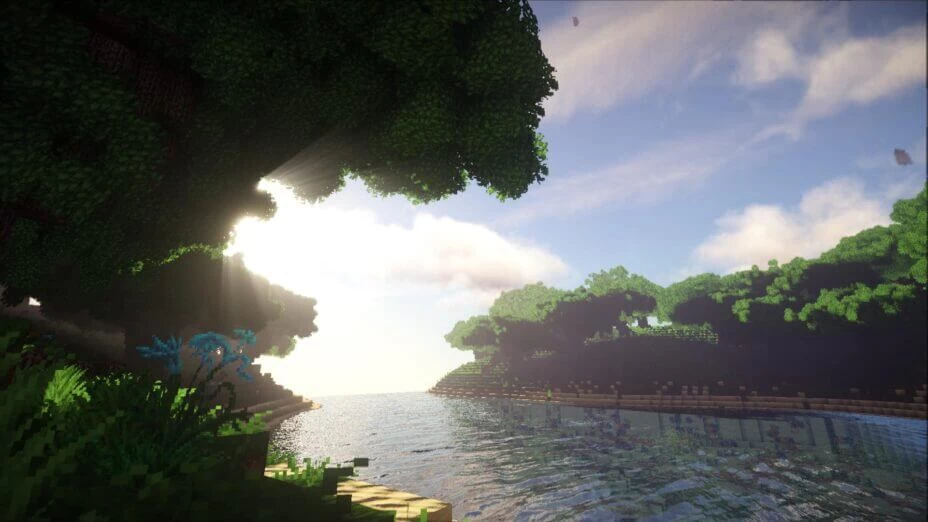
- Sun RaysMedium
- Simulate the appearance of sunlight streaming through trees leaves, objects, clouds, or other atmospheric conditions.
-
- SunriseSmall
- More realistic and immersive sunrise experience.
-
- SunsetSmall
- More realistic and immersive sunset experience.
-
- TAAMedium
- Smooth out jagged edges and reduce the "stair-stepping" effect that can occur when rendering graphics.
-
- Tone MappingSmall
- Adjusting the brightness, contrast, and saturation levels.
-
- Underwater ReflectionsMedium
- Simulate the appearance of light reflecting off of the water's surface.
-
- VignetteNone
- Darkening effect around the edges of the screen
-
- Volumetric CloudsHigh
- Simulate the way that clouds appear to have volume and depth in the real world rather than just flat textures.
-
- Volumetric FogHigh
- Create the appearance of fog that is lit from within, casting shadows and creating a sense of depth.
-
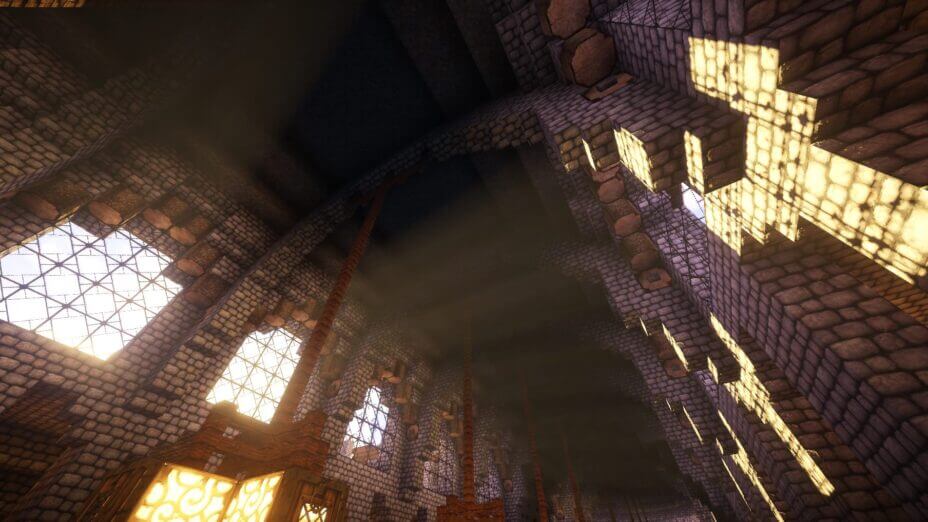
- Volumetric LightHigh
- Simulating the scattering of light in the atmosphere and in the environment.
-
- Volumetric NetherHigh
-
- Volumetric The EndHigh
-
- Water ReflectionsMedium
- Simulating reflections on the surface of the water.
-
- Water WavesMedium
- Movement of waves on the surface of the water.
-
- Waving GrassSmall
- Simulating the way it moves and sways in the wind.
-
- Waving LavaSmall
-
- Waving PlantsSmall
- Simulating the way they move and sway in the wind.
-
- Waving TreesSmall
- Adds movement to the leaves and branches of trees, making them look more alive and realistic.
-
- Wet EffectSmall
There are 6 profiles pre-built into Continuum Shaders to adjust the level of intensity of these effects.
| Profiles | Minimum | Low | Medium | High | Ultra | Cinematic |
|---|---|---|---|---|---|---|
Aerial Volumetric Light | ||||||
Ambient Quality | ||||||
Cheap AO | ||||||
Bloom Quality | ||||||
2D Clouds | ||||||
Depth Of Field | ||||||
DoF Quality | ||||||
Quality | ||||||
Lens Flare | ||||||
Rain Puddles | ||||||
Raytrace Quality | ||||||
Raytrace Accuracy | ||||||
Reflect 2D Clouds | ||||||
Reflect 3D Clouds | ||||||
Reflected Clouds Quality | ||||||
Reflected Clouds Lighting Quality | ||||||
Refraction | ||||||
Shadow Quality | ||||||
Shadow Type | ||||||
Shadow Map Resolution | ||||||
Specular Quality | ||||||
Parallax | ||||||
Filmic Tonemap | ||||||
Cloud Shadow | ||||||
Colored Shadows | ||||||
Volumetric Light Quality | ||||||
Volumetric Clouds | ||||||
Direct Quality | ||||||
Volumetric Cloud Quality | ||||||
Cloud Shadows | ||||||
Cloud Shadows Quality | ||||||
Volumetric Light | ||||||
Water Parallax | ||||||
Indirect Quality |
Continuum Shaders allow you to change more than 117 settings to suit your needs.
| Settings | Description | Options |
|---|---|---|
| Profile | Cinematic is a complete meme, only use it if you want a good time! | |
| Camera SettingsOptions for the camera, DoF, and tonemap. | ||
| Camera Mode | Operating mode of the camera. 'Auto' is best for gameplay, where the camera will adjust itself. 'Manual' is best for screenshots and cinematics, where precise control over the camera is necessary. |
|
| Camera Focus Mode | Focus mode of the camera. 'Auto' focuses on whatever the player is looking at. 'Manual' allows the player to set the distance the camera tries to focus at in meters. |
|
| Focal Length | Primary focal point distance in millimeters. Effects lens flare and DOF in manual mode. |
|
| Camera Focal Point | Distance the camera tries to focus at when the camera is set to manual focus mode. |
|
| Aperture | Size of the aperture, in f-stops. |
|
| Shutter Speed | Exposure time of each frame. |
|
| ISO | Sensitivity of the sensor to light. |
|
| EV Offset | Exposure Adjustment. |
|
| Lens SettingsDoF and Lens Flare Settings. Configure the bokeh shape. | ||
| Depth Of Field | Focus of the camera. |
|
| DoF Quality | Quality Of The Blur. Low - 32. Medium - 64. High - 128. Ultra - 256. Cinematic - 1024. |
|
| Lens Flare |
| |
| Lens Flare Strength |
| |
| Bloom |
| |
| Bloom Quality |
| |
| Bloom Curve |
| |
| Bloom EC | Bloom EV offset. Adjusts bloom brightness. |
|
| Aperture Blade Count | The number of faces the lens has:. 3 |
|
| Blade Rounding | The amount of rounding or "Softening" around the edges of the aperture shape. 0 |
|
| Blade Rotation | Spins the bokeh around the center. |
|
| Lens Shift Amount |
| |
| Camera Bias | Changes the absorbtion of the lens. 0.0 |
|
| Amamorphic Distortion |
| |
| Post Processing SettingsConfigure options related to post processing. | ||
| Vibrance | Vibrance Modifier |
|
| Saturation | Saturation Modifier |
|
| Gain | Direct Brightness. |
|
| Lift | Shifts Blackpoint. |
|
| Contrast | Contrast Modifier |
|
| Gamma |
| |
| White Balance |
| |
| Tint |
| |
| L.U.T |
| |
| TAA OptionsOptions for Temporal Anti-Aliasing | ||
| TAA |
| |
| TAA Agression |
| |
| TAA Sharpen |
| |
| TAA Sharpness |
| |
| Filmic Tonemap |
| |
| Filmic ModifiersOptions for the Filmic Tonemap Operator. | ||
| Toe |
| |
| Slope |
| |
| Shoulder |
| |
| Black Clip |
| |
| White Clip |
| |
| Glow Modifier |
| |
| Glow Midpoint |
| |
| Gamut Expansion |
| |
| Lighting SettingsSettings for General Lighting | ||
| Sun Luminance |
| |
| Moon Luminance |
| |
| Sun Temperature |
| |
| Moon Temperature |
| |
| Torch Luminance |
| |
| Torch Temperature |
| |
| Shadow SettingsShadow Settings | ||
| Shadow Type |
| |
| Shadow Quality | Quality Of The Shadow Blur. Minimum - 2. Low - 3. Medium - 9. High - 18. Ultra - 25. Cinematic - 81. |
|
| Shadow Map Resolution |
| |
| Distortion Factor |
| |
| Penumbra Angle |
| |
| Water Caustics |
| |
| Ambient Light SettingsAO Settings | ||
| Ambient Quality | AO Quality. |
|
| Cheap AO | Turns off far field AO |
|
| Specular SettingsSpecular/Reflection Settings | ||
| Specular Quality | Specular Rays Per Pixel. |
|
| Raytrace Quality | Marches Per Ray. |
|
| Raytrace Accuracy | Refines Per Ray. |
|
| Reflect 2D Clouds |
| |
| Reflect 3D Clouds |
| |
| Specular Clamp |
| |
| Specular Clamp Bias |
| |
| Rain Puddles |
| |
| Reflected Clouds Quality |
| |
| Reflected Clouds Lighting Quality |
| |
| Global Illumination SettingsSettings for Global Illumination | ||
| Global Illumination |
| |
| Quality |
| |
| Radius |
| |
| Material SettingsMaterial Settings. | ||
| Specular Map Format | Use 'Lab PBR' with newer textures that use the shaderLABs PBR format. Use 'Old PBR' with older textures that use the old PBR format. Use 'Continuum PBR' with textures that use the old Continuum PBR format. |
|
| Refraction |
| |
| Parallax |
| |
| Water Parallax |
| |
| Parallax Depth |
| |
| Water Parallax Depth |
| |
| Parallax Quality |
| |
| Cloud SettingsSettings for 2D and volumetric clouds | ||
| Volumetric Clouds |
| |
| 2D Clouds |
| |
| Volumetric Cloud Quality |
| |
| 2D Cloud Density |
| |
| 2D Cloud Coverage |
| |
| Volumetric Cloud SettingsSettings for volumetric clouds | ||
| Altitude |
| |
| Speed |
| |
| Direct Quality |
| |
| Indirect Quality |
| |
| Density |
| |
| Coverage |
| |
| Cloud Shadows |
| |
| HQ Cloud FBM |
| |
| Cloud Shadows Quality |
| |
| Volumetric Light SettingsVolumetric Light | ||
| Volumetric Light |
| |
| Aerial Volumetric Light |
| |
| Volumetric Light Quality |
| |
| Colored Shadows |
| |
| Cloud Shadow |
| |
| Self Shadowing |
| |
| Morning fog falloff |
| |
| Morning fog density |
| |
| Internal SettingsDevelopment Options! | ||
| Speed Multiplier |
| |
| White world |
| |
| Misc SettingsUnassigned Settings | ||
| Contrast Midpoint |
| |
| NoiseTextureInclude |
| |
| sky_mieMultiplier |
| |
| sky_ozoneMultiplier |
| |
| Parallax Quality | Maximum Marches. |
|
| UNDERGROUND_LIGHT_LEAK_FIX |
| |
| USE_YCOCG |
| |
| VOLUMETRIC_CLOUDS_ATTACK |
| |
| VOLUMETRIC_CLOUDS_FALLOFF |
| |
| VOLUMETRIC_CLOUDS_HEIGHT |
| |
| WAVING_GRASS |
| |
| WAVING_LEAVES |
| |
| Debug |
| |
| Debug View |
|
How To Install Continuum Shaders
- Support Forge / Vanilla
- Extra features
- Good performance
- Support Forge / Fabric
- Feature greatly expanded
- RT Hardware Acceleration on RTX GPU’s
- No modding required Support Forge
- No modding required Older versions of Minecraft are supported
Optifine Installation Guide
Note
Your device must have Java installed to run the Forge and Optifine installers.
Quick Java Installation Guide
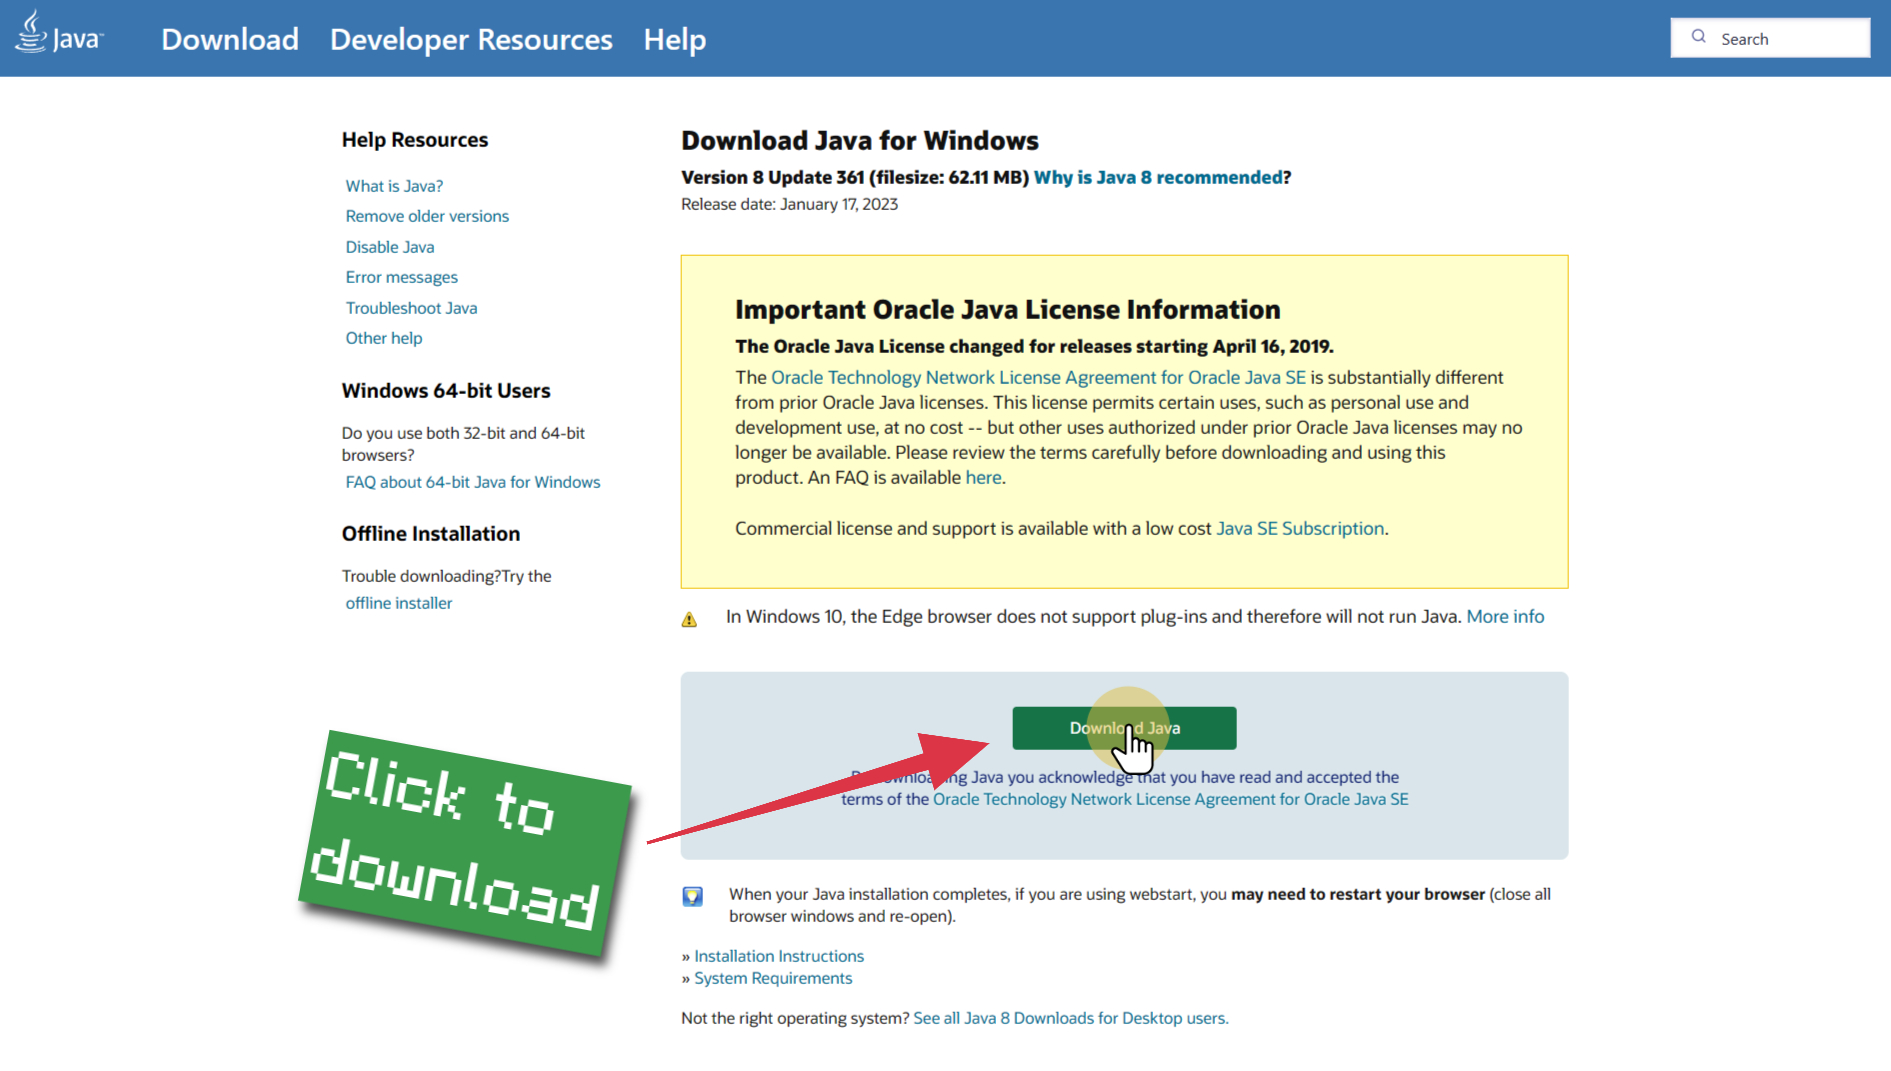
Download Java
Download the Java installer from the official website here.

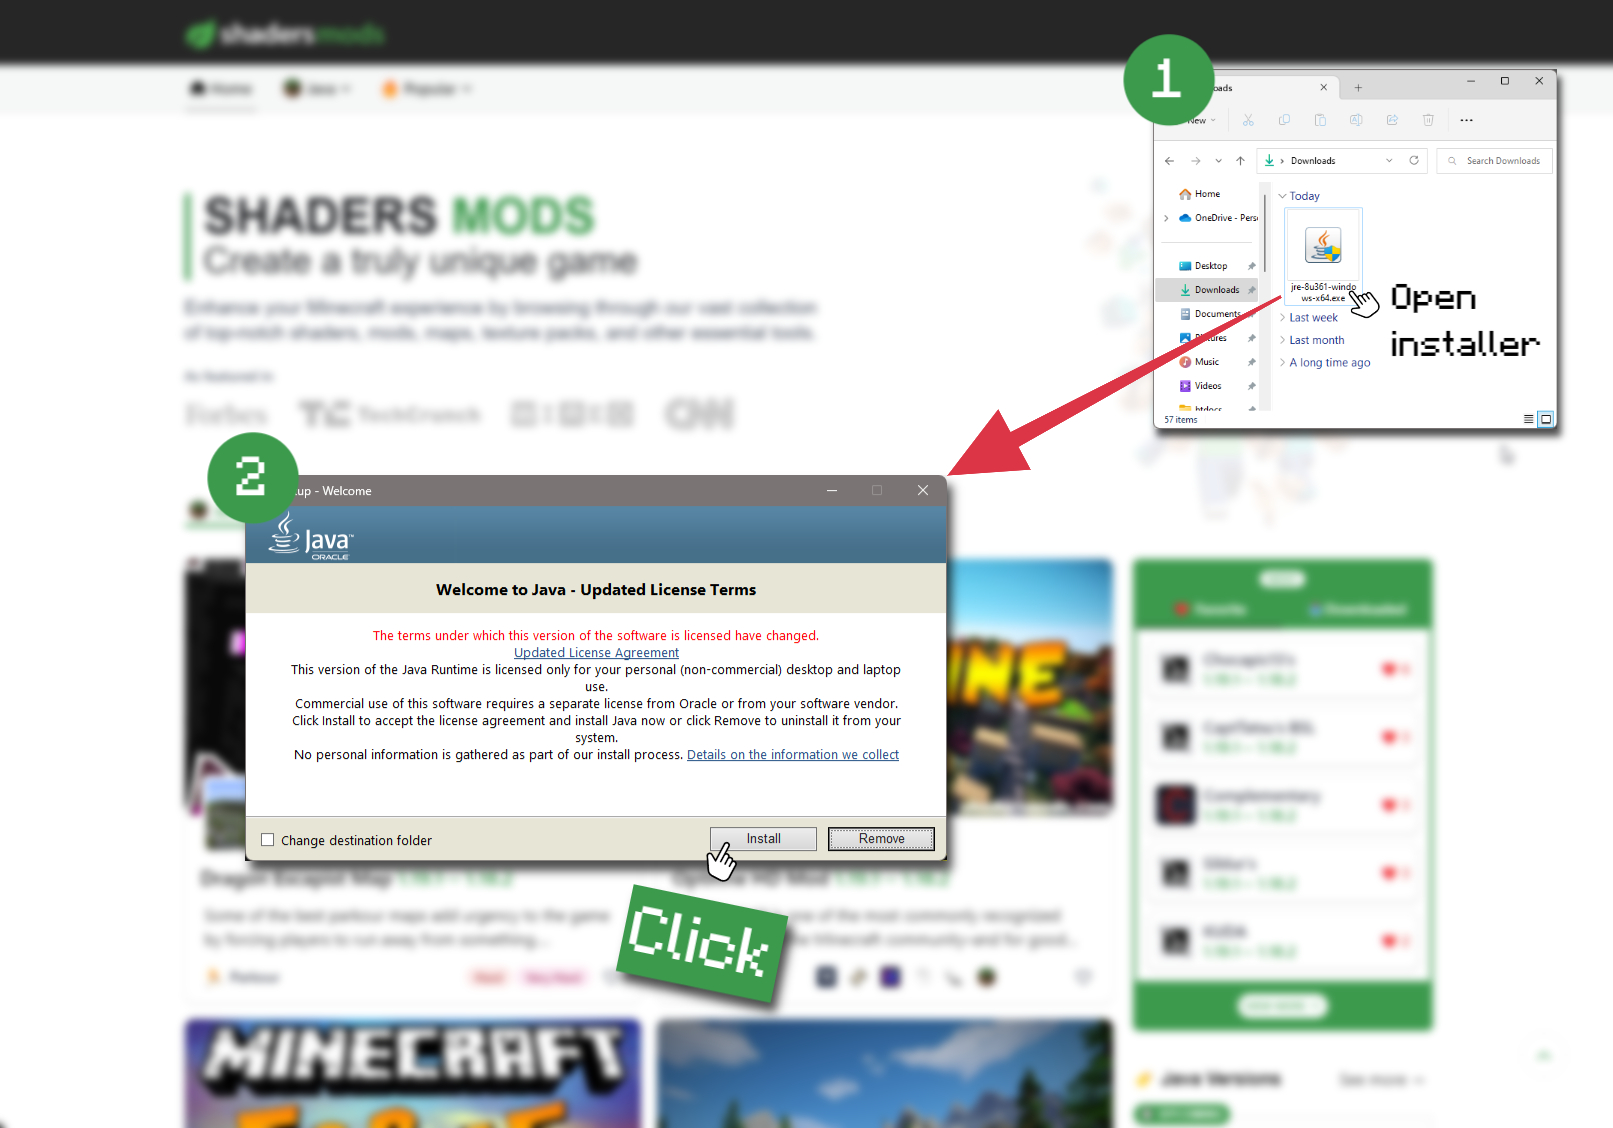
Open Installer
Once you have downloaded the file, run it and click the Install button.

How to install Continuum Shaders with Optifine?
Download Optifine
Get the latest version of Optifine for your Minecraft version.
Download OptifineInstall Optifine
Run the Optifine installer and follow the on-screen instructions to complete the installation.

Download Continuum Shaders
Go to the download section and get shaders zip file. Unzip the file if necessary, as some shader developers may bundle multiple shader versions in one zip file.
Launch Minecraft
Start the Minecraft launcher and make sure you have the Optifine profile selected.

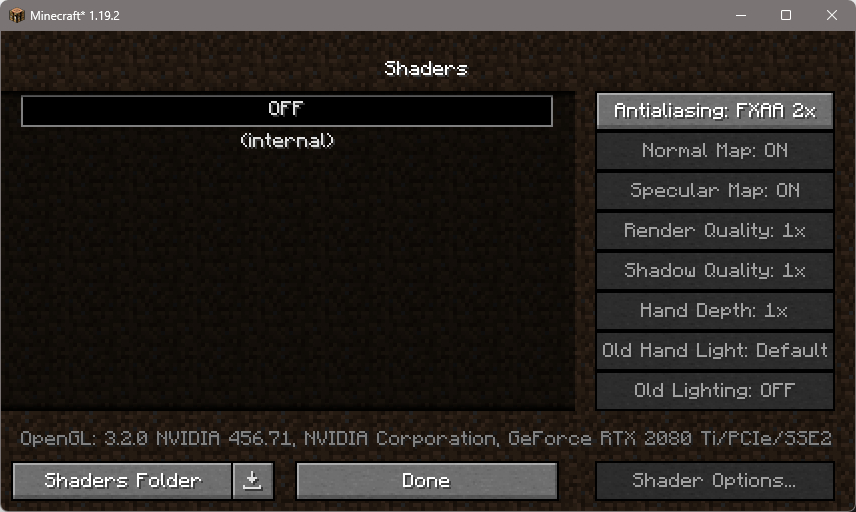
In-game Shaders menu
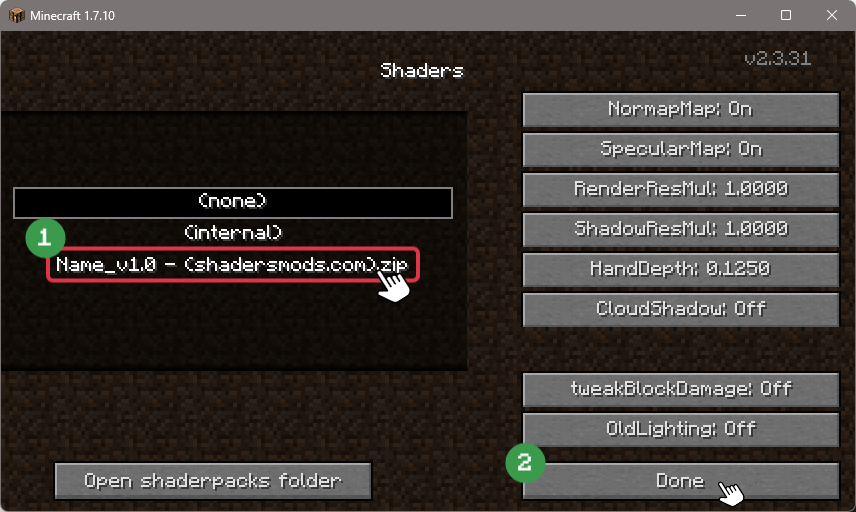
Go to Options > Video Settings > Shaders to access the shaders menu.

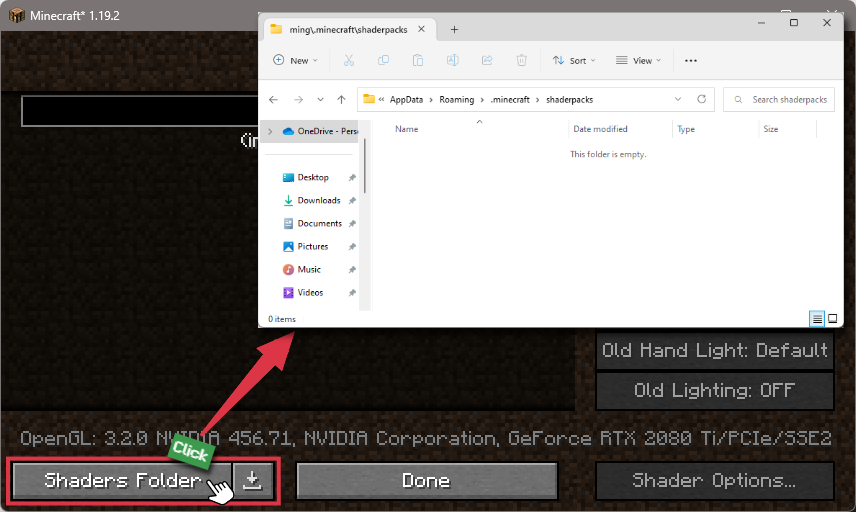
Open shaderpacks folder
Click on the "Shaders Folder" button to open the folder where shaders are stored, so you can add or remove shaders as desired.

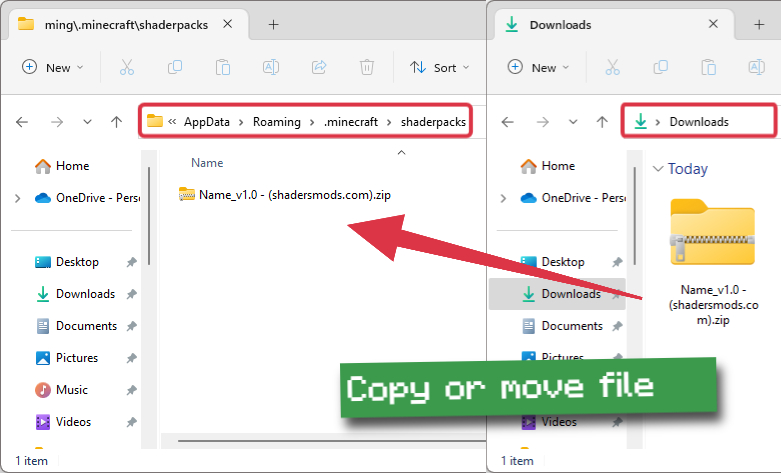
Install Continuum Shaders
Copy or move the downloaded Continuum shaders zip file into the shaderpacks folder.

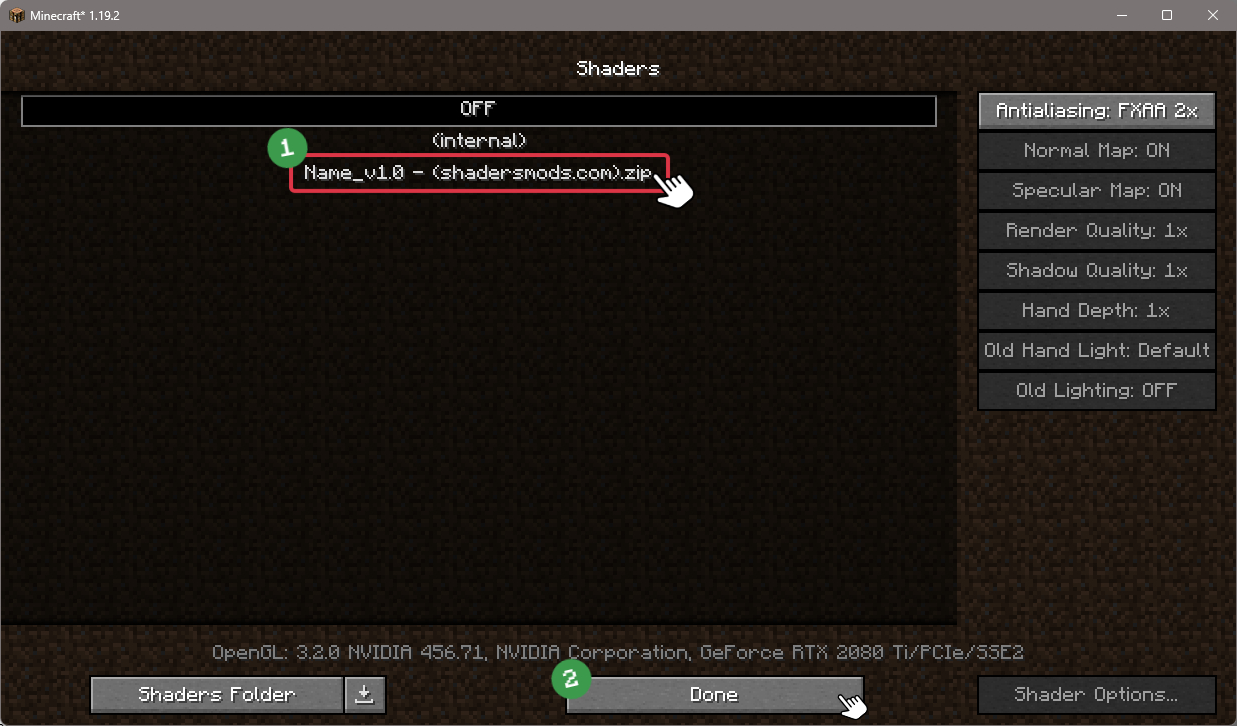
Select Continuum Shaders
Choose Continuum shader pack from the list of available shaders in the options menu.

How to install Continuum Shaders with Forge and Optifine?
Quick Installation Guide
Install Forge
Obtain the latest version of Forge that is compatible with your Minecraft version.
Download Minecraft ForgeLaunch Minecraft
Start the Minecraft launcher and select the version of Minecraft you want to install Forge on. Run the game once by clicking on the "Play" button to create necessary files for Forge.

Install Forge Client
Double-click on the Forge installer jar file and choose "Install Client" in the window that appears.

Install Optifine
Download the Optifine jar file after Forge is installed. Move the Optifine jar file to the mods folder in the .minecraft directory.
Download Optifine
Launch Forge Profile
Launch Minecraft using the "Forge" profile, Optifine will be automatically loaded along with Forge.

Install Chocapic13's Shaders
Now the installation is the same as from the above Optifine instructions, just follow the steps starting from step 5.
Focal Engine Installation Guide
GLSL Installation Guide
Warning
How to install Continuum Shaders with GLSL Shaders Mod?
Install Forge
Download the latest version of Forge that is compatible with your Minecraft version.
Download Minecraft ForgeLaunch Minecraft
Start the Minecraft launcher and select the version of Minecraft you want to install Forge on. Run the game once by clicking on the "Play" button to create the necessary files for Forge.

Install Forge Client
Double-click on the Forge installer jar file and choose "Install Client" in the window that appears.

Install GLSL Shaders Mod
Download the GLSL jar file after Forge is installed. Move the GLSL jar file to the mods folder in the .minecraft directory.
Download GLSL Shaders
Launch Forge Profile
Launch Minecraft using the "Forge" profile, and GLSL Shaders will be automatically loaded along with Forge.

In-game Shaders menu
Go to Options > Shaders to access the shaders menu.

Open shaderpacks folder
Click on the "Open shaderpacks folder" button to open the folder where shaders are stored.

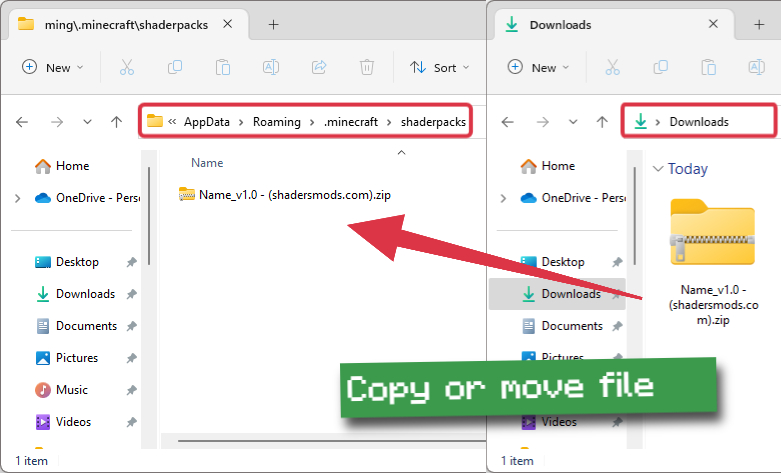
Install Continuum Shaders
Copy or move the downloaded shaders zip file into the shaderpacks folder.

Select Continuum Shaders
Choose Continuum shader pack from the list of available shaders in the options menu.

System Requirements
Continuum RT Alpha
Continuum RT is quite performance intensive and is also very early Alpha; as such, requirements are fairly high, performance may be highly variable, and there will be missing features and bugs.
Minimum:
- CPU: Nearly any Dual core CPU from intel/AMD made in the last 5-7 years
- GPU: Nvidia GeForce GTX 1060 6GB or equivalent / AMD RX 580* or equivalent
- RAM: 4GB
- OS: Windows 7, 64-bit or later (MacOS not supported at this time)
Recommended:
- CPU: Quad-core CPU from Intel/AMD from the last 4-5 years or better
- GPU: Nvidia GeForce GTX 1080 / RTX 2070 or AMD RX 5700* or better
- RAM: 8GB or more
- OS: Windows 10, 64-bit
Software Requirements:
- RT Builds 1-12 have software requirements, including MC 1.14.4, Optifine F5, 1x shadow quality setting (no lower or higher), and a relatively new graphics driver version.
- RT Builds 13 and higher require the latest version of our Focal Engine and all of its dependent mods, 1x shadow quality setting (no lower or higher), and a relatively new graphics driver version.
Continuum 2.1 Beta
2.1, in general, is more optimized than 2.0, but it includes more advanced effects (and generally more of them).
Minimum:
- CPU: Nearly any Dual core CPU from intel/AMD made in the last 5-7 years
- GPU: Nvidia GeForce GTX 770 / AMD Radeon R9 280X*
- RAM: 4GB
- OS: Windows 7, 64-bit or later (MacOS not supported at this time)
Recommended:
- CPU: Quad-core CPU from Intel/AMD from the last 4-5 years or better
- GPU: Nvidia GeForce GTX 1660/1060 / AMD Radeon RX 580* or better
- RAM: 8GB or more
- OS: Windows 10, 64-bit
Software Requirements:
- Continuum 2.1 Builds 1-12 require Optifine F2 Pre 3 or later.
- Builds 13 and higher require Focal Engine v1.0.5 or later, all of its dependent mods, and a relatively new graphics driver version.
Known Issues:
- In rare cases, resizing the game window can cause minor shader artifacts. If these occur, press F3 and R simultaneously to reload the shader.
Continuum 2.0
Minimum:
- CPU: Nearly any Dual core CPU from intel/AMD made in the last 5-7 years
- GPU: Nvidia GeForce GTX 750Ti/ AMD Radeon R7 270X
- RAM: 4GB
- OS: Windows 7, 64 bit or later (MacOS not supported at this time)
Recommended:
- CPU: Quad core CPU from Intel/AMD from the last 4-5 years or better
- GPU: Nvidia GeForce GTX 1660/1060 / AMD Radeon RX 580 or better
- RAM: 8GB or more
- OS: Windows 10, 64-bit
📥 Continuum Shaders — Download
Something You Should Know
- Our links are only from the official developer, so you can be sure they are secure.
- No modifications or edits are made to the files.
🔄 Update Logs
v2.0.5
Build Date: 7/10/2022
- Hotfixed – Underground Shadow Fix bug corrected and minor Lava texture issue.
- Fixed – TAA (Temporal Anti Aliasing) on modern graphics cards.
- Fixed Nether and End dimension issues preventing players from seeing with the shader enabled.
- Fixed Bloom was breaking the shader when it was disabled in shader options.
- Added the underground light leak mitigation from Continuum 2.1, enabled by default.
- Enabled the default LUT by default for a more universally pleasing out-of-the-box experience.
- Reworked water’s visual style. It is now smoother, less repetitive, and in our opinion, more visually pleasing (thanks to Mythical for most of this one).
- Fixed the ‘Cinematic’ preset settings ‘stickiness’ issue, which caused some settings to be stuck on Cinematic after the preset was used, even after changing to another preset, such as Low, Medium, High, etc.
v2.0.4
Build Date 6/16/2021
- Added French Language file (thanks to Raphoulfifou for the translation!)




Comments (47)
The best realistic shader EVER!
To properly run this shaders, you need some high specs pc, And this requires Forge and Optifine in order to run the shaders. To install shaders:
1. Download on Continuum Site.
2. Find the zip file but dont extract it.
3. Drag the zip file on the shadersfolder.
4. Run Minecraft
5. Click settings and videosettings.
6.Click on shaders
7. Click on the Shaders you’ve dragged to the folder of shadersfolder.
8. If you are on low end pc, set the options into the lowest options as possible. or, Just click the performance to low.
yeah but that doesn’t mean people can’t use it on 1.15 or 1.14
I don’t think so I try it first
look up continuum graphics and click the first link