SEUS Shaders 1.19.4 → 1.18.2
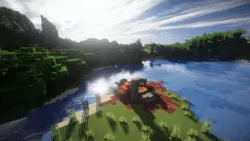
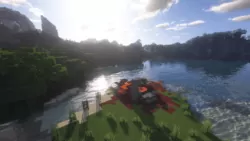
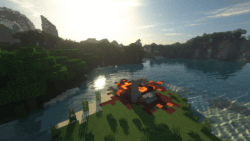
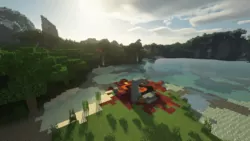
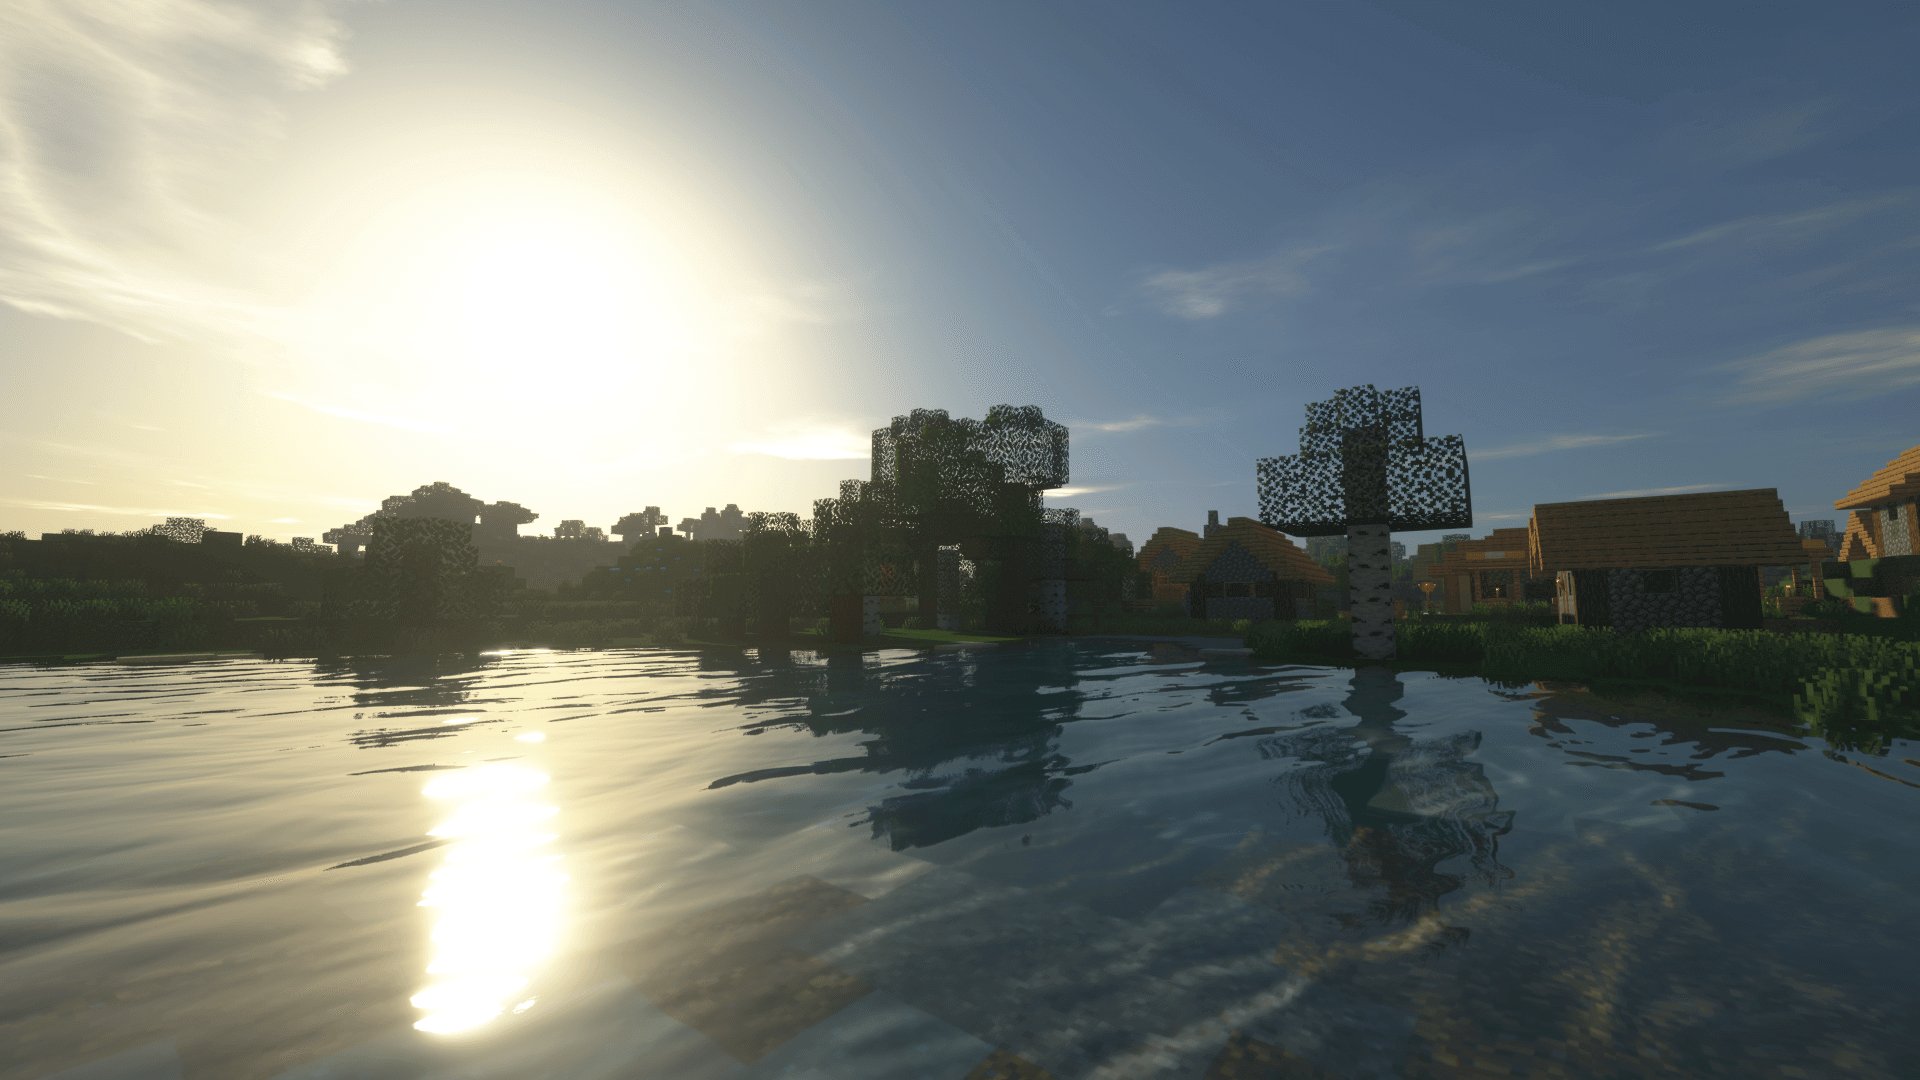
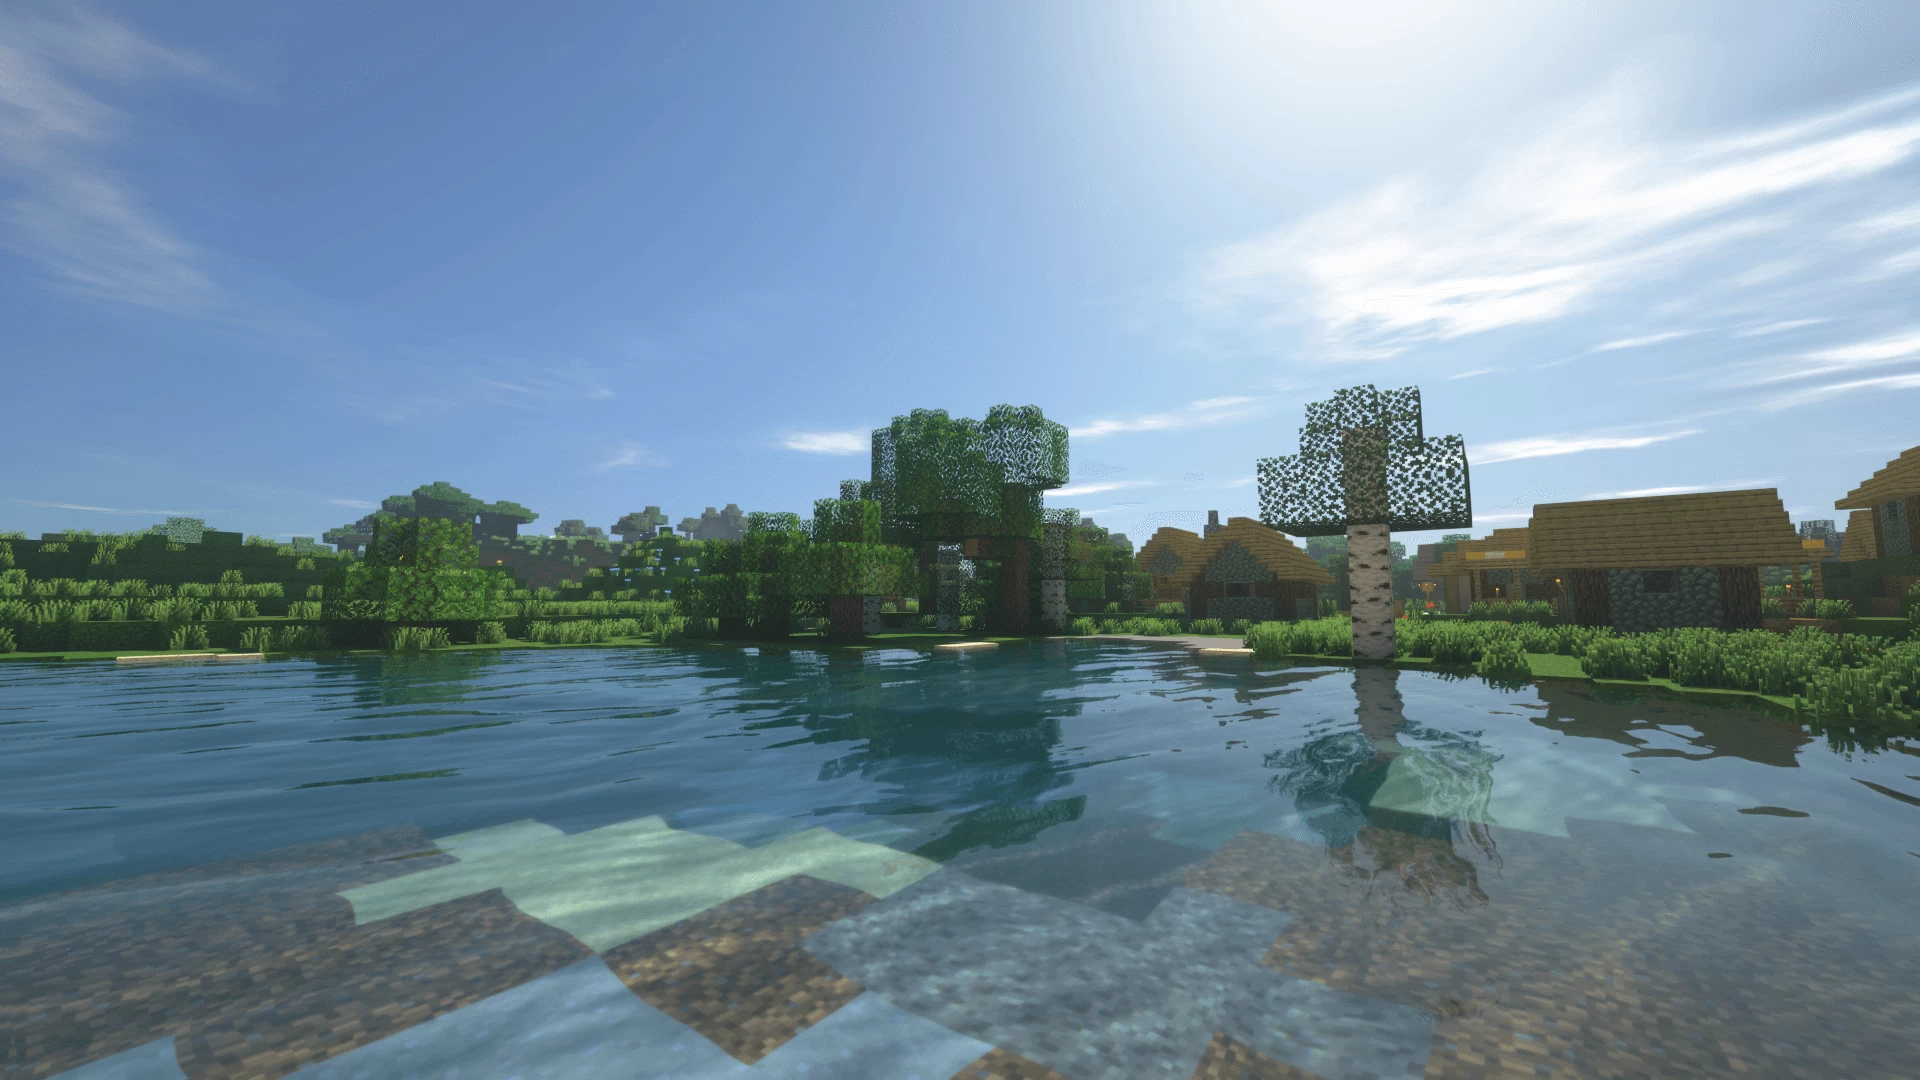
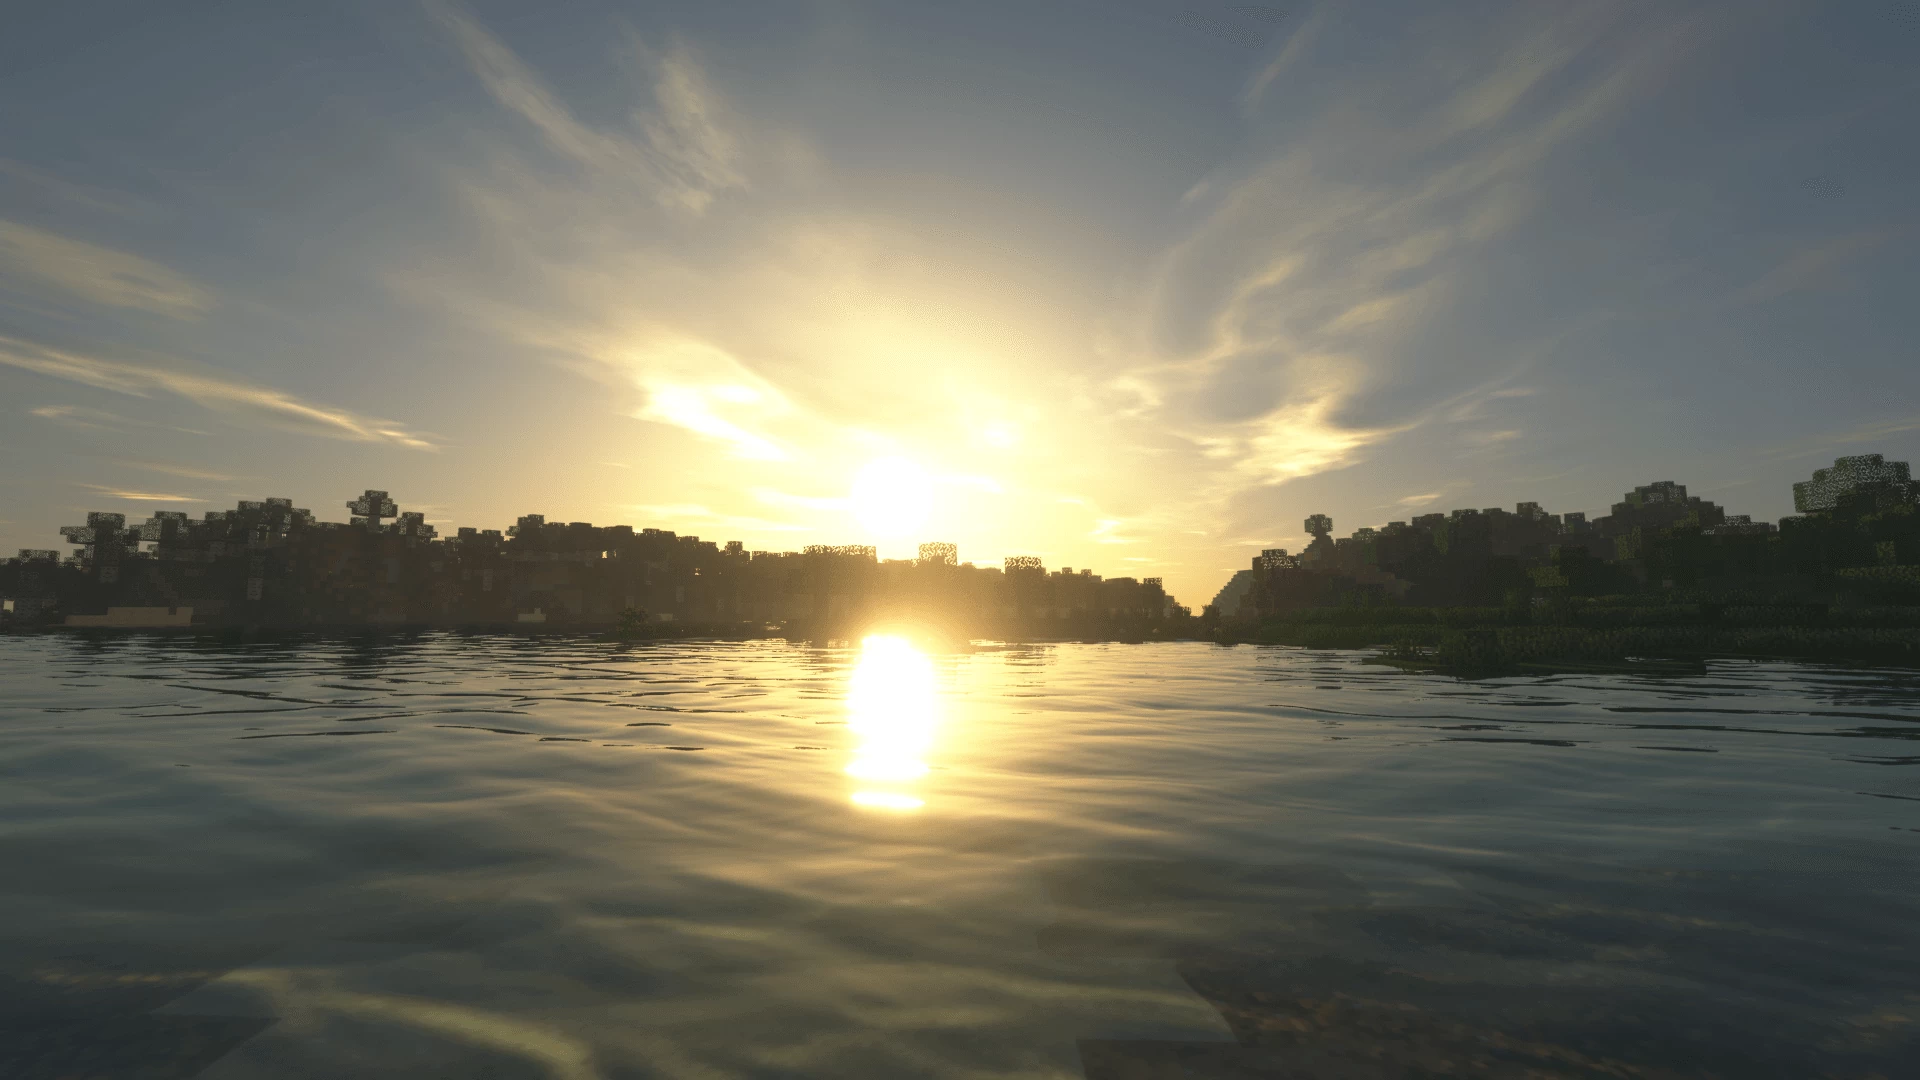
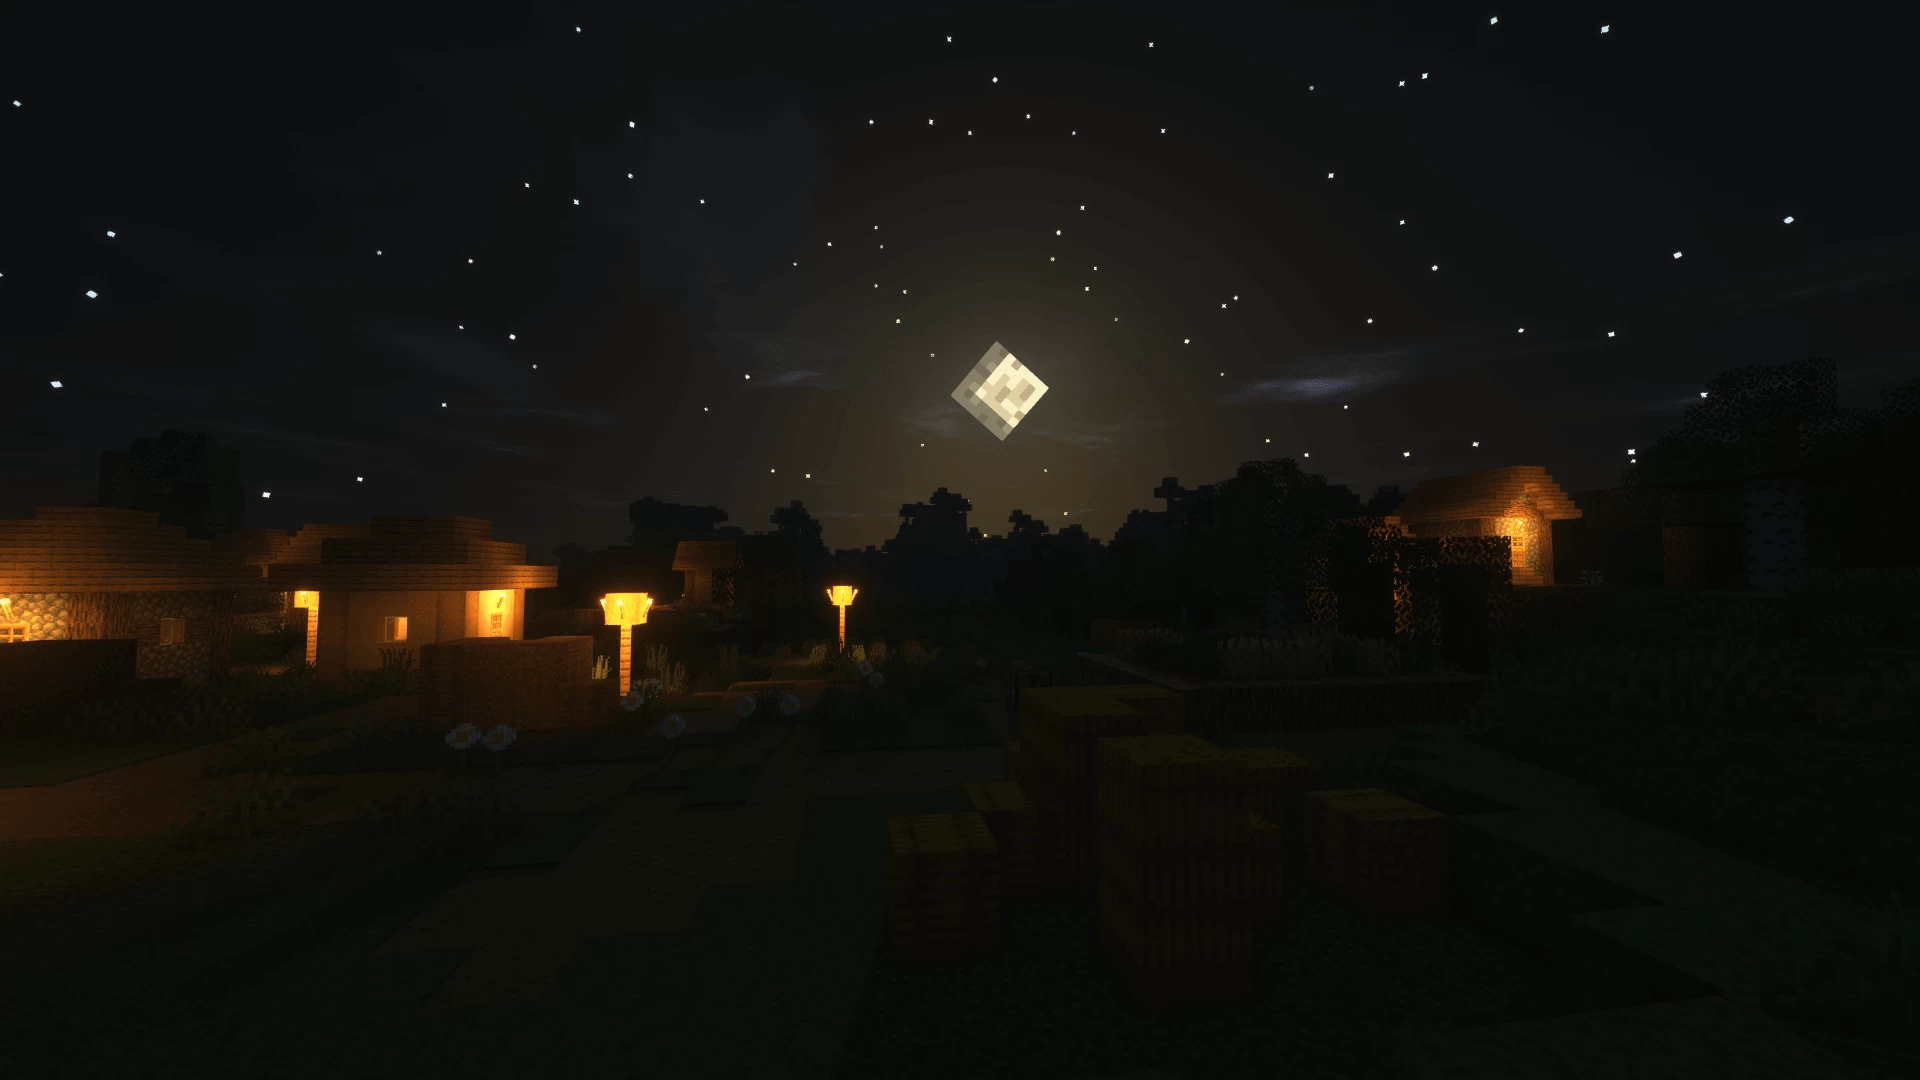
Stunning visuals, realistic lighting, shadows, and water effects make for an immersive gaming experience.
| Developer | 👤sonicether |
|---|---|
| Style | 🌅Realistic |
| Support GPUs | |
| Loaders | |
| Performance Impact | Medium |
| Settings | 60 |
| Features | Sunset+46 |
| Created | Apr 14, 2016 |
| Updated | Dec 24, 2022 |
| Stats |
|
Anyone who is familiar with Minecraft is well aware that the game’s general graphics are pixelated and primitive. While this has a touch of simplicity and nostalgia to it, some may find this aesthetic to be rough and stale after a while. So what does one do to freshen up the graphical experience of Minecraft? Sonic Ether’s Unbelievable Shaders, also known as SEUS, is a great way to reinvent the game’s graphics from bland to breathtaking.
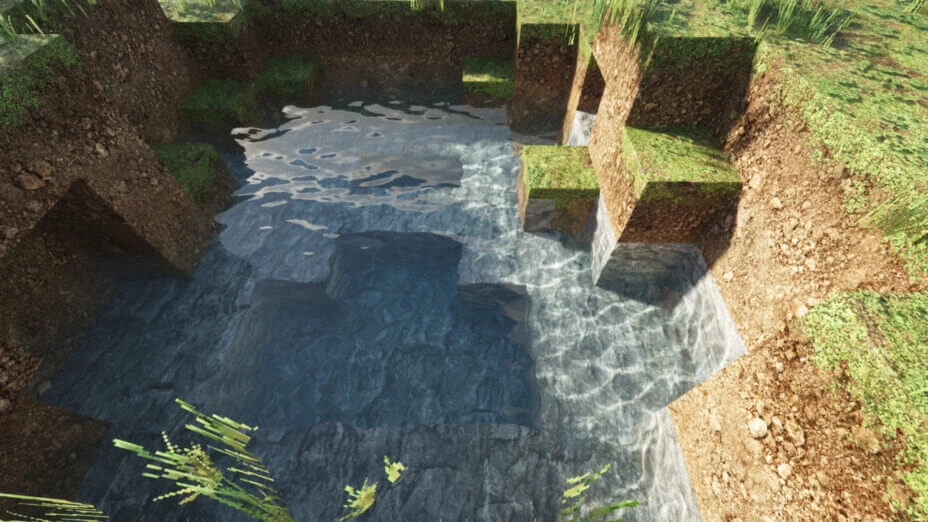
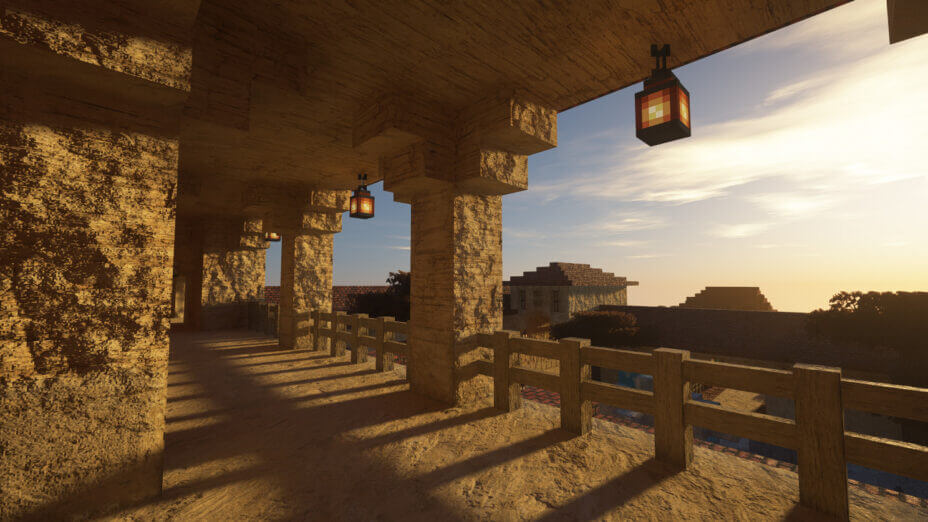
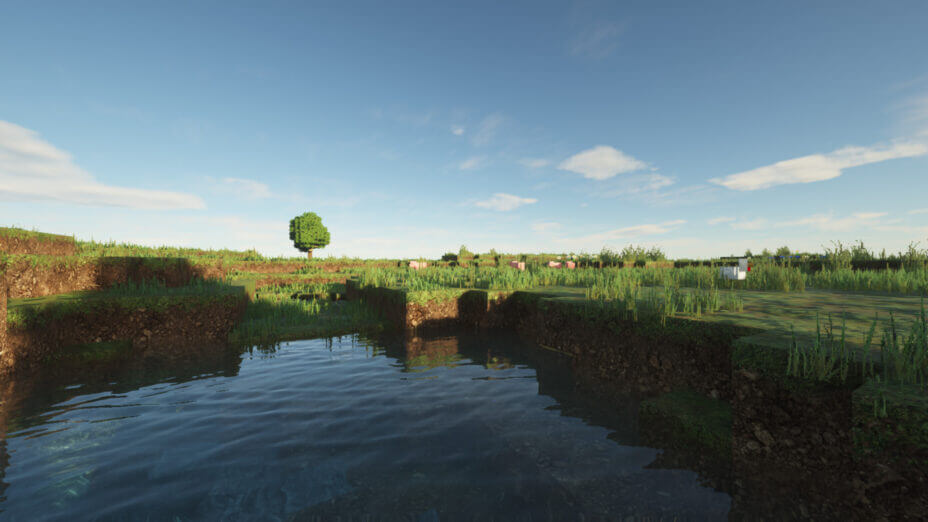
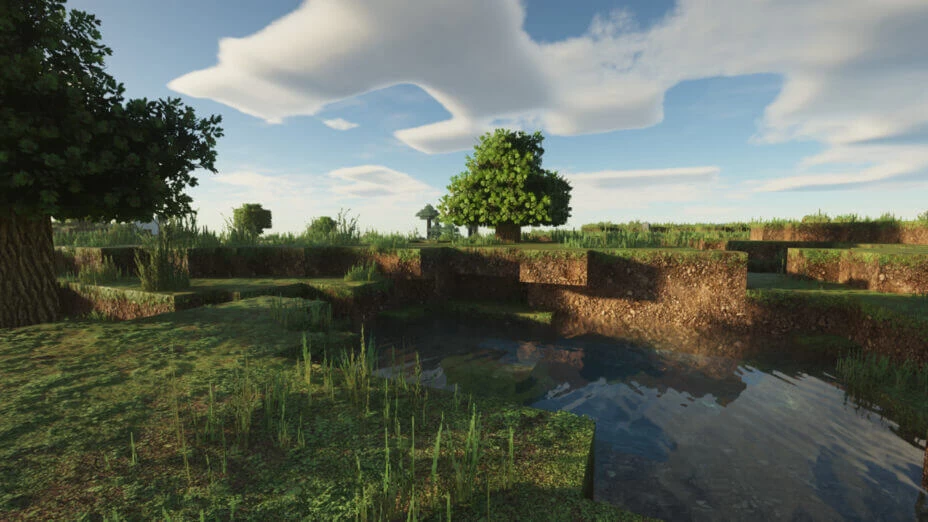
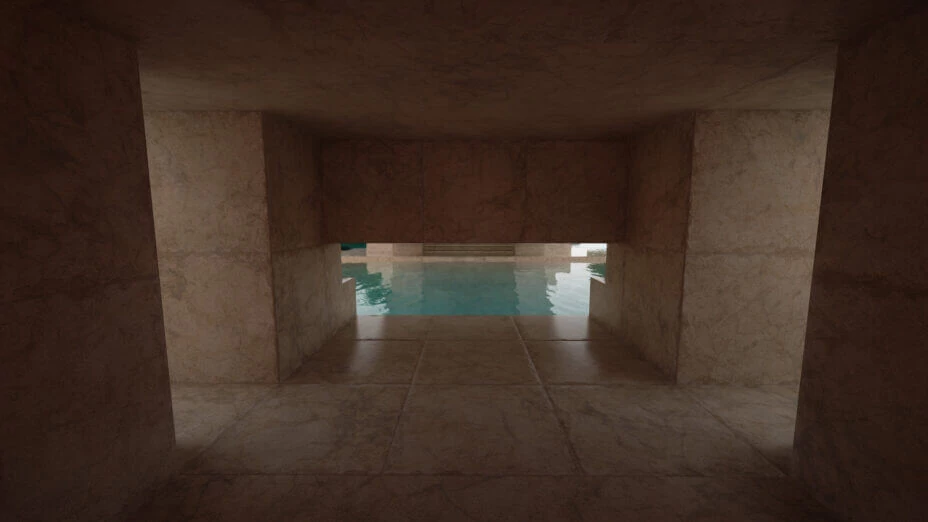
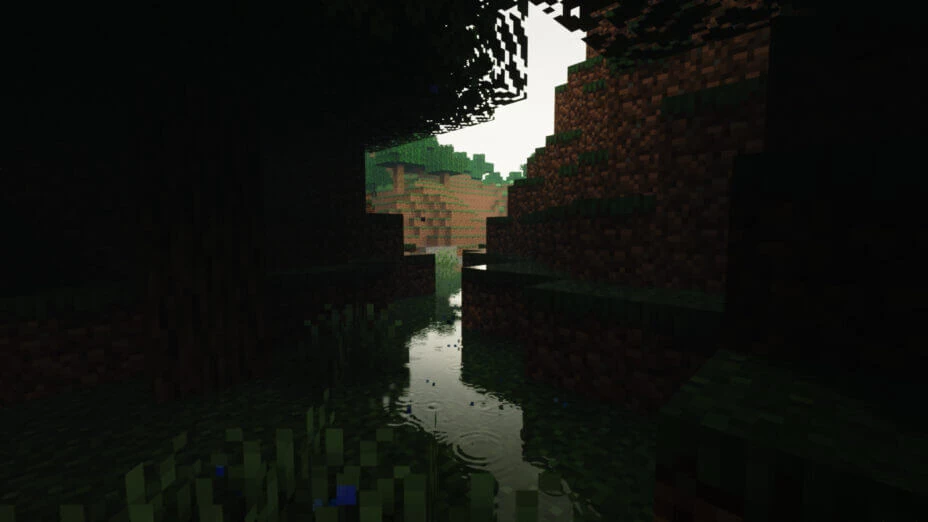
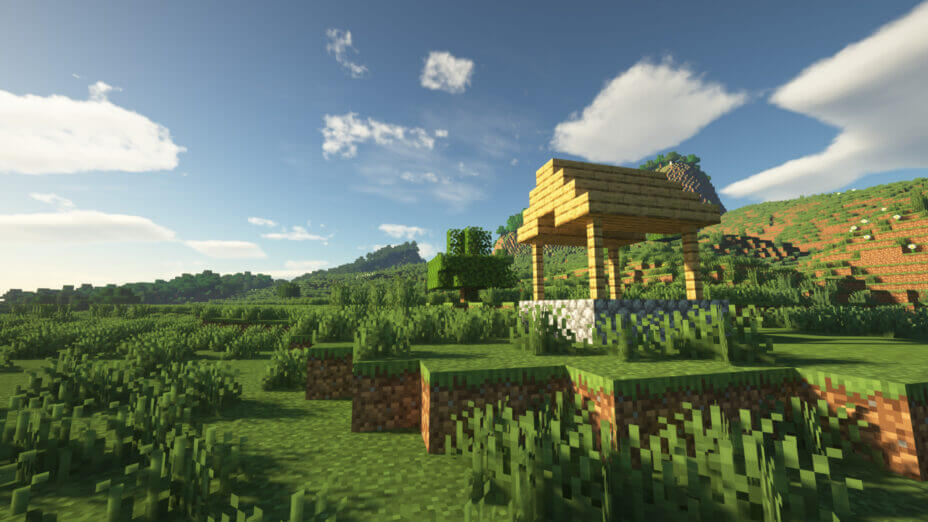
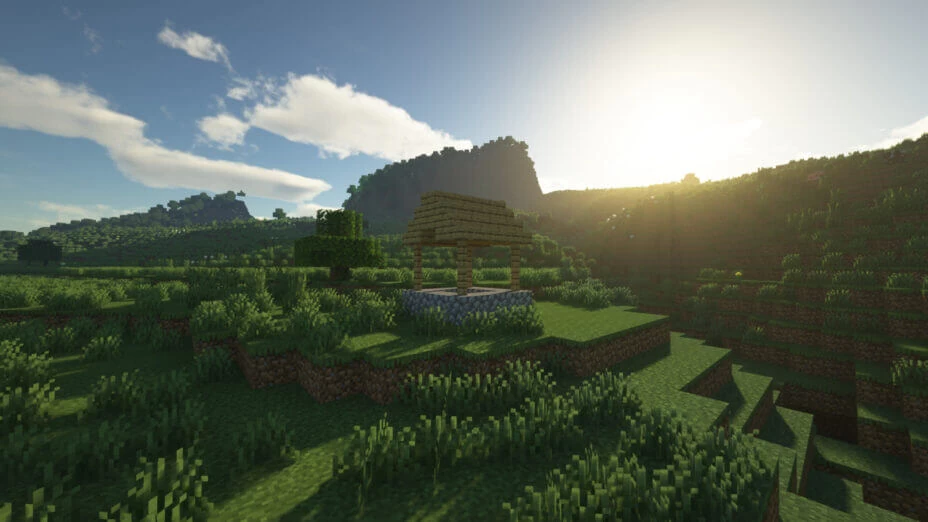
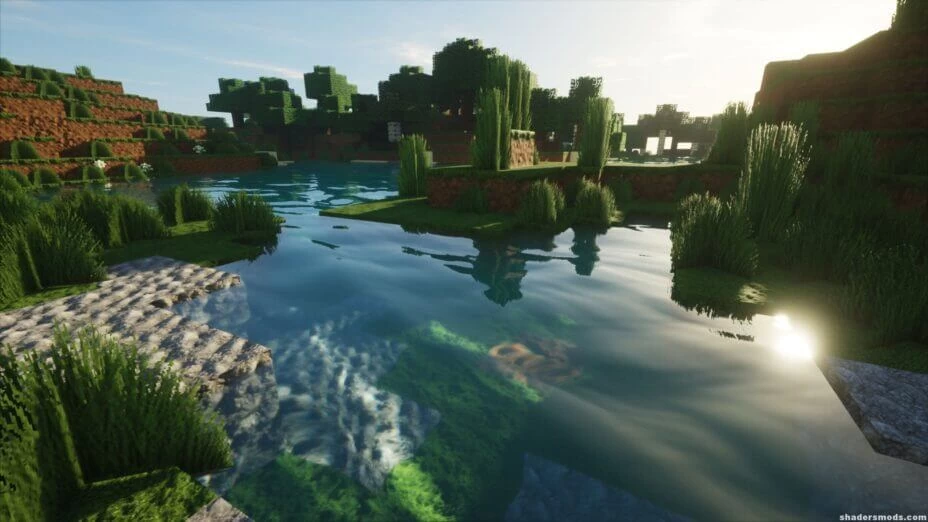
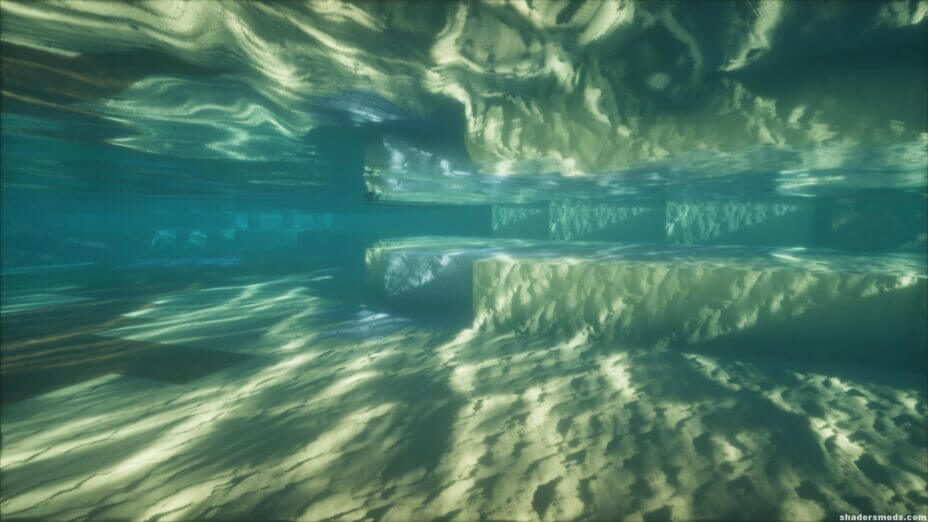
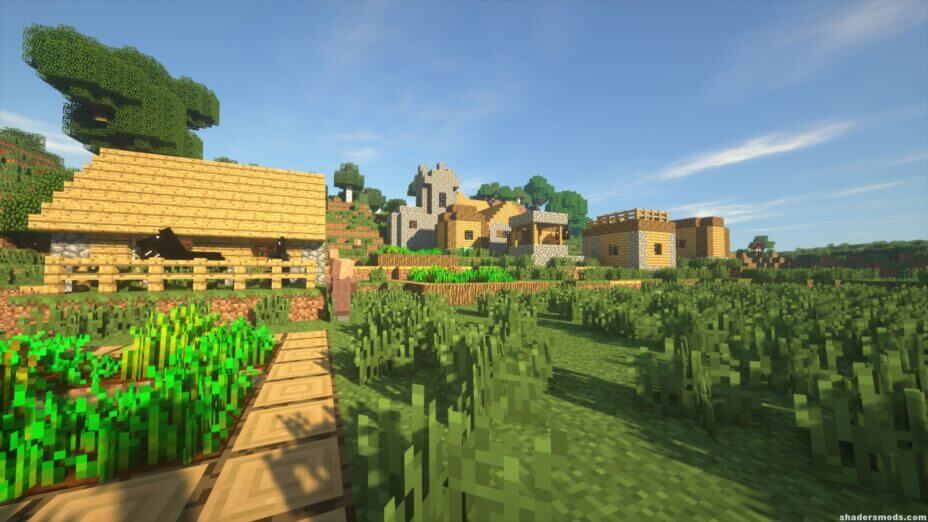
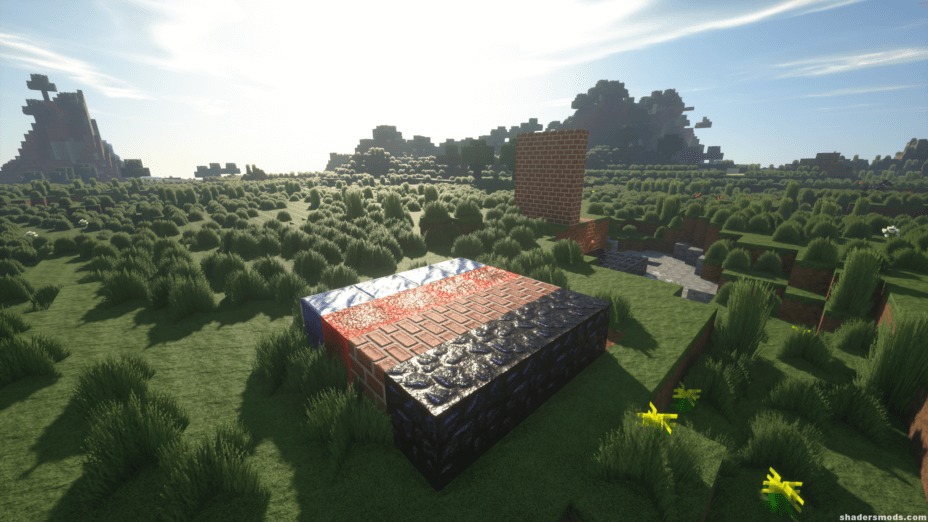
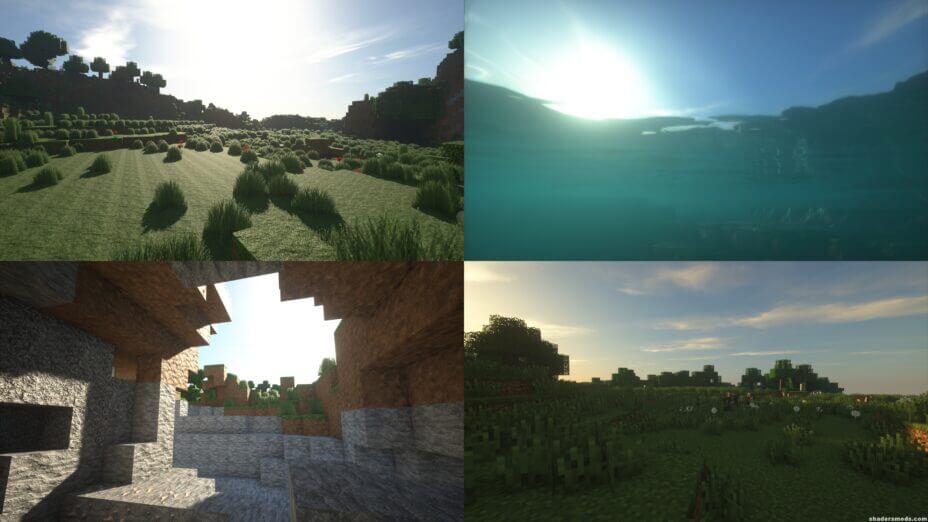
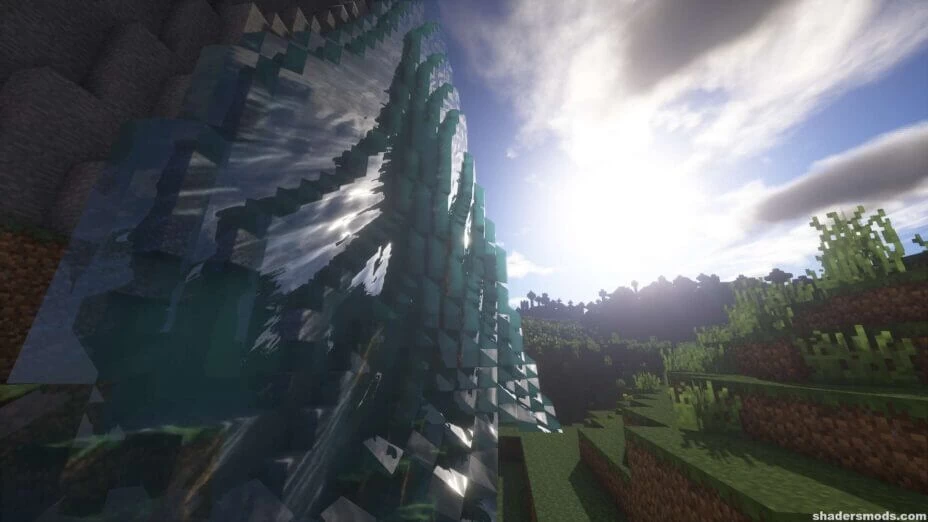
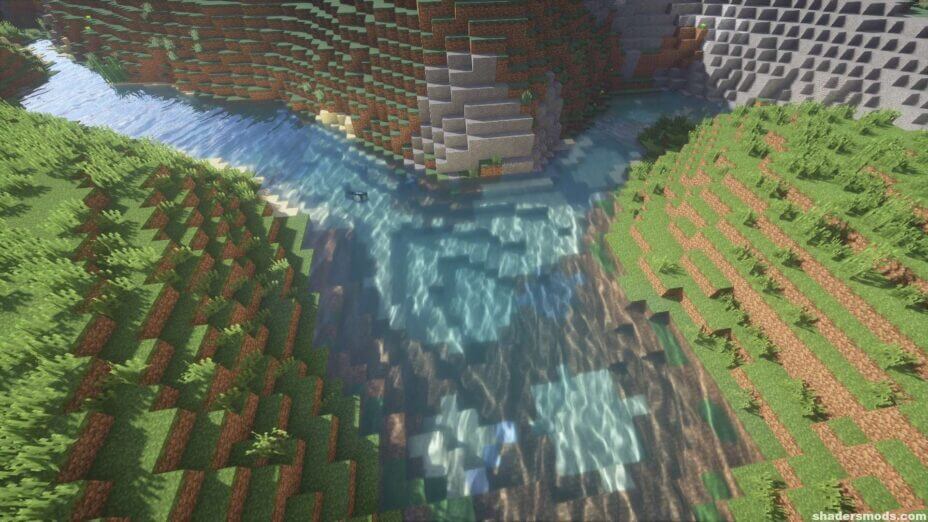
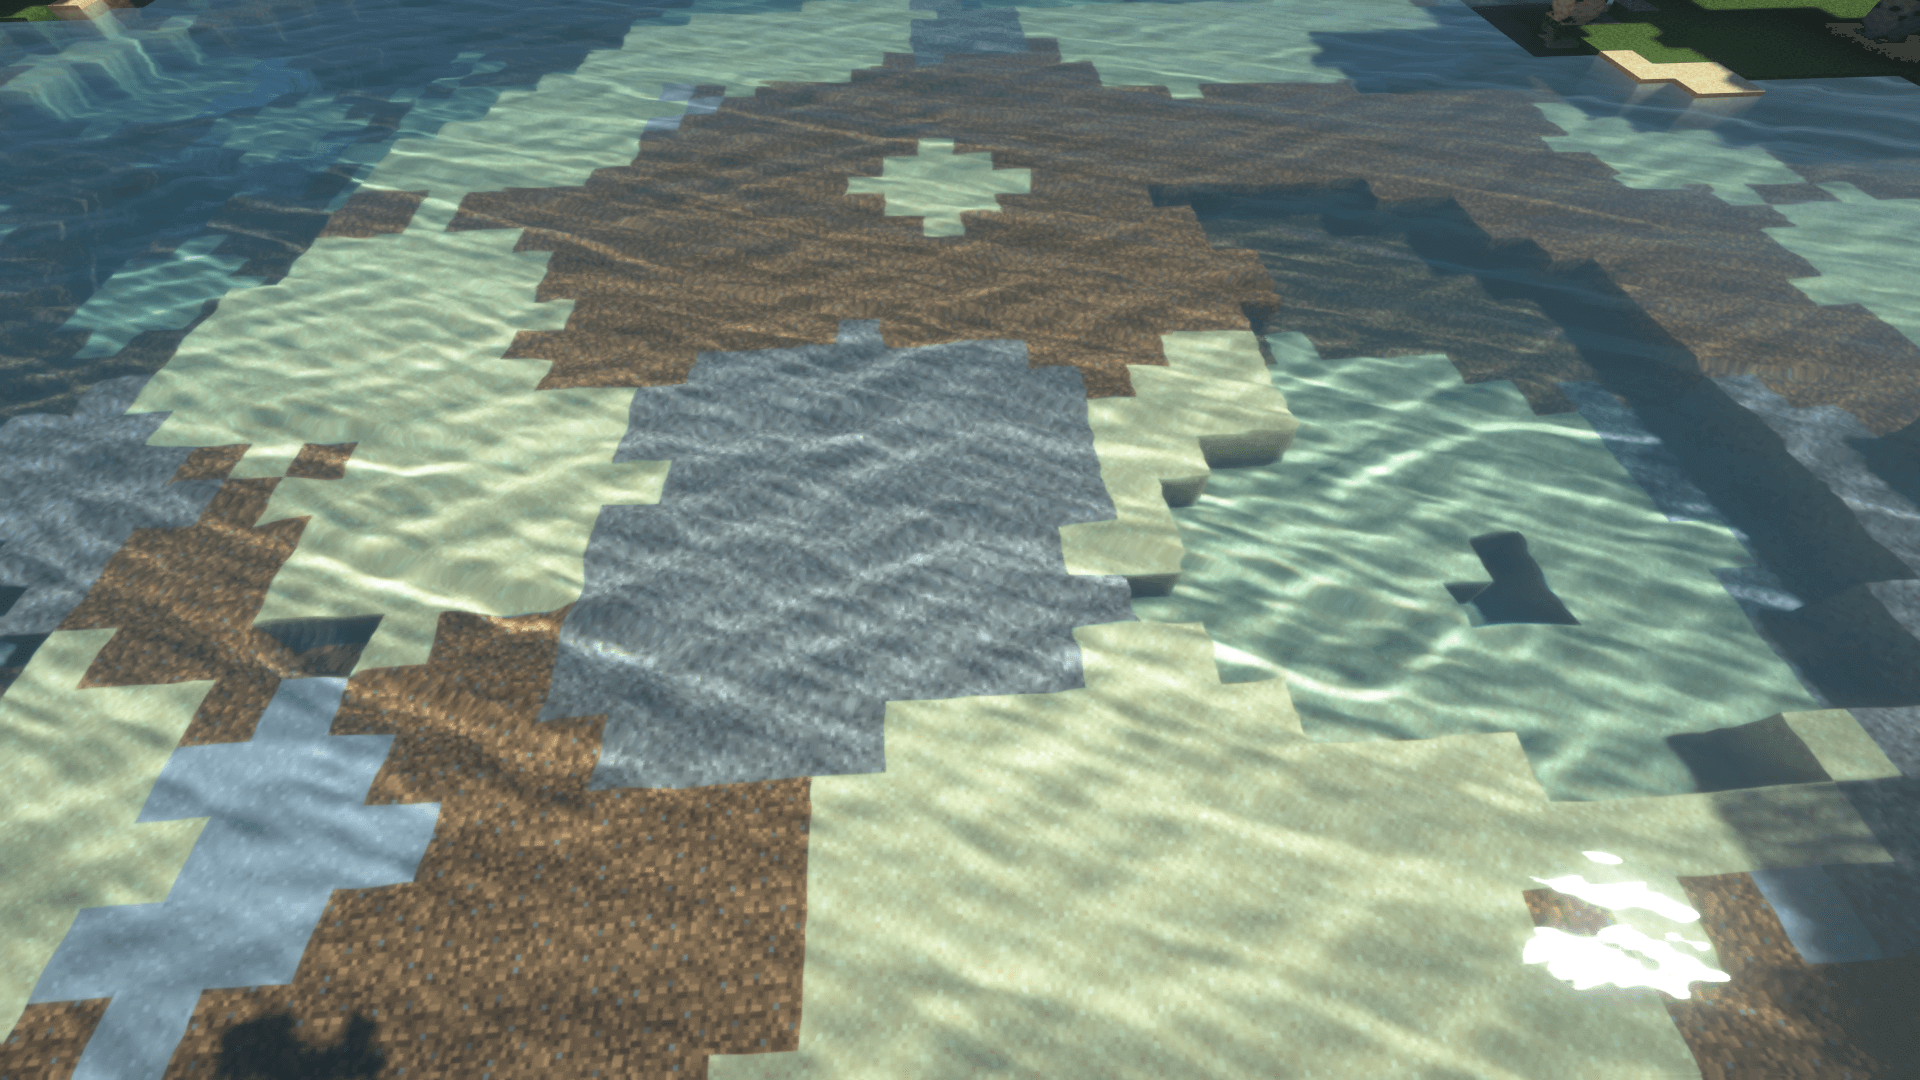
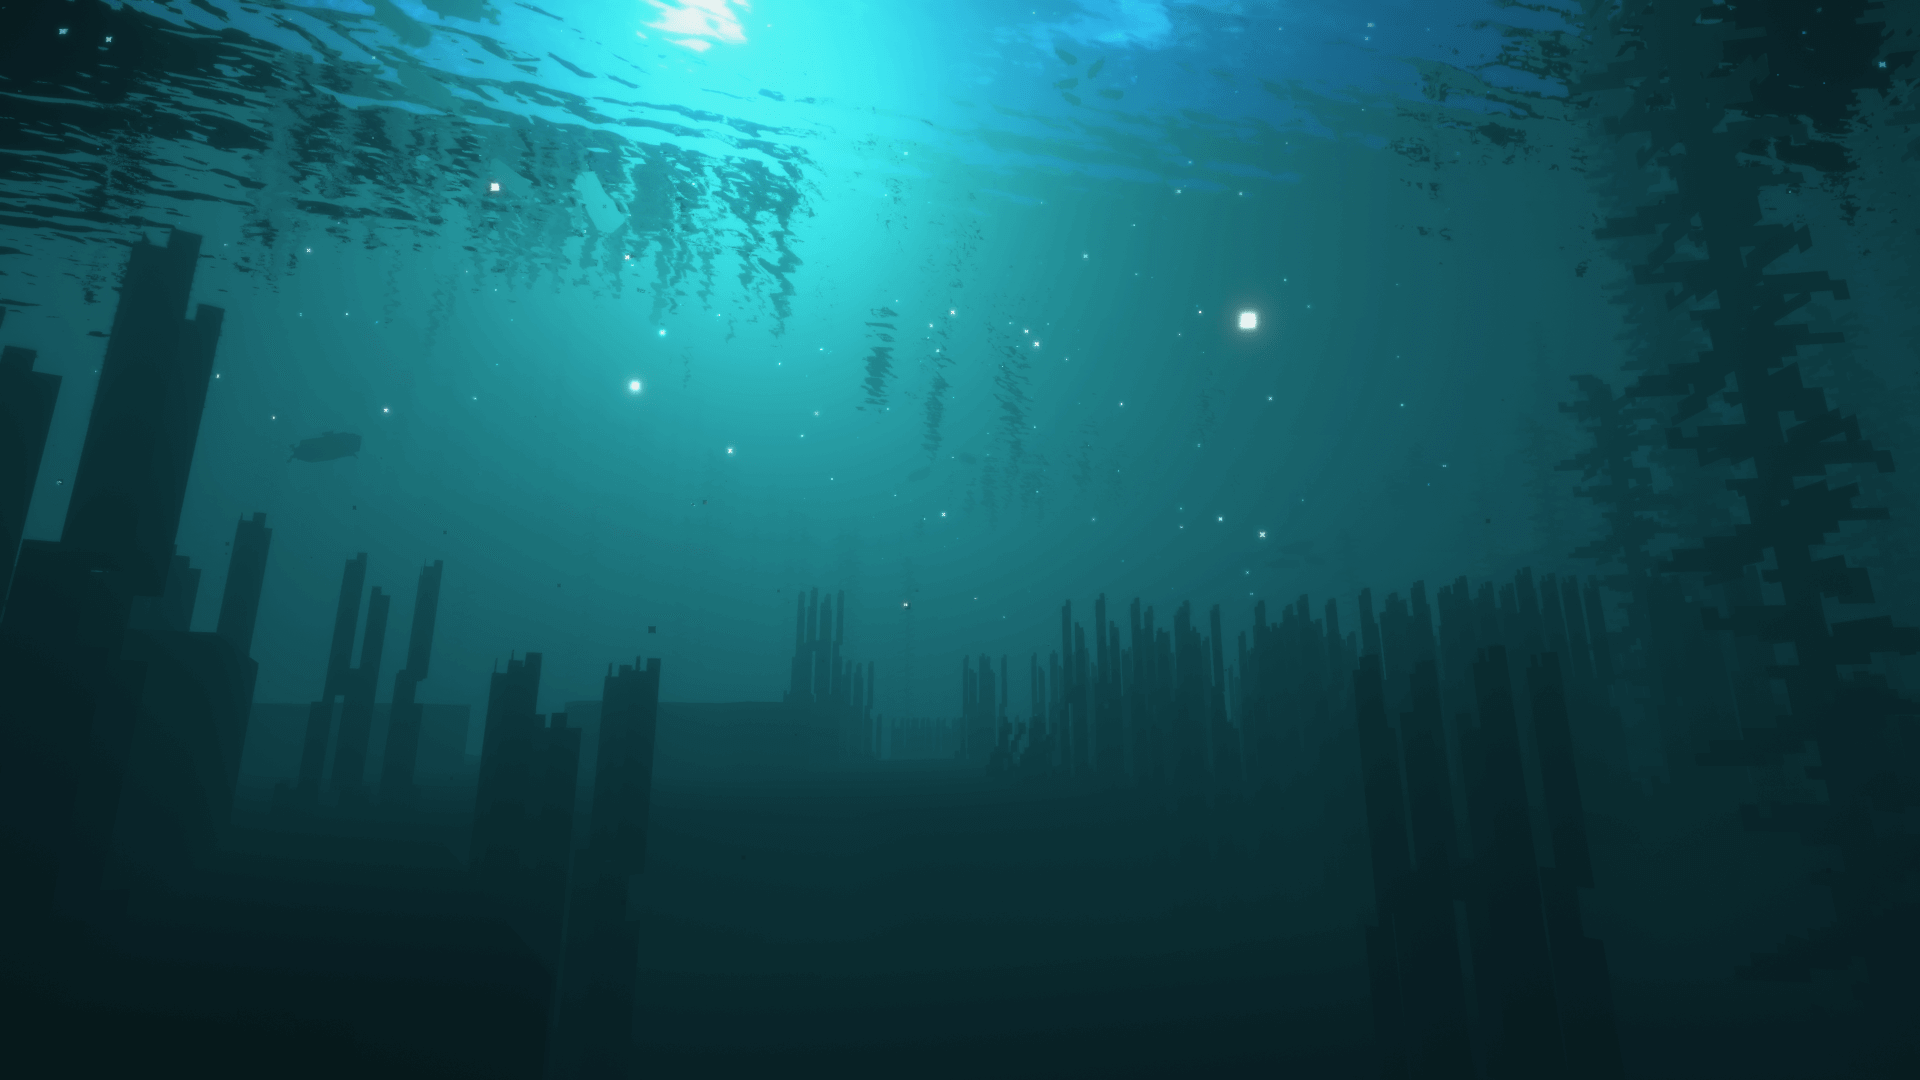
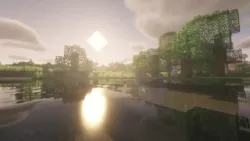
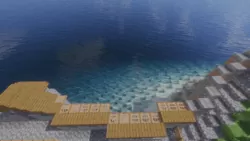
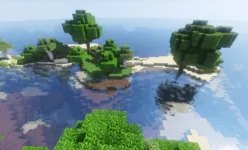
Sonic Ether’s Unbelievable Shaders (SEUS) overhauls nearly everything about the game’s graphics. With this shader pack, the water looks clear and fluid, plants look alive and seem to sway back and forth as if they were breathing, and nighttime feels even spookier than ever. Certain aspects about vanilla have connected textures, but those pale in comparison to Sonic Ether’s shaders. Bodies of water, whether small or huge and open, look like a uniform piece–just like they do with real bodies of water. On a windy day, trees and tall grass will dance back in forth in the breeze, and Sonic Ether’s shaders incorporate that sense of animation.
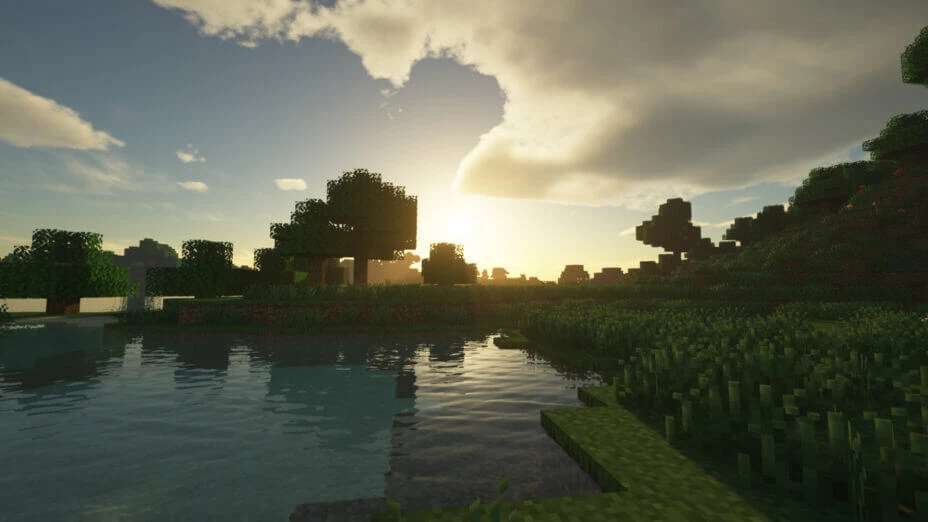
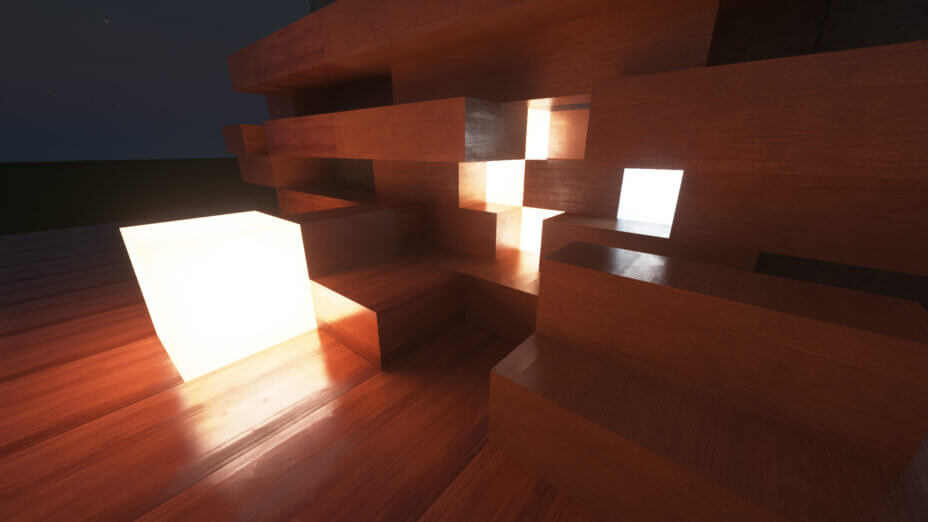
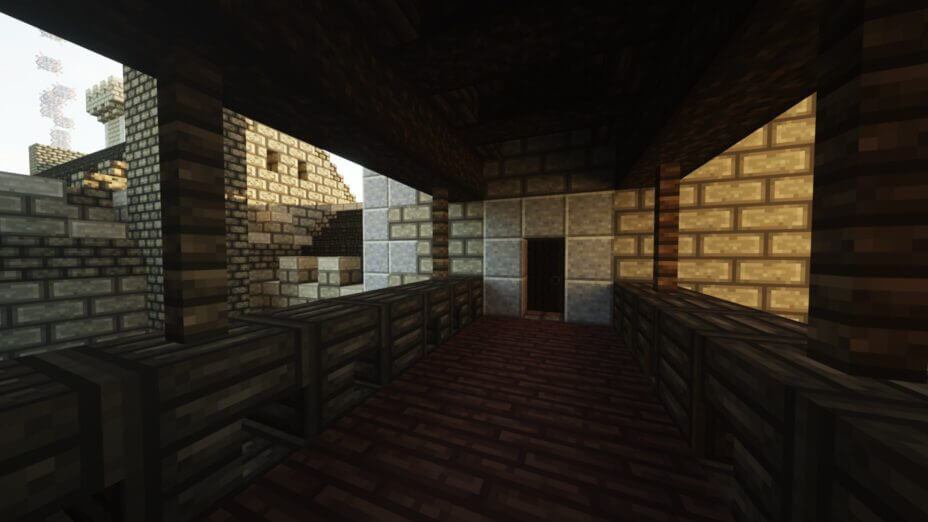
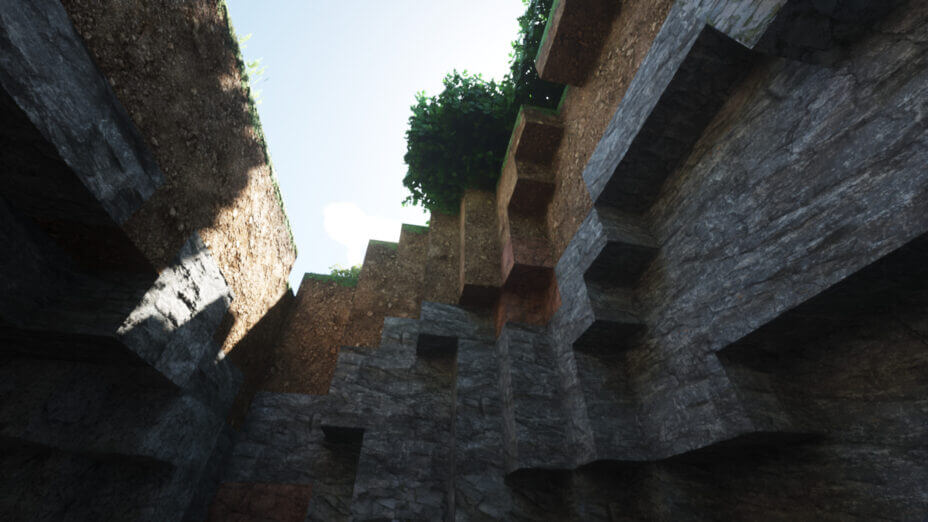
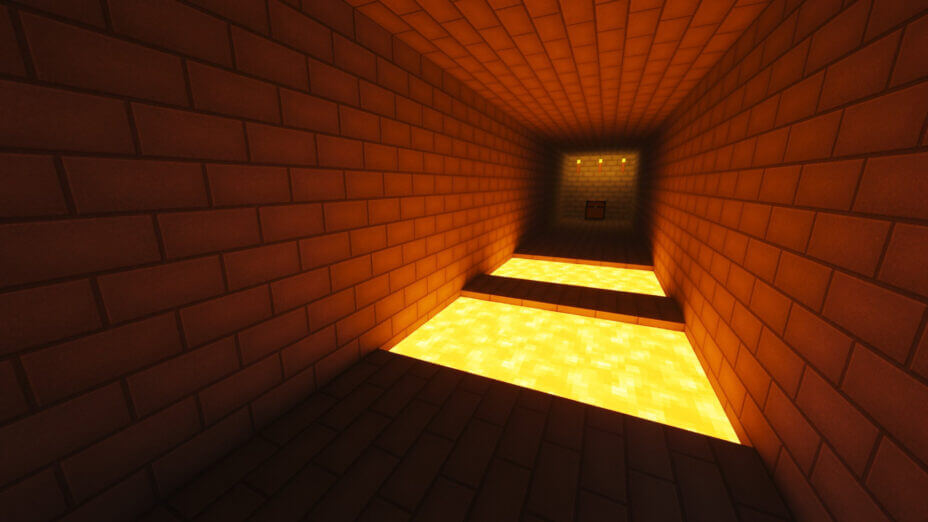
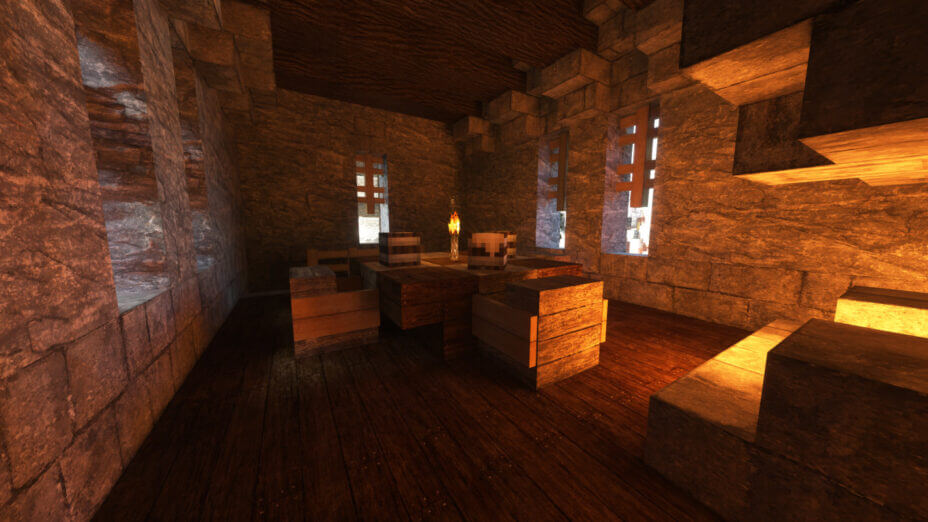
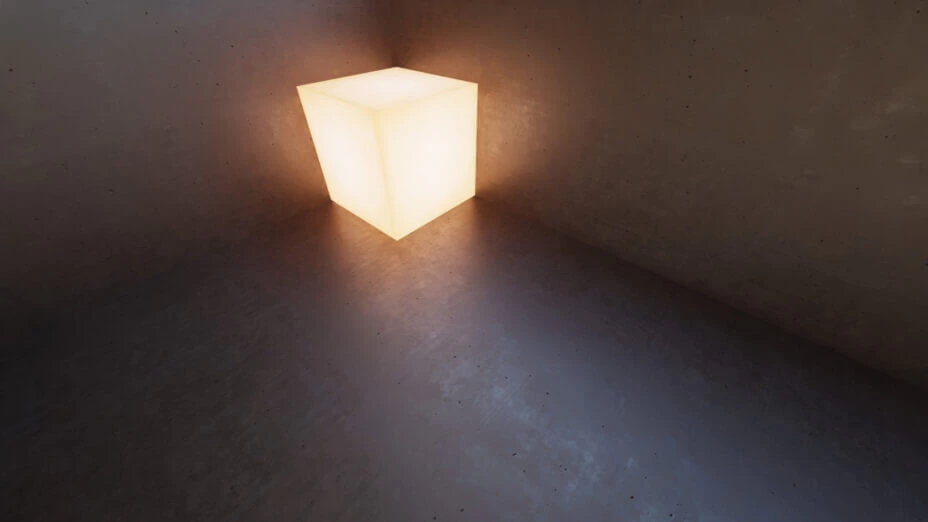
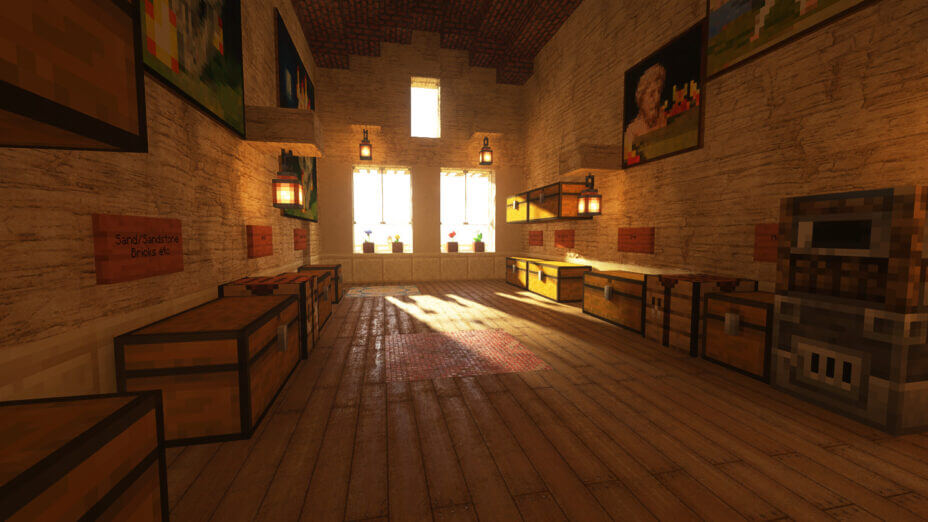
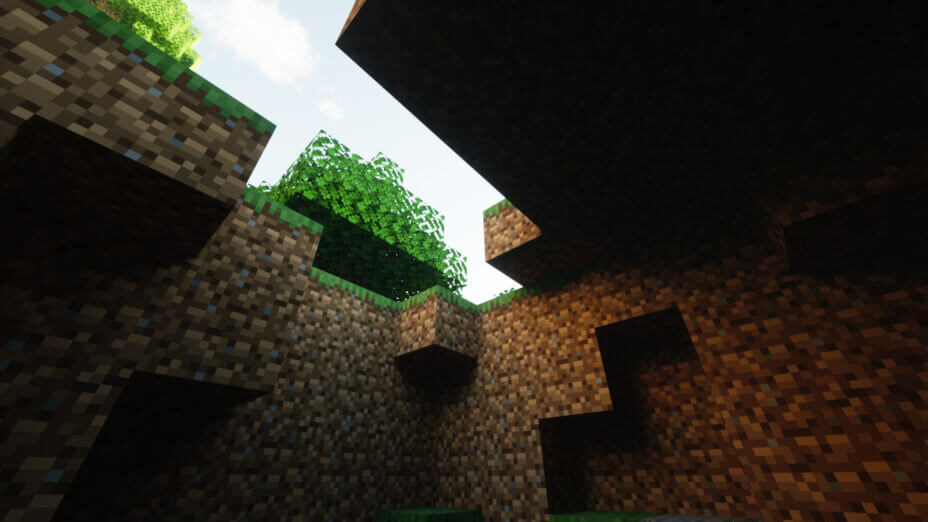
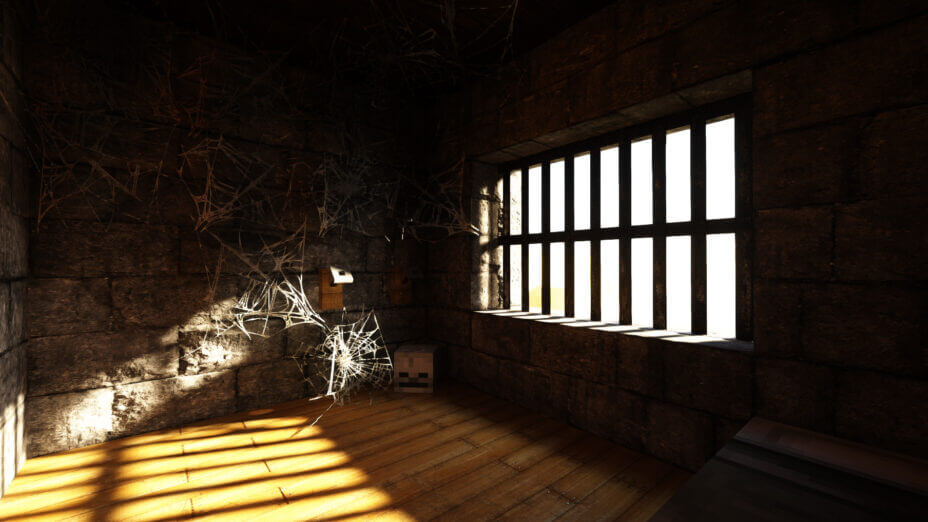
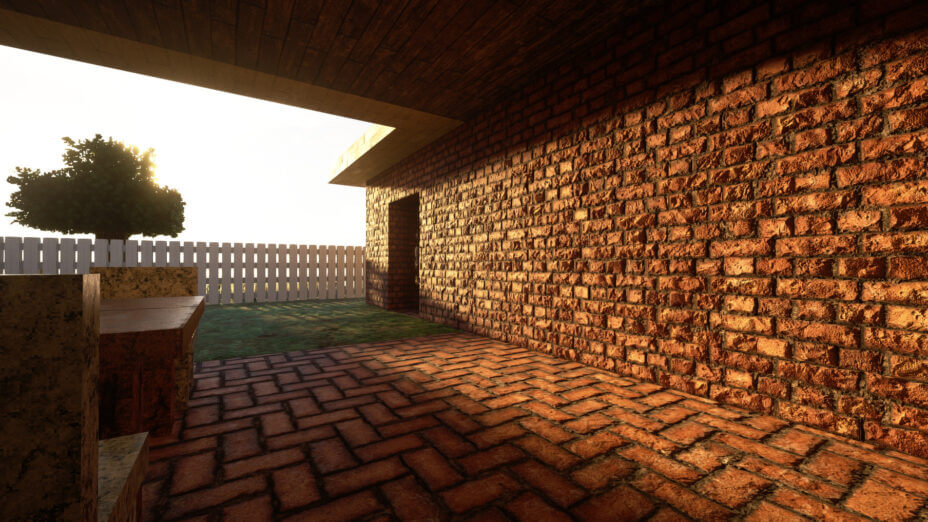
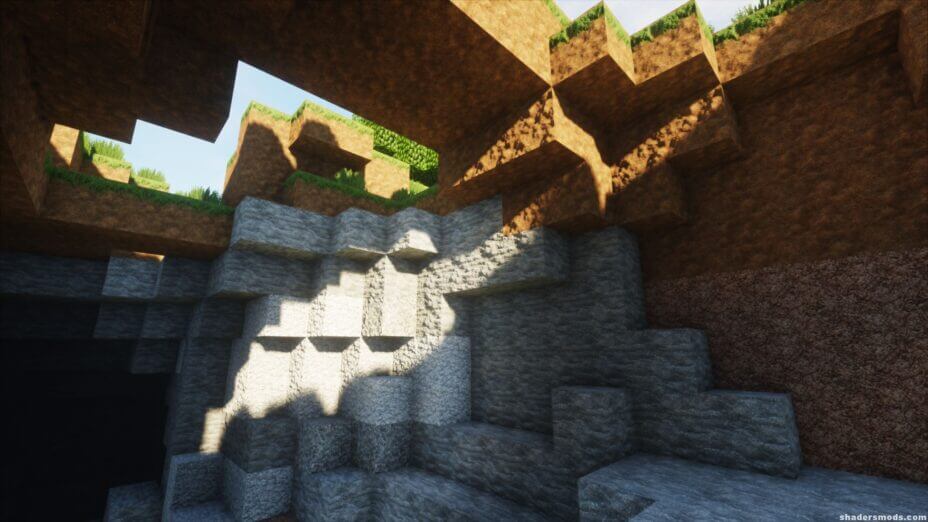
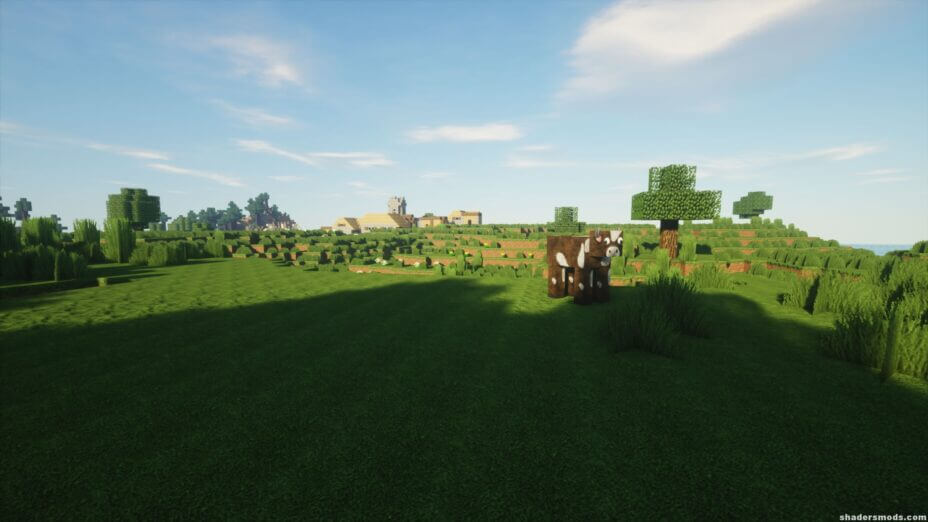
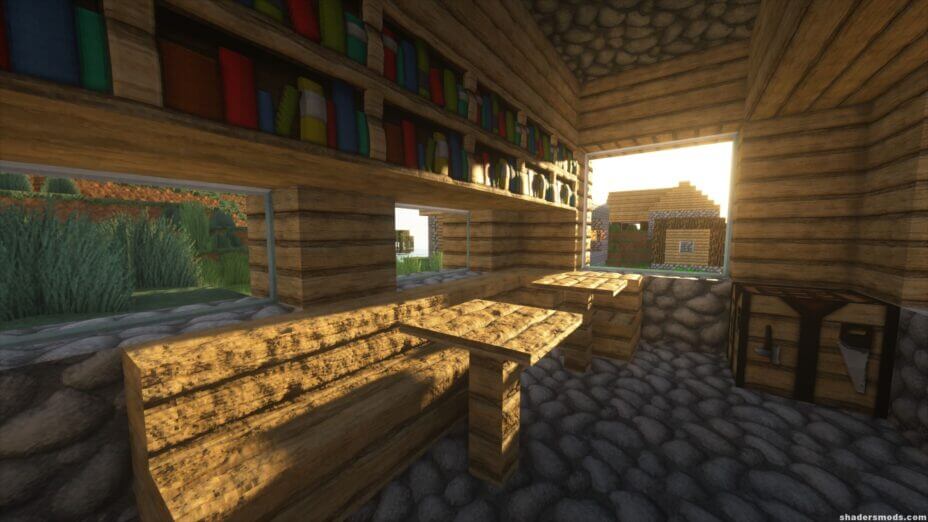
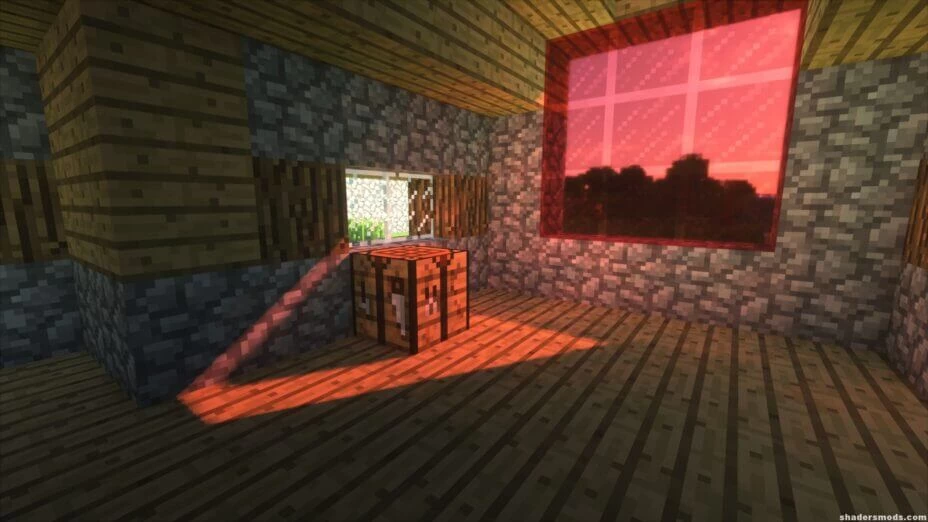
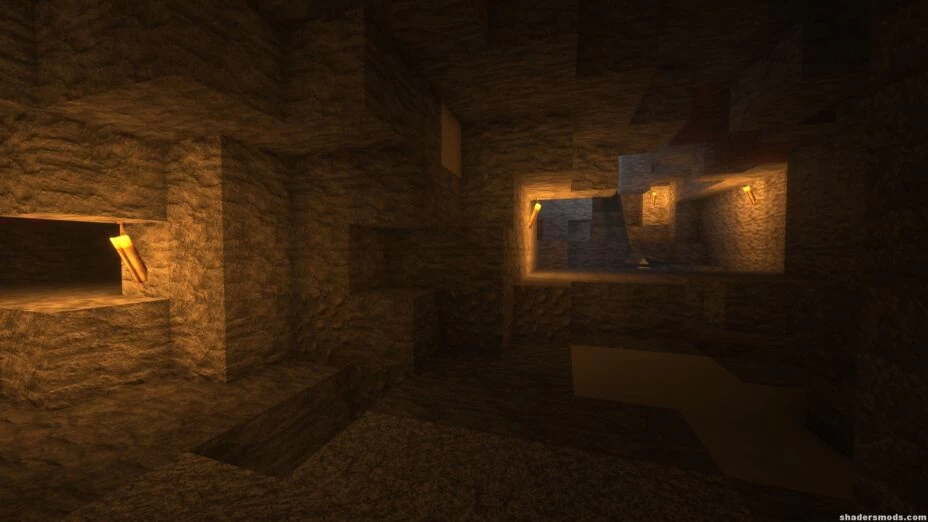
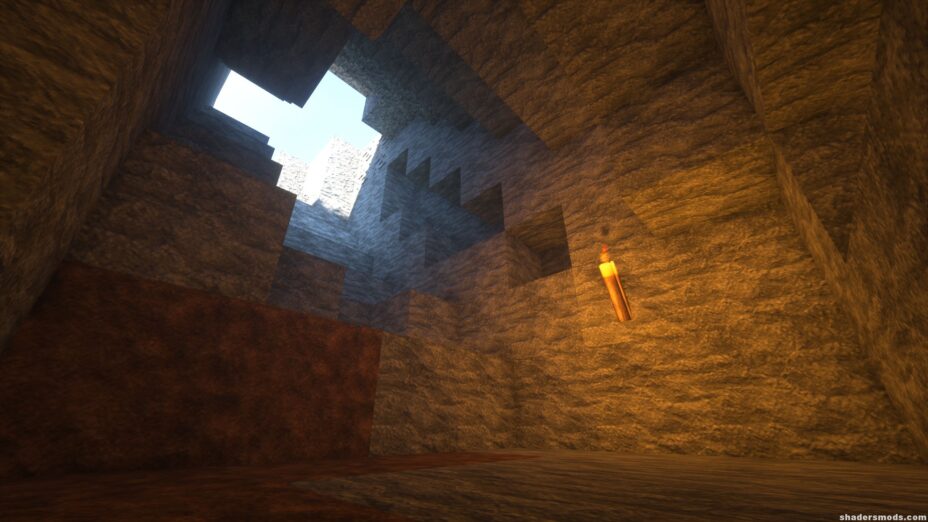
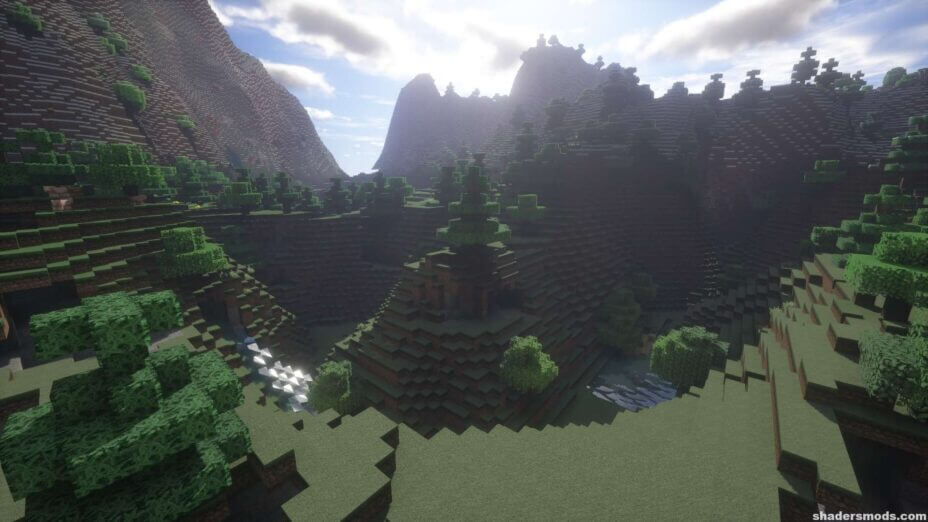
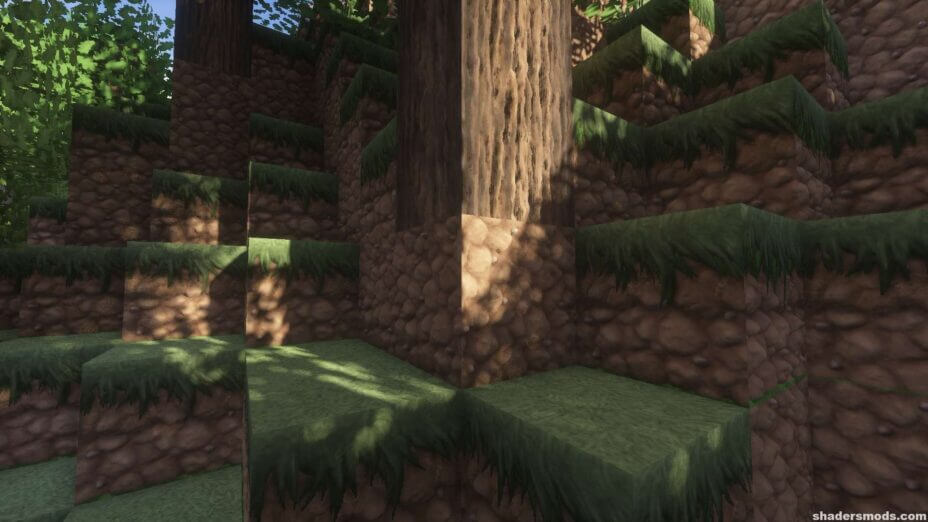
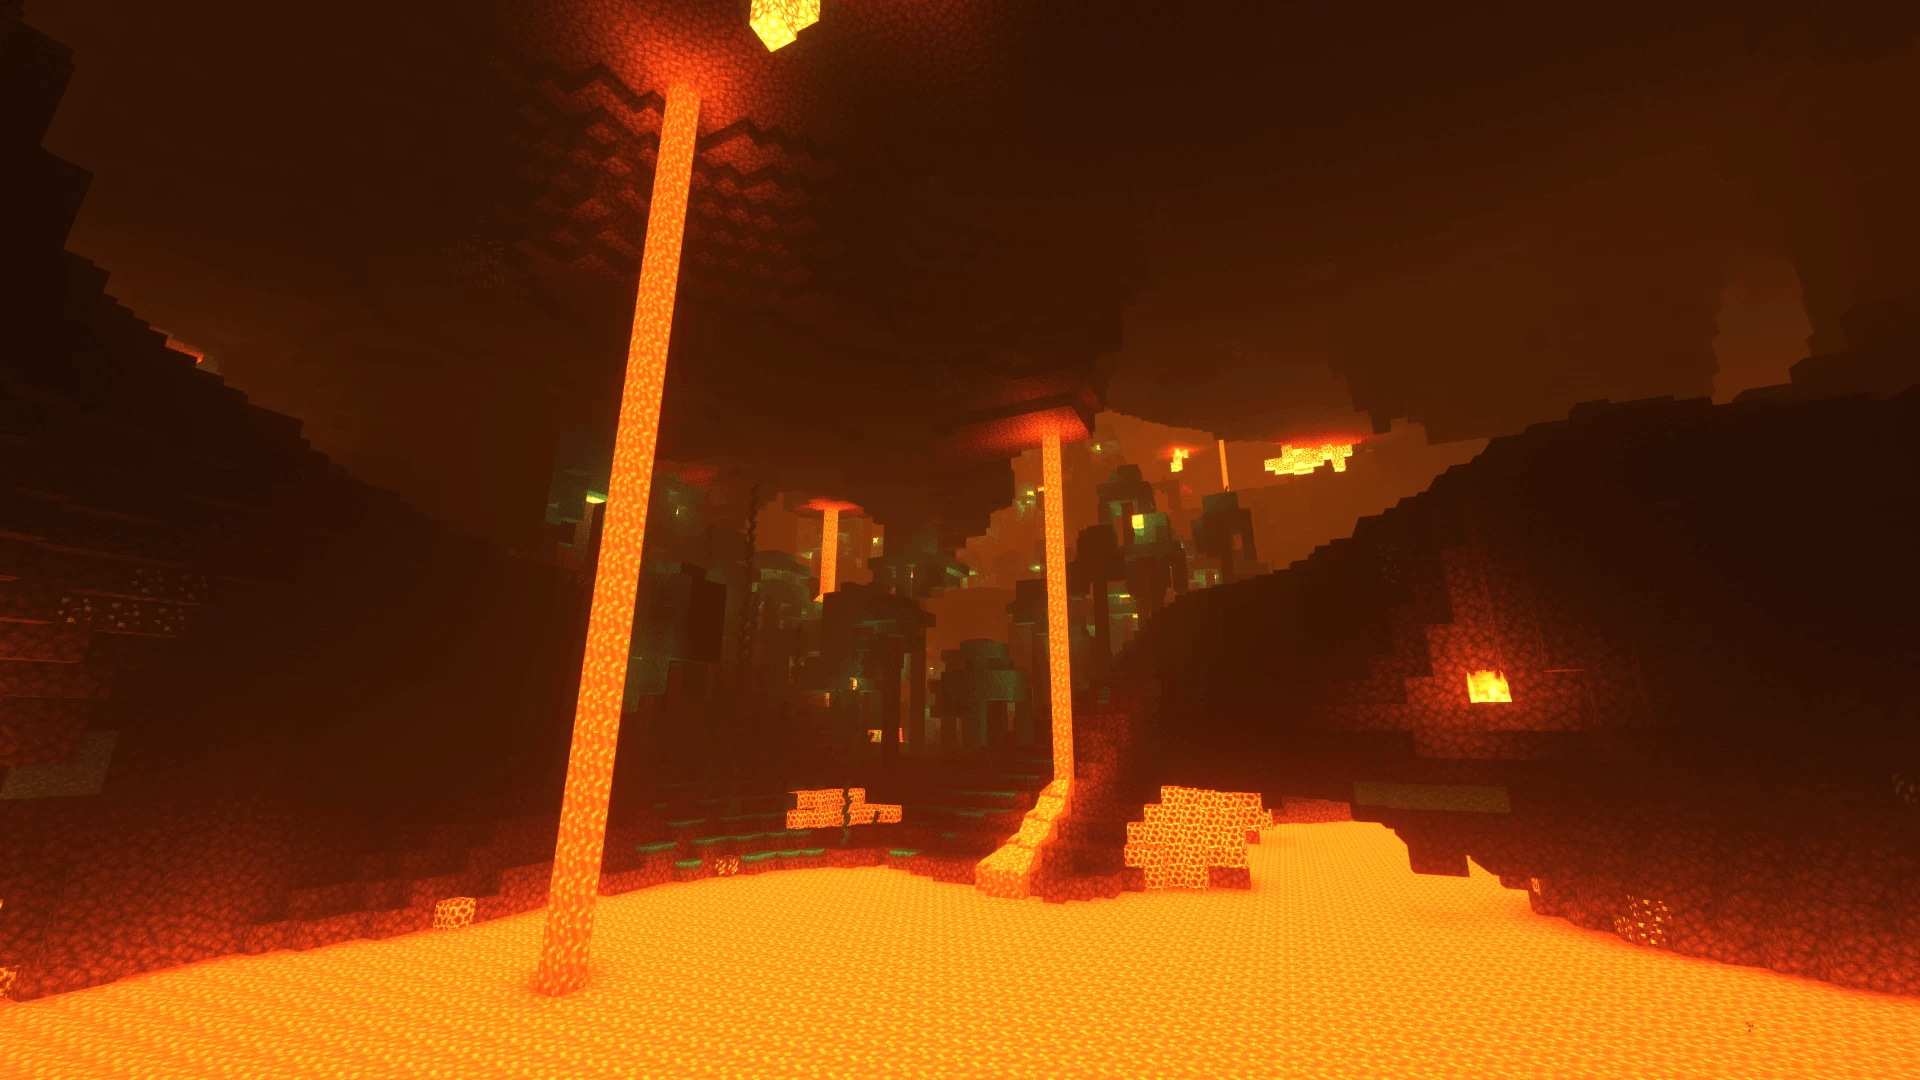
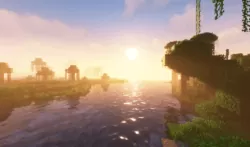
The lighting is quite possibly this shader pack’s greatest virtue. The stale, bleak light offered in vanilla does not give a sense of atmosphere as they do in this shader pack. In fact, most of the light sources in vanilla seem as though they be the same. Yellow light is quite easily the most common, seen from torches, glowstone, lava, fire, and the sun. With this shader pack, color is reintroduced and reborn with each and every light source. Torchlight looks absolutely different from moonlight, just as it should. To add to this, shadows are heavily implemented as well. Something even as small as the grass on the ground can cast a vibrant and deep shadow, perfectly matching up to the sun’s location of course. Daylight is crisp and bright, striking a noticeable difference from the pale light of the moon or torches while in a cave. If all of the game’s lighting features seem the same, Sonic Ether’s shaders is a vibrant way to shake that up.
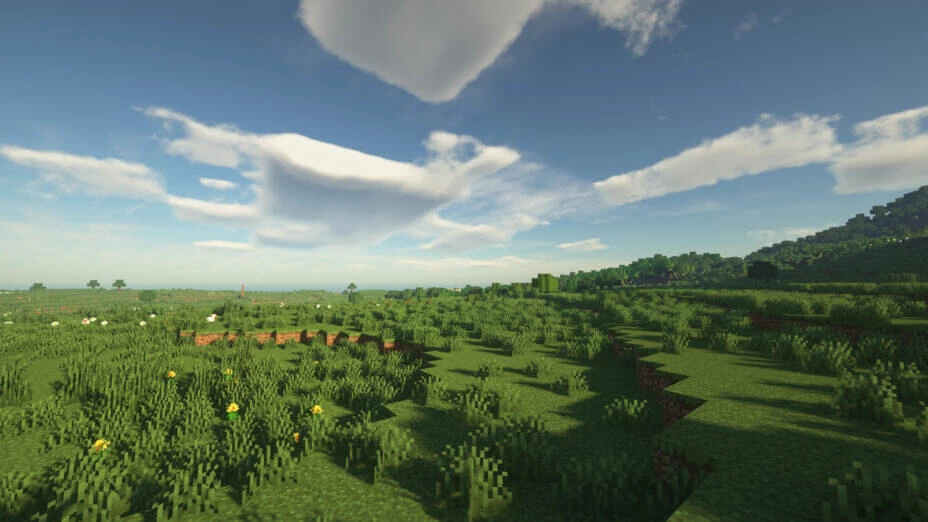
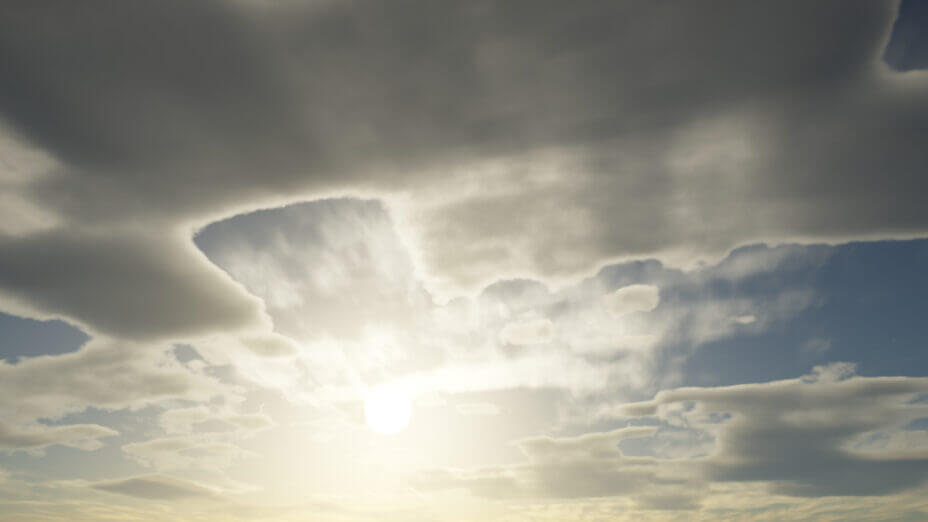
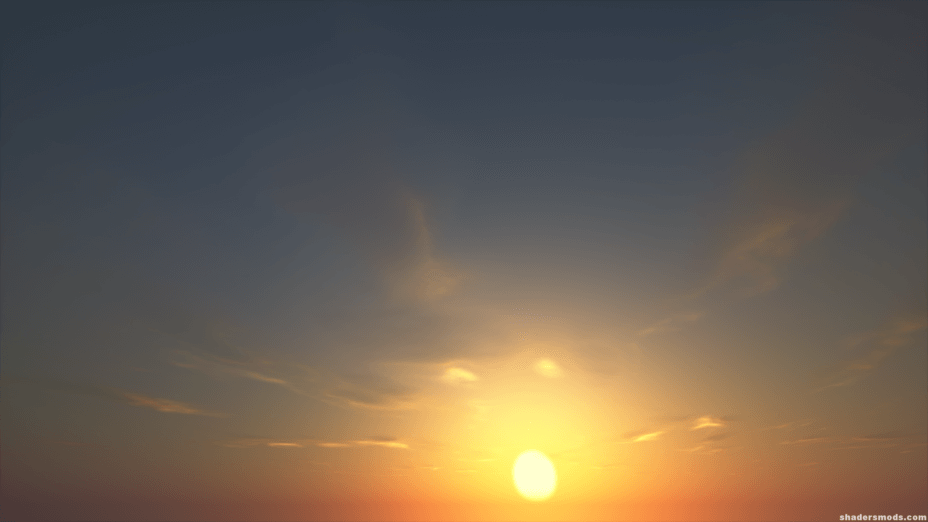
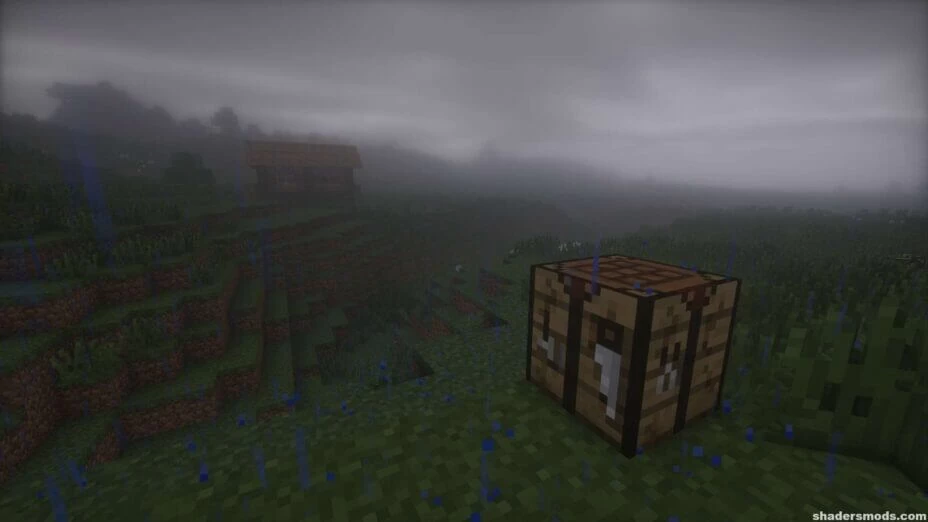
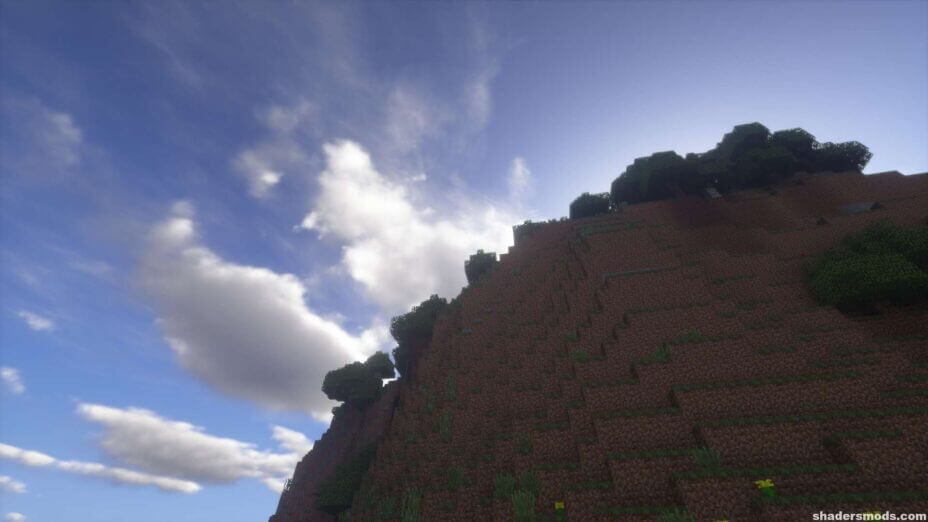
The sky textures are also one of the most notable features this shaders pack has to offer. The clouds commonly seen in vanilla are pixelated and scattered as if from a predesigned pattern. In this shaders pack, clouds look thin, whispy, and mobile–comparable to the clouds seen just out your window. Looking skyward with this shaders pack will replace those yellow squares with a living image of real clouds. While such realistic clouds may seem to stick out from the traditional pixel aesthetic Minecraft has, the two aspects complement each other quite well. This is most likely due to how Sonic Ether’s shaders overhaul almost everything else about the game, and real clouds go great with real sunshine. Real weather is excellent proof of this.
As with any overhaul texture pack or general shaders pack, it is highly recommended to run Sonic Ether’s shaders on a computer that can handle the graphical overhaul. While these features are beautiful and realistic, older computers may have a hard time keeping up with the profound and vibrant graphical changes.
SEUS PTGI — Screenshots
SEUS Renewed — Screenshots
SEUS Shaders v11.0 — Screenshots
SEUS Versions — Comparison
Features
Over 46 new features are available in SEUS Shaders to enhance your gaming experience.
📊 Performance Impacts
Decrease in performance can vary from device to device, driver version, and many other factors, you should test yourself on your machine for the best result.
- None
- No performance decreases
- Small
- ~5%
- Medium
- ~10%
- High
- ~25%
- Extreme
- +50%
-
- Ambient OcclusionMedium
- Simulating how light interacts with objects and surfaces.
-
- Atmospheric SkySmall
- Simulates realistic atmospheric scattering.
-
- BloomSmall
- Enhance the game's lighting and create a more realistic and immersive visual experience
-
- BlurSmall
- Simulate how fast-moving objects appear to blur in a photograph or video.
-
- BrightNone
- Adjust the overall brightness of the game's graphics
-
- CausticHigh
- Simulating the way light is refracted and reflected by the water's surface
-
- CinematicExtreme
- Create more cinematic and visually-stunning scenes in the game.
-
- CustomizationNone
- Customize various aspects of the game's visual effects.
-
- Depth of FieldMedium
- Making objects closer to the camera appear sharp and in focus, while objects farther away appear out of focus and blurry.
-
- Dirty LensSmall
- Simulates the effect of a dirty or scratched camera lens.
-
- HDRMedium
- Enhance the lighting and color in the game.
-
- Lens FlareSmall
- Simulating the way light scatters and reflects inside a camera lens.
-
- LightMedium
- Enhance the game's overall visual quality.
-
- Motion BlurHigh
- Simulates the way that fast-moving objects appear to blur in the real world.
-
- Moving CloudsMedium
- Simulates the movement of clouds across the sky and can be used to create the appearance of a dynamic and ever-changing sky
-
- Normal MapSmall
- Add depth and detail to surfaces without increasing the number of polygons.
-
- Ocean WavesHigh
- Simulating the movement of waves on the surface of the ocean.
-
- Parallax WaterMedium
- Enhances the realism of water by simulating the parallax effect.
-
- PBRHigh
- Enhances the realism of textures and materials by simulating the way light interacts with surfaces in a more physically accurate way.
-
- Photorealistic SkyboxesMedium
- Replacing the in-game sky with high-resolution, realistic images of the sky.
-
- POMHigh
- Realism of textures by simulating the way light interacts with surfaces.
-
- Rain ReflectionsMedium
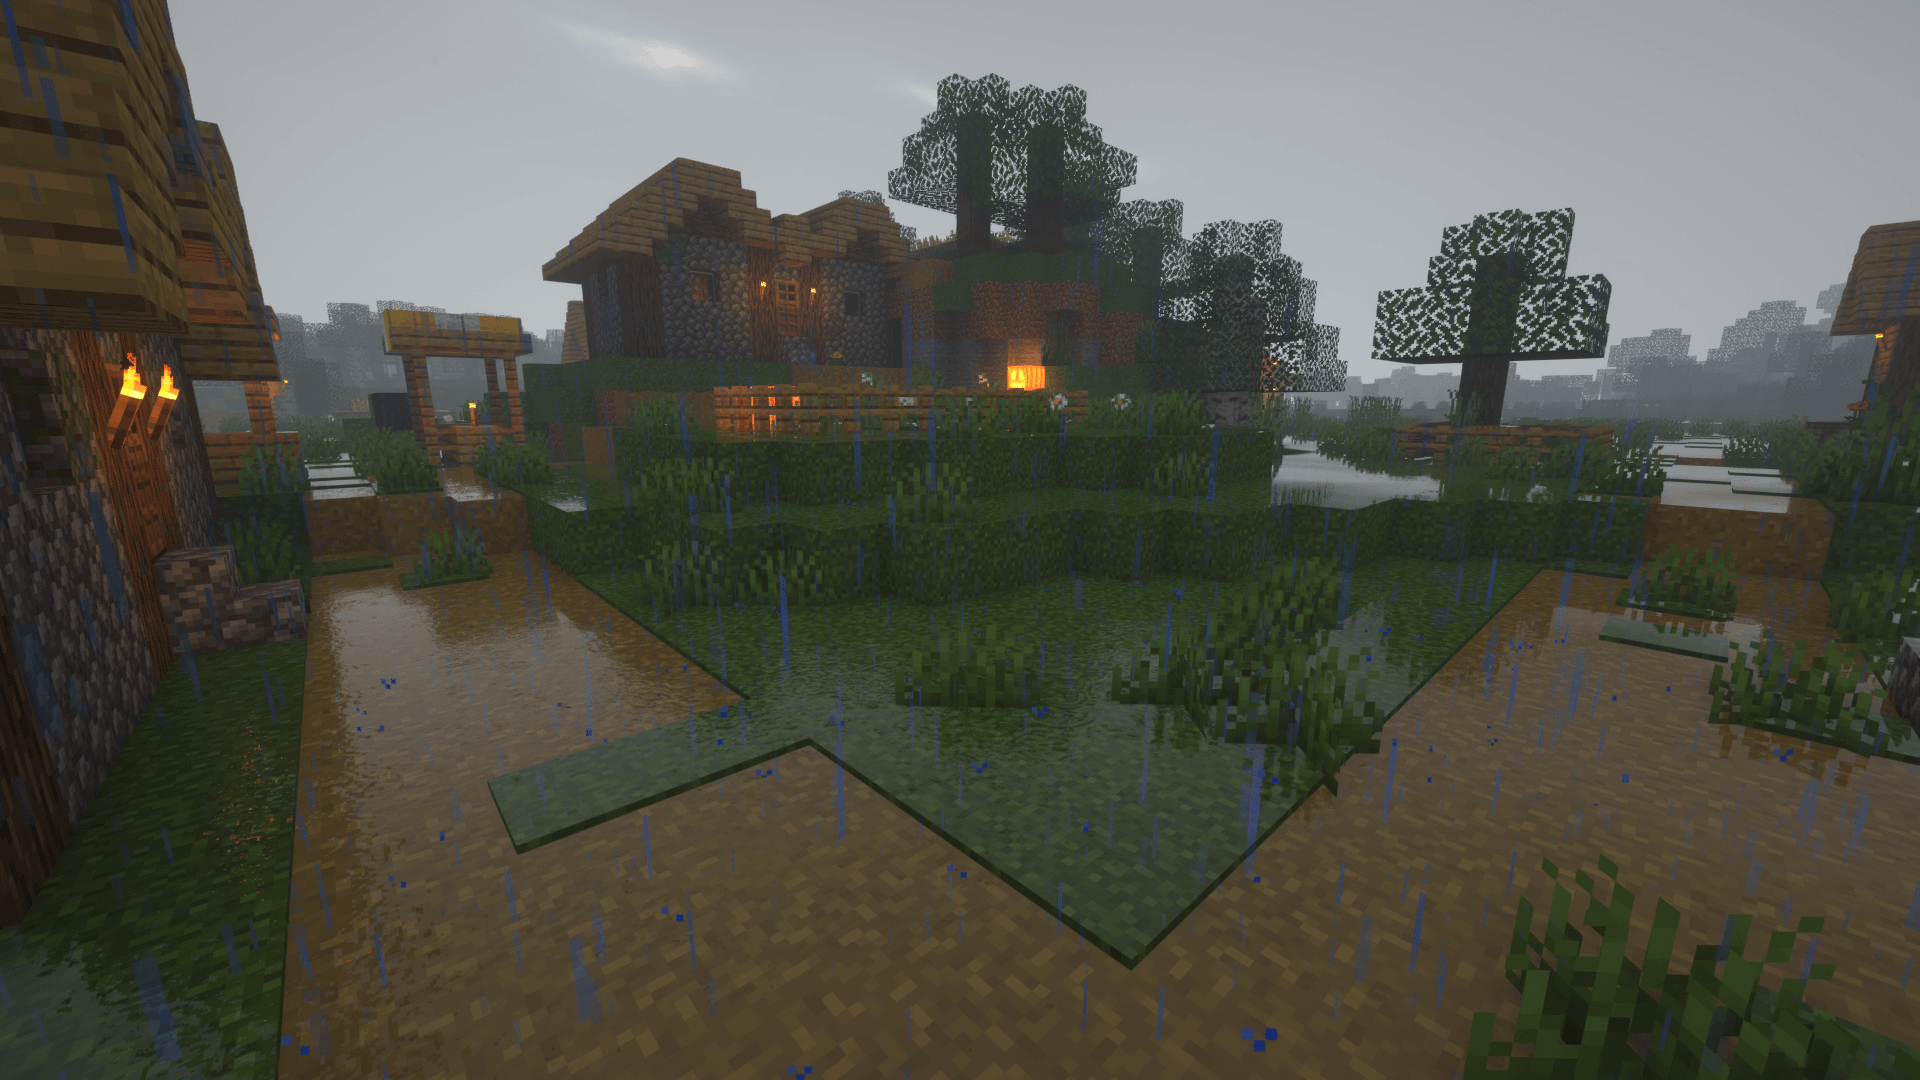
- Reflections during rainy weather by simulating the way light reflects off of wet surfaces.
-
- Ray-Traced ReflectionsExtreme
- Simulating how light behaves in the real world.
-
- Realistic NightskyMedium
- More realistic and immersive night sky.
-
- Realistic RainMedium
- More natural and immersive rain experience.
-
- Realistic SkyMedium
- More realistic and immersive sky experience.
-
- Realistic WaterHigh
- More realistic and immersive water experience.
-
- ShadowsSmall
- Simulate how light is blocked and scattered by objects in the environment.
-
- Sun RaysMedium
- Simulate the appearance of sunlight streaming through trees leaves, objects, clouds, or other atmospheric conditions.
-
- SunriseSmall
- More realistic and immersive sunrise experience.
-
- SunsetSmall
- More realistic and immersive sunset experience.
-
- TAAMedium
- Smooth out jagged edges and reduce the "stair-stepping" effect that can occur when rendering graphics.
-
- Tone MappingSmall
- Adjusting the brightness, contrast, and saturation levels.
-
- Underwater ReflectionsMedium
- Simulate the appearance of light reflecting off of the water's surface.
-
- VignetteNone
- Darkening effect around the edges of the screen
-
- Volumetric CloudsHigh
- Simulate the way that clouds appear to have volume and depth in the real world rather than just flat textures.
-
- Volumetric FogHigh
- Create the appearance of fog that is lit from within, casting shadows and creating a sense of depth.
-
- Volumetric LightHigh
- Simulating the scattering of light in the atmosphere and in the environment.
-
- Volumetric NetherHigh
-
- Volumetric The EndHigh
-
- Water ReflectionsMedium
- Simulating reflections on the surface of the water.
-
- Water WavesMedium
- Movement of waves on the surface of the water.
-
- Waving GrassSmall
- Simulating the way it moves and sways in the wind.
-
- Waving PlantsSmall
- Simulating the way they move and sway in the wind.
-
- Waving TreesSmall
- Adds movement to the leaves and branches of trees, making them look more alive and realistic.
-
- Wet EffectSmall
SEUS Shaders allow you to change more than 60 settings to suit your needs.
| Settings | Description | Options |
|---|---|---|
| Texture Resolution | Resolution of current resource pack. This needs to be set properly for reflections! Make sure to use a resource pack with consistent resolution for correct reflections! |
|
| Atmospherics Godrays, clouds, and atmosphere | ||
| Atmospheric Godrays | Enables volumetric lighting from sunlight (aka "Godrays") while not under water. |
|
| Cumulus Clouds | Whether to draw cumulus clouds. Impacts performance, especially if Clouds in GI and/or Clouds in Reflections are enabled |
|
| Cirrus Clouds | Whether to draw cirrus clouds. Doesn't impact performance as much as cumulus clouds. Impacts performance, especially if Clouds in GI and/or Clouds in Reflections are enabled |
|
| Blocky Clouds | Whether to draw cumulus clouds in a blocky shape. For that Minecrafty feel. |
|
| Clouds in GI | Whether to consider clouds in GI light tracing. Allows clouds to impact ambient lighting color at the cost of performance. |
|
| Clouds in Reflections | Whether to draw clouds in reflections. Allows clouds to appear in reflections at the cost of performance. |
|
| Water | ||
| Water Parallax |
| |
| Water Fog Density | Determines how foggy/murky water appears. Lower this value for clearer waters. |
|
| Lighting Lighting colors and intensities | ||
| Candlelight Color Temp | Color temperature of candle light in Kelvin. |
|
| Sunlight Intensity | Adjusts the relative brightness of sunlight versus sky/ambient light. |
|
| Torchlight Color Temp | Color temperature of torch light in Kelvin. |
|
| Block Light Intensity | How bright light from solid blocks is. |
|
| Torch Light Intensity | How bright light from torches is. |
|
| Dynamic Held Light | Enables held items to emit light into the scene. The light emitted is always torch-colored for now! |
|
| Light Leak Fix |
| |
| Surface All about rendering of surfaces and textures | ||
| Texture Resolution | Resolution of current resource pack. This needs to be set properly for reflections! Make sure to use a resource pack with consistent resolution for correct reflections! |
|
| Rain Wet Effect | Forces all surfaces to get wet when it rains, becoming reflective. |
|
| Rain Splash Effect | Rain ripples/splashes on water and wet blocks. |
|
| Water Parallax |
| |
| Physically Based Max Roughness | If disabled, materials that are 100% rough will have zero specular highlights (legacy SEUS behavior). If enabled, even 100% rough materials still show some subtle specular highlights. This can cause slowdown if "Full Raytrace Reflections" is on! |
|
| Wet Caves Effect | Experimental! Wets surfaces unlit by sky or block light, which results in wet caves, but also wet not-caves. |
|
| Texture LOD Bias | Higher values preserves details in textures but can lead to instability, ghosting, and reduced performance. Lower values will improve image stability and performance but can lead to lower res looking textures at distance and grazing angles. |
|
| Parallax Occlusion Mapping | 3D effect for resource packs with heightmaps. Make sure Texture Resolution is set properly! |
|
| Anisotropic LOD Bias | When enabled, preserves details on surfaces at higher grazing angles. Similar tradeoffs as Texture LOD Bias. |
|
| Smooth Parallax Surface | Smooths out the result of POM so that the resulting surface has smooth slopes instead of hard edged pixels. |
|
| Specular Tex Smoothness | Which channel (red, green, blue, or alpha) to read from the specular texture to determine smoothness. SEUS uses the red channel by default. |
|
| Specular Tex Metalness | Which channel (red, green, blue, or alpha) to read from the specular texture to determine metalness. SEUS uses the green channel by default |
|
| Smoothness as Roughness | If true, the specular texture channel used to determine smoothness will instead be interpreted as roughness (0 - perfectly smooth, 255 - maximally rough). SEUS uses smoothness (0 - maximally rough, 255 - perfectly smooth) by default. |
|
| Raytracing Raytracing! | ||
| Full Raytrace Reflections | OFF: only surfaces with high smoothness values will render reflections. ON: Allow rougher surfaces to render reflections (higher computational cost). This can cause big slowdowns with lots of semi-rough surfaces! |
|
| GI Filter Quality | Quality of GI filter. |
|
| Screen-Space Reflection Tracing | Allows for surfaces in screen-space to show up in reflections that wouldn't otherwise (mobs, grass, etc.). |
|
| Screen-Space GI Tracing | Allows for surfaces in screen-space to cast indirect shadows and lighting that wouldn't otherwise (mobs, grass, etc.). If enabled, can leave weird ghosty shadows when GI Responsiveness is low. |
|
| Reflection Trace Length | The maximum ray length of ray traced reflections. Higher values result in reflections tracing farther into the world at a higher cost. Lower values can can cause leaking in large indoor areas! |
|
| Diffuse GI Trace Length | The maximum ray length of path traced diffuse GI. Higher values result in more accurate lighting, taking farther away surfaces into account, at a higher cost. Lower values can cause leaking in large indoor areas! |
|
| Reduced Secondary GI Range | When enabled, reduces the maximum range at which secondary light bounces are rendered. Can improve performance in complex worlds. |
|
| GI Responsiveness | How well GI responds to lighting changes over time. High responsiveness allows lighting to respond to changes more rapidly, but can cause instability and decreased detail. Low responsiveness allows more samples to accumulate over time and offers increased detail and stability but causes laggy lighting. |
|
| Glowing Redstone Block | If enabled, redstone blocks are treated as light sources for GI |
|
| Glowing Lapis Lazuli Block | If enabled, lapis lazuli blocks are treated as light sources for GI |
|
| Glowing Emerald Block | Glowing Emerald Block |
|
| GI Leaf Transparency | Allows leaves to partially transmit lighting in GI, instead of fully blocking it like a full solid cube. May impact performance in certain situations. |
|
| Secondary GI Samples | How many samples to trace for the secondary GI tracing. Higher samples reduces the "disco floor" artifact mostly seen in reflections at the cost of performance. |
|
| Geometry Trace Quality | 0 - No blocks are ray traced with their specual shapes (slabs, stairs, etc.). 1 - Some blocks are traced with special shapes (stairs, slabs, doors, fences). 2 - All blocks (that have been coded so far) are traced with their special shapes. Lower setting causes artifacts but is faster. |
|
| Post-Processing Color grading, motion blur, final presentation stuff. | ||
| Anti-Aliasing | ||
| FXAA | Number of passes of FXAA to apply after temporal anti-aliasing. |
|
| Skip All Anti-Aliasing | Just for demonstrative purposes! Disables all anti-aliasing/temporal reconstruction! |
|
| Pixel Look | Controls the fine-scale look of the final image. Sharp: If you prefer a sharper image. Filmic: Adds additional filtering to provide a softer, more film-like look. |
|
| AA Style | Stable: AA more generously prefers blending history for a more stable image. Responsive: AA tries to more quickly refresh the image when changes happen. |
|
| Tonemapping Curve | Controls the intensity of highlights. Lower values give a more filmic look, higher values give a more vibrant/natural look. Default: 5.5 |
|
| Tonemap Operator | Each tonemap operator defines a different way to present the raw internal HDR color information to a color range that fits nicely with the limited range of monitors/displays. Each operator gives a different feel to the overall final image. |
|
| Motion Blur | Motion blur. Makes motion look blurry. |
|
| Motion Blur HQ | Higher quality motion blur at a small performance cost |
|
| Motion Blur Intensity | The intensity of motion blur. Higher values will cause more blurring with motion. |
|
| Exposure | Controls overall brightness/exposure of the image. Higher values give a brighter image. Default: 1.0 |
|
| Gamma | Gamma adjust. Lower values make shadows darker. Higher values make shadows brighter. Default: 1.0 |
|
| Saturation | Saturation adjust. Higher values give a more colorful image. Default: 1.0 |
|
| Black Depth | Adjusts intensity of blacks/low light in the image. Higher values will push darker light into blackness. 0 disables the effect. |
|
| WHITE_CLIP | Clips bright colors to white |
|
| Bloom Strength | Amount of bloom to apply to the image. |
|
| Post Sharpening | The amount of sharpening to apply to the image before final presentation. |
|
| Utility Gameplay utility stuff. | ||
| Visualize Dangerous Light Level | When enabled, areas with a block light level of 7 or below (where mobs could spawn) are highlighted in red. Useful for determining the safety of an area in survival gameplay. Doesn't consider sky light level. |
|
Comparison
Our comparison tool makes it easy to compare SEUS Shaders with Minecraft vanilla and other shader packs.
How To Install SEUS Shaders
- Support Forge / Vanilla
- Extra features
- Good performance
- Support Fabric / Quilt
- Better performance, depend on your hardware
Optifine Installation Guide
Note
Your device must have Java installed to run the Forge and Optifine installers.
Quick Java Installation Guide
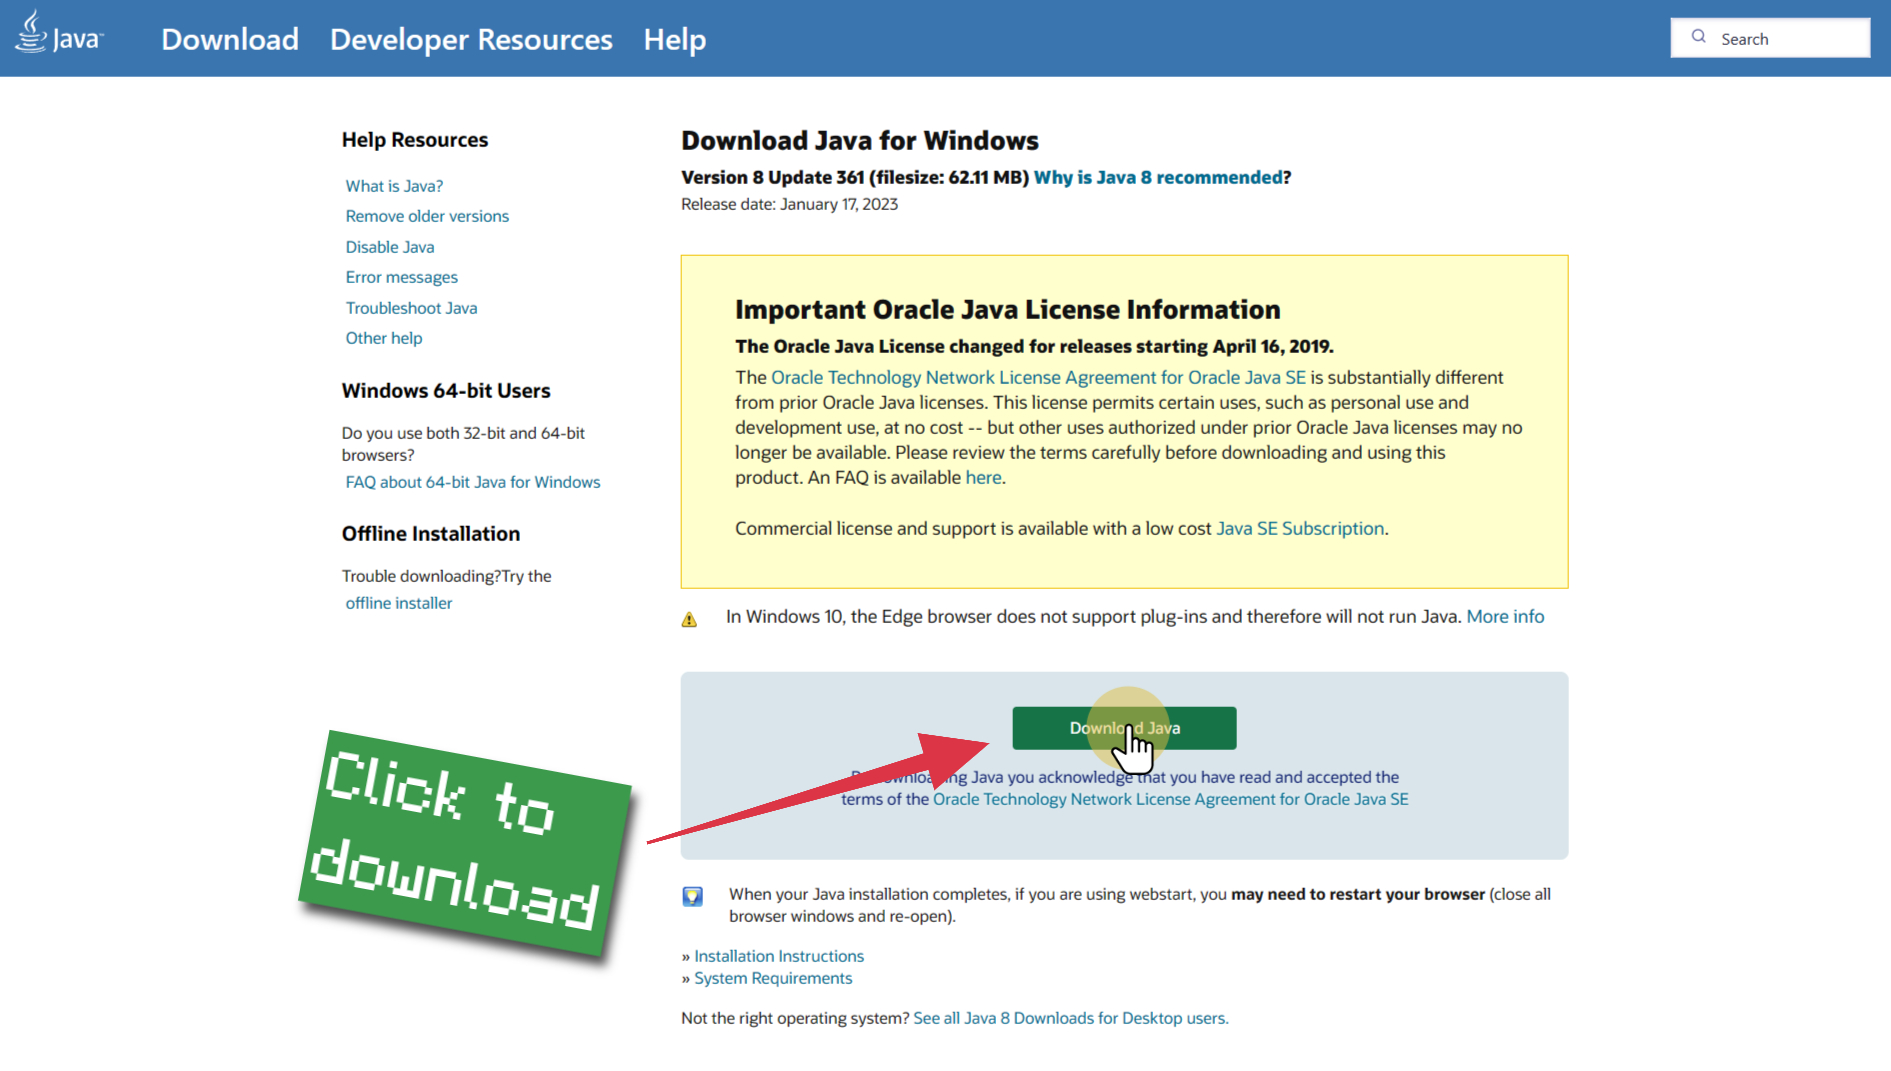
Download Java
Download the Java installer from the official website here.

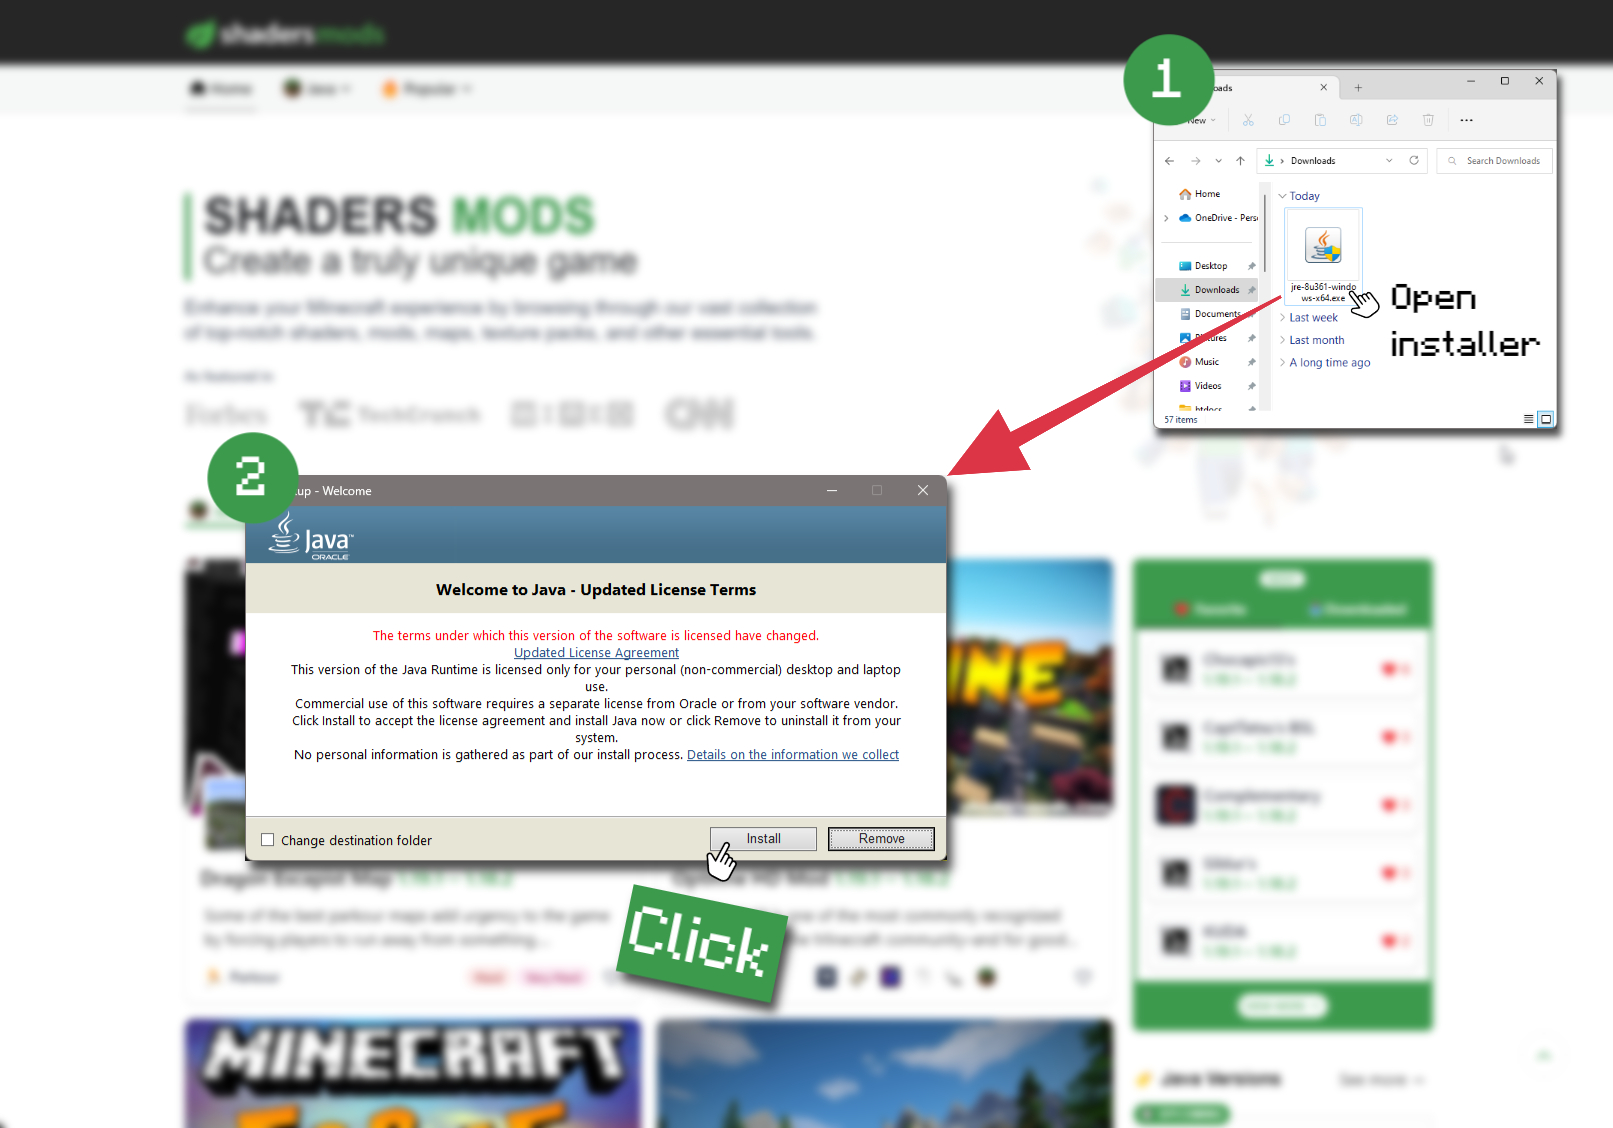
Open Installer
Once you have downloaded the file, run it and click the Install button.

How to install SEUS Shaders with Optifine?
Download Optifine
Get the latest version of Optifine for your Minecraft version.
Download OptifineInstall Optifine
Run the Optifine installer and follow the on-screen instructions to complete the installation.

Download SEUS Shaders
Go to the download section and get shaders zip file. Unzip the file if necessary, as some shader developers may bundle multiple shader versions in one zip file.
Launch Minecraft
Start the Minecraft launcher and make sure you have the Optifine profile selected.

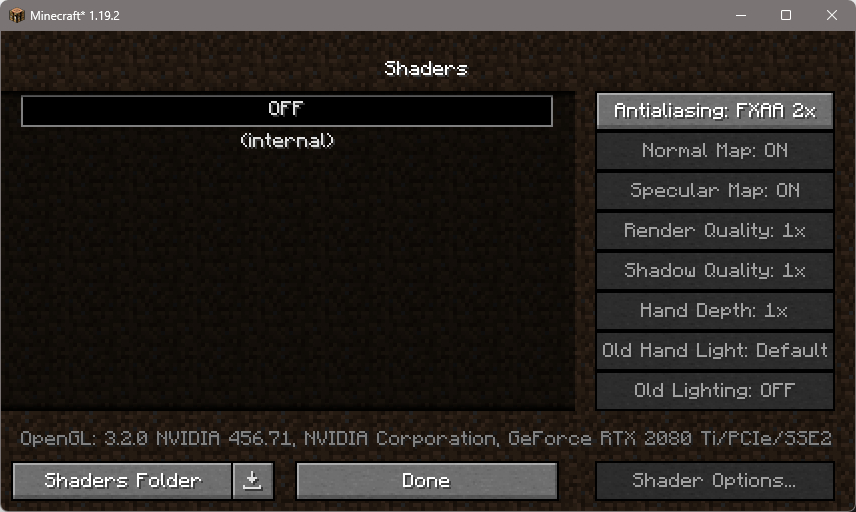
In-game Shaders menu
Go to Options > Video Settings > Shaders to access the shaders menu.

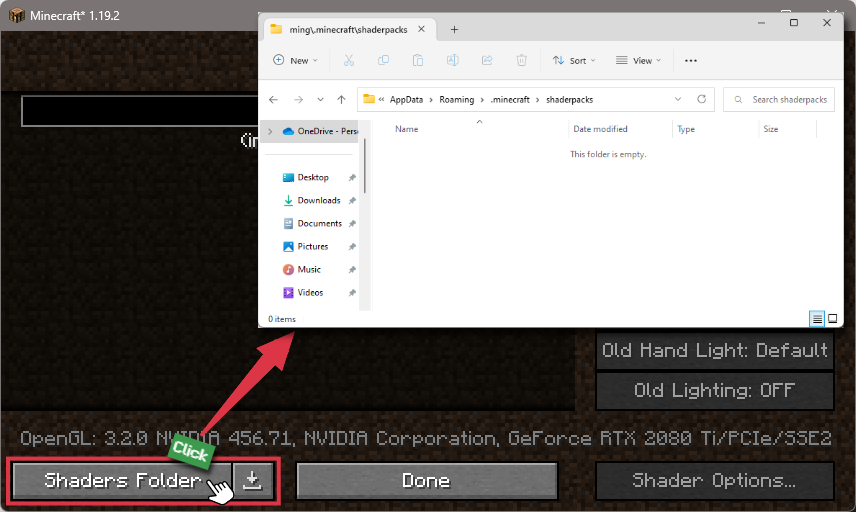
Open shaderpacks folder
Click on the "Shaders Folder" button to open the folder where shaders are stored, so you can add or remove shaders as desired.

Install SEUS Shaders
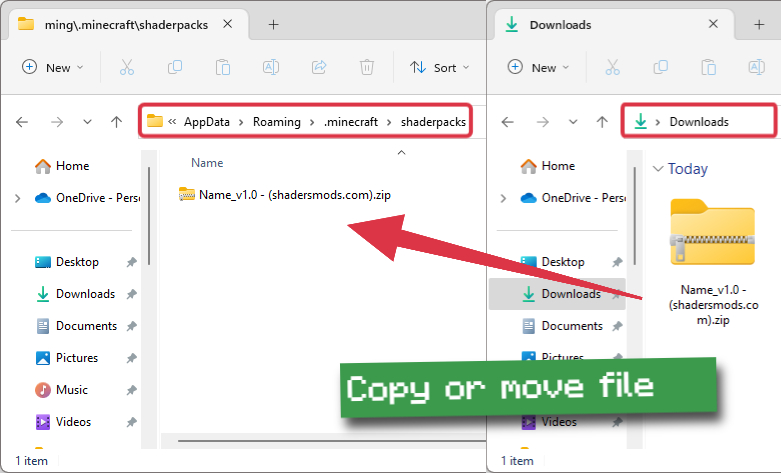
Copy or move the downloaded SEUS shaders zip file into the shaderpacks folder.

Select SEUS Shaders
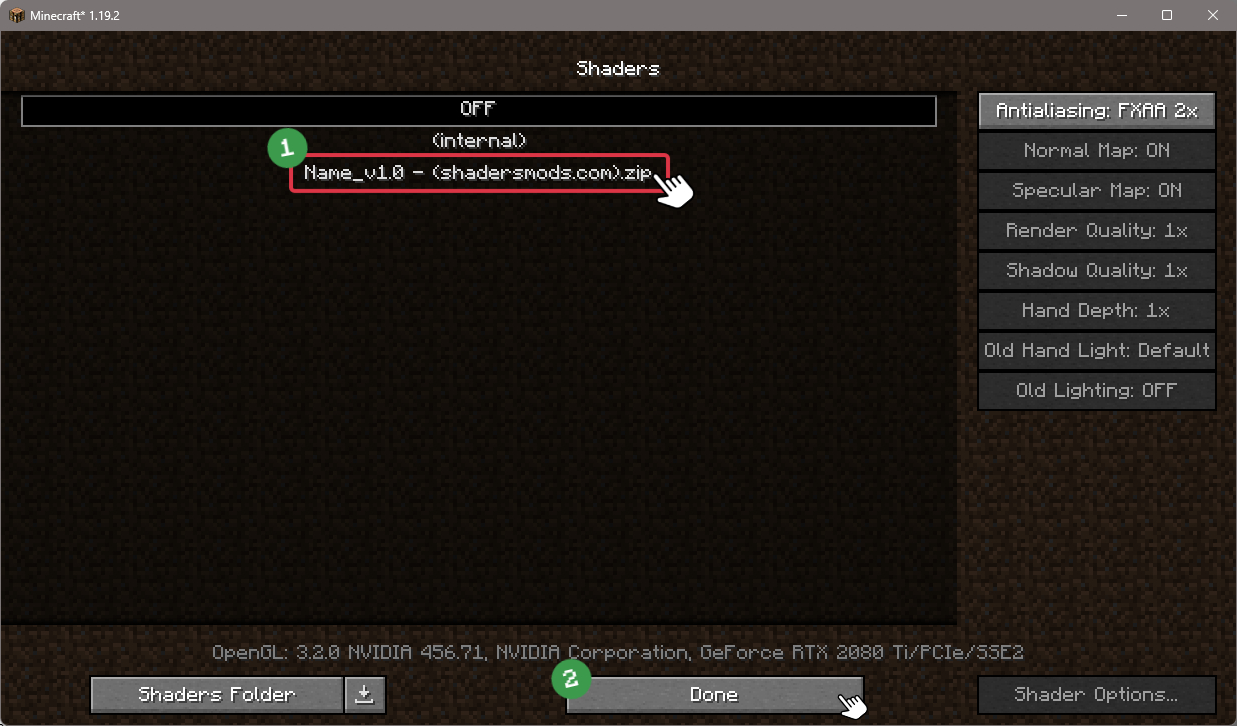
Choose SEUS shader pack from the list of available shaders in the options menu.

How to install SEUS Shaders with Forge and Optifine?
Quick Installation Guide
Install Forge
Obtain the latest version of Forge that is compatible with your Minecraft version.
Download Minecraft ForgeLaunch Minecraft
Start the Minecraft launcher and select the version of Minecraft you want to install Forge on. Run the game once by clicking on the "Play" button to create necessary files for Forge.

Install Forge Client
Double-click on the Forge installer jar file and choose "Install Client" in the window that appears.

Install Optifine
Download the Optifine jar file after Forge is installed. Move the Optifine jar file to the mods folder in the .minecraft directory.
Download Optifine
Launch Forge Profile
Launch Minecraft using the "Forge" profile, Optifine will be automatically loaded along with Forge.

Install Chocapic13's Shaders
Now the installation is the same as from the above Optifine instructions, just follow the steps starting from step 5.
Iris Installation Guide
Note
Your device must have Java installed to run the Iris installer.
Quick Java Installation Guide
Download Java
Download the Java installer from the official website here.

Open Installer
Once you have downloaded the file, run it and click the Install button.

How to install SEUS Shaders with Iris?
Download Iris Shaders
Find the latest version of the Iris Shaders installer and download it.
Download Iris InstallerInstall Iris Shaders
Open the downloaded jar file, and choose the preferred game version and installation type.
⯈ Iris Install:
If you don't plan on using any other mods with Iris, choose this option.⯈ Fabric Install:
Choose this option if you want to use Iris with Fabric and other mods. The Iris jar files will be copied to the mods folder within the .minecraft directory.
Start Installation
After selecting the game version and installation type, click the "Install" button to start the installation process.
Launch Minecraft
Start the Minecraft launcher and make sure you have the Iris profile selected.
Note
Select the Fabric profile if you opt for the Fabric installation type.
In-game Shader Menu
Open the Minecraft game and go to Options > Video Settings > Shader Packs to access the shaders menu.
Tip
To simplify the process, simply drag and drop the shader ZIP file directly into the Minecraft window, bypassing the next two steps.
Open shaderpacks folder
Click on the "Open Shader Pack Folder" button to access the folder where shaders are stored.

Install SEUS Shaders
Copy or move the shaders zip file into the shaderpacks folder.

Select SEUS Shaders
Choose installed shader pack from the list of available shaders in the options menu and click the "Apply" or "Done" button to select it.
Tip
When the shader pack is selected, its name will be changed to yellow.
SEUS PTGI Requirements
- Minecraft 1.14.4 (older version compatibility is a work in progress) or newer
- OptiFine HD U F3 or newer
Options > Video Settings > Details > Alternate Blocks: OFF
Options > Video Settings > Details > Trees: Fancy or Fast
Options > Video Settings > Quality > Natural Textures: OFF
Options > Video Settings > Shaders > Shadow Quality: 1x
Options > Video Settings > Shaders > Old Lighting : DEFAULT
Resource packs with custom block models will probably cause lighting glitches!
PTGI Known Issues
- Particles aren’t rendered properly yet.
- Block texture alpha is not considered in diffuse GI tracing, so doors and trapdoors currently don’t let any light through their windows.
- Being underwater in ravines/caves shows light leaking and “glowing” water fog. This is unavoidable currently.
- “Disco Floor” flickering artifact is mostly seen in reflections (the new Secondary GI Samples option can help with this).
- Secondary GI bounces (2nd bounce and onward) can take a while to adapt to lighting changes.
- Issues with the rendering of semi-transparent/translucent materials.
- Lighting breaks often when using resource packs with custom models; a solution is being investigated!
📥 SEUS Shaders — Download
Something You Should Know
- Our links are only from the official developer, so you can be sure they are secure.
- No modifications or edits are made to the files.
SEUS PTGI:
Cutting-edge ray tracing shaders for Minecraft, providing unparalleled realism and visual fidelity.
SEUS Renewed:
A popular shader pack for Minecraft, known for its beautiful lighting, shadows, and atmospheric effects.
[All Versions] Download SEUS Renewed 1.0.1 Shaders
- Last updated on 2/10/2020
Legacy SEUS:
A classic shader pack for Minecraft, famous for its impressive lighting and shadows, providing a nostalgic experience.
[All Versions] Download SEUS v11 Shaders
- Last updated on 6/27/2016
[All Versions] Download SEUS v10.2 Ultra Shaders
- Last updated on 4/14/2016
🔄 Update Logs
SEUS PTGI HRR 3
- Atmosphere, cloud, and outdoor lighting improvements: white balance adjustment to make the sky bluer and sunlight less dingy, decreased cloud coverage directly overhead and increased coverage in the distance near the horizon, balanced cloud and sky colors so that ambient shadows aren’t pale and washed out anymore when Clouds in GI is enabled.
- All blocks in 1.18.1 function properly, including new light sources: candles, glow lichen, and glow berries.
- Candle lighting is based on the colors in the candle texture itself and how many candles are in a block.
- Sea pickles and end rods now emit light.
- GI denoising filter improvements.
- Reworked default tone mapping for an emphasis on a bright, vibrant look.
- Increased GI voxel data area size, allowing greater view distance for ray tracing effects.
- Increased default diffuse and reflection ray lengths to accommodate 1.18’s larger caves and world structures.
- Improved “HRR” tech: fixed blurring when quickly moving the view, improved stability and responsiveness, improved “Filmic” pixel look setting.
- Entities now have proper motion vectors and don’t look awful under motion, and contribute properly to motion blur!
- Default water fog density is now 0, avoiding glowing water issues. You can turn it back on if you miss it!
- Smoother bloom.
- Fixed bug seen in the shading of blocks inside smooth reflections.
- General cleanup for shader options.
- Changed default torchlight color temperature.
- Added new option: Lighting > Candlelight Color Temp.
- Added new option: Lighting > Light Leak Fix. This replaces the old light leak fix options previously found in Raytracing settings. This has been reworked/improved to not be based on where the player is, so moving in and out of caves no longer awkwardly enables/disables light leaking.
- Reworked Utility > Visualize Dangerous Light Level option. Considers that mobs now require light level 0 to spawn and doesn’t look blinding and horrible anymore.
- Added new option: Surface > Texture LOD Bias. Higher values increase detail in textures but can lead to instability, ghosting, and reduced performance. Lower values improve image stability and performance but can lead to lower-resolution textures at a distance and grazing angles.
- Added new option: Surface > Anisotropic LOD Bias. Enabled by default. When enabled, it preserves details on surfaces at higher grazing angles. Similar tradeoffs as Texture LOD Bias.
- Added new option: Surface > Wet Caves Effect. Disabled by default. An experimental effect that attempts to make surfaces inside caves damp/wet.
- Added Raytracing > GI Responsiveness option. High responsiveness allows lighting to respond to changes more rapidly but can cause instability and decreased detail. Low responsiveness allows more samples to accumulate over time and offers increased detail and stability but causes laggy lighting.
- Fixed crazy bloom when in lava.
- Fixed caustic bugs.
- Added short raytraced contact shadows.
- Fixed certain flowing lava shapes not being voxelized or contributing to lighting.
- New physically-inspired low-light vision effect which now applies on top of the entire image instead of fakely on certain light types and improves the look of night scenes.
- Moonlight overhaul: the moon phase now properly affects nighttime lighting, being fairly bright during the full moon and very dark during new moon.
- Moon and moonlight color tweak.
- Starlight contribution to GI at night, providing some visibility even when the sky is very dark at night when the moon is at its darkest phase.
- Increased max ray distance for Atmospheric Godrays.
- Improved energy conservation in reflection filter. Rougher surfaces now show more subtle reflections more visibly.
SEUS Renewed 1.0.1
- Improved GI and SSAO.
- Super smooth Temporal Anti-Aliasing.
- Completely reworked system for day/night cycle based on atmospheric scattering.
- Accurate sunlight color via atmospheric scattering.
- Accurate ambient sky lighting from atmospheric scattering via Spherical Harmonics.
- New atmospheric scattering on distant land for a natural senseofscale.
- New underwater rendering.
- Normal/bump mapping from torch/artificial light.
- Screenspace shadow tracing for better contact shadows.
- Vastly improved performance with long render distance settings.
- Physically-based specular highlights from sunlight.
- Improved 2D clouds.
- Improved rendering of stained glass.
- New rain/wet effects.
- End and Nether shaders.
- Improved POM and POM self-shadowing.
- Improved shadows.
- Fixed graphical glitches related to TAA occurring on newer NVIDIA graphics hardware/drivers.
- Many more, too many to list here!
SEUS Legacy v11
- Variable Penumbra Soft Shadows.
- Proper rendering of transparent objects.
- Proper light absorption through stained glass.
- Stained glass-colored shadows.
- New volumetric clouds.
- New water rendering.
- Water caustics.
- Crepuscular rays.
- Improved GI
- Vastly improved shadow and GI render distance.
- Automatic exposure adjustment based on average brightness.
- More natural/realistic lighting values.
- Atmospheric scattering.
- New BRDF for diffuse and specular lighting.
- Spider / Enderman’s eyes no longer look glitched.







Comments (159)
Can someone please tell me how I get the waving grass/wheat/leaves? In video tutorials it is only shown how to turn if OFF, by changing the gbuffers_terrain.vsh and putting a “//” infront of the lines “#define WAVING_GRASS” etc.. my problem is that in my gbuffers_terrain.vsh there are NOT such lines!! I am missing the “#define …” lines.. why?
I’m having the same problem.
Cant get the water working. Im on 1.13.1 with the “Renewed” version. Its just a flat transparent texture, not reflective like in the Renewed screenshots. What am i doing wrong?
i think it is an option u have to turn on in the shaders/optifine settings
You’re not alone there, and I don’t think it’s just this shader pack. I’ve tried a couple and neither grass or waves are moving. I updated to the latest Java and still not working, either with default textures or a custom pack.
Alrighty boyos I found how to fix the composite 1 error. Make sure minecraft doesn’t have the shader loaded before doing this.
1)Unzip the shader into a folder
2)Find the file named “composite1.fsh” and open it with your favorite notepad editor
3)On or around line 951 find this this following line:
vec4 ComputeFakeSkyReflection(in SurfaceStruct surface) {
4)Change the word “in” to “inout” and save
5)Zip the folder back up and put it back in the shaders folder.
It should be fixed, enjoy :)
ALRIGHTY GUYS I FOUND A SOLUTION TO INVALID PROGRAM COMPOSITE 1
To fix it:
1)Make sure your game is closed
2)Extract the zip folder of the shader
3)Look for the file named composite1.fsh
4)Open it with your favorite notepad editor
5)Look for the following line (its around line 951)
vec4 ComputeFakeSkyReflection(in SurfaceStruct surface) {
6)Replace the word “in” with “inout”
7)Save, zip it back up, plop the new zip into your shaders folder and it SHOULD work.
Now if you trust me, I did that for you and you just need to put it into your zip file
https://drive.google.com/file/d/1CG9UysqK8gQW-n97I0WVcGXZAeCy1yto/view
Fair warning, this wasn’t really meant to be changed so it may lead to unexpected behavior…
Happy shading~
I edited the shader pack and it works properly now I am on a MacBook Air
i can’t use OptiFine i can use it but i wont because then i can’t use the mod called minecraft comes alive mod be cause OptiFine and mca don’t work with each other i want shaders for 1.10.2
If I use this shader, I would definitely remove the Minecraft vanilla clouds. Because If I let the Minecraft vanilla clouds to combine with this shader pack, it will make the shader more uglier, but it’s still better than not using shader and using bad shader.
Why does the shader creator allow Minecraft vanilla cloud to join with the shader? He didn’t even know that allowing Minecraft vanilla clouds into the shader pack would make it uglier? Anyways, Sonic Ether, I hope you remove Minecraft vanilla cloud out of your shader pack so it will more beautiful with realistic 2D cloud like small fully beach waves, water and rain reflections, good graphics, good sun and moon with star and more…
I rate this shader as a ultra good shader as with good features but please, remove Minecraft vanilla clouds out of this shader pack. Remove the vanilla cloud out of the shader would make it better very, very, very much than letting vanilla cloud sit there
That’s mean only the features from SEUS v10.1 Ultra were introduced into this shader without Minecraft vanilla clouds
Why do I tell you to not allow the Minecraft vanilla clouds into this shader pack? It’s because I cannot find a way to remove vanilla cloud and that making your shader become bad but still better. Thank you for reading this
I guess people will say: “While using SEUS shader you can just disable Minecraft vanilla clouds by going to: Esc -> Options -> Video Settings -> Details -> Cloud: On -> Off”, right? I don’t know if the “Clouds” option evenin the “Details” setting but I just gonna say the chances is “50%” cuz I don’t know. But, please, Sonic Ether, please not to allow the Minecraft vanilla clouds into your shader, okay? Please?