Complementary Reimagined Shaders 1.19.4 → 1.18.2
Minecraft shader pack with customizable high-quality effects, attention to detail, and top-tier optimization.
| Developer | 👤EminGTR |
|---|---|
| Style | 🔮Fantasy |
| Support GPUs | |
| Loaders | |
| Performance Impact | Low |
| Settings | 62 |
| Presets | 🛠️ Potato+5 |
| Features | Volumetric Light+38 |
| Created | May 25, 2022 |
| Updated | Apr 24, 2023 |
| Stats |
|
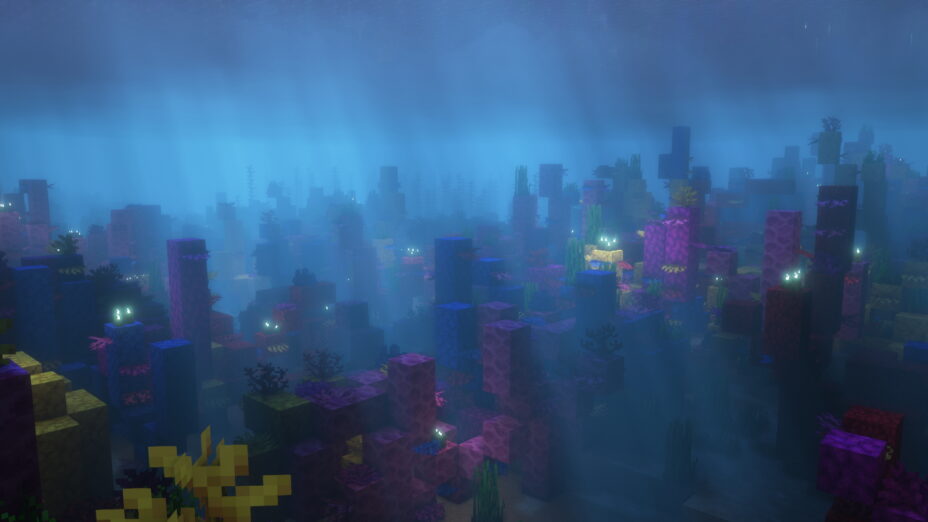
The aesthetics of Minecraft have always been a source of contention. Personally, I believe that giving Minecraft a new design and forsaking its blocky nature will irritate a sizable number of users. Indeed, the same community that loved the nostalgic look of Minecraft’s cubes derived an already-existing shader pack and created another version that complements Minecraft and its glory, Complementary Reimagined Shaders, a shader pack that aims to make the best visuals that are inspired by the lighting as seen on other official Minecraft content, such as Minecraft Dungeons, Story Mode, Legends, Trailers, and even concept art. However, because shader packs necessitate a considerably more powerful computer, a GTX 960 or GTX 1060 minimum is suggested to run the game with this shader installed, while the user can slip in with a lower spec, with some changes to improve playability.
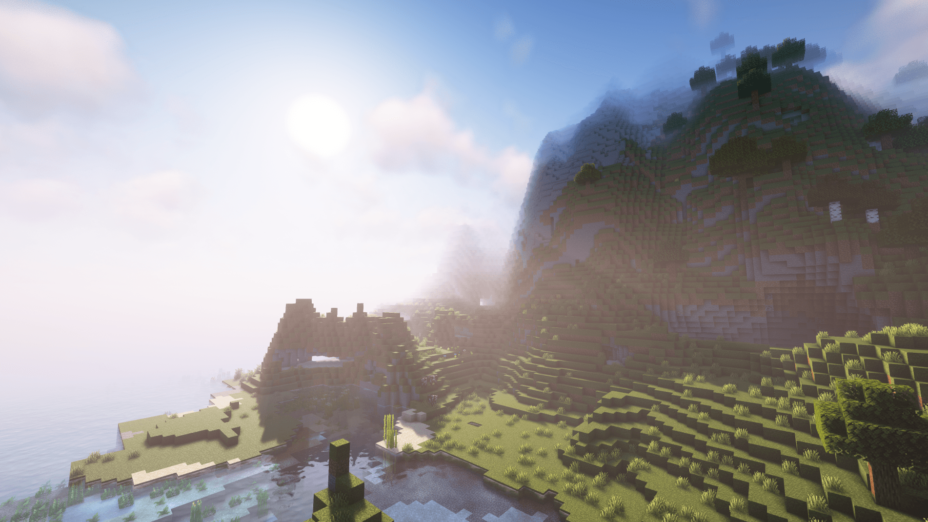
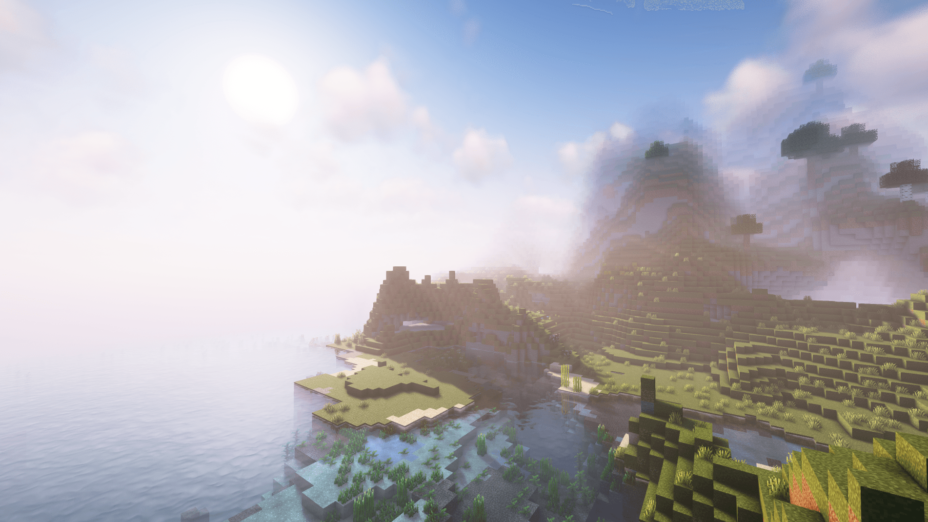
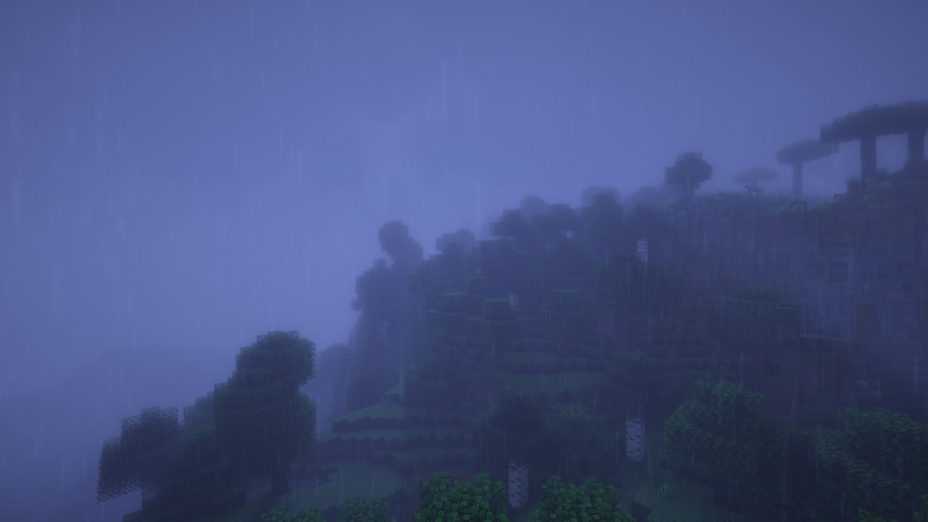
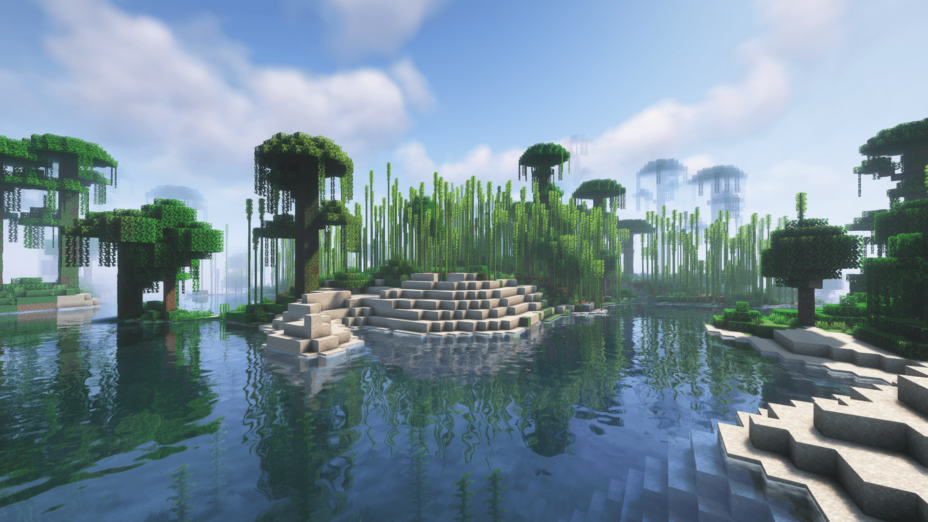
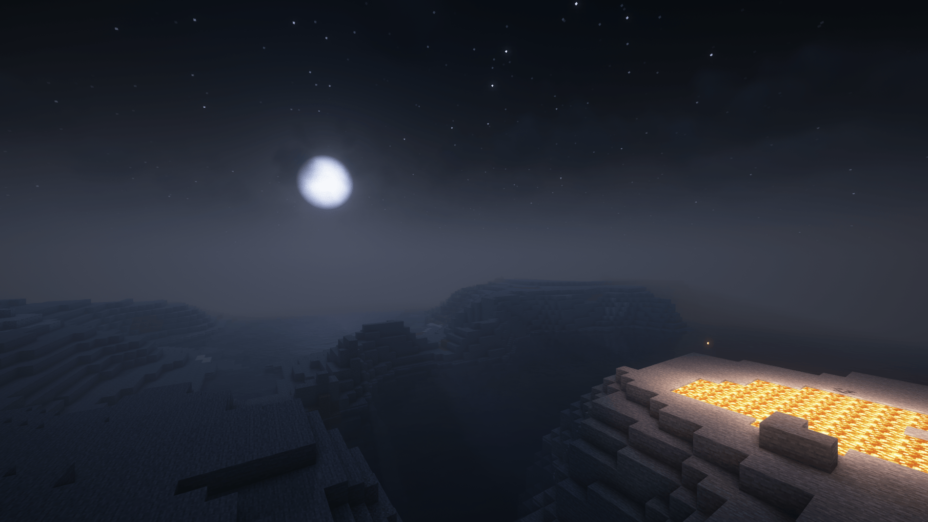
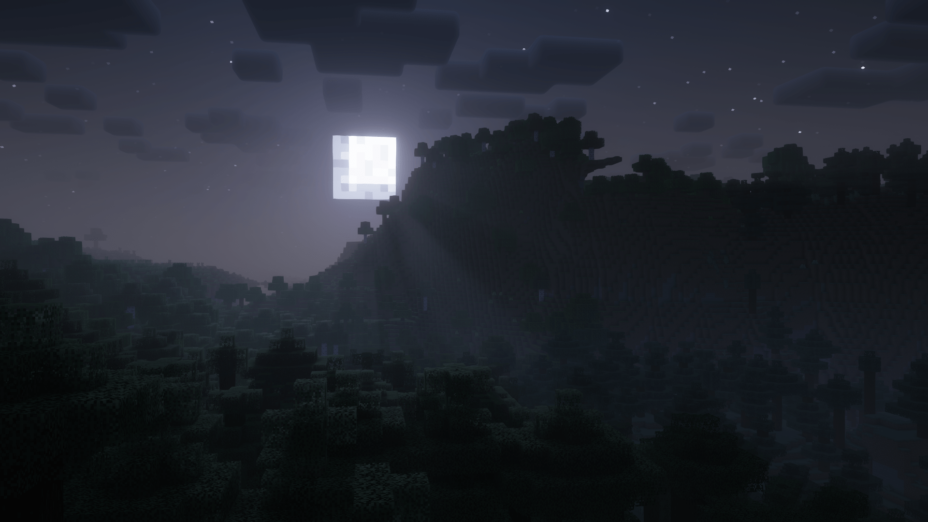
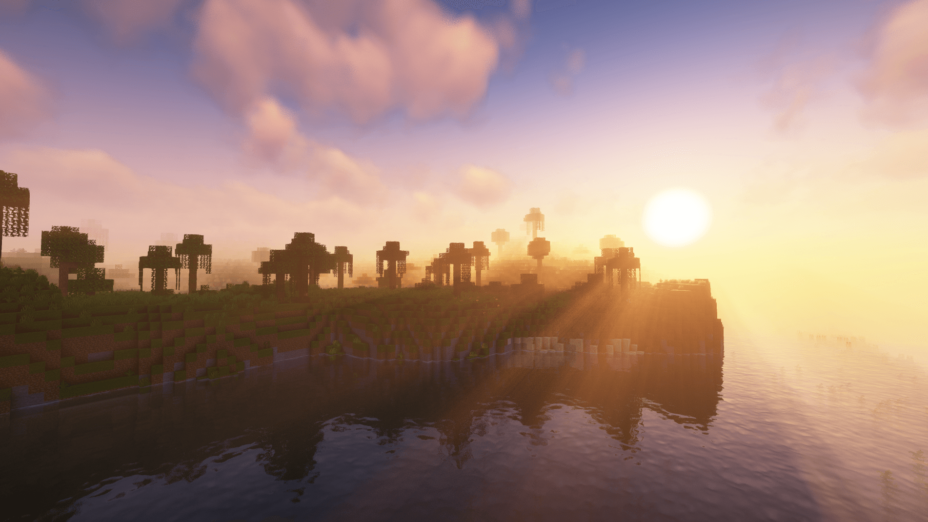
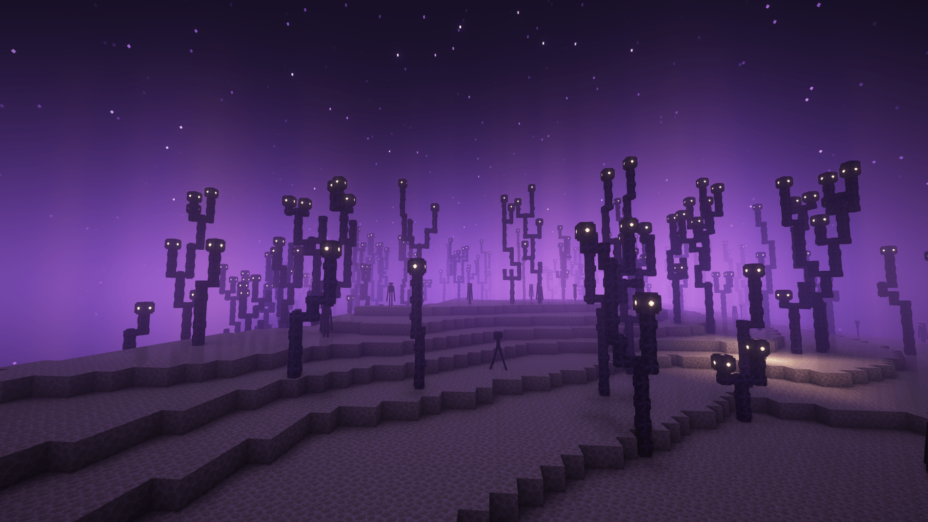
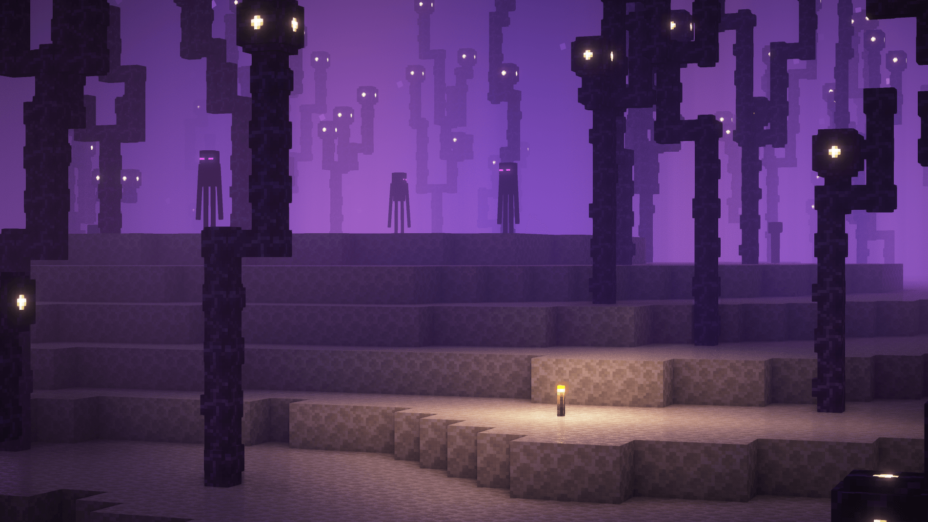
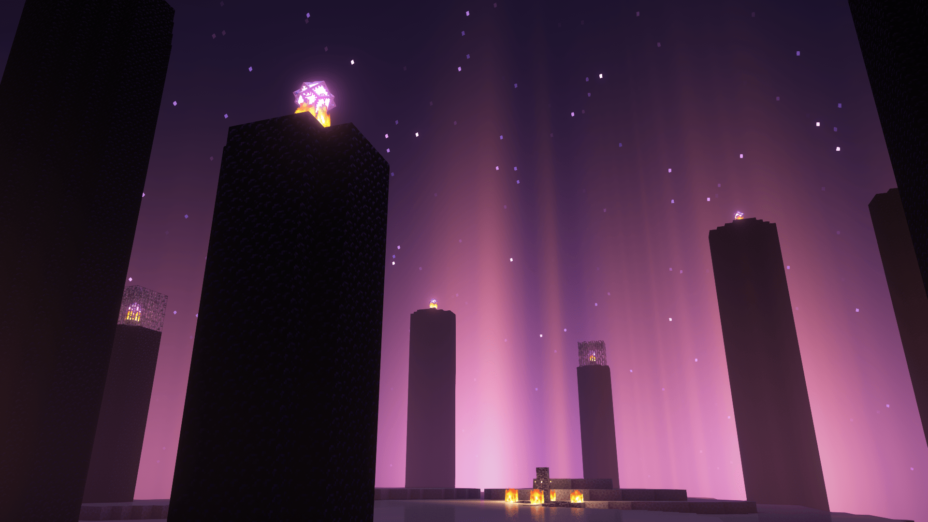
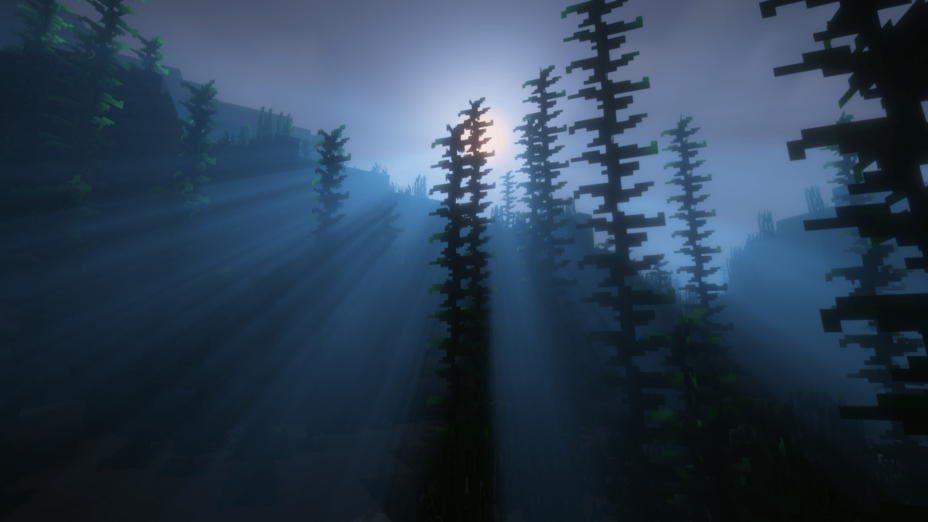
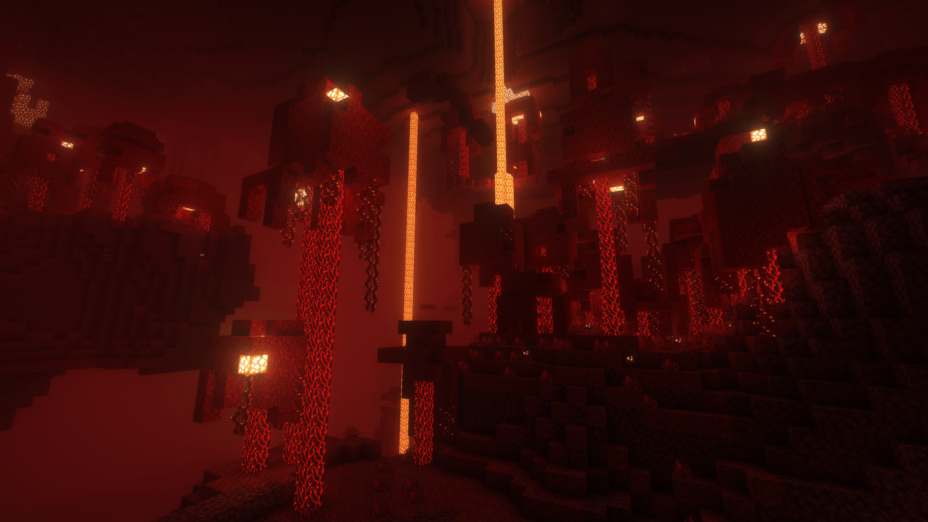
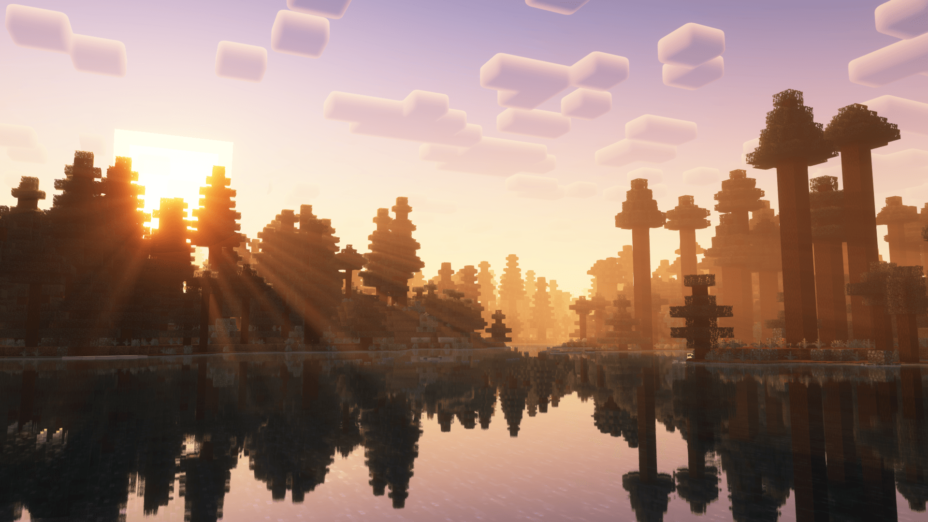
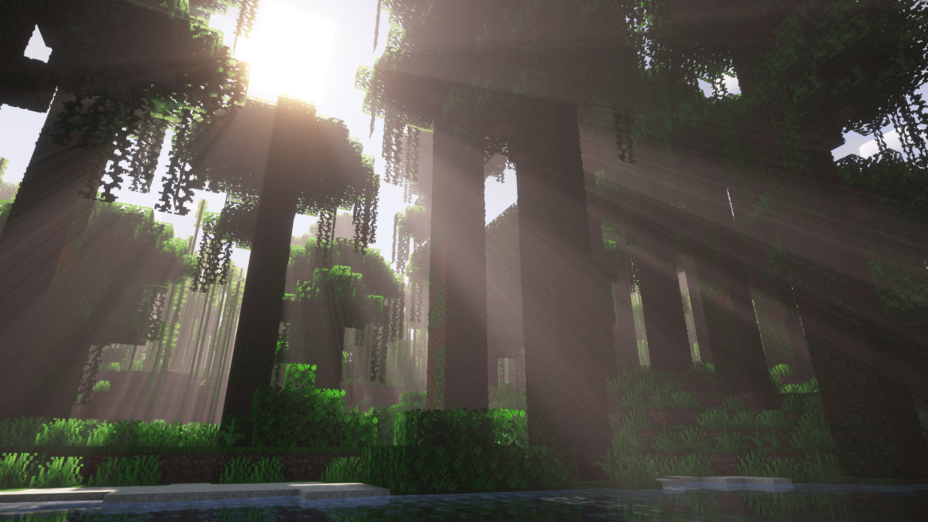
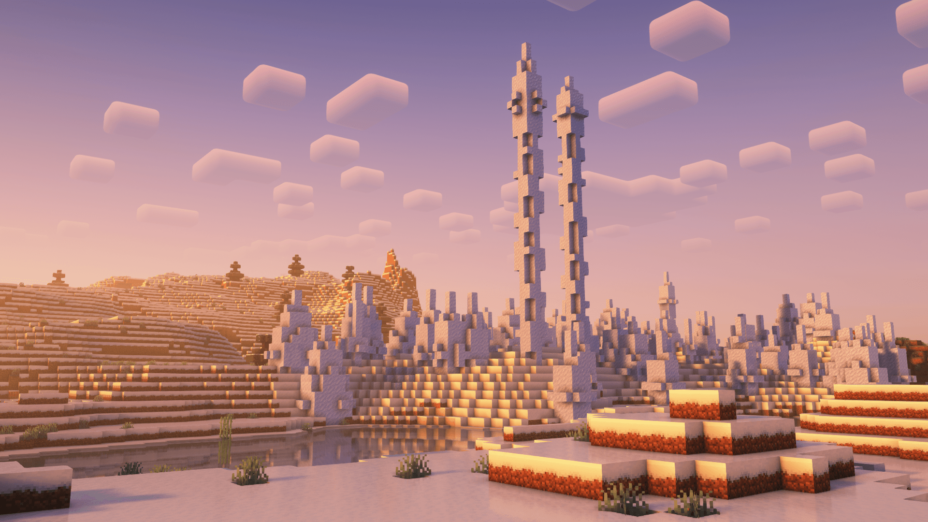
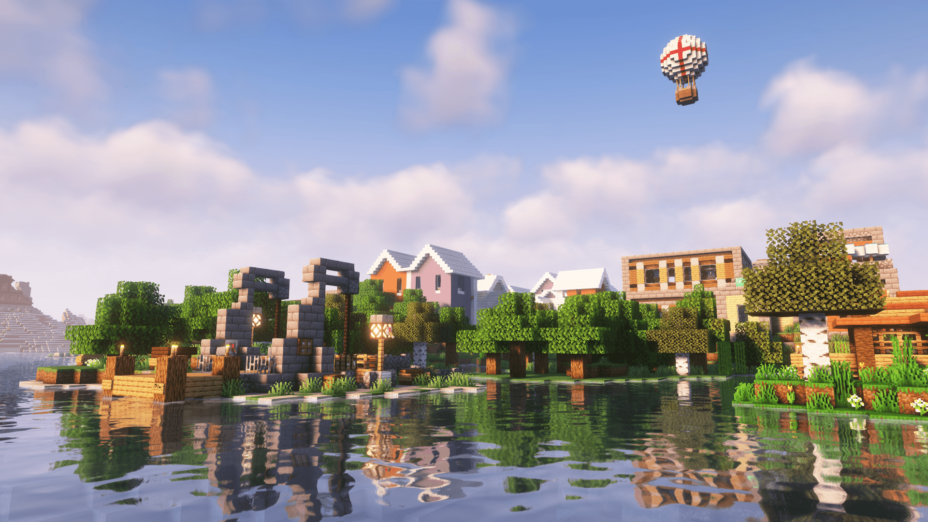
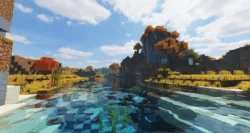
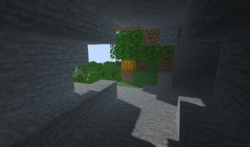
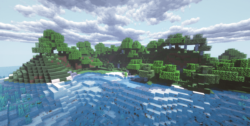
Complementary Reimagined 2.1 Shaders has done an excellent job of improving the visual aesthetics of vanilla Minecraft. It ensured that the blocky environment behaved as such, from the shadows to the reflections in the seas. In comparison to the original Complementary version, the shadows are considerably more concentrated on having a cube shape rather than rounded corners. The clouds are formed like squares and rectangles, confirming their purpose as a blocky universe. Furthermore, the End World has a Northern Lights atmosphere, as the aurora borealis lighting brightens the dark, void-ic sky with a hazy, celestial aura. Aside from that, Complementary Reimagined has fewer things to look at because its purpose is not to imitate realism, but to mix elements of realism into a virtual world that is not overly visual. Reflections are substantially more strong in the first edition (the “wet earth” reflection) than in the Reimagined version. Indeed, by impressing the user with superior graphics without being distracted by strong lighting and images, this recreates a lot more appealing perspective of the user’s Minecraft environment. Complementary: Reimagined is a mod that literally translates as “Less is more.”
- 1.19.4
- 1.19.3
- 1.19.2
- 1.19.1
- 1.19
- 1.18.2
- 1.18.1
- 1.18
- 1.17.1
- 1.17
- 1.16.5
- 1.16.4
- 1.16.3
- 1.16.2
- 1.16.1
- 1.16
- 1.15.2
- 1.15.1
- 1.15
- 1.14.4
- 1.14.3
- 1.14.2
- 1.14.1
- 1.14
- 1.13.2
- 1.13.1
- 1.13
- 1.12.2
- 1.12.1
- 1.12
- 1.11.2
- 1.11.1
- 1.11
- 1.10.2
- 1.10.1
- 1.10
- 1.9.4
- 1.9.3
- 1.9.2
- 1.9.1
- 1.9
- 1.8.9
Complementary Reimagined — Visual Styles
Features
Over 38 new features are available in Complementary Reimagined Shaders to enhance your gaming experience.
📊 Performance Impacts
Decrease in performance can vary from device to device, driver version, and many other factors, you should test yourself on your machine for the best result.
- None
- No performance decreases
- Small
- ~5%
- Medium
- ~10%
- High
- ~25%
- Extreme
- +50%
-
- Ambient OcclusionMedium
- Simulating how light interacts with objects and surfaces.
-
- Atmospheric SkySmall
- Simulates realistic atmospheric scattering.
-
- BloomSmall
- Enhance the game's lighting and create a more realistic and immersive visual experience
-
- BlurSmall
- Simulate how fast-moving objects appear to blur in a photograph or video.
-
- BrightNone
- Adjust the overall brightness of the game's graphics
-
- CausticHigh
- Simulating the way light is refracted and reflected by the water's surface
-
- CustomizationNone
- Customize various aspects of the game's visual effects.
-
- Glowing OresSmall
- Glowing effect to ore blocks, making them more visible and easier to find.
-
- LightMedium
- Enhance the game's overall visual quality.
-
- Motion BlurHigh
- Simulates the way that fast-moving objects appear to blur in the real world.
-
- Moving CloudsMedium
- Simulates the movement of clouds across the sky and can be used to create the appearance of a dynamic and ever-changing sky
-
- Normal MapSmall
- Add depth and detail to surfaces without increasing the number of polygons.
-
- Ocean WavesHigh
- Simulating the movement of waves on the surface of the ocean.
-
- Parallax WaterMedium
- Enhances the realism of water by simulating the parallax effect.
-
- PBRHigh
- Enhances the realism of textures and materials by simulating the way light interacts with surfaces in a more physically accurate way.
-
- Photorealistic SkyboxesMedium
- Replacing the in-game sky with high-resolution, realistic images of the sky.
-
- Rain ReflectionsMedium
- Reflections during rainy weather by simulating the way light reflects off of wet surfaces.
-
- Realistic NightskyMedium
- More realistic and immersive night sky.
-
- Realistic RainMedium
- More natural and immersive rain experience.
-
- Realistic SkyMedium
- More realistic and immersive sky experience.
-
- Realistic WaterHigh
- More realistic and immersive water experience.
-
- ShadowsSmall
- Simulate how light is blocked and scattered by objects in the environment.
-
- Sun RaysMedium
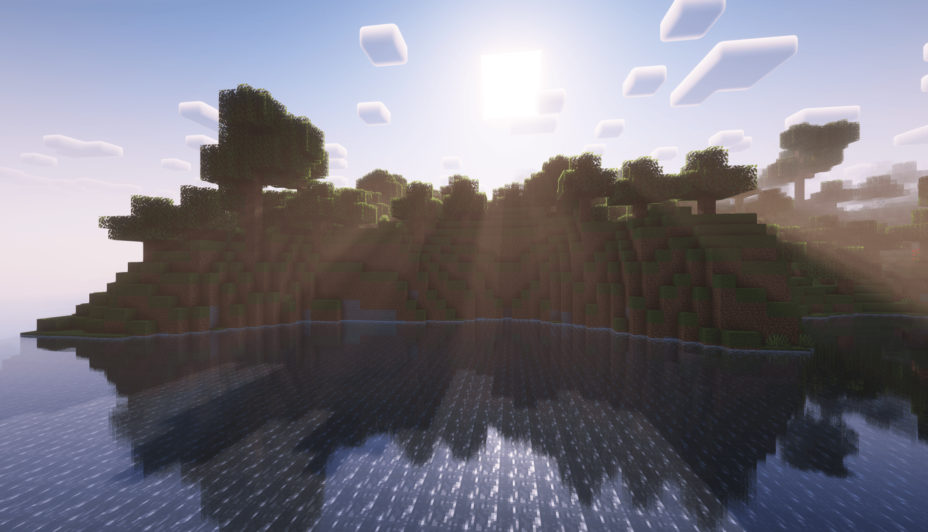
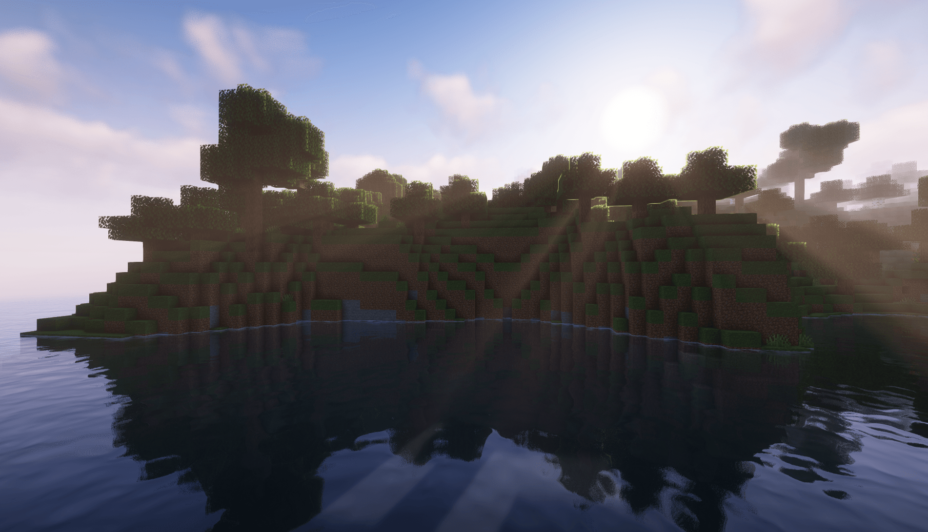
- Simulate the appearance of sunlight streaming through trees leaves, objects, clouds, or other atmospheric conditions.
-
- SunriseSmall
- More realistic and immersive sunrise experience.
-
- SunsetSmall
- More realistic and immersive sunset experience.
-
- TAAMedium
- Smooth out jagged edges and reduce the "stair-stepping" effect that can occur when rendering graphics.
-
- Tone MappingSmall
- Adjusting the brightness, contrast, and saturation levels.
-
- Underwater ReflectionsMedium
- Simulate the appearance of light reflecting off of the water's surface.
-
- Volumetric CloudsHigh
- Simulate the way that clouds appear to have volume and depth in the real world rather than just flat textures.
-
- Volumetric FogHigh
- Create the appearance of fog that is lit from within, casting shadows and creating a sense of depth.
-
- Volumetric LightHigh
- Simulating the scattering of light in the atmosphere and in the environment.
-
- Volumetric NetherHigh
-
- Volumetric The EndHigh
-
- Water ReflectionsMedium
- Simulating reflections on the surface of the water.
-
- Water WavesMedium
- Movement of waves on the surface of the water.
-
- Waving GrassSmall
- Simulating the way it moves and sways in the wind.
-
- Waving PlantsSmall
- Simulating the way they move and sway in the wind.
-
- Waving TreesSmall
- Adds movement to the leaves and branches of trees, making them look more alive and realistic.
There are 6 profiles pre-built into Complementary Reimagined Shaders to adjust the level of intensity of these effects.
| Profiles | Potato | Low | Medium | High (Default) | Very High | Ultra |
|---|---|---|---|---|---|---|
Entity Shadows | ||||||
Light Shaft Quality | ||||||
Real-Time Shadows | ||||||
Reflection Quality | ||||||
Shadow Sample Quality | ||||||
Shadow Distance | ||||||
Water Quality |
Complementary Reimagined Shaders allow you to change more than 62 settings to suit your needs.
| Settings | Description | Options |
|---|---|---|
| Complementary | Complementary Reimagined is a creation of love and care, meant to complement the unique Minecraft experience in the best way possible. I hope you enjoy your time with Complementary Reimagined as much as I enjoyed developing it. Please feel free to join the lovely Complementary community here: www.complementary.dev/discord |
|
| Visual Style | Determines the default visual style of the shaderpack. Reimagined: Complementing Minecraft while preserving its unique visual elements. Fantasy: Reworking the visuals of Minecraft with a semi-realistic fantasy style. [*] Following settings are affected: Water Style, Cloud Style, Sun/Moon Style, Sun/Moon Angle, Aurora Borealis Style. |
|
| RP Support | Changes many internal calculations to determine how different blocks and materials will be rendered. Integrated PBR+: Calculated PBR and extra effects; recommended if you aren't using resource packs. Basic: No PBR or extra effects. SEUSPBR/labPBR: Materials using the required PBR resource packs. |
|
| Main Performance Settings Settings that directly relate to the performance, and get changed by the different shader profiles. | ||
| Real-Time Shadows | Enables traditional shadows that move depending on the terrain and sun/moon angle. [*] Disabling this option will cause Light Shafts to not work, and will stop other shadow options from doing anything |
|
| Shadow Distance | Adjusts the distance from the player which real-time shadows are rendered. [*] The value is internally capped at Render Distance. [-] Lower values may cause excessive Light Shaft leaking. | |
| Shadow Sample Quality | Adjusts the quality of shadows. Every tier further reduces the shadow noise artifacts, and options lower than High enable optimised shadows on leaves. |
|
| Entity Shadows | Enables the ability for entities and block entities to cast shadows. |
|
| Water Quality | Adjusts the visual quality of water. Medium: Default. Low: No edge foaming, no fancy alpha, no varying color intensity, and no surface shadows over Medium. |
|
| Reflection Quality | Adjusts the visual quality of reflections. High: Material-based reflections on all blocks (RP Support option must be set to anything but Basic.). Medium: Reflections on water and translucents. Potato [*]: Replaces water and translucent reflections with a faster method, may look incorrect in some situations. OFF: No reflections. |
|
| Light Shaft Quality | Adjusts the quality of light shafts. Every tier further reduces the light shaft noise artifacts. |
|
| Camera Settings that relate to the view/camera. | ||
| Color Balance Settings that determine the color balance of the visuals. | ||
| Tonemap Exposure | Adjusts the overall brightness of the image. |
|
| Tonemap White Curve | Adjusts how easily the colors reach to full white. |
|
| Tonemap Lower Curve | Adjusts contrast of darker colors. |
|
| Tonemap Upper Curve | Adjusts contrast of brighter colors. |
|
| Saturation | Adjusts overall colorfulness of the image. |
|
| Vibrance | Adjusts the colorfulness of the image, but already colorful pixels are less affected. |
|
| Bloom Strength | Determines the intensity of glow on bright things, and the bloom from rain/cave humidity. [-] Too much bloom will cause the image to get brighter than intended, especially in humid conditions. |
|
| Anti-Aliasing | Enables Fast Approximate Anti-Aliasing (FXAA), which is basically an effect that produces smoother image. [*] Disabling this option won't disable lite Temporal Anti Aliasing (TAA), because lite TAA is required for a lot of effects to perform well. |
|
| Image Sharpening | Makes the image sharper using a filter. [-] Too much sharpening might cause visual artifacts like aliasing, flickering, noise, and subtle brightness changes. |
|
| Motion Blur | Applies blur to the image when moving the camera. |
|
| Motion Blur Strength | Adjusts the intensity of motion blur. |
|
| Underwater Distortion | Adds subtle refraction to the screen when the camera is inside water. |
|
| Vignette | Applies darkening around the edges of the screen. |
|
| Materials Settings that are related to the materials of Minecraft. | ||
| IntegratedPBR Settings that are related to the features of IntegratedPBR. | ||
| Generated Normals | Adds auto-generated bumpy details to surfaces. [*] RP Support option must be set to Integrated PBR+. |
|
| Coated Textures | Adds auto-generated noise to textures. [*] RP Support option must be set to Integrated PBR+. |
|
| Improved Glass | Improves the regular glass by adding a translucent layer to it. [-] May cause problems on Iris because of a Sodium bug. [*] RP Support option must be set to Integrated PBR+. |
|
| Glowing Ores | Adds emission to ores. [*] RP Support option must be set to Integrated PBR+. |
|
| Glowing Redstone Block | Adds emission to the Redstone Block. [*] RP Support option must be set to Integrated PBR+. |
|
| SEUSPBR / labPBR Settings that are related to the features of SEUSPBR / labPBR. | ||
| Normal Map Strength | Adjusts the strength of bumpy details on surfaces. [*] RP Support option must be set to SEUSPBR or labPBR. |
|
| Custom Emission Intensity | Adjusts the intensity of glowing surfaces. [*] RP Support option must be set to SEUSPBR or labPBR. |
|
| Water Style | Determines the style of water. [-] Water waves can severely impact performance. |
|
| Waving Blocks Settings that are about waving blocks. | ||
| Waving Foliage | Adds movement to foliage to simulate wind. |
|
| Waving Leaves | Adds movement to leaves to simulate wind. |
|
| Waving Water Height | Adds movement to water position to simulate wind. |
|
| No Waving in Closed Areas | Prevents blocks from waving in closed areas using skylight. [-] Can cause slight problems with some resource pack models. |
|
| Rain Puddles | Adds water puddles to the terrain during rain. [*] RP Support option must be set to anything but Basic. [-] Rain puddles can severely impact performance. |
|
| Atmosphere Settings that relate to the atmosphere. | ||
| Clouds Settings that relate to the clouds. | ||
| Clouds | Determines the style of clouds. |
|
| High Quality Clouds | Reduces noise and improves the integrity of the Reimagined Clouds. [-] This option can impact performance especially with double layer clouds. |
|
| Cloud Shadows | Enables shadows that are cast from the clouds. |
|
| Cloud Layer Altitude | Determines the world height which the clouds will appear at. |
|
| Second Cloud Layer Altitude | Determines the world height which the second layer clouds will appear at. [*] This setting won't do anything if the "Second Cloud Layer" option isn't enabled. |
|
| Fog Settings Settings that relate to the various types of fog. | ||
| Light Shaft Mode | Determines the behaviour of light shafts. [+] Scene Aware Light Shafts automatically transition between regular and extreme modes to provide the best results. [-] Extreme mode is not recommended for general gameplay. |
|
| Atmospheric Fog | Adjusts the intensity of altitude-based fog. |
|
| Border Fog | Intense fog on the edges of the loaded world to hide chunk borders. [*] It's recommended to disable Border Fog when playing with less than 8 chunks of render distance. |
|
| Cave Fog | Enables extra fog in deep underground areas. |
|
| Sun/Moon Style | Determines the style of sun/moon. [*] This setting might interact incorrectly with some resource packs due to the limitations of sun/moon/skybox differentiation. |
|
| Sun/Moon Angle | Adjusts the angle of sun/moon relative to the world during noon. [+] Reimagined's lighting model is specially designed to make the "0" sun angle work just as well as others. |
|
| Sun/Moon Horizon | Prevents the sun/moon from appearing below the horizon line. |
|
| Night Star Amount | Determines the amount of stars in the night sky. |
|
| Aurora Borealis Style | Determines the style of northern lights that appear in the night sky. |
|
| Aurora | Determines the condition(s) for the Aurora Borealis to appear. |
|
| Lighting Settings that are related to lighting. | ||
| Blocklight Color | Determines the color of the light cast from light sources. |
|
| Dynamic Handheld Lighting | Allows handheld light sources to cast light onto the scene. |
|
| Pixelated Shadows | Modifies the world coordinates on a grid to make shadows pixelated. [*] This setting does not affect performance. |
|
| Cave Lighting | Adds extra lighting to areas that don't have skylight. [+] "Default" option determines the lighting according to the "Brightness" slider in Video Settings. |
|
| SSAO | Enables Screen-Space Ambient Occlusion (SSAO) which adds extra ambient shadowing to the edges of the scene. |
|
| Other Settings that don't fit into any other category. | ||
| Outlined World | Adds outlines around blocks. |
|
| Hand Sway | Adds slow movement to the player hand to simulate a breathing animation. |
|
| Selection Outline | Determines the color of the block selection outline. |
|
| Show Light Levels | In Overworld: Yellow means mobs can spawn during night time, red means mobs can spawn anytime. In The Nether and The End: Yellow means some mobs can spawn, red means all mobs can spawn. [*] Disable Smooth Lighting for precise results. |
|
| Better Visibility Inside Lava | Reduces the lava fog to improve visibility inside lava. |
|
| Snowy World | Makes the entire world covered with snow. |
|
How To Install Complementary Reimagined Shaders
- Support Forge / Vanilla
- Extra features
- Good performance
- Support Fabric / Quilt
- Better performance, depend on your hardware
Optifine Installation Guide
Note
Your device must have Java installed to run the Forge and Optifine installers.
Quick Java Installation Guide
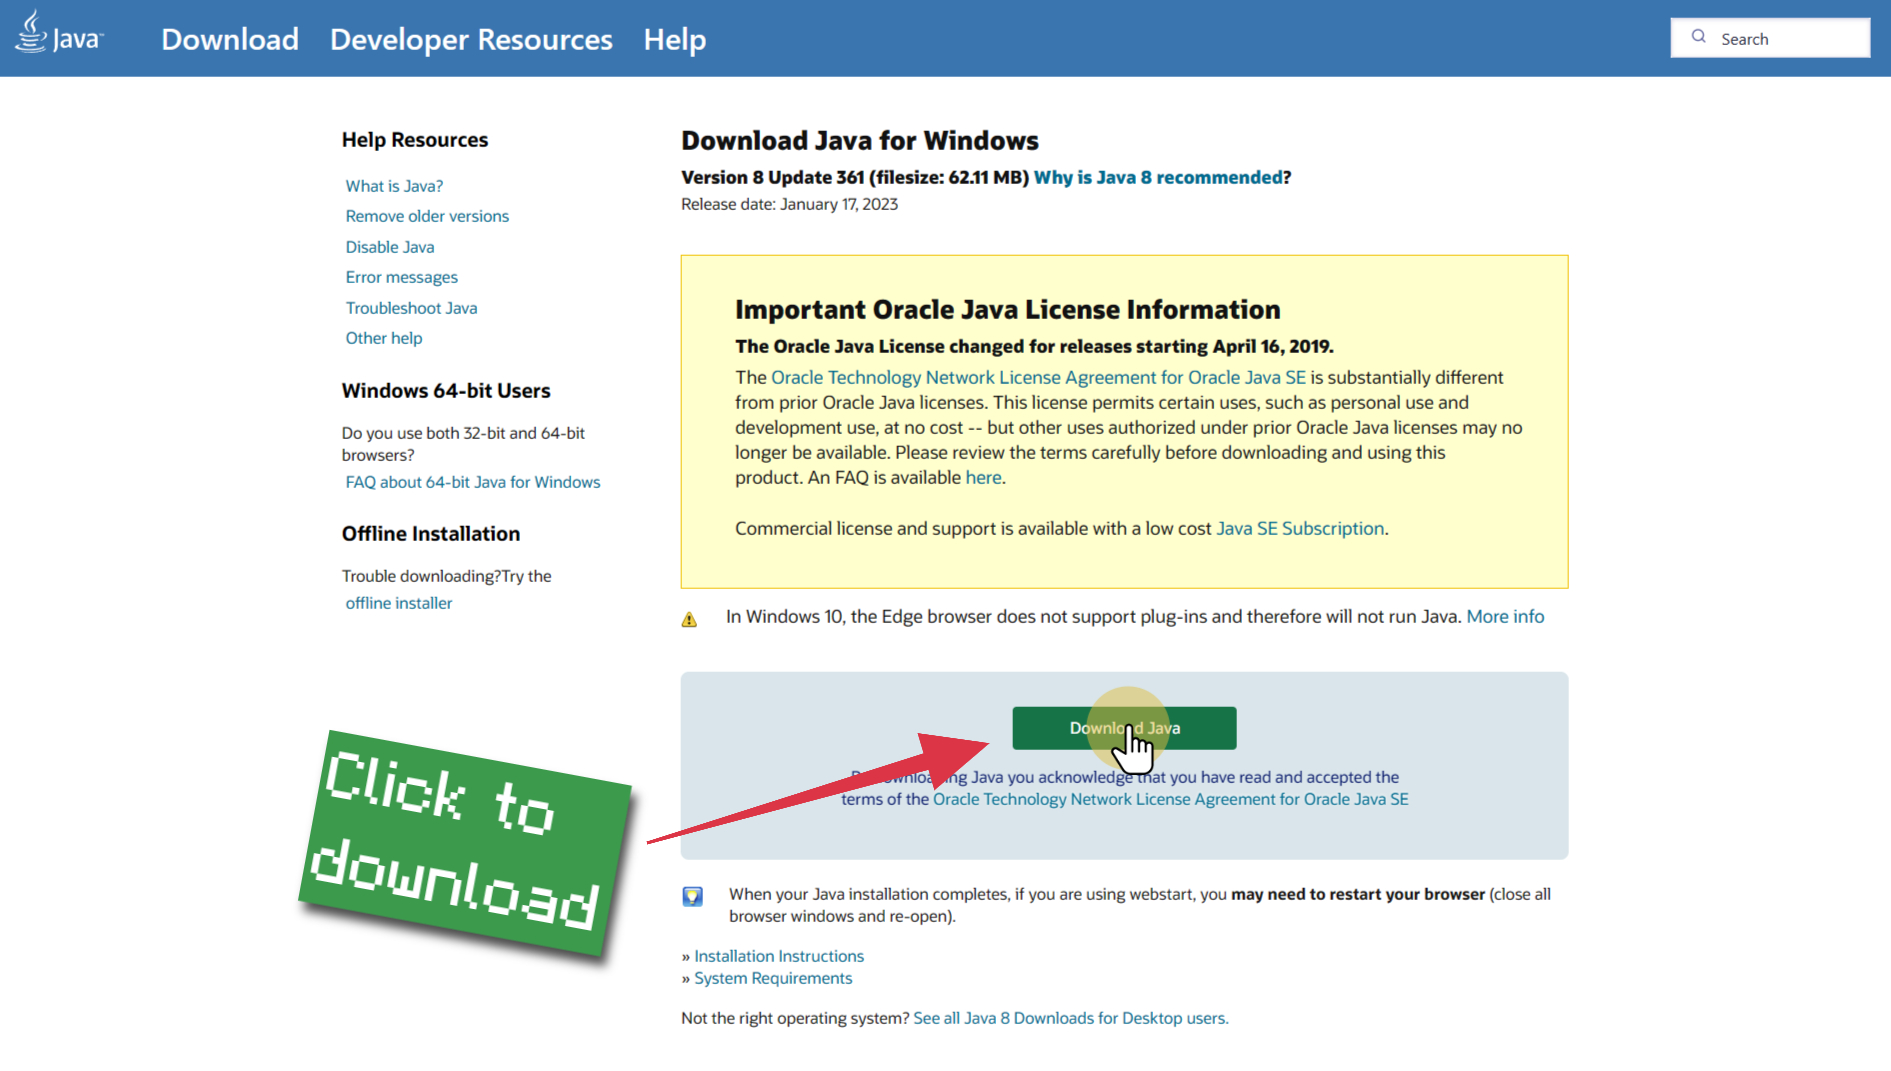
Download Java
Download the Java installer from the official website here.

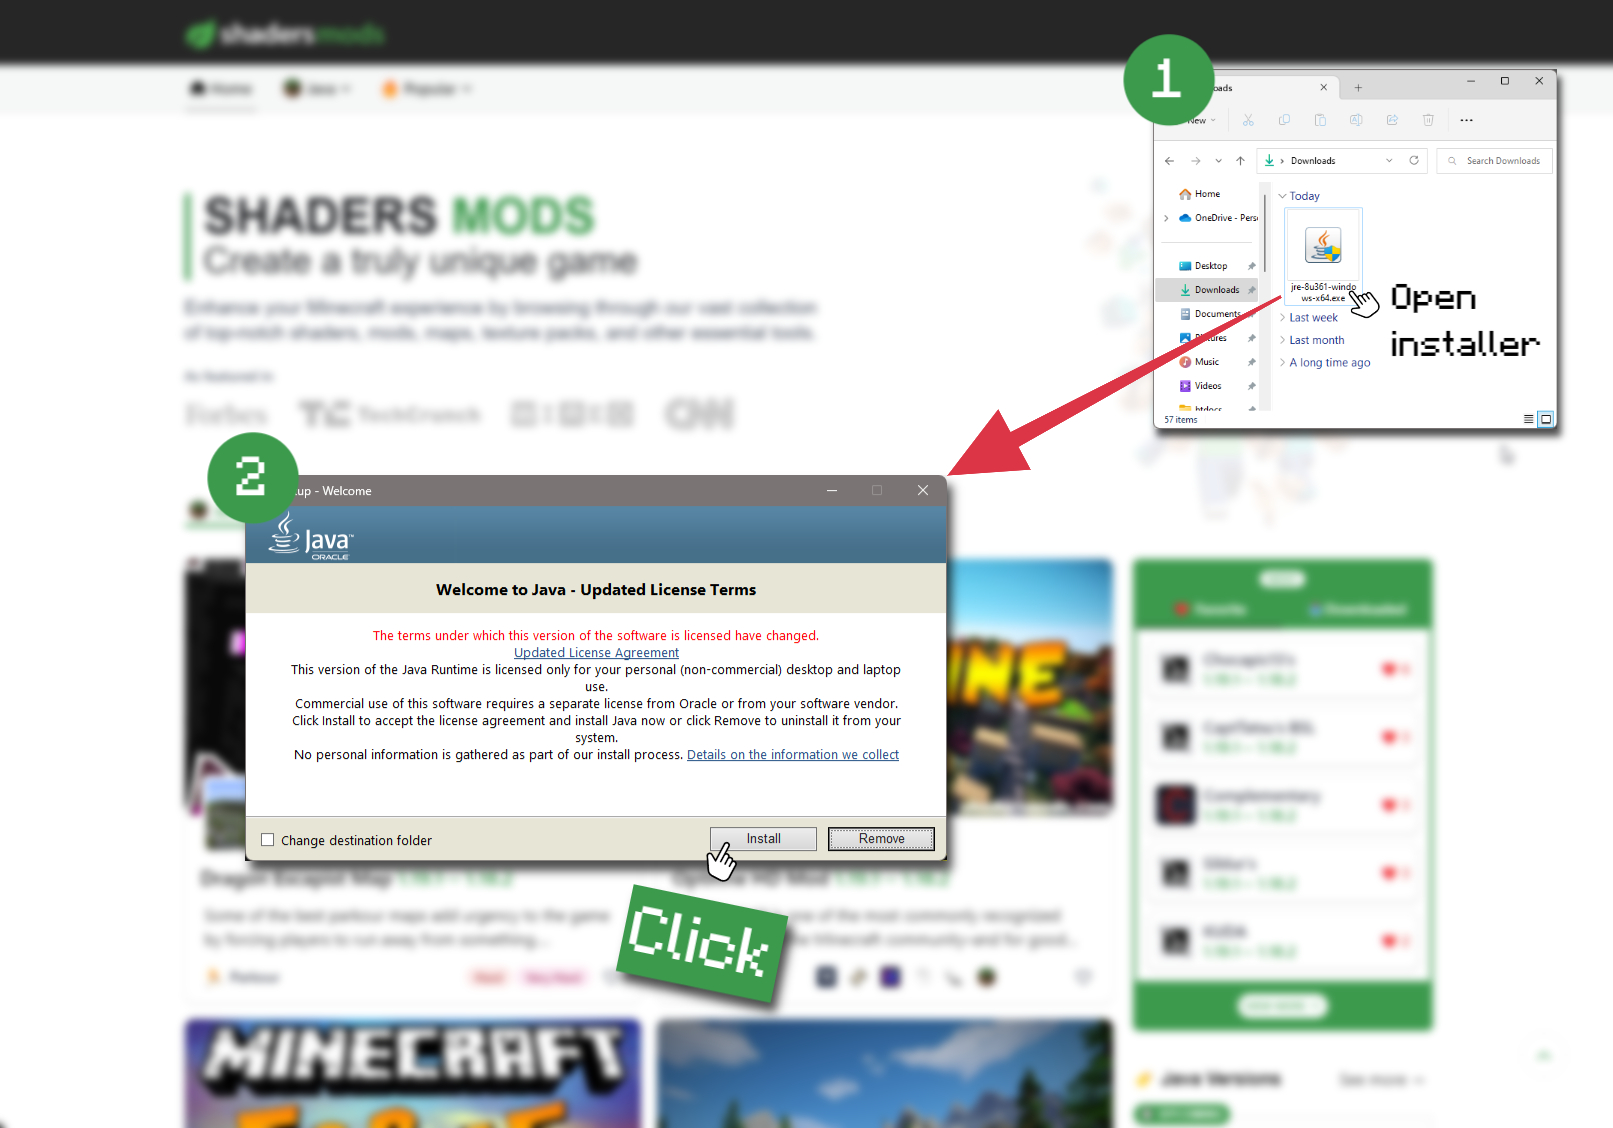
Open Installer
Once you have downloaded the file, run it and click the Install button.

How to install Complementary Reimagined Shaders with Optifine?
Download Optifine
Get the latest version of Optifine for your Minecraft version.
Download OptifineInstall Optifine
Run the Optifine installer and follow the on-screen instructions to complete the installation.

Download Complementary Reimagined Shaders
Go to the download section and get shaders zip file. Unzip the file if necessary, as some shader developers may bundle multiple shader versions in one zip file.
Launch Minecraft
Start the Minecraft launcher and make sure you have the Optifine profile selected.

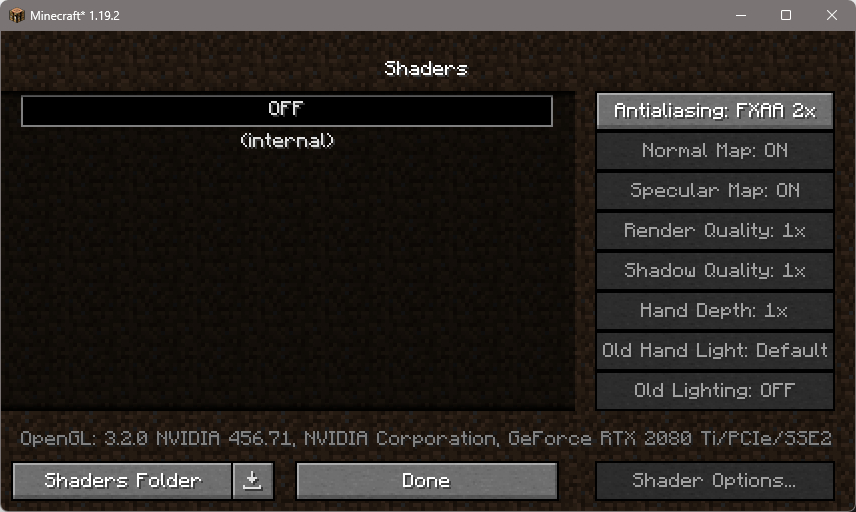
In-game Shaders menu
Go to Options > Video Settings > Shaders to access the shaders menu.

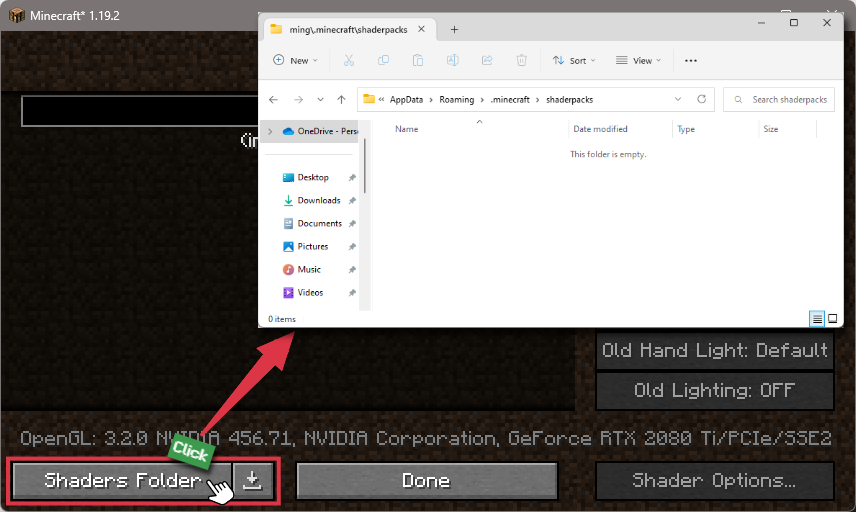
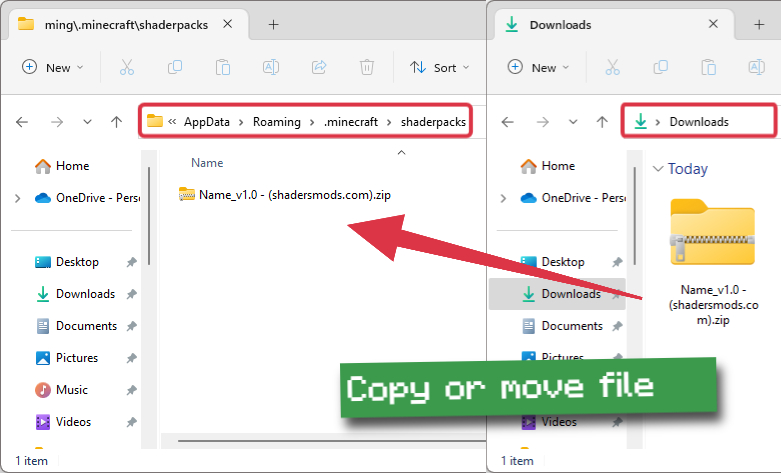
Open shaderpacks folder
Click on the "Shaders Folder" button to open the folder where shaders are stored, so you can add or remove shaders as desired.

Install Complementary Reimagined Shaders
Copy or move the downloaded Complementary Reimagined shaders zip file into the shaderpacks folder.

Select Complementary Reimagined Shaders
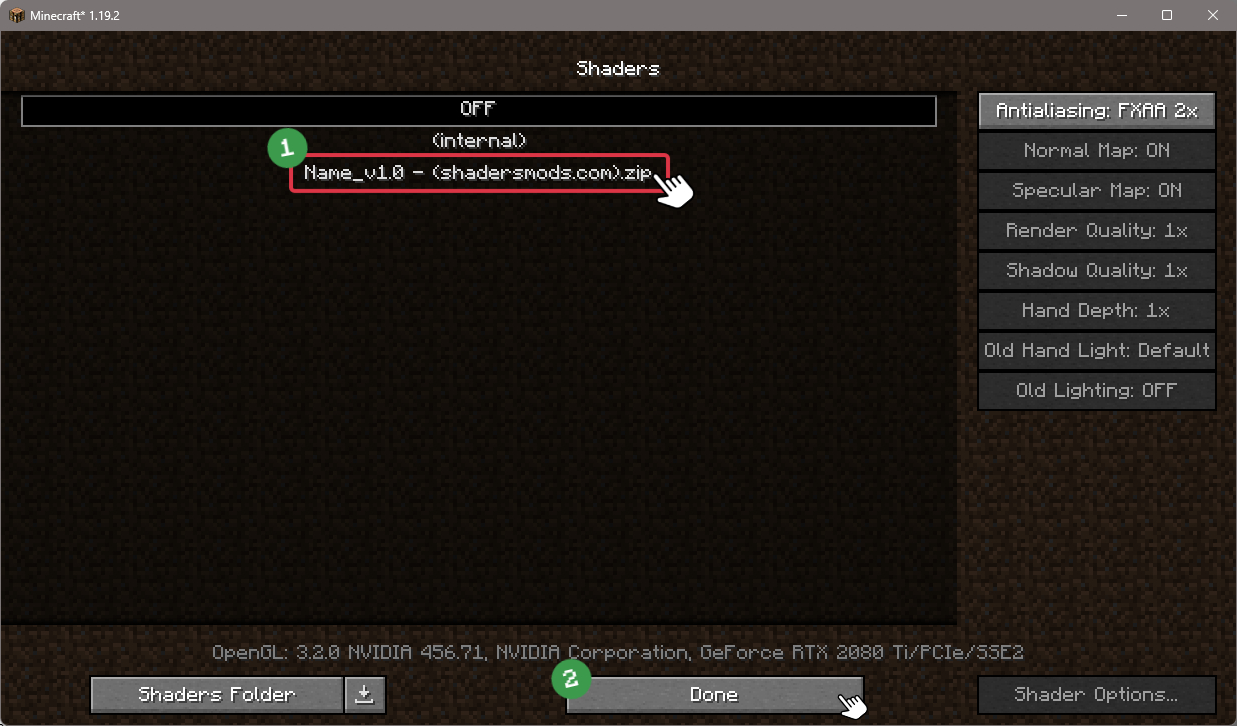
Choose Complementary Reimagined shader pack from the list of available shaders in the options menu.

How to install Complementary Reimagined Shaders with Forge and Optifine?
Quick Installation Guide
Install Forge
Obtain the latest version of Forge that is compatible with your Minecraft version.
Download Minecraft ForgeLaunch Minecraft
Start the Minecraft launcher and select the version of Minecraft you want to install Forge on. Run the game once by clicking on the "Play" button to create necessary files for Forge.

Install Forge Client
Double-click on the Forge installer jar file and choose "Install Client" in the window that appears.

Install Optifine
Download the Optifine jar file after Forge is installed. Move the Optifine jar file to the mods folder in the .minecraft directory.
Download Optifine
Launch Forge Profile
Launch Minecraft using the "Forge" profile, Optifine will be automatically loaded along with Forge.

Install Chocapic13's Shaders
Now the installation is the same as from the above Optifine instructions, just follow the steps starting from step 5.
Iris Installation Guide
Note
Your device must have Java installed to run the Iris installer.
Quick Java Installation Guide
Download Java
Download the Java installer from the official website here.

Open Installer
Once you have downloaded the file, run it and click the Install button.

How to install Complementary Reimagined Shaders with Iris?
Download Iris Shaders
Find the latest version of the Iris Shaders installer and download it.
Download Iris InstallerInstall Iris Shaders
Open the downloaded jar file, and choose the preferred game version and installation type.
⯈ Iris Install:
If you don't plan on using any other mods with Iris, choose this option.⯈ Fabric Install:
Choose this option if you want to use Iris with Fabric and other mods. The Iris jar files will be copied to the mods folder within the .minecraft directory.
Start Installation
After selecting the game version and installation type, click the "Install" button to start the installation process.
Launch Minecraft
Start the Minecraft launcher and make sure you have the Iris profile selected.
Note
Select the Fabric profile if you opt for the Fabric installation type.
In-game Shader Menu
Open the Minecraft game and go to Options > Video Settings > Shader Packs to access the shaders menu.
Tip
To simplify the process, simply drag and drop the shader ZIP file directly into the Minecraft window, bypassing the next two steps.
Open shaderpacks folder
Click on the "Open Shader Pack Folder" button to access the folder where shaders are stored.

Install Complementary Reimagined Shaders
Copy or move the shaders zip file into the shaderpacks folder.

Select Complementary Reimagined Shaders
Choose installed shader pack from the list of available shaders in the options menu and click the "Apply" or "Done" button to select it.
Tip
When the shader pack is selected, its name will be changed to yellow.
📥 Complementary Reimagined Shaders — Download
Something You Should Know
- Our links are only from the official developer, so you can be sure they are secure.
- No modifications or edits are made to the files.
Manual:
Once you have downloaded the shader pack zip file, you will need to move it to the shaderpacks folder in your Minecraft directory.
Installer:
The installer will automatically download and install Complementary Reimagined with the Iris shader loader. Simply run the installer, choose your Minecraft version, and click install.
🔄 Update Logs
r2.1
- Extended support for SEUSPBR/labPBR resource packs, including:
- Added Parallax Occlusion Mapping
- Added “POM Lighting Mode” setting with “Sharp” and “Smooth” options
- Added self-shadowing, enabled with POM
- Added “Directional Blocklight” option
- Tweaked normal handling to improve lighting at shallow angles
- Added “High” Block Reflection Quality option with smoother reflections using a temporal filter
- Added water refraction, enabled with “High” Water Quality or higher profiles
- Added subtle water absorption, always enabled
- Added over 40 sliders for precise atmosphere and lighting color customization
- Added color grading settings
- Added “Water Wave Strength” setting
- Added more selection outline settings
- Added “Subtle” SSAO option
- Added options to make rain puddles appear without needing rain
- Added an option to disable the interior check for the Reimagined clouds
- Added automatically appearing instructions to fix lava appearing insanely bright
- Improved all High and Medium quality reflections:
- Improved edge smoothing
- Slightly improved performance
- Slightly improved general clarity
- Fixed incorrect colors at reflection edges
- Fixed circle-shaped artifacts (thanks to Capt Tatsu)
- Improved water opacity, fog, color, and shadow handling to fix many inconsistencies
- Improved small-scale lighting balance when using custom PBR or generated normals
- Integrated PBR Changes:
- Added “Glowing Lapis Lazuli Block” option
- Added an option to disable Generated Normals and Coated Textures on entities
- Tweaked the color of water splash particles
- Fixed crying obsidian, respawn anchor and lit furnace looking incorrect with some resource packs
- “Cloud Shadows” option now also supports “Fantasy” Cloud Style
- Increased the range of the Tonemap Exposure slider
- Slightly increased water wave speeds
- Separated the Reflection Quality setting to “Water” and “Block” variants
- Fixed many issues on Minecraft versions ranging from 1.8.9 to 1.12.2:
- Fixed underwater light shafts being incorrectly colored
- Fixed water shadows/caustics being incorrectly colored
- Fixed water color turning black in swamps with Reimagined water
- Fixed multiple errors with the Fantasy water
- Fixed custom skyboxes breaking the sky visuals
- Fixed sugar canes looking incorrect
- Fixed sun/moon lighting getting darker at far distances from the camera
- Fixed waving water styles not having waves when generated normals are active
- Fixed held items not being able to cast intense reflections when using custom PBR
- Fixed blocks near water getting incorrect water shadows at distance
- Fixed some modded blocks or RP translucents with opaque parts looking glitched
- Fixed sky color breaking in some situations involving mods, resource packs, or data packs
- Fixed modded translucents casting shadows that are too bright
- Fixed entity texture problems with some mods, including the Savage & Ravage mod
- Fixed the selection outline being incorrectly colored in some situations
- Fixed custom PBR causing problems on water in some rare cases
- Fixed water foam not being visible in some intended situations.
r2.0.3
- Fixed lava texture being incorrect with lower mipmap levels
- Fixed translucent colored light shafts looking brighter than the atmosphere during night
- Fixed lanterns looking incorrect with some resource packs
- Fixed broken visuals with Physics Mod
r2.0.2
- Added edge smoothing to “Potato” quality reflections
- Fixed incorrect shadows under entities when the Real-Time Shadows option is disabled
- Fixed setting Cave Lighting to “Very Dark” causing visual problems with RP PBR
- Fixed vines and cobwebs getting incorrect sun/moon light in closed areas
- Fixed light shafts being slightly offset, most noticeably in the End or underwater
- Fixed flickering pixel on campfires (IntegratedPBR)
- Fixed Generated Normals on water with Physics Mod (IntegratedPBR)





Comments (1)
How to get these shaders