Stereo's Default+ Shaders 1.19.4 → 1.18.2
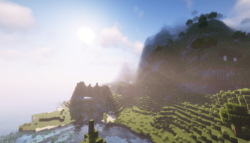
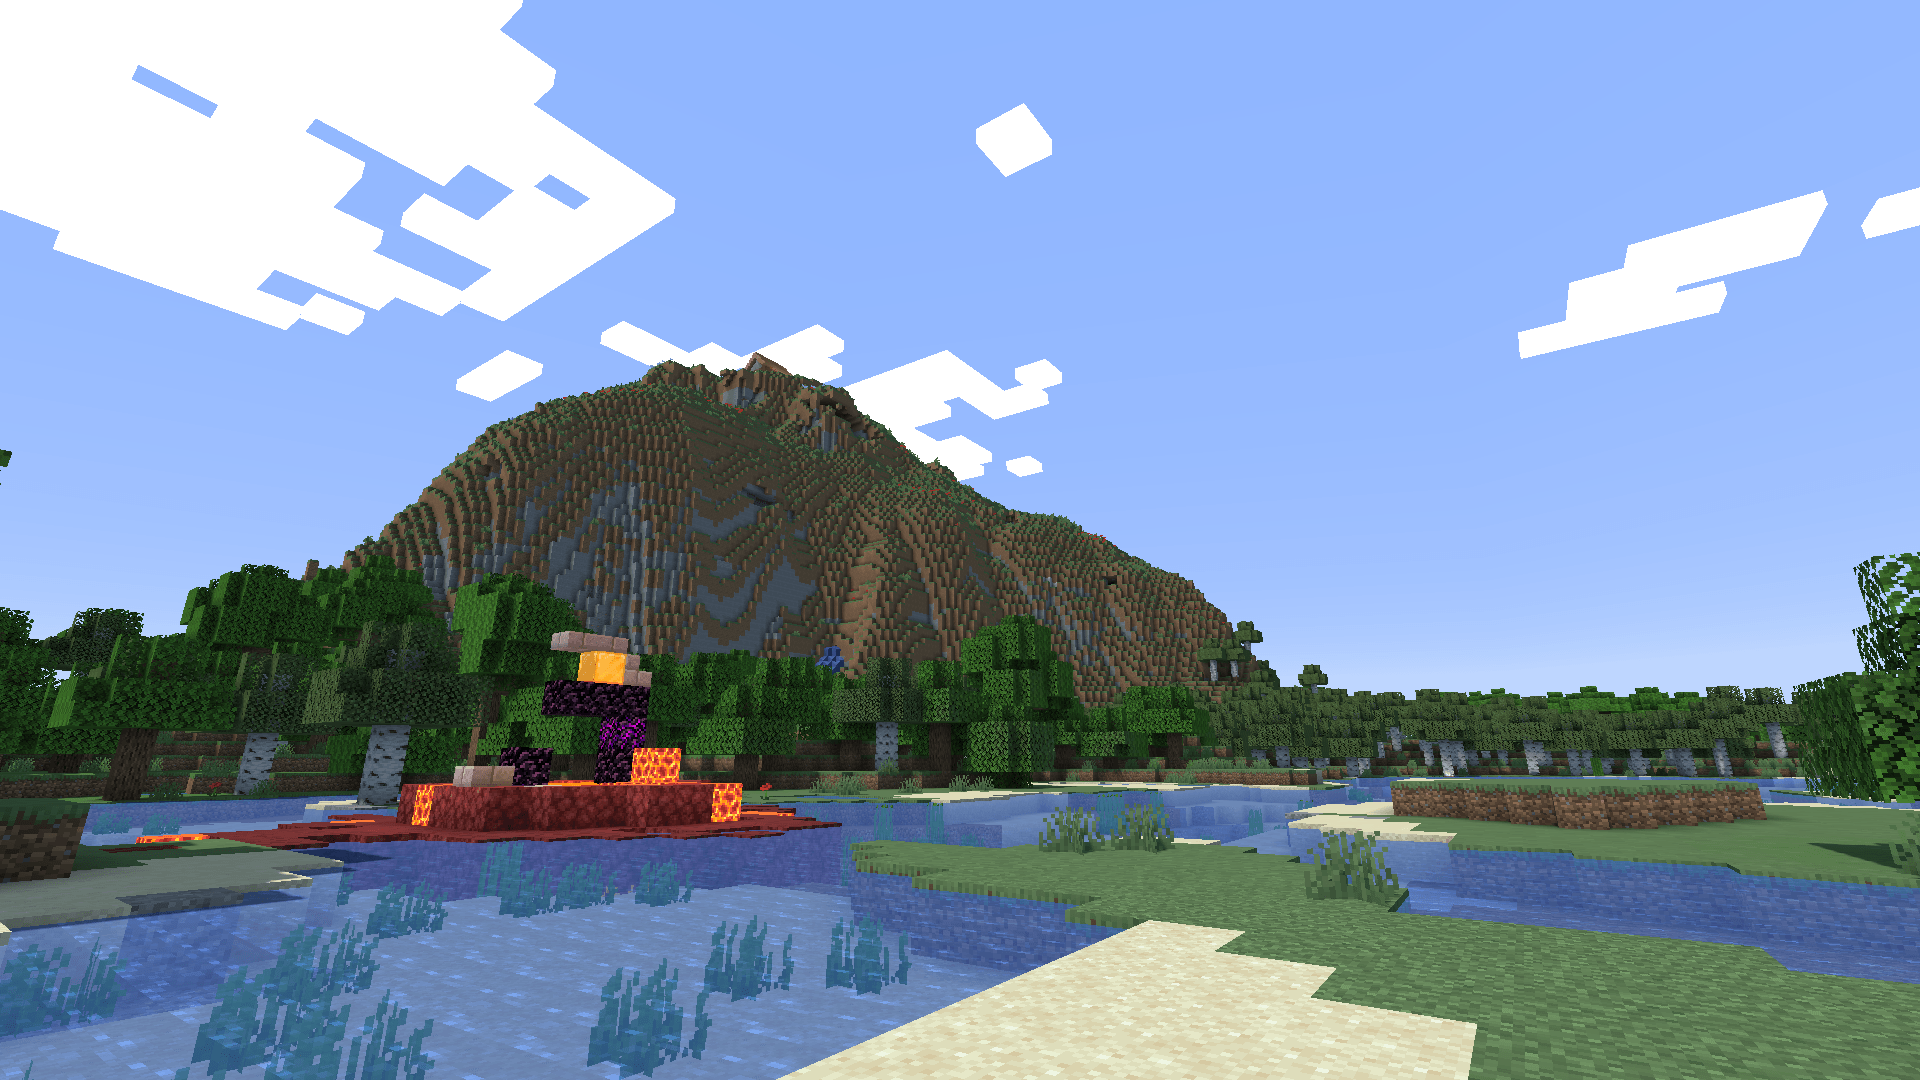
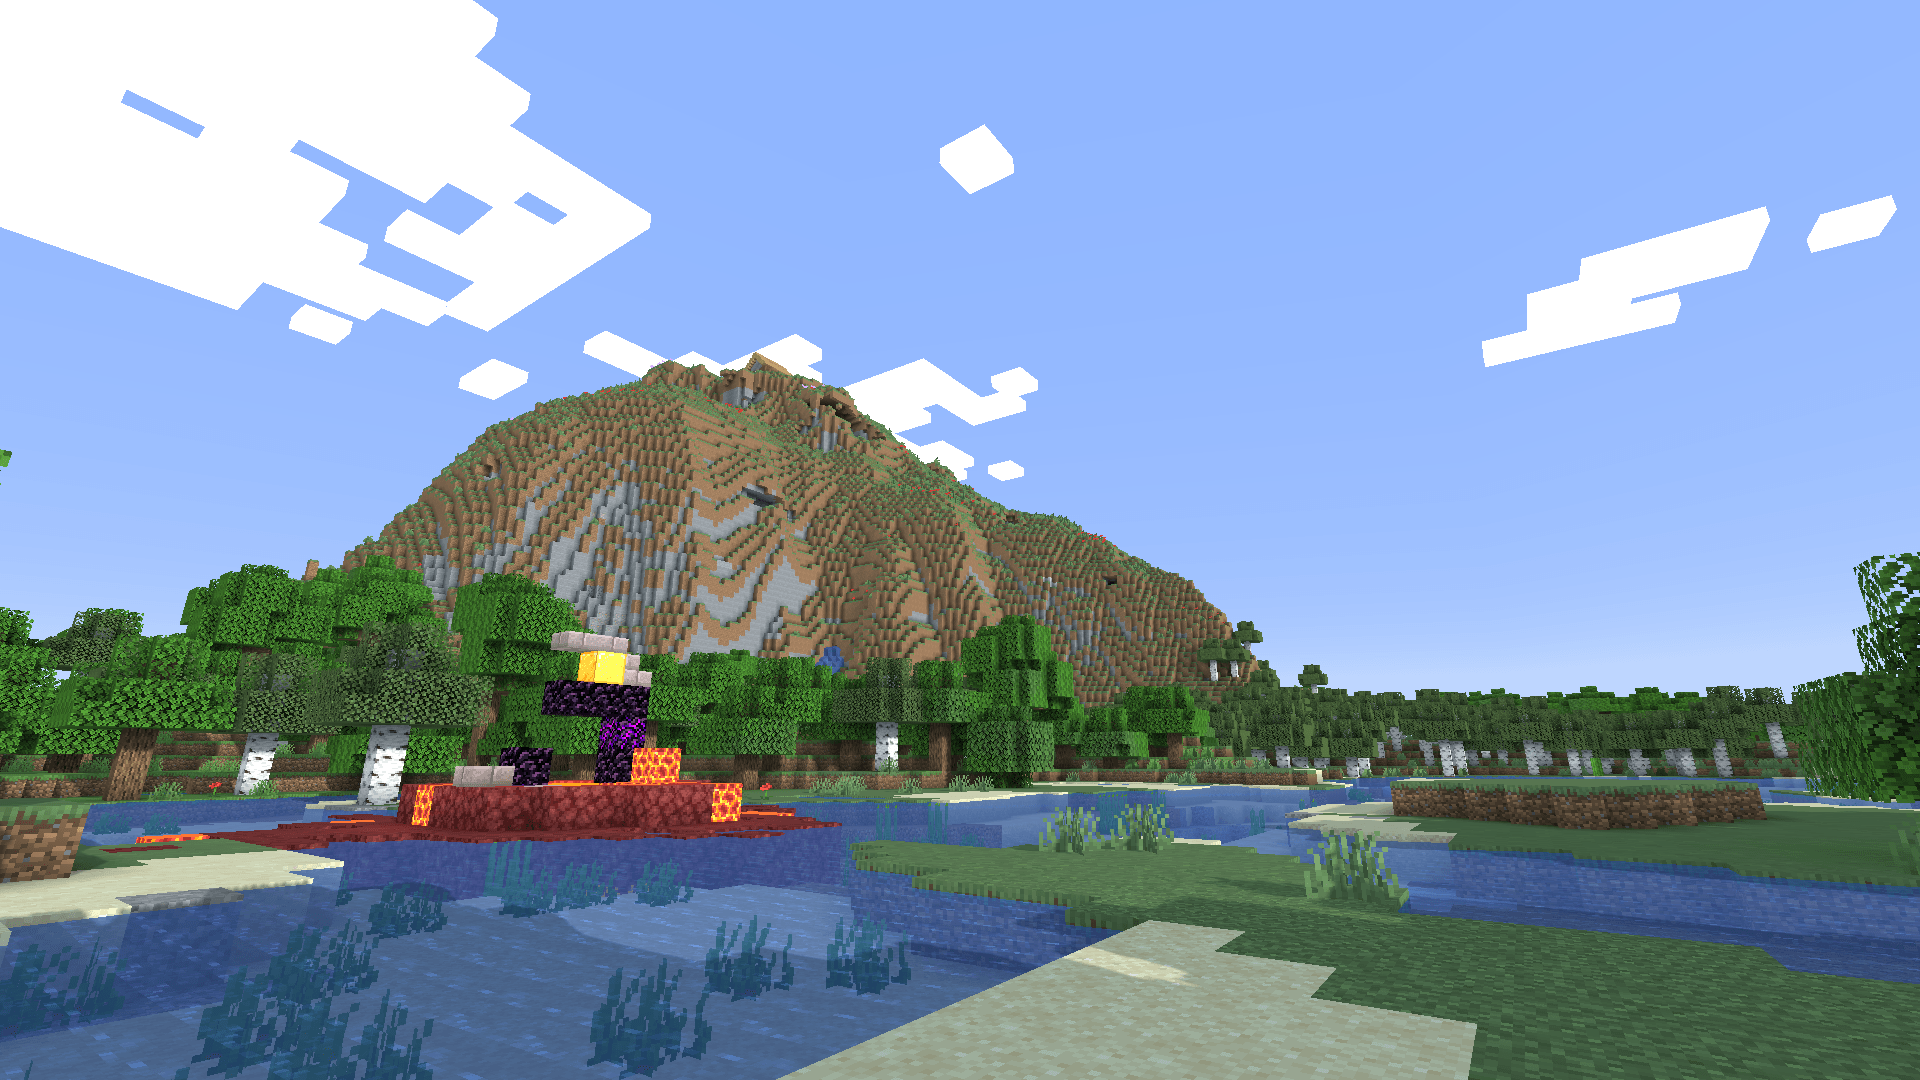
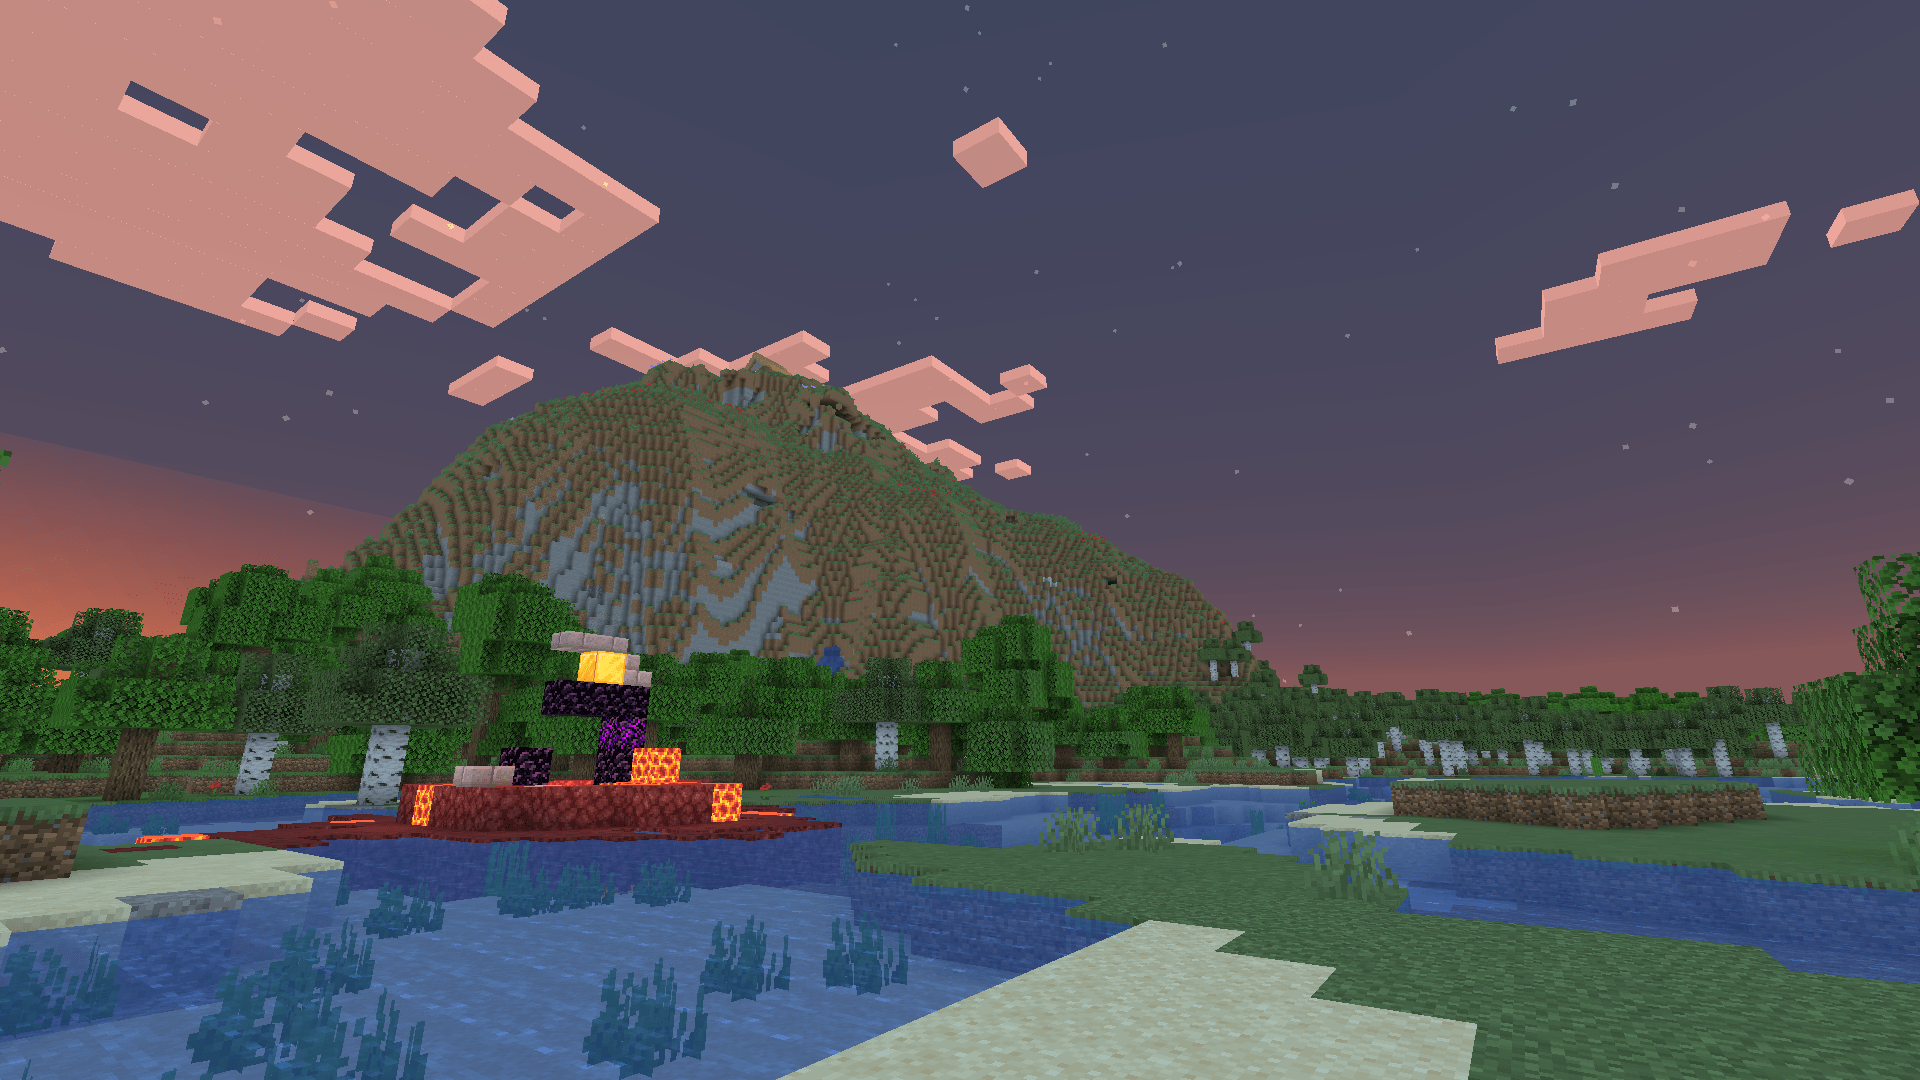
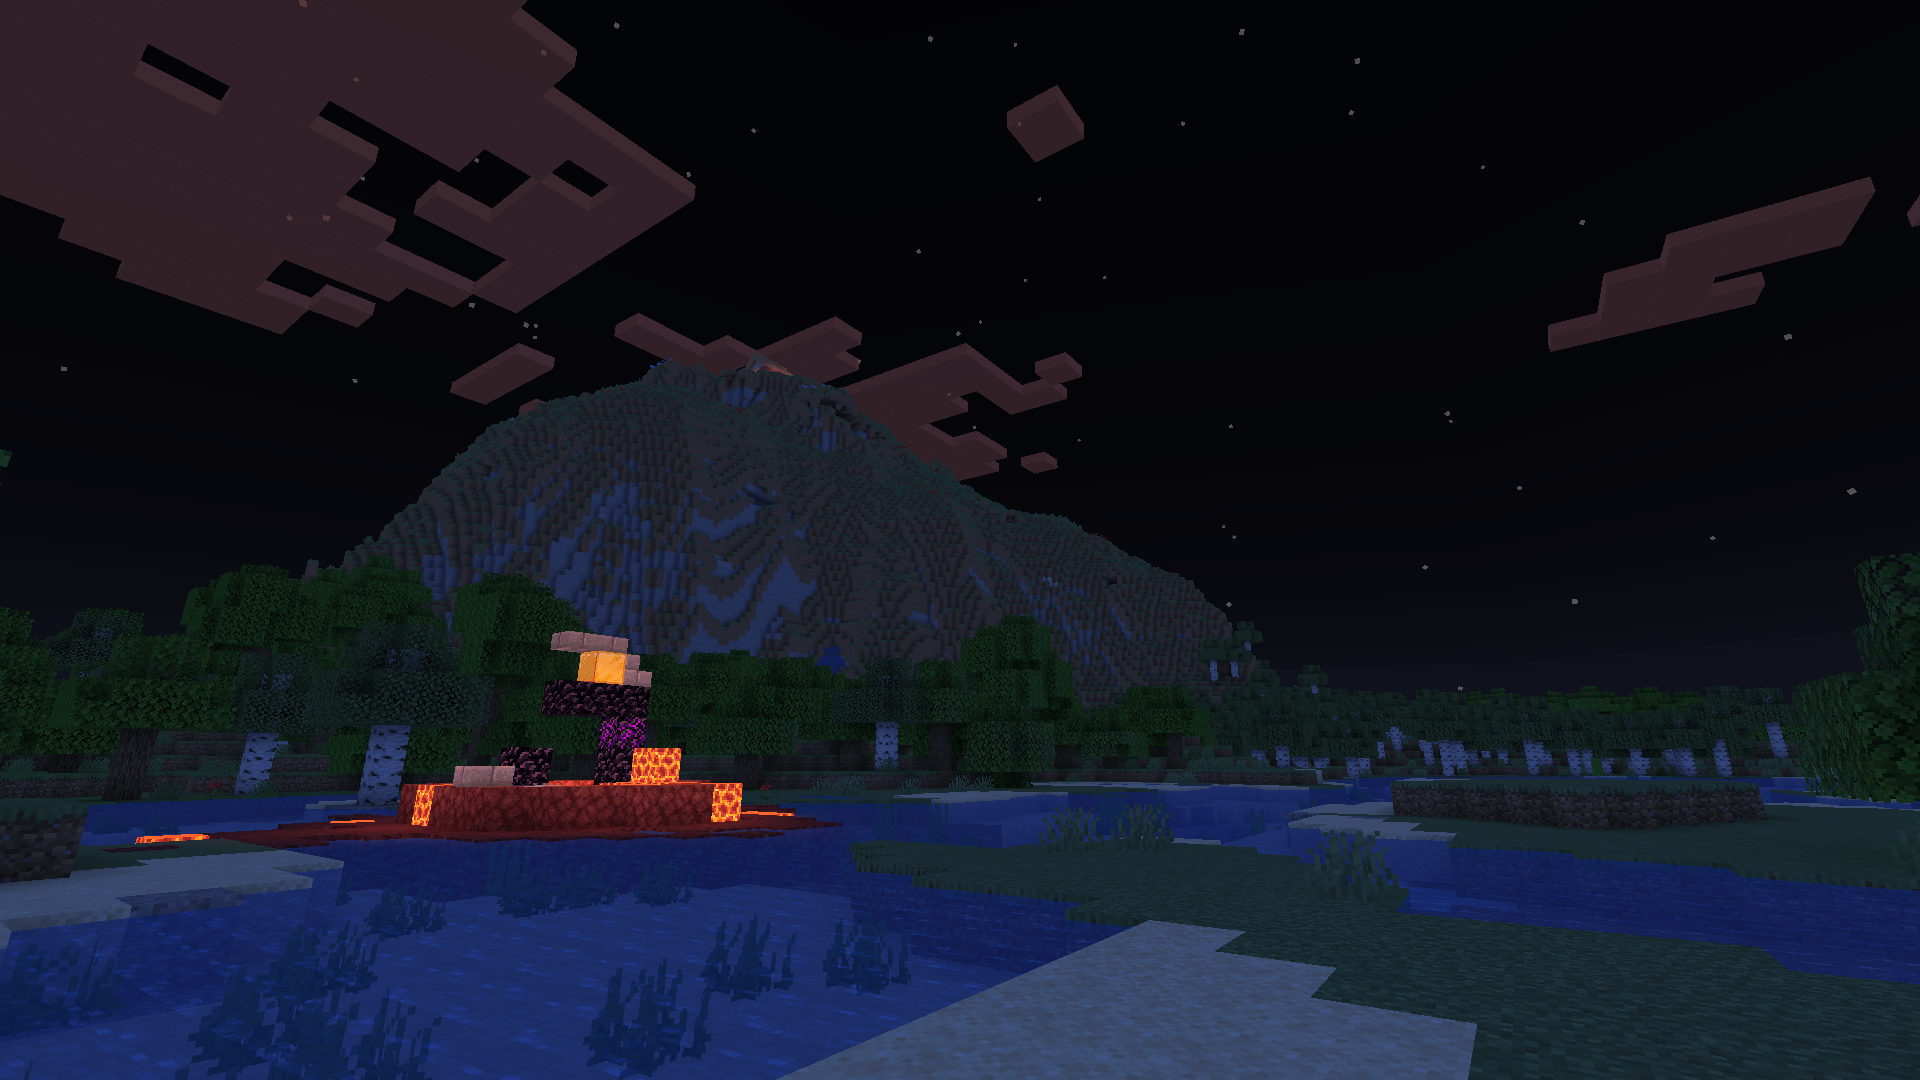
Stereo's Default+ Shaders enhance Minecraft's visuals with shadows, soft blue lighting, waving water, and lava.
| Developer | 👤Stereo528 |
|---|---|
| Style | 🧱Vanilla |
| Support GPUs | |
| Loaders | |
| Performance Impact | Potato |
| Settings | 8 |
| Features | Customization+5 |
| Created | Mar 13, 2021 |
| Updated | Dec 5, 2021 |
| Stats |
|
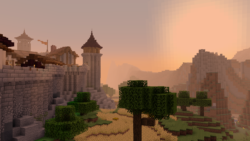
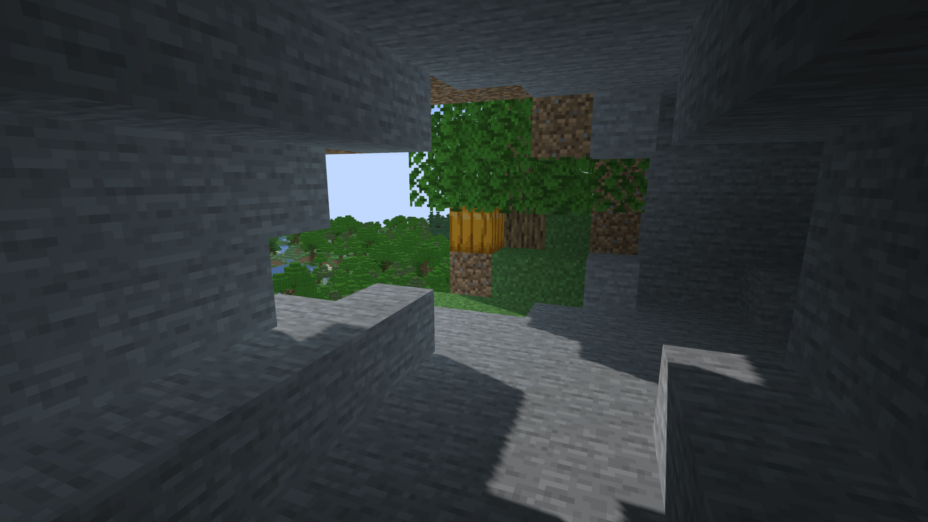
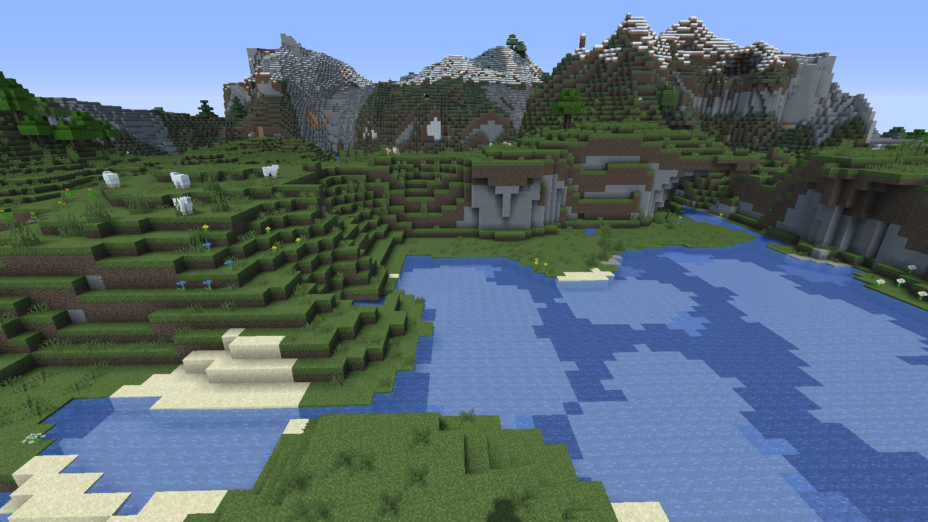
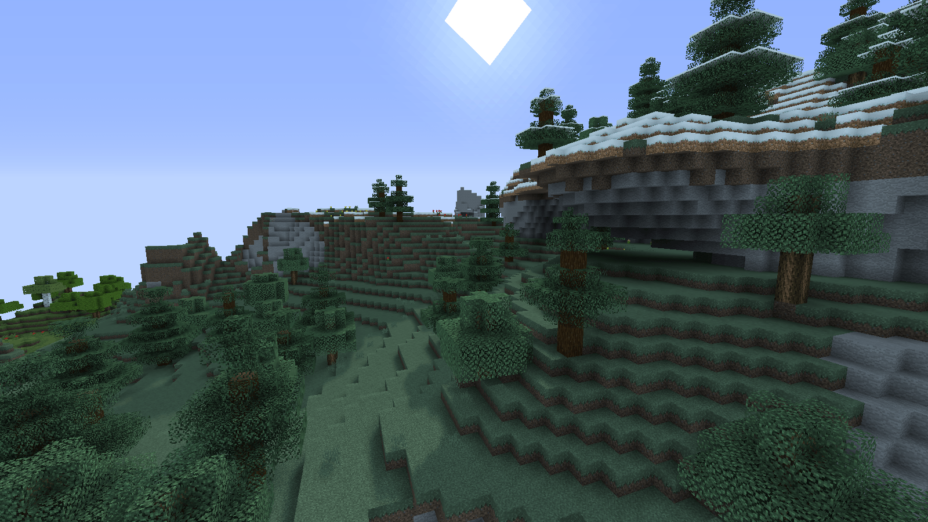
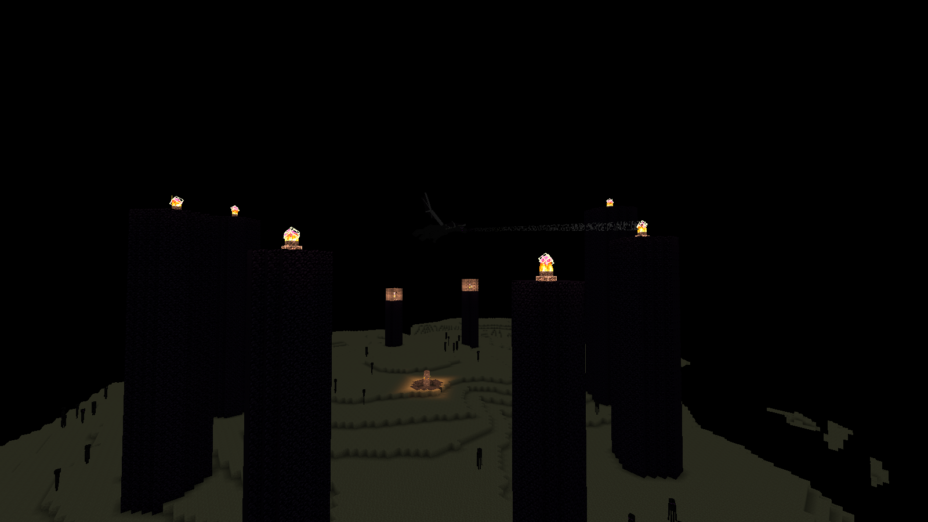
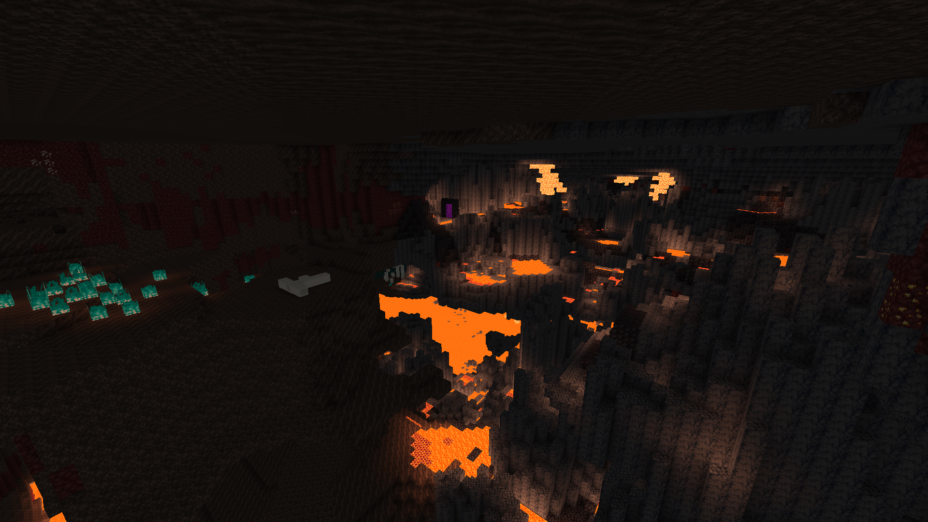
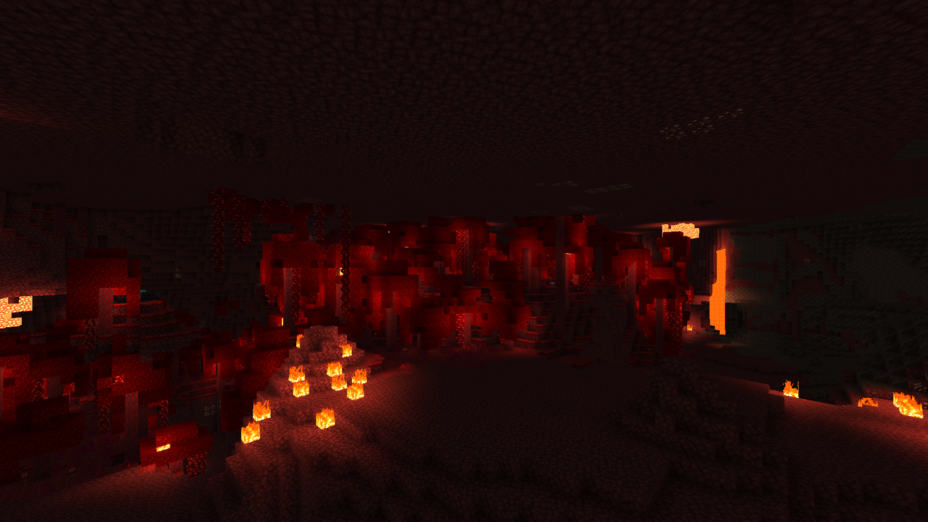
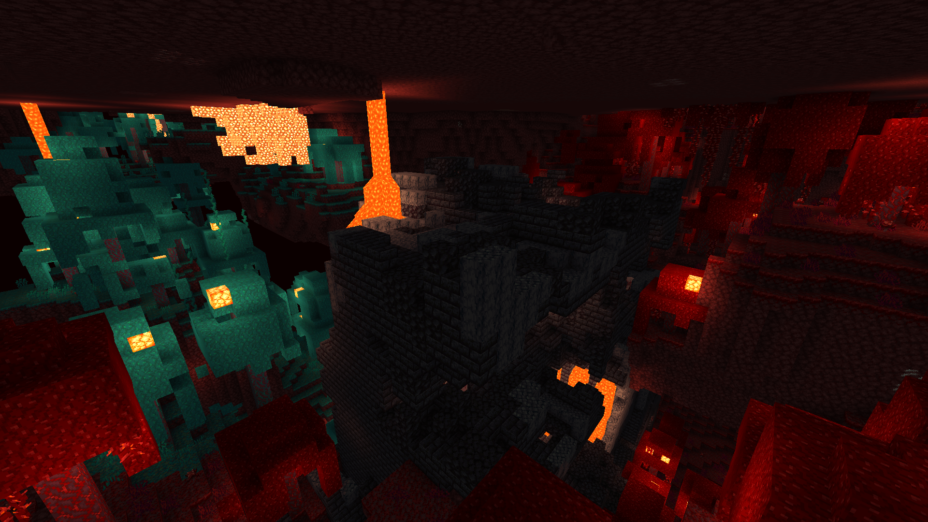
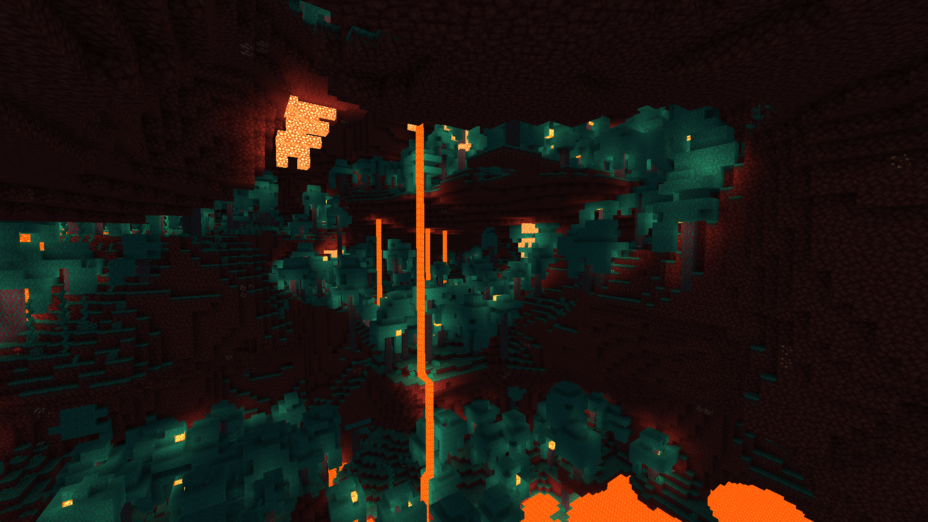
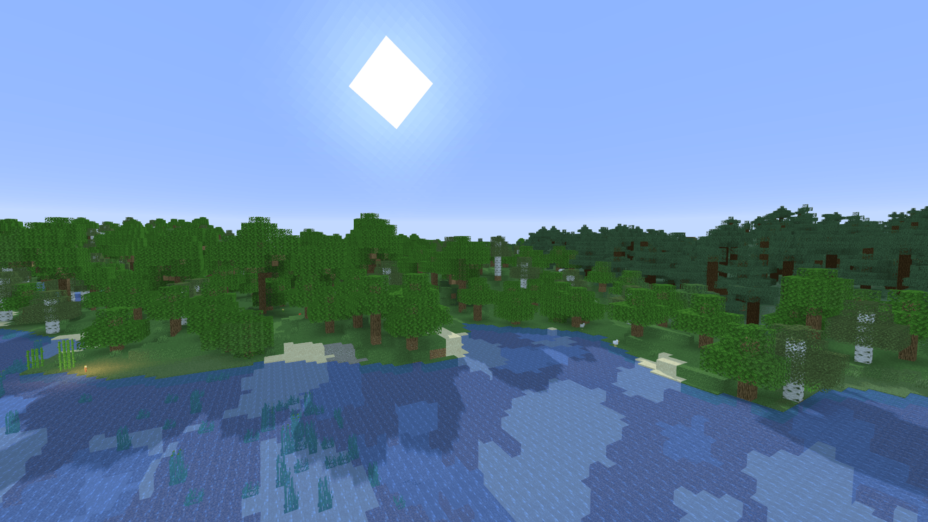
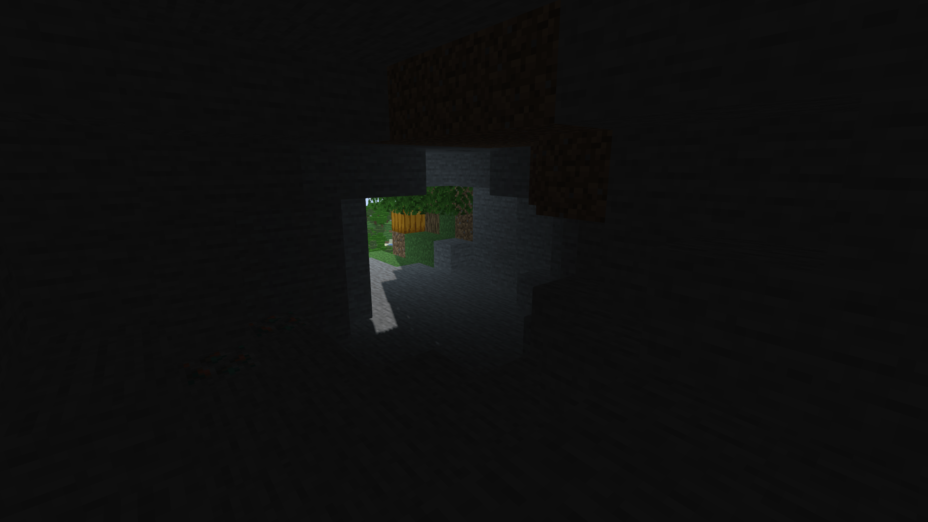
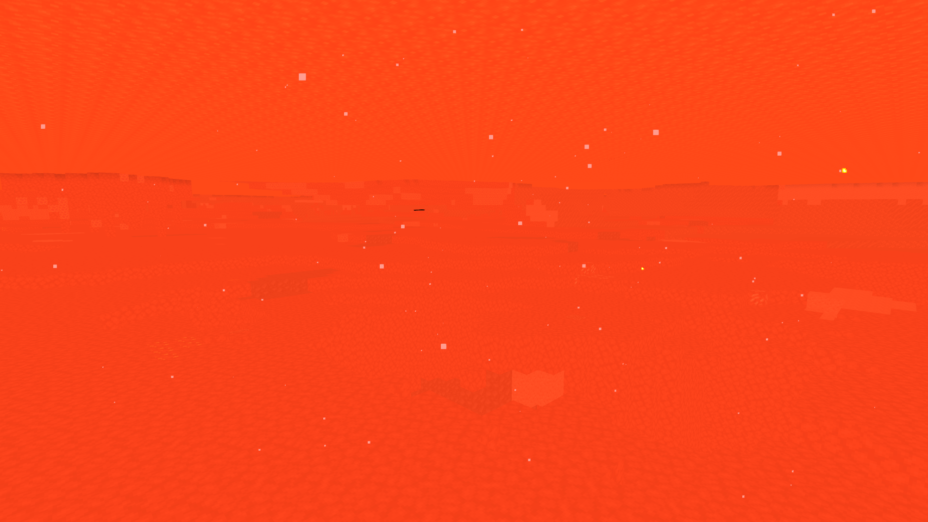
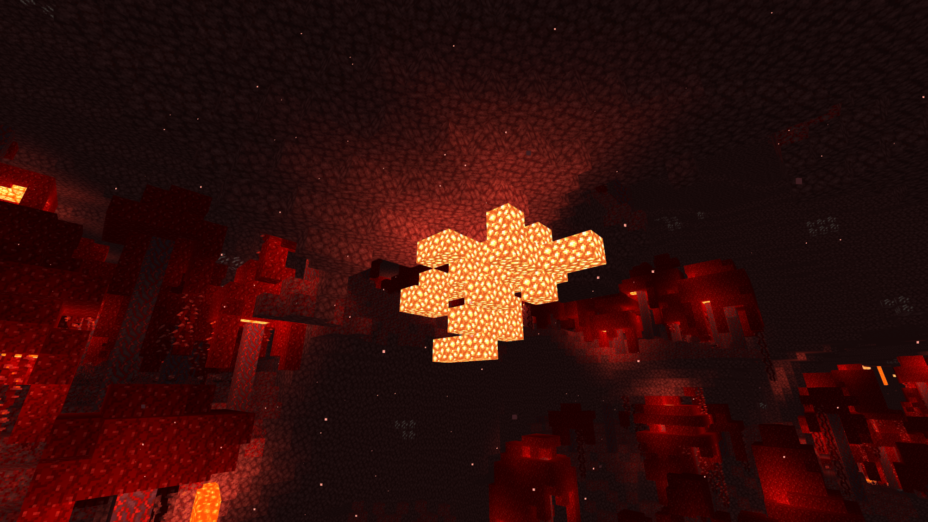
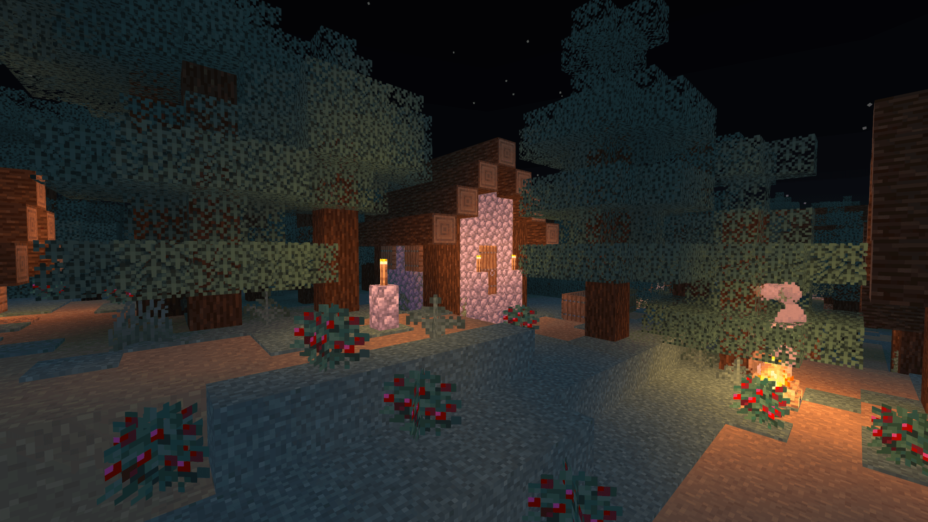
If the default lighting in Minecraft is too sharp for you, you might want to try Stereo’s Default+ shaders. It focuses on soft lighting effects to reduce glare, including some specially designed soft shadows. Where some shaders make noon unbearably bright, this one is subdued. Torches, lava buckets, or other light sources are necessary for any digging or night adventures, because the low light of evening is softened too. It’s almost impossible to see without extra lights. At least The Nether is easy to navigate because of added brightness on lava and lava particles. Bring a bucket with while caving and getting lost in the dark won’t be a problem.
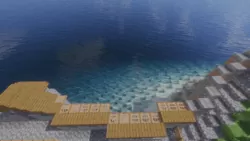
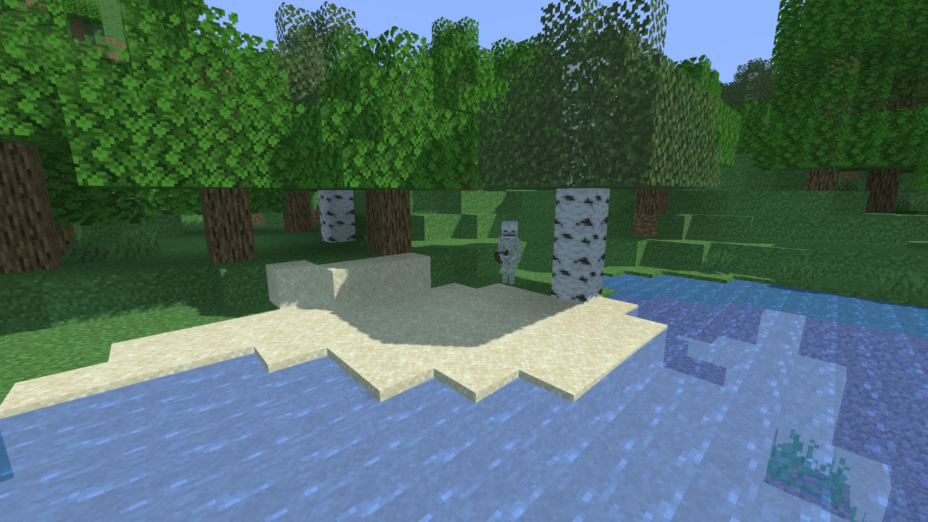
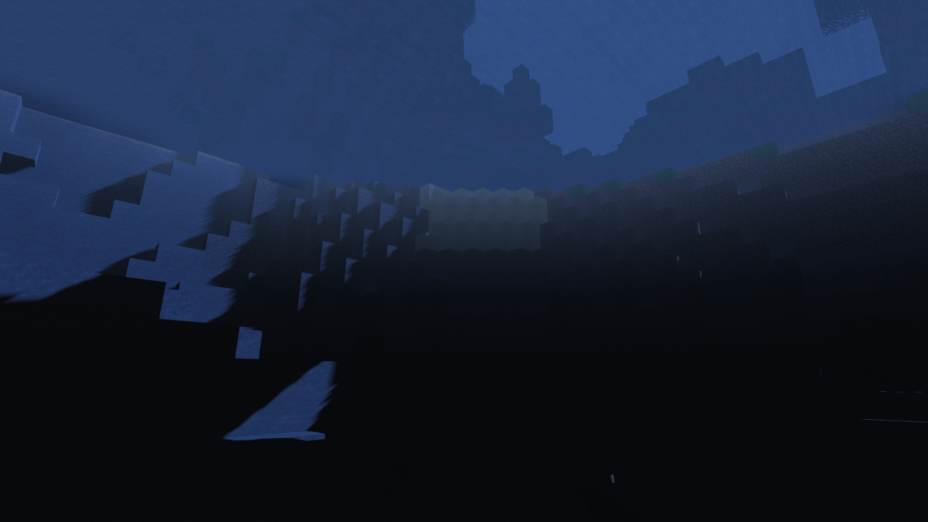
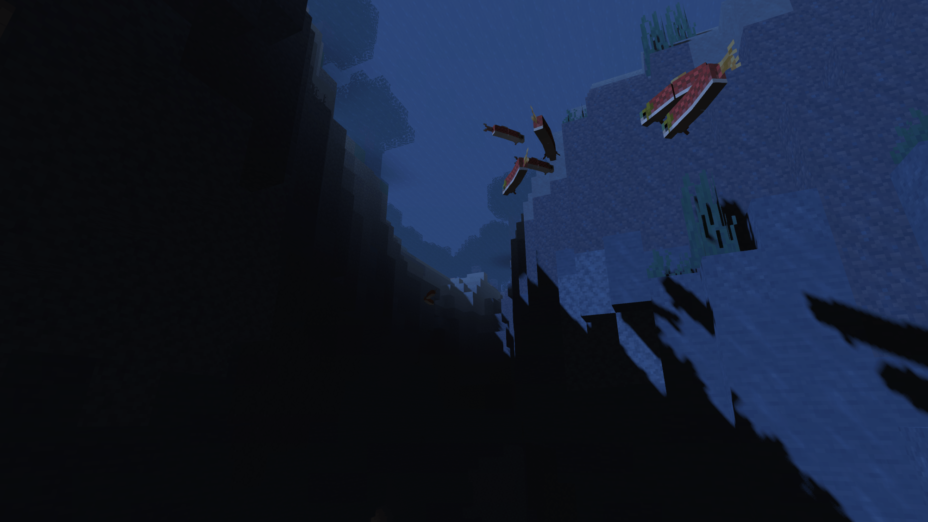
These particle effects work for water too. You’ll get extra bubbles, moving waves, and somewhat blurry reflections. This can make fishing harder since watching for bubbles and ripples is key to catching fish. Stereo528’s Default Plus doesn’t do much besides this, with no changes to clouds or fog. It’s all about lighting and liquids, where these shaders excel. It works with the latest version of Optifine and Minecraft 1.19, so you don’t need to start a new world or change any game settings to use these shaders. Iris + Sodium makes some problems with Stereo’s shaders, so stick with Optifine, and you’ll be fine. Stereo’s Default+ v2.4 added support for Iris too.
- 1.19.4
- 1.19.3
- 1.19.2
- 1.19.1
- 1.19
- 1.18.2
- 1.18.1
- 1.18
- 1.17.1
- 1.17
- 1.16.5
- 1.16.4
- 1.16.3
- 1.16.2
- 1.16.1
- 1.16
- 1.15.2
- 1.15.1
- 1.15
- 1.14.4
- 1.14.3
- 1.14.2
- 1.14.1
- 1.14
- 1.13.2
- 1.13.1
- 1.13
- 1.12.2
- 1.12.1
- 1.12
- 1.11.2
- 1.11.1
- 1.11
- 1.10.2
- 1.10.1
- 1.10
- 1.9.4
- 1.9.3
- 1.9.2
- 1.9.1
- 1.9
- 1.8.9
Features
Over 5 new features are available in Stereo's Default+ Shaders to enhance your gaming experience.
📊 Performance Impacts
Decrease in performance can vary from device to device, driver version, and many other factors, you should test yourself on your machine for the best result.
-
- None
- No performance decreases
-
- Small
- ~5%
-
- Medium
- ~10%
-
- High
- ~25%
-
- Extreme
- +50%
Stereo's Default+ Shaders allow you to change more than 8 settings to suit your needs.
| Settings |
Description |
Options |
|---|---|---|
| Water | ||
| WavingLiquids |
| |
| Wave Size | Changes how big the waves are. |
|
| Wave Speed | Changes how fast the wave goes. |
|
| Lava | ||
| WavingLiquids |
| |
| Lava Wave Speed | Changes how fast the lava wave goes. |
|
| Shadows | ||
| Shadow Samples | Changes how "Smooth" the Shadow edges are. High Values will have Performance Impacts! |
|
| Transparent Shadow Hardness | Changes how much color from Transparent Objects gets displayed. High Values might have Performance Impacts! |
|
| Shadow Map Resolution | Changes how "Sharp" shadow edges are. High Values will have Performance Impacts! |
|
How To Install Stereo's Default+ Shaders
- Support Forge / Vanilla
- Extra features
- Good performance
- Support Fabric / Quilt
- Better performance, depend on your hardware
Optifine Installation Guide
Note
Your device must have Java installed to run the Forge and Optifine installers.
Quick Java Installation Guide
-
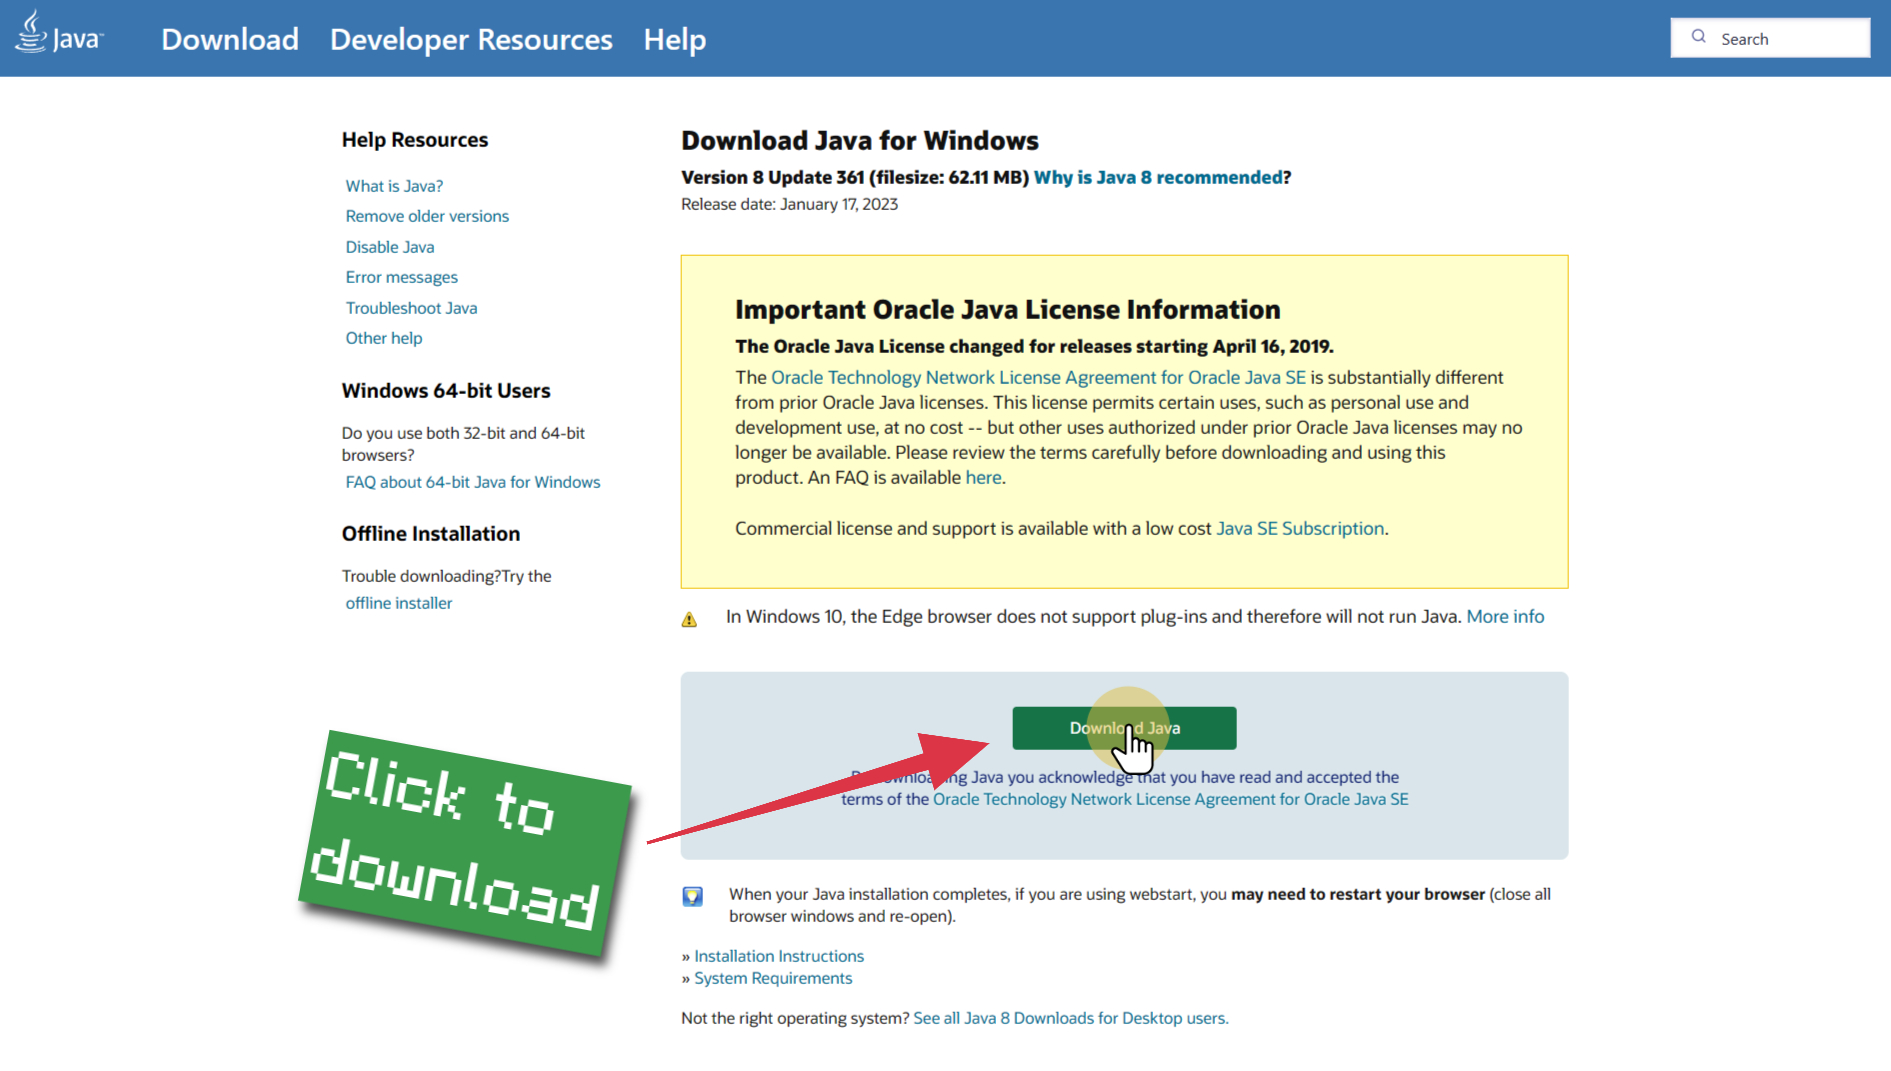
Download Java
Download the Java installer from the official website here.
-
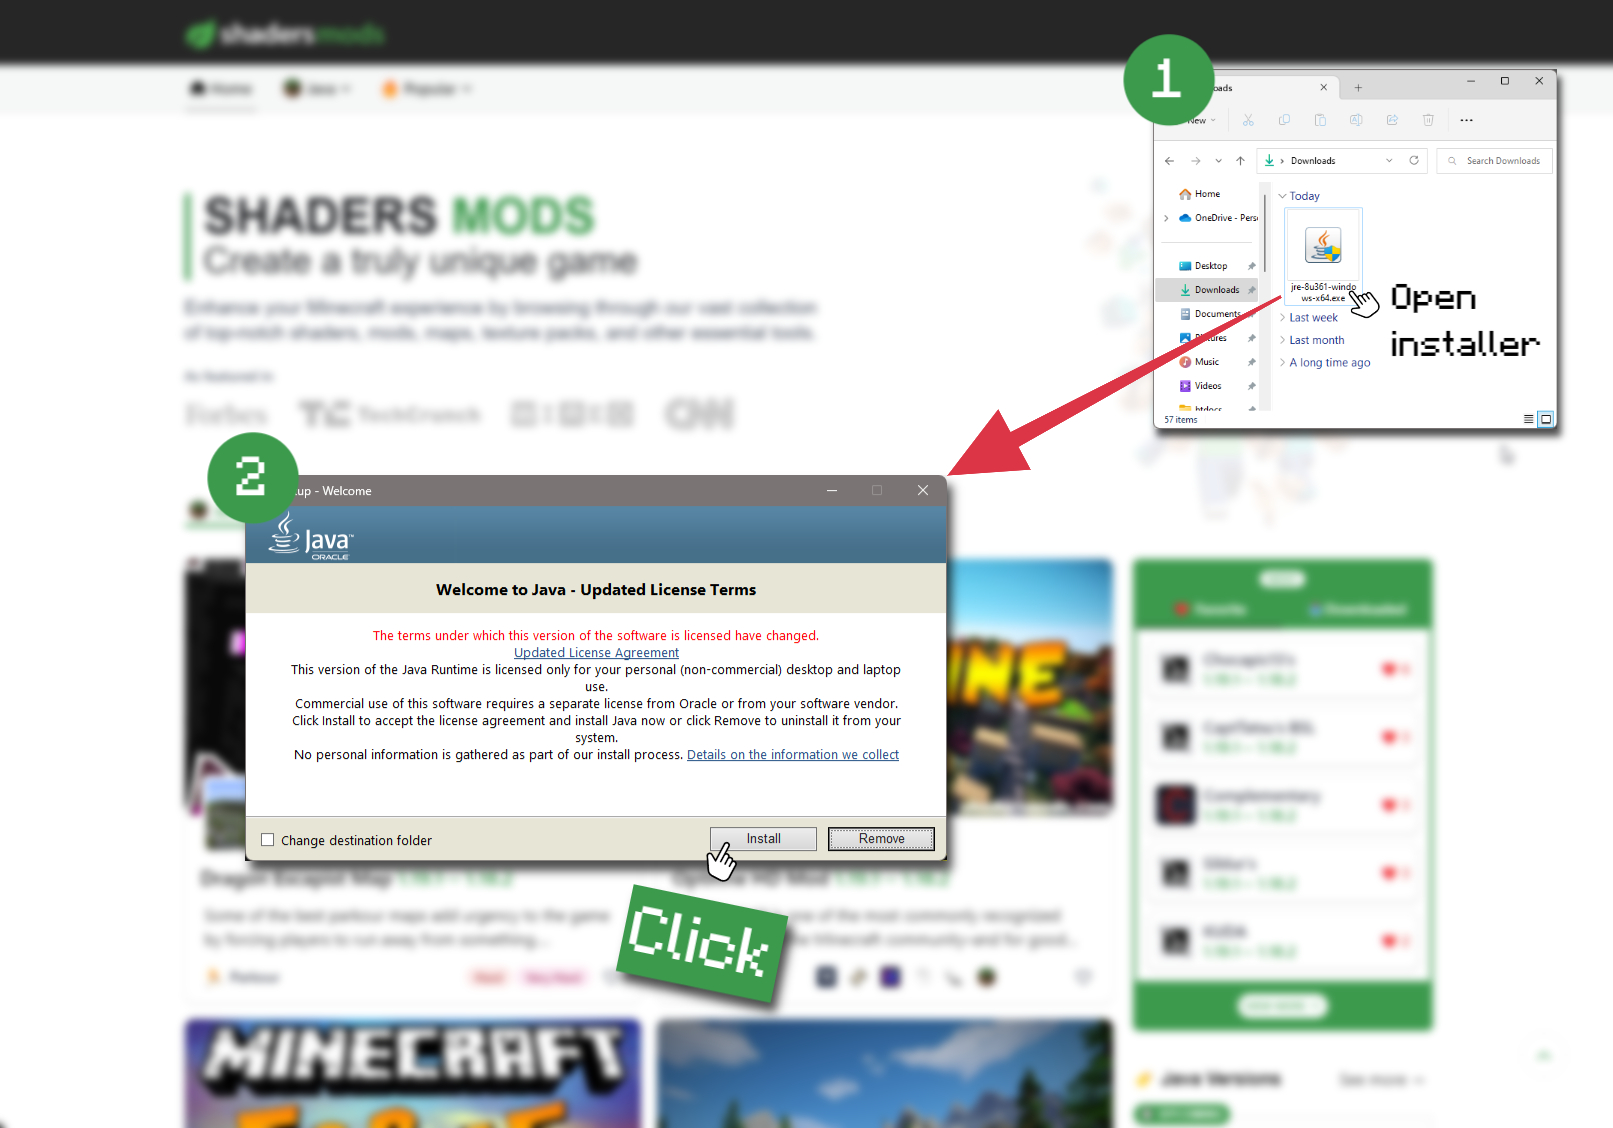
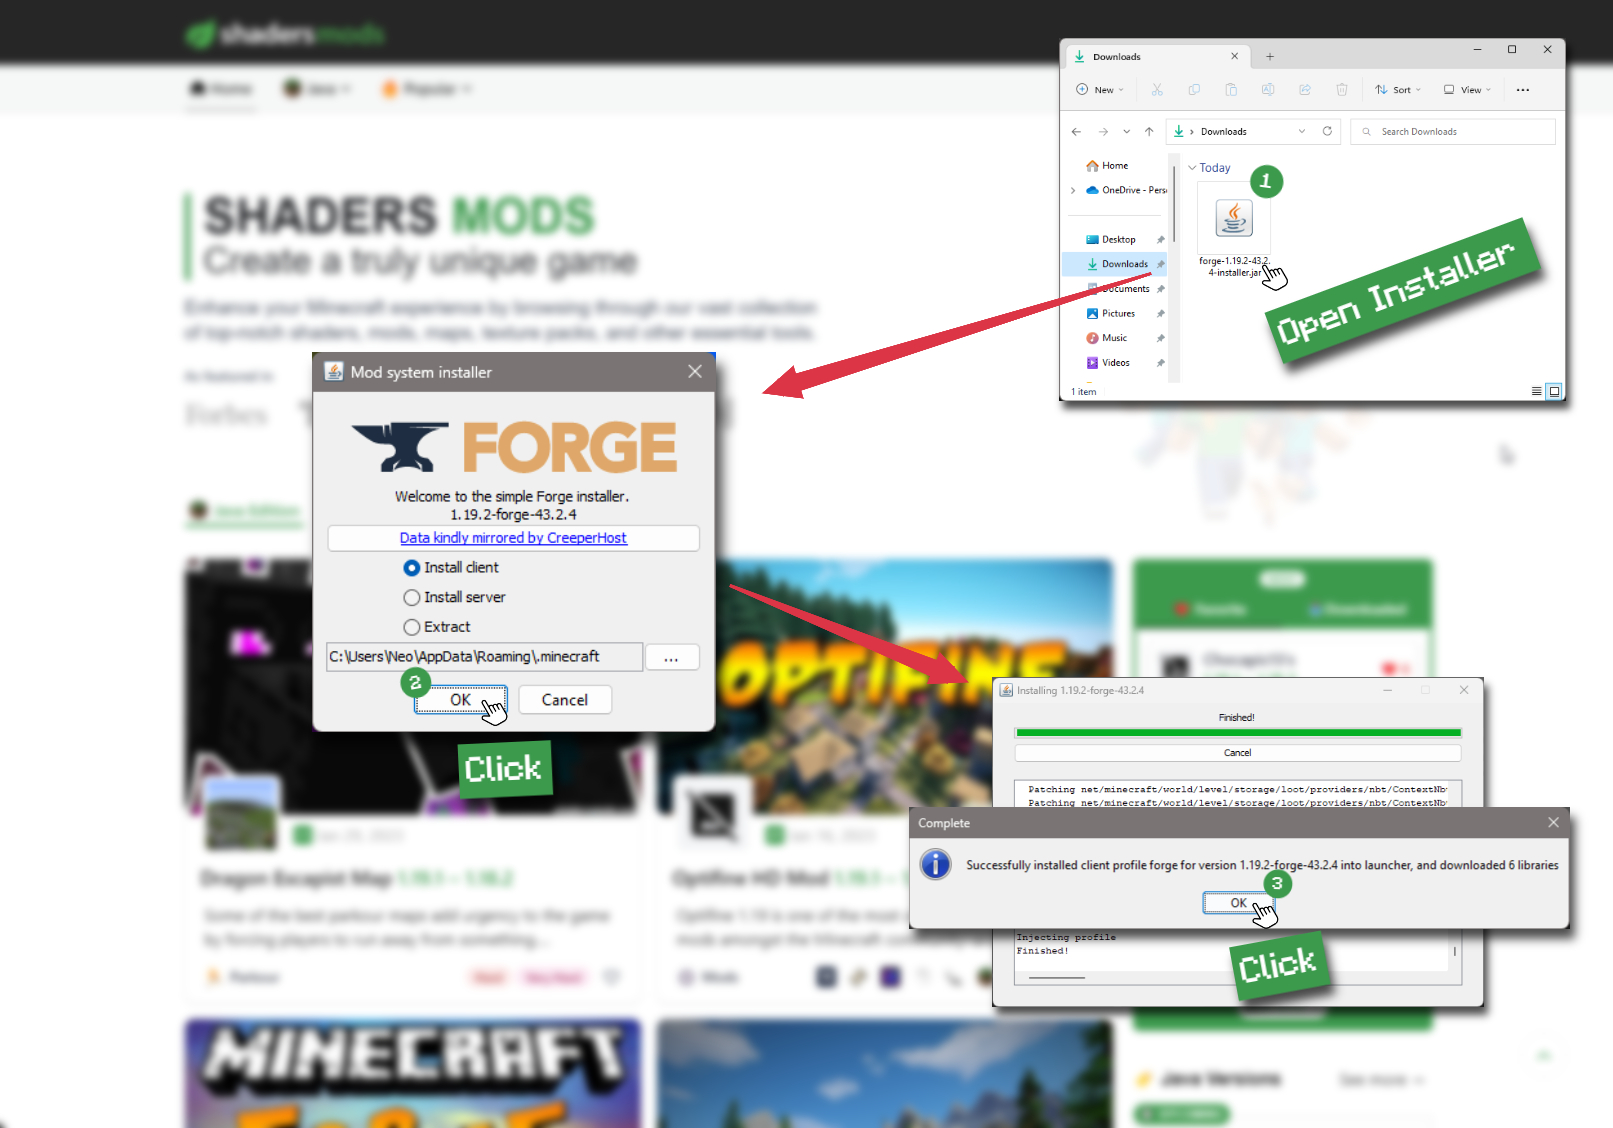
Open Installer
Once you have downloaded the file, run it and click the Install button.
How to install Stereo's Default+ Shaders with Optifine?
-
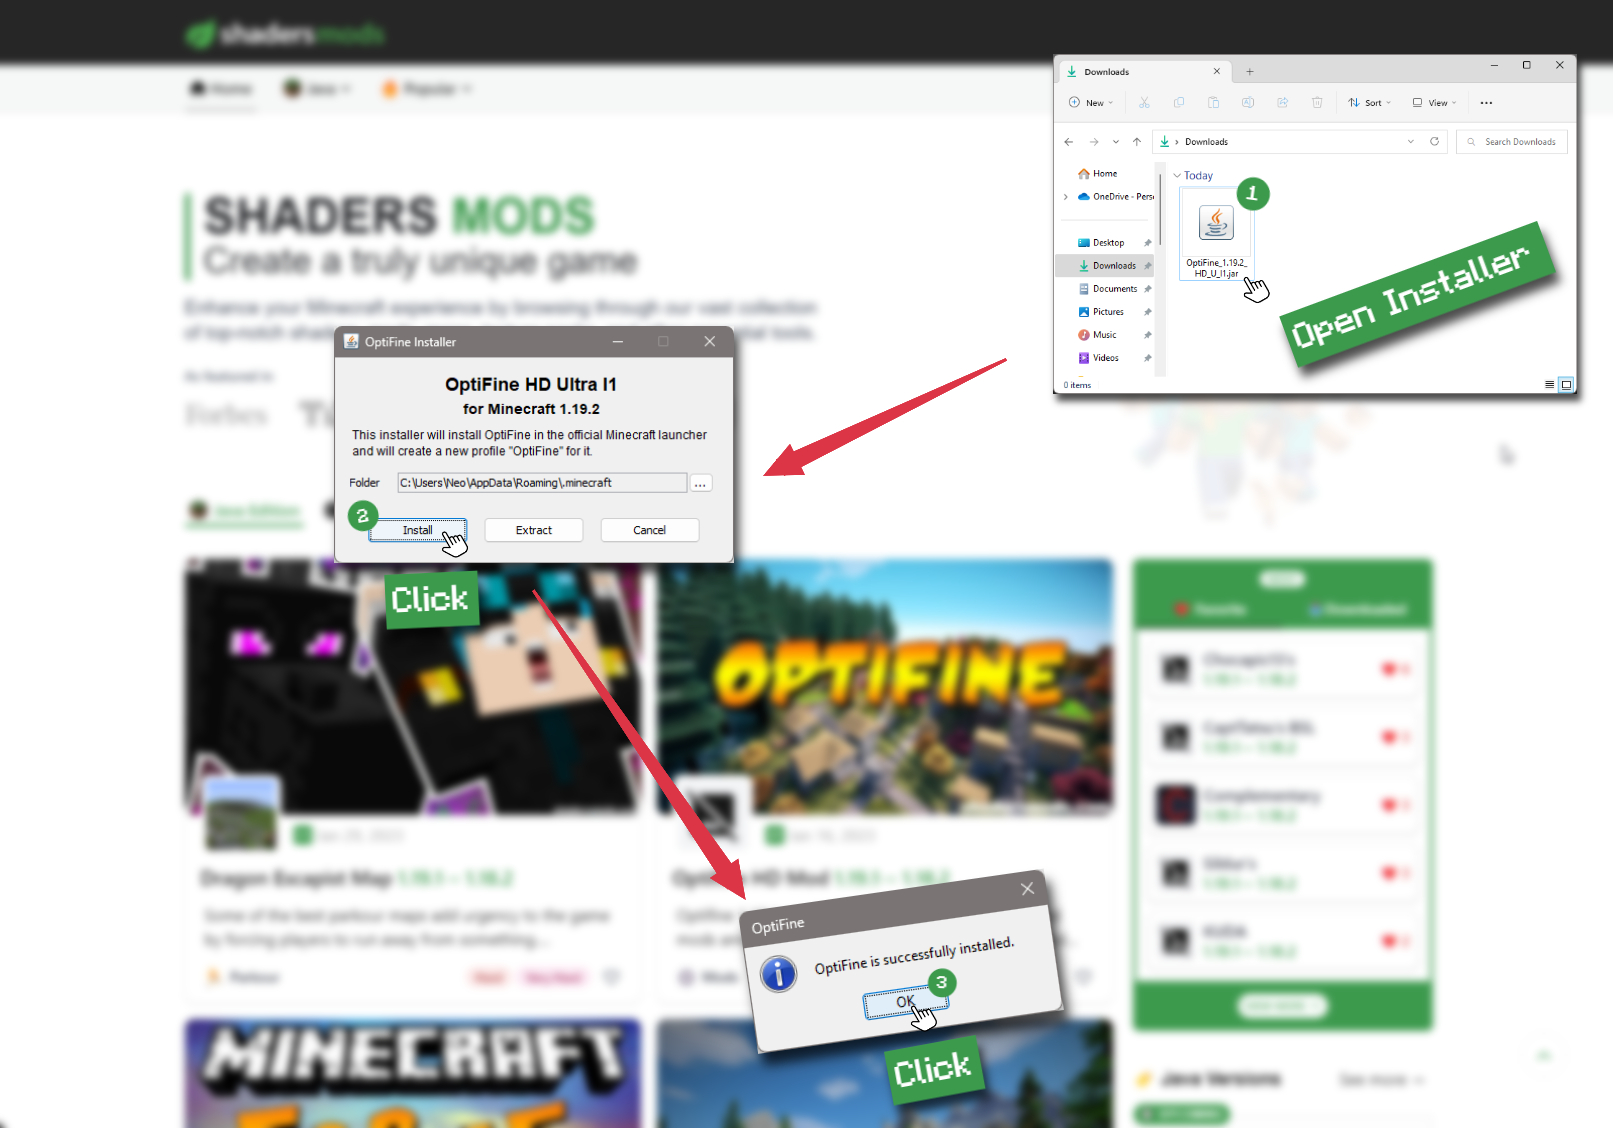
Download Optifine
Get the latest version of Optifine for your Minecraft version.
Download Optifine -
Install Optifine
Run the Optifine installer and follow the on-screen instructions to complete the installation.
-
Download Stereo's Default+ Shaders
Go to the download section and get shaders zip file. Unzip the file if necessary, as some shader developers may bundle multiple shader versions in one zip file.
-
Launch Minecraft
Start the Minecraft launcher and make sure you have the Optifine profile selected.

-
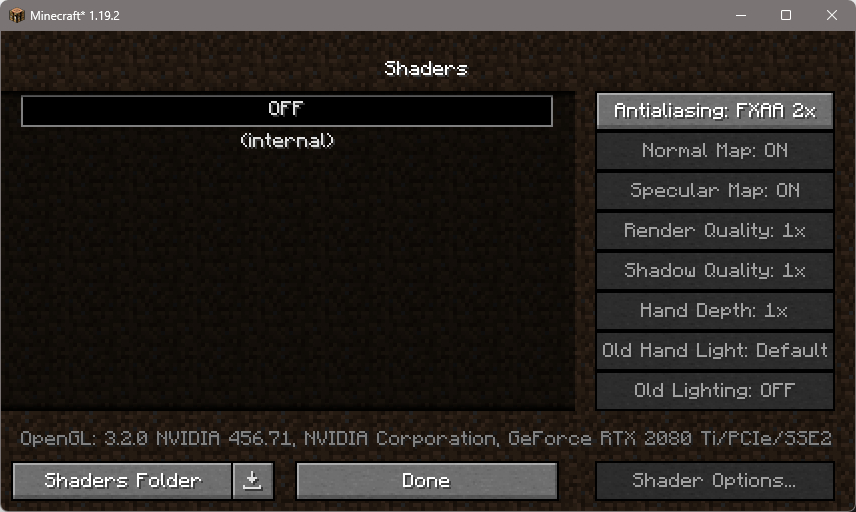
In-game Shaders menu
Go to Options > Video Settings > Shaders to access the shaders menu.
-
Open shaderpacks folder
Click on the "Shaders Folder" button to open the folder where shaders are stored, so you can add or remove shaders as desired.

-
Install Stereo's Default+ Shaders
Copy or move the downloaded Stereo's Default+ shaders zip file into the shaderpacks folder.

-
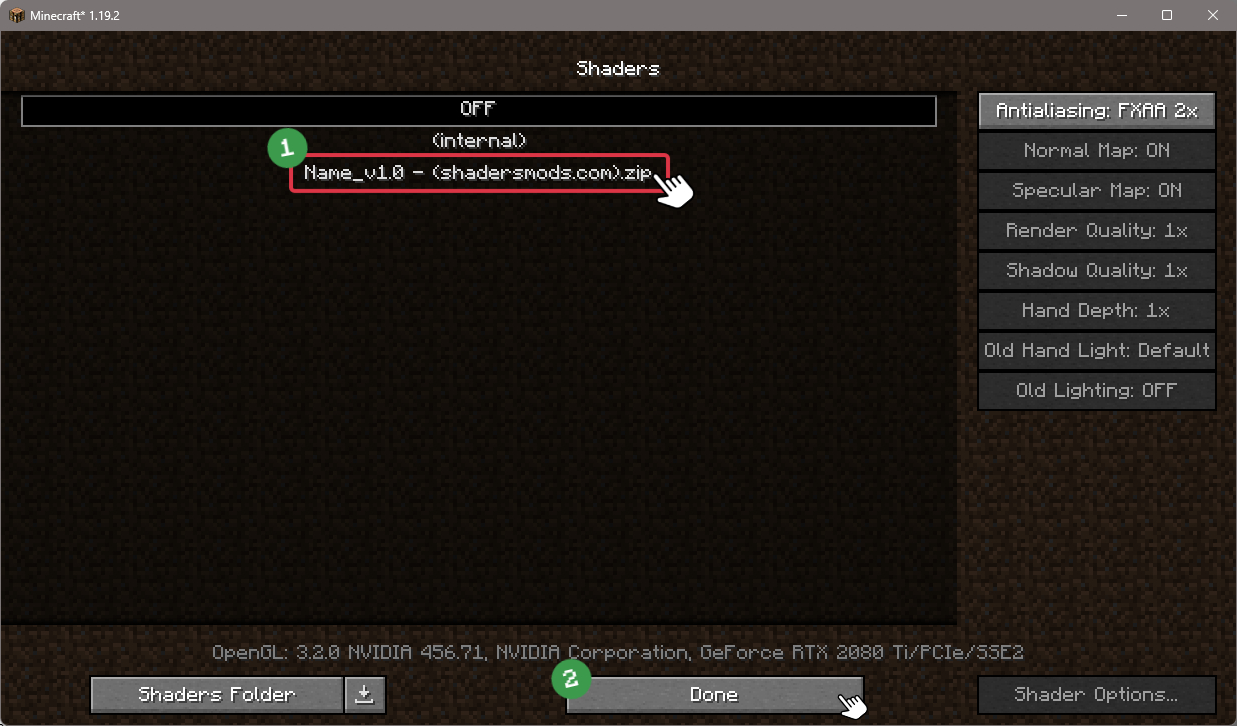
Select Stereo's Default+ Shaders
Choose Stereo's Default+ shader pack from the list of available shaders in the options menu.
How to install Stereo's Default+ Shaders with Forge and Optifine?
Quick Installation Guide
-
Install Forge
Obtain the latest version of Forge that is compatible with your Minecraft version.
Download Minecraft Forge -
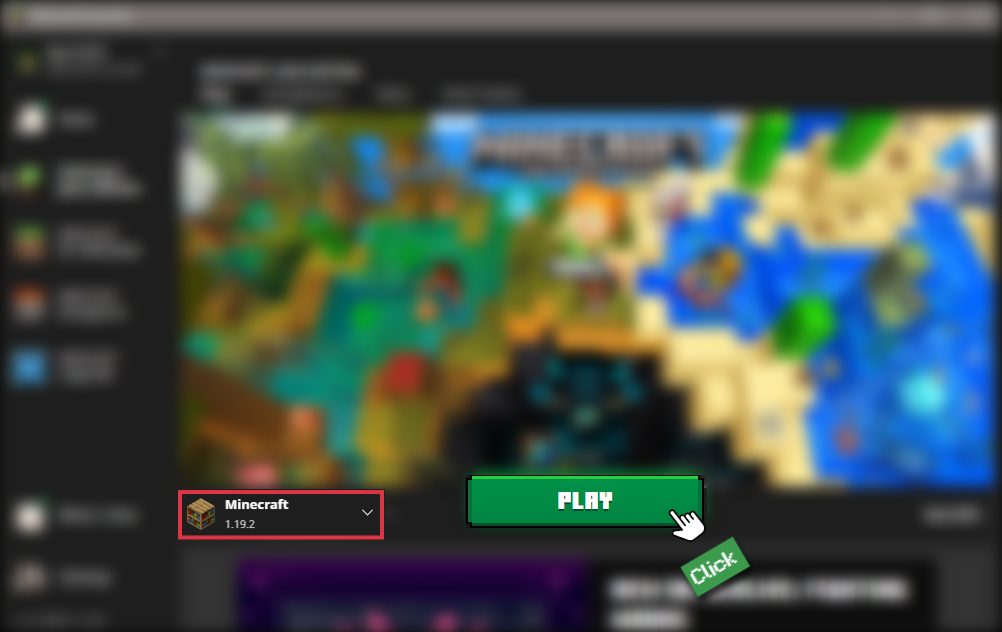
Launch Minecraft
Start the Minecraft launcher and select the version of Minecraft you want to install Forge on. Run the game once by clicking on the "Play" button to create necessary files for Forge.
-
Install Forge Client
Double-click on the Forge installer jar file and choose "Install Client" in the window that appears.
-
Install Optifine
Download the Optifine jar file after Forge is installed. Move the Optifine jar file to the mods folder in the .minecraft directory.
Download Optifine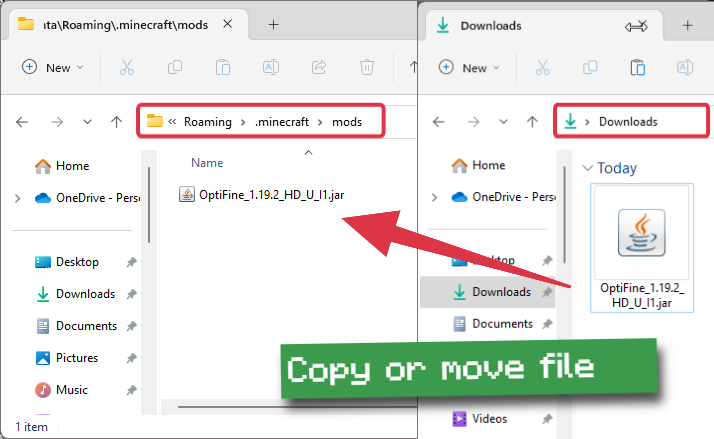
-
Launch Forge Profile
Launch Minecraft using the "Forge" profile, Optifine will be automatically loaded along with Forge.

-
Install Chocapic13's Shaders
Now the installation is the same as from the above Optifine instructions, just follow the steps starting from step 5.
Iris Installation Guide
Note
Your device must have Java installed to run the Iris installer.
Quick Java Installation Guide
-
Download Java
Download the Java installer from the official website here.
-
Open Installer
Once you have downloaded the file, run it and click the Install button.
How to install Stereo's Default+ Shaders with Iris?
-
Download Iris Shaders
Find the latest version of the Iris Shaders installer and download it.
Download Iris Installer -
Install Iris Shaders
Open the downloaded jar file, and choose the preferred game version and installation type.
⯈ Iris Install:
If you don't plan on using any other mods with Iris, choose this option.⯈ Fabric Install:
Choose this option if you want to use Iris with Fabric and other mods. The Iris jar files will be copied to the mods folder within the .minecraft directory.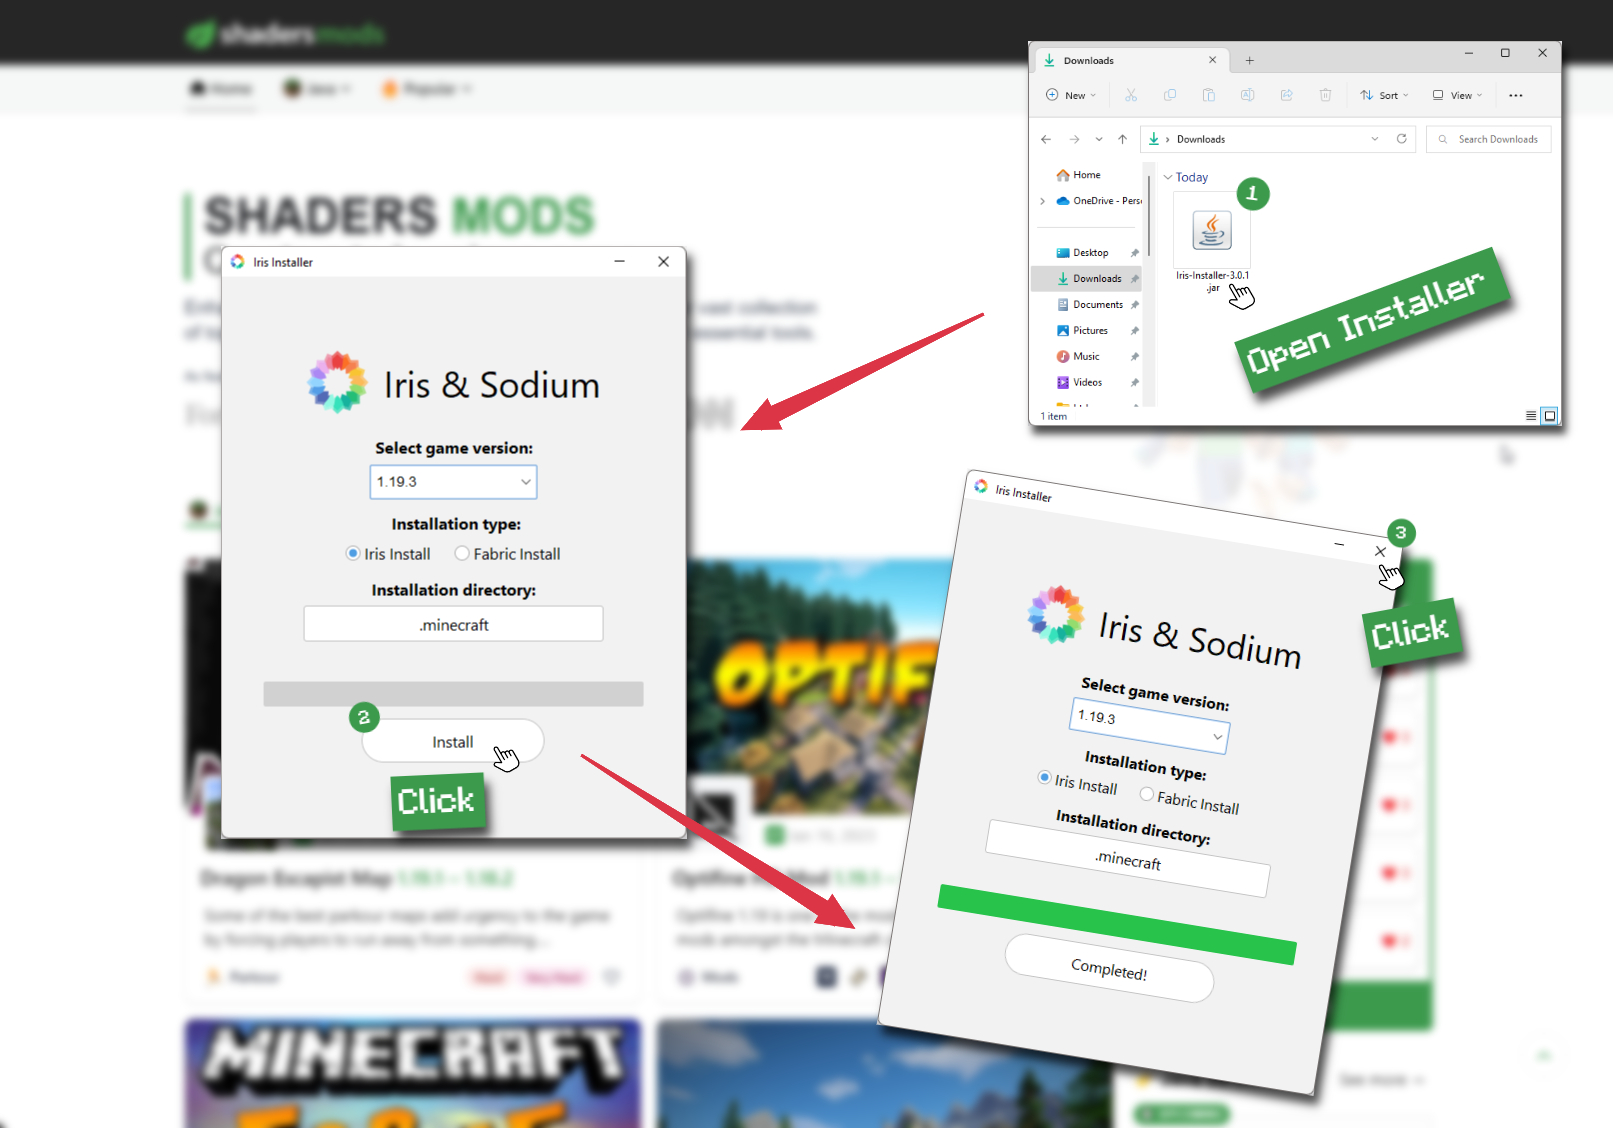
-
Start Installation
After selecting the game version and installation type, click the "Install" button to start the installation process.
-
Launch Minecraft
Start the Minecraft launcher and make sure you have the Iris profile selected.
Note
Select the Fabric profile if you opt for the Fabric installation type.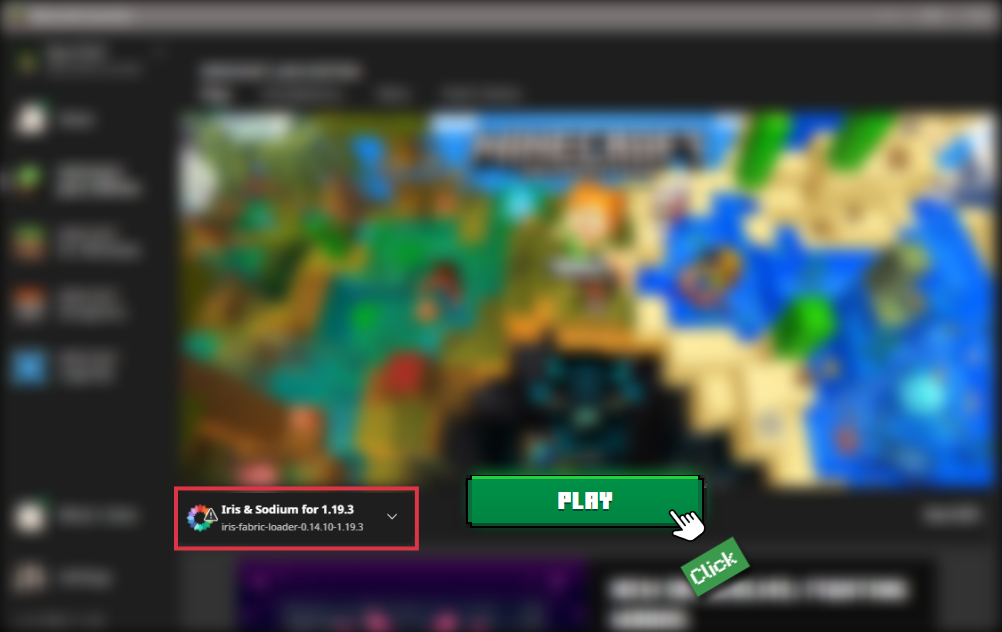
-
In-game Shader Menu
Open the Minecraft game and go to Options > Video Settings > Shader Packs to access the shaders menu.
Tip
To simplify the process, simply drag and drop the shader ZIP file directly into the Minecraft window, bypassing the next two steps.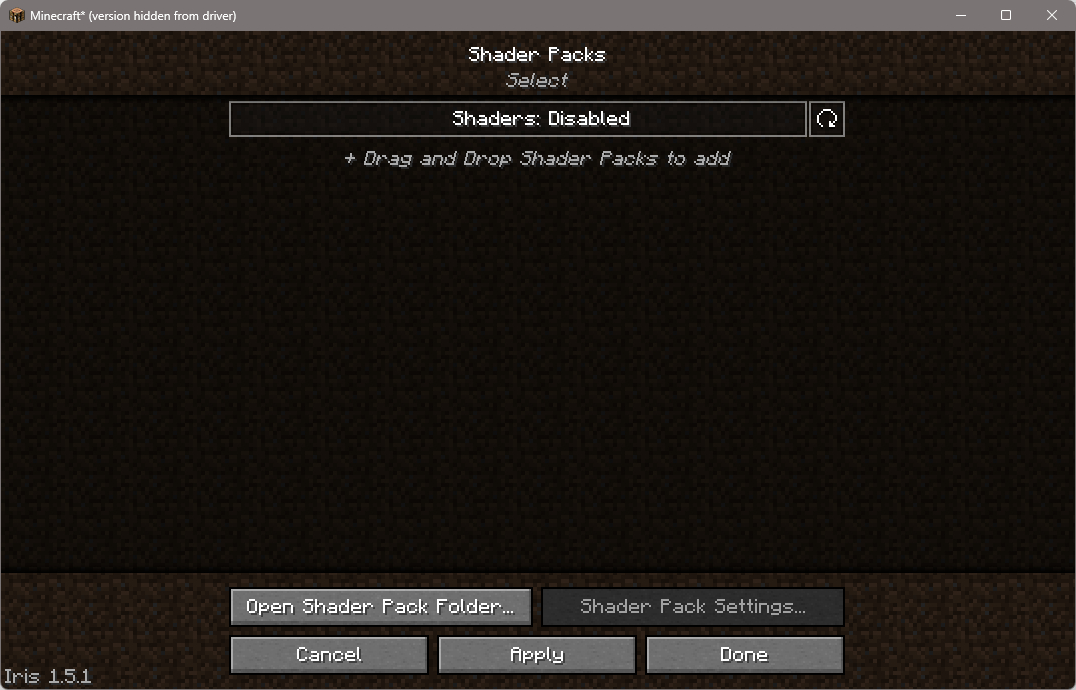
-
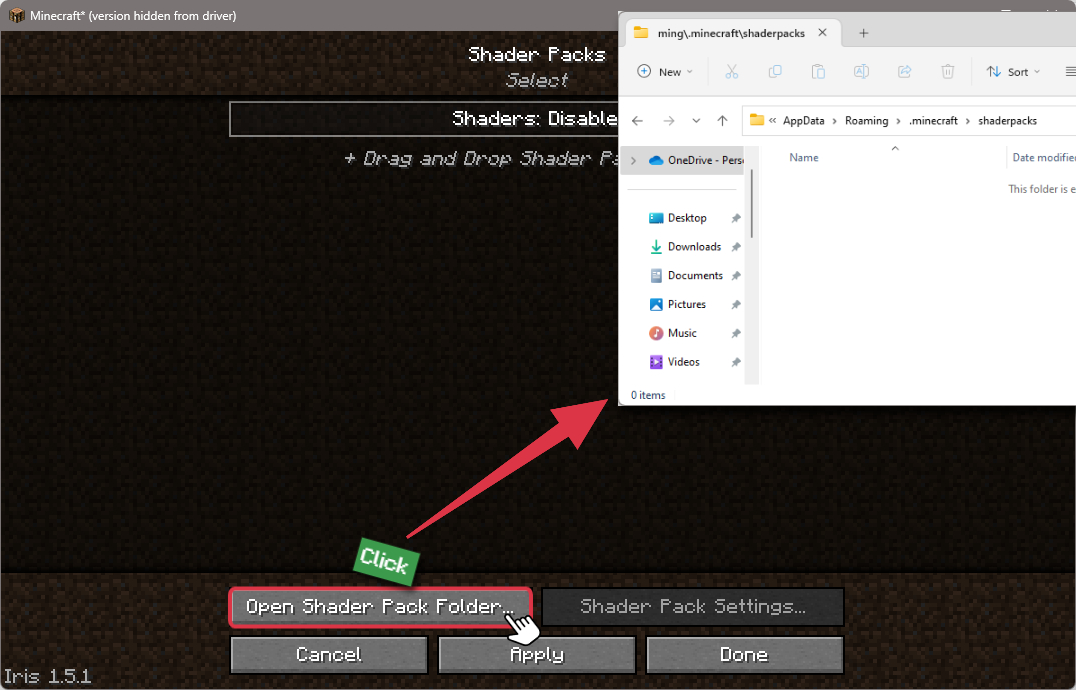
Open shaderpacks folder
Click on the "Open Shader Pack Folder" button to access the folder where shaders are stored.
-
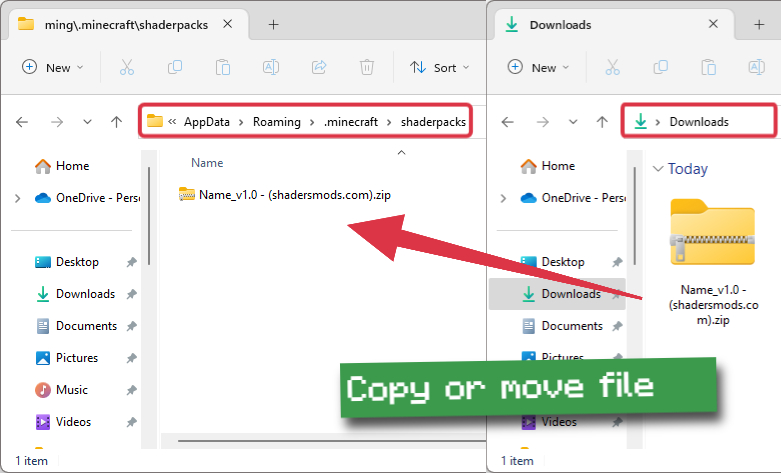
Install Stereo's Default+ Shaders
Copy or move the shaders zip file into the shaderpacks folder.
-
Select Stereo's Default+ Shaders
Choose installed shader pack from the list of available shaders in the options menu and click the "Apply" or "Done" button to select it.
Tip
When the shader pack is selected, its name will be changed to yellow.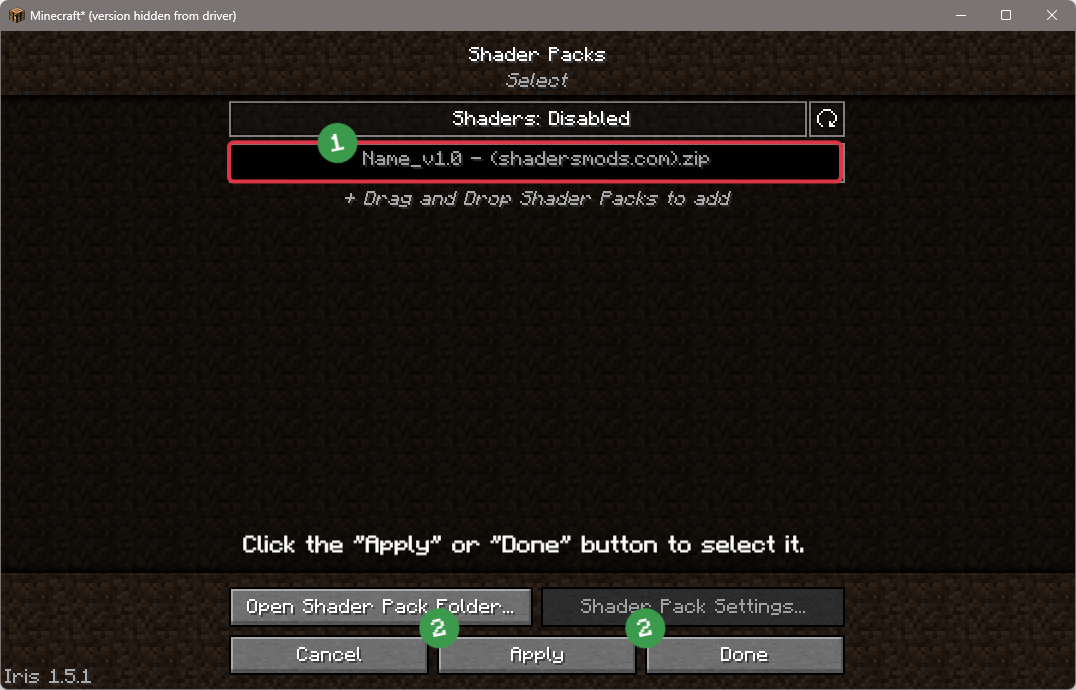
📥 Stereo's Default+ Shaders — Download
Something You Should Know
- Our links are only from the official developer, so you can be sure they are secure.
- No modifications or edits are made to the files.
🔄 Update Logs
v2.4
- Iris support! You no longer need just OptiFine for the shader to work fully. This changed some code in the gbuffers_skybasic, gbuffers_skytextured, and gbuffers_basic GLSL files to work fully!
- Otherwise, just some code cleanup.