
Beyond Belief Shaders 1.20, 1.19.4 → 1.18.2
Enhance your Minecraft experience with a reliable shader pack featuring stunning cinematic and weather effects.
| Developer | 👤Dakotah2468 |
|---|---|
| Style | 🌅Realistic |
| Support GPUs | |
| Loaders | |
| Performance Impact | Low |
| Settings | 56 |
| Features | HDR+39 |
| Created | Aug 3, 2017 |
| Updated | Apr 11, 2022 |
| Stats |
|
Bringing life to Minecraft since 2015, Beyond Belief Shaders (BBEPC) was created by the talented Daniel Rodriguez Moya. This stunning shader pack focuses on delivering breathtaking weather effects and cinematic touches like Depth of Field. After being left behind by its original creator, Dakotah2468 stepped in and breathed new life into the project with full permission, elevating the shader pack to new heights of beauty and realism.
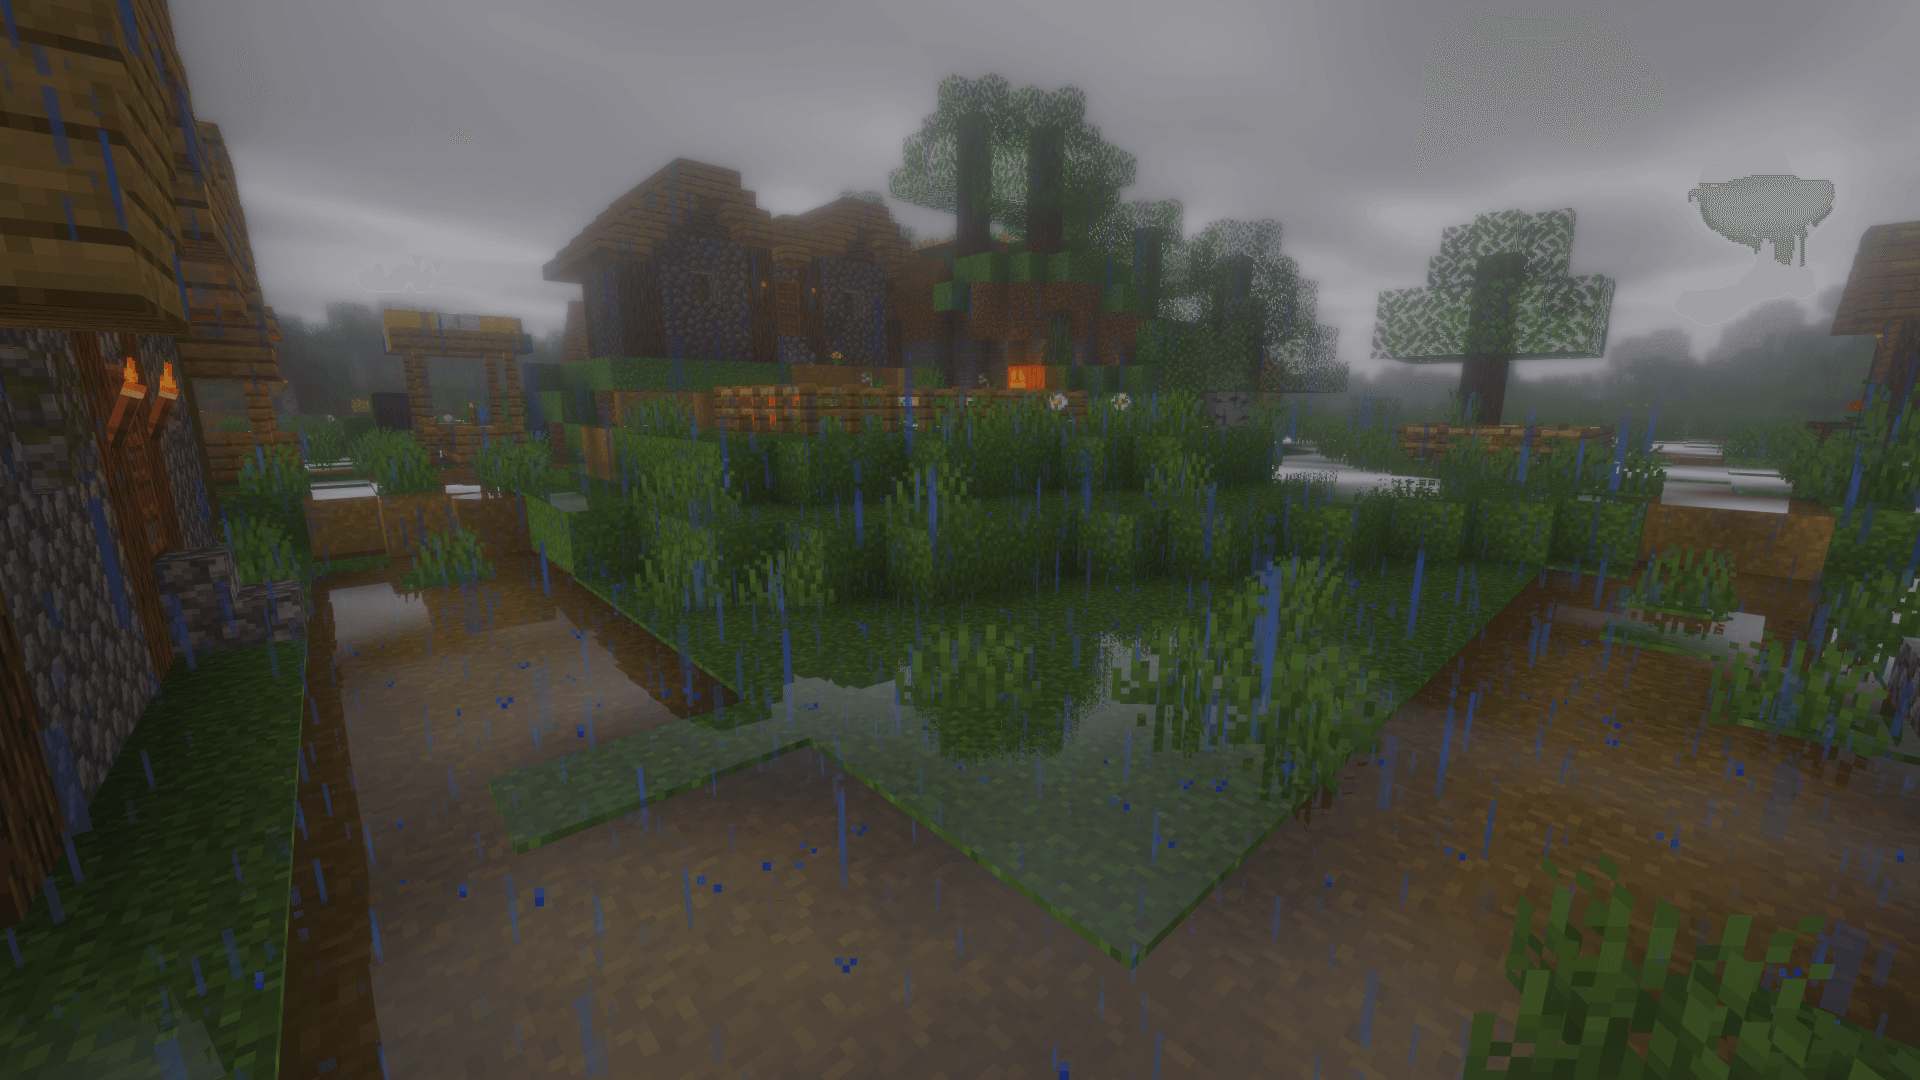
Wet effect
- Emphasizing weather effects, the BBEPC Shader pack creates an effect of wetness on the ground and surface when it rains.
Motion Blur
- The Shader pack provides advanced motion blur effects suitable for quick movements and will make Minecraft more similar to FPS games.
Improved Water
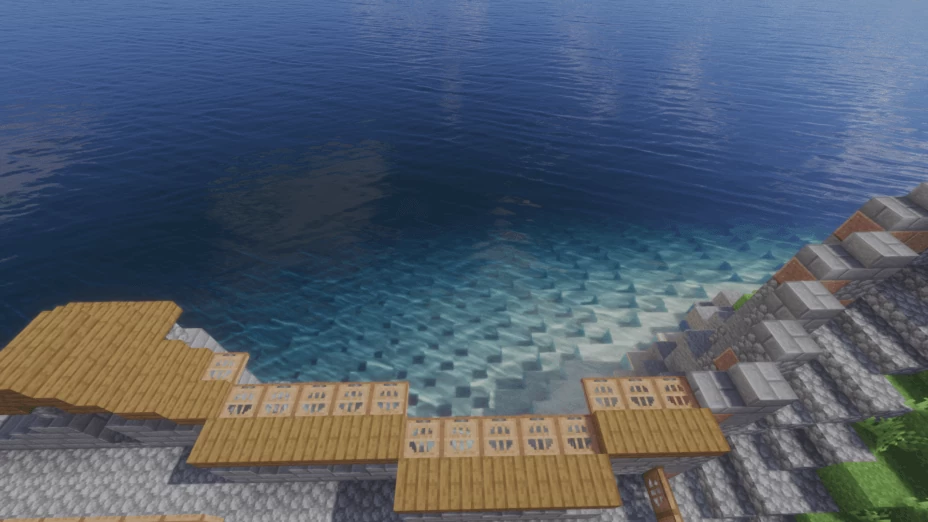
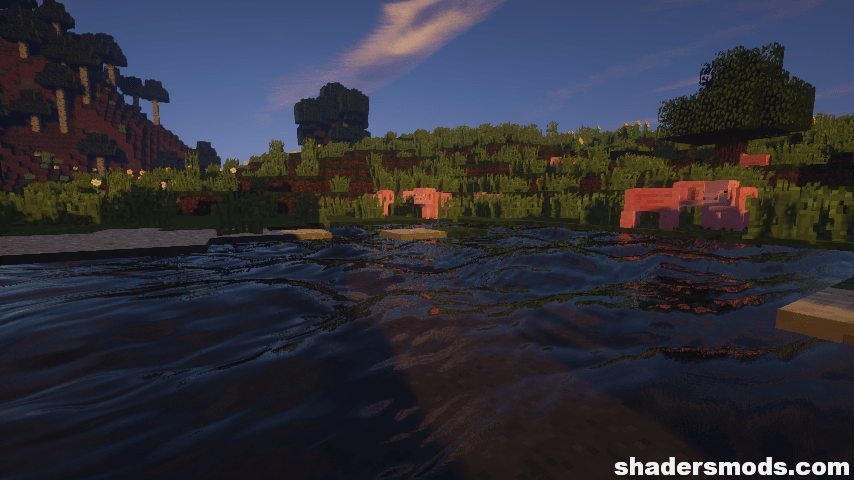
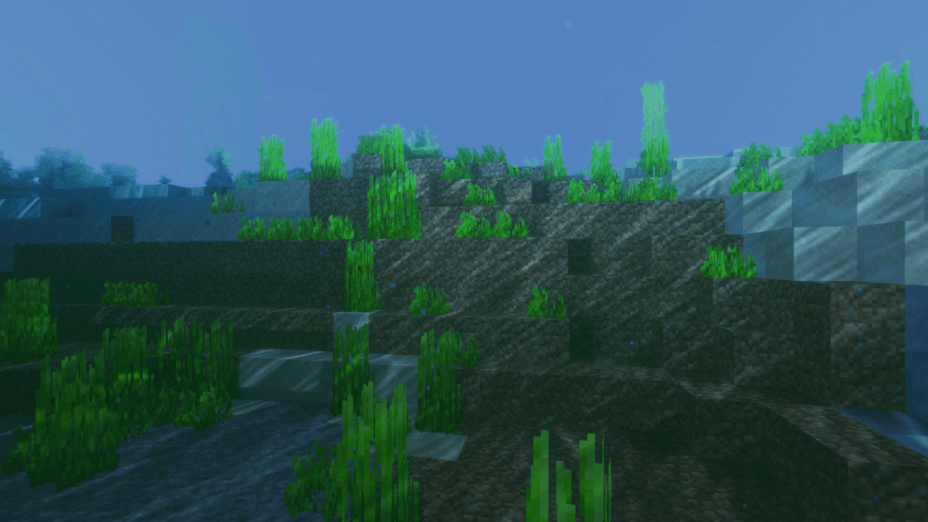
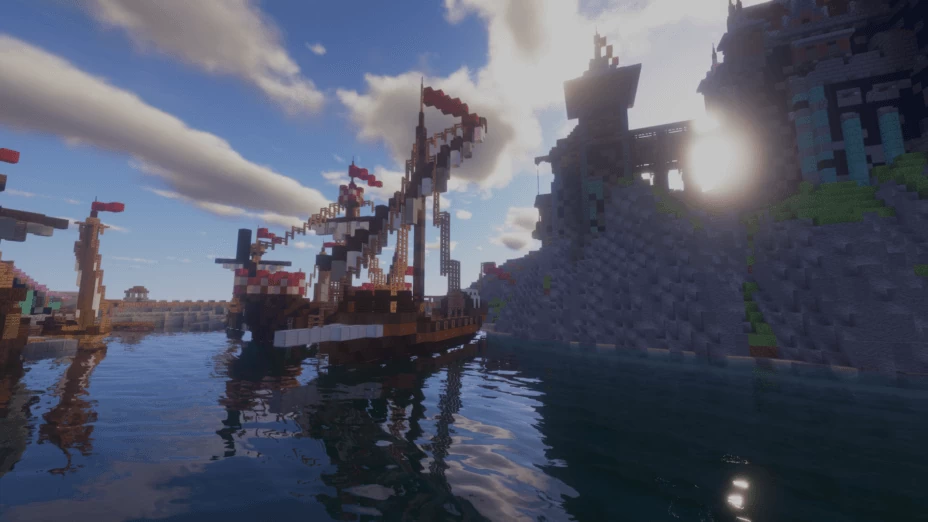
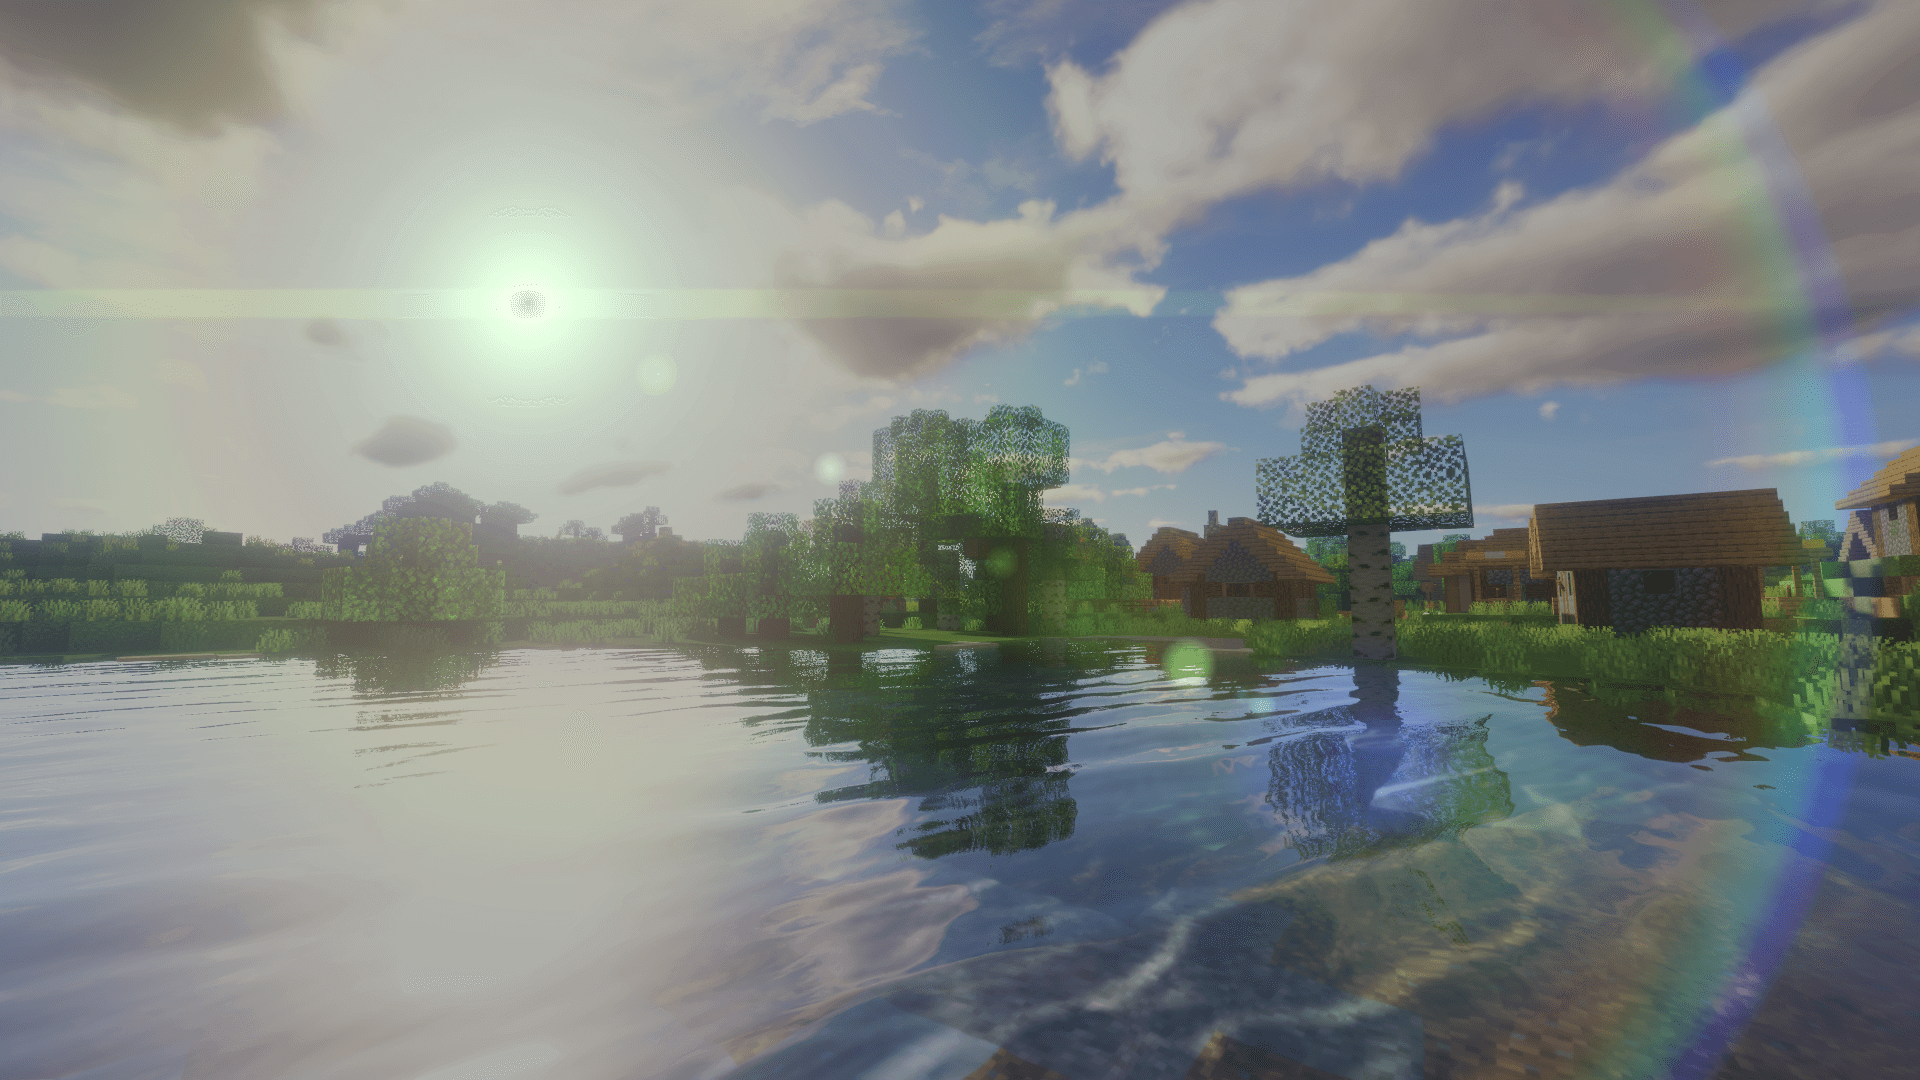
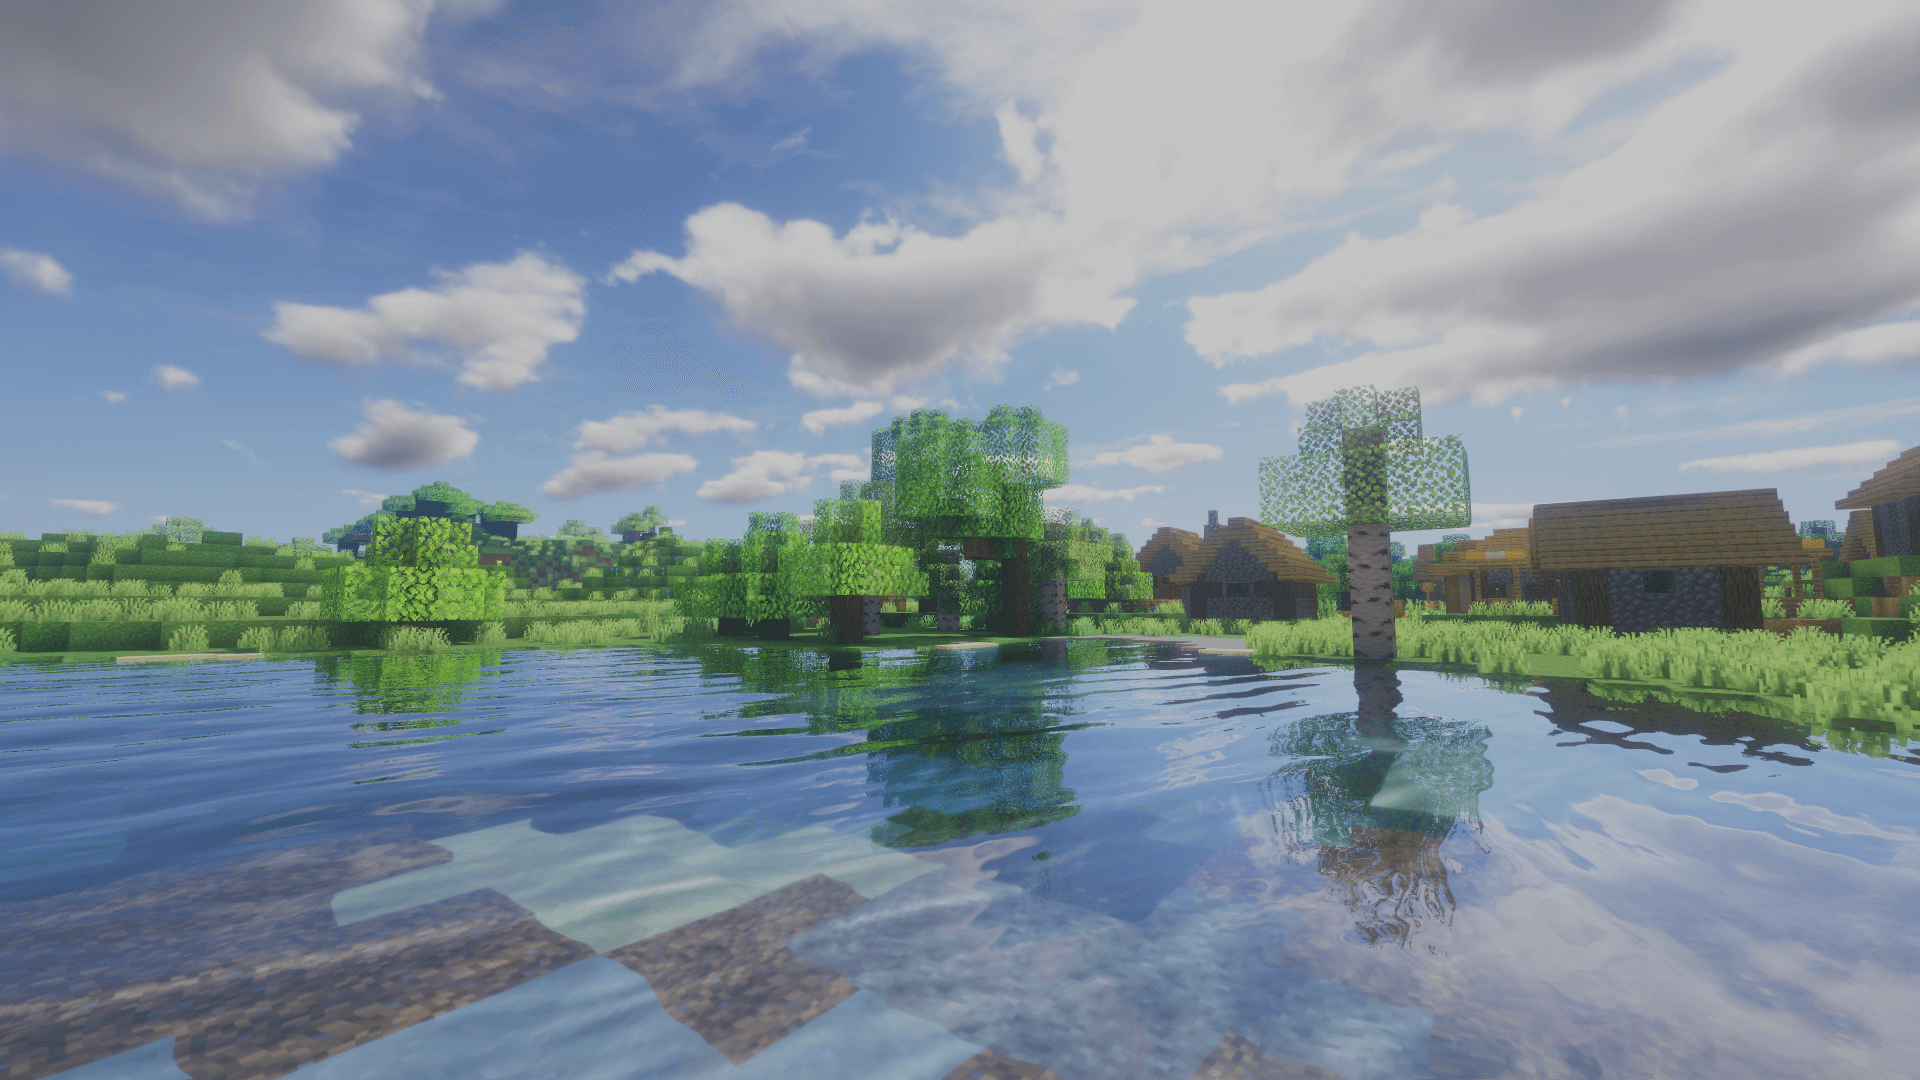
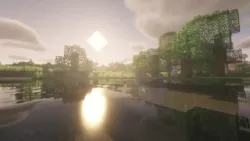
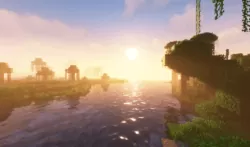
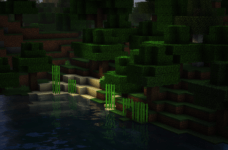
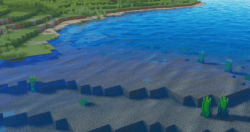
- One of the shader pack focuses on improving water by giving it a physics-based movement, enhancing its clarity, and adding various effects like light refraction and landscape and sky reflection, among many others.
Gentle and Natural-looking Lighting
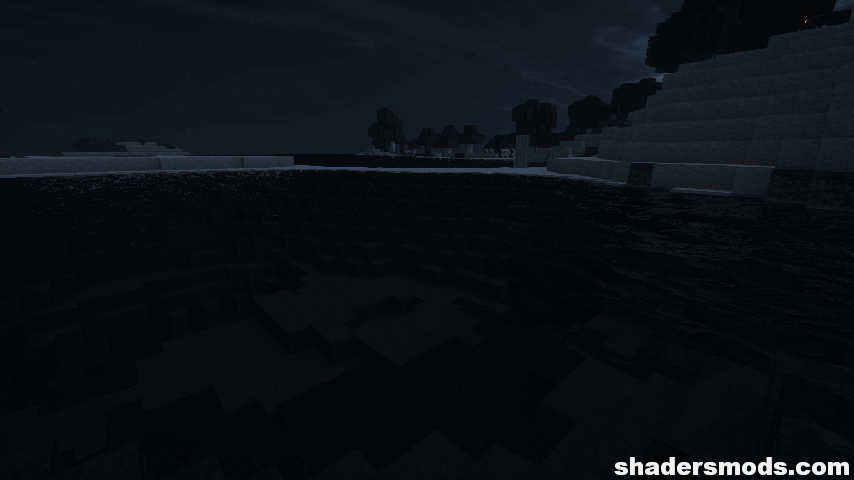
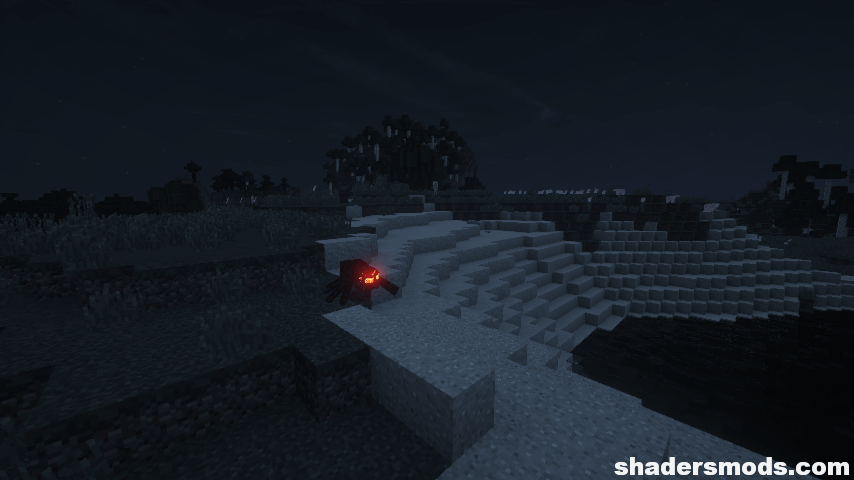
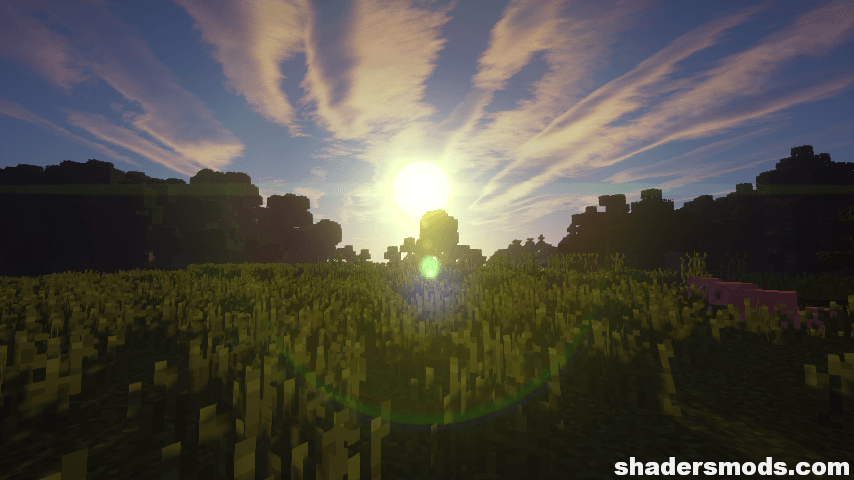
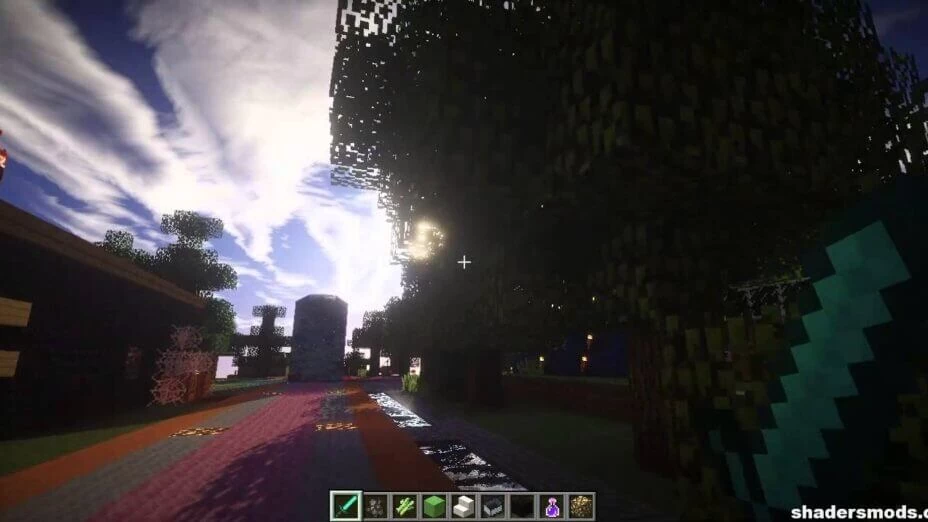
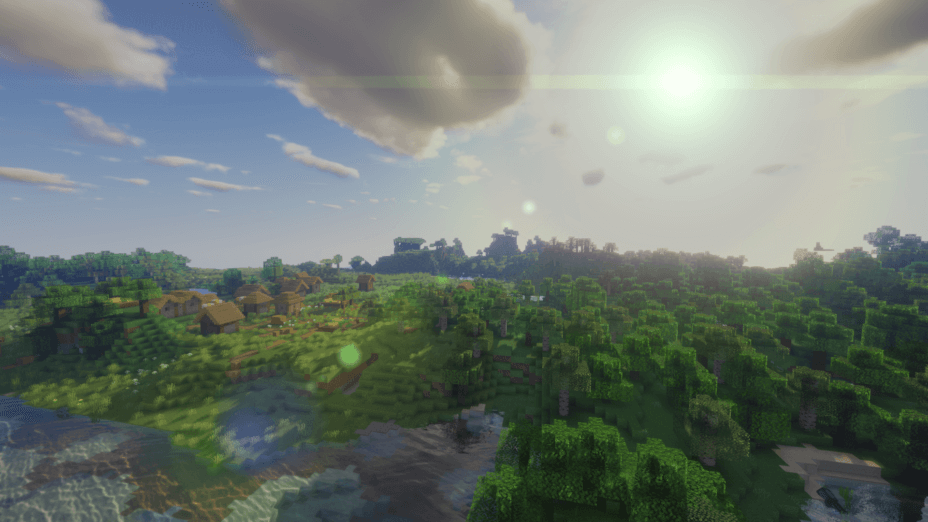
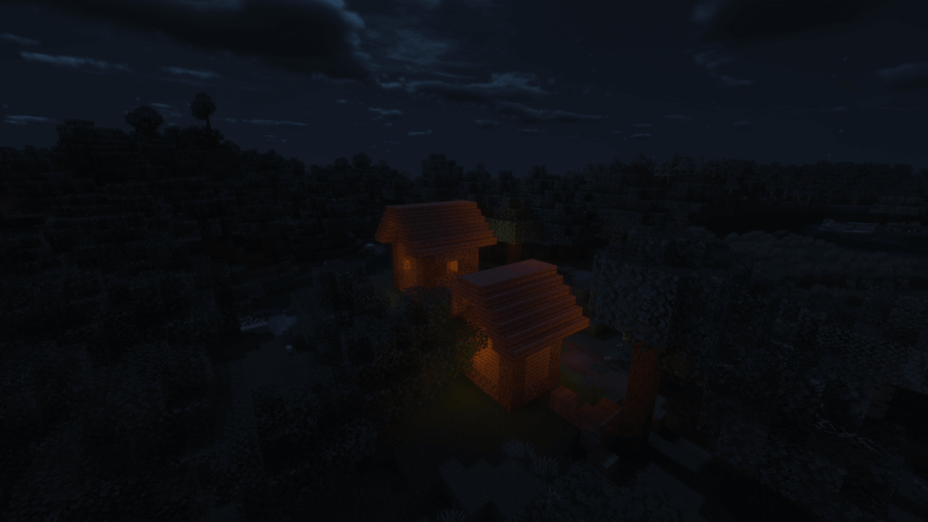
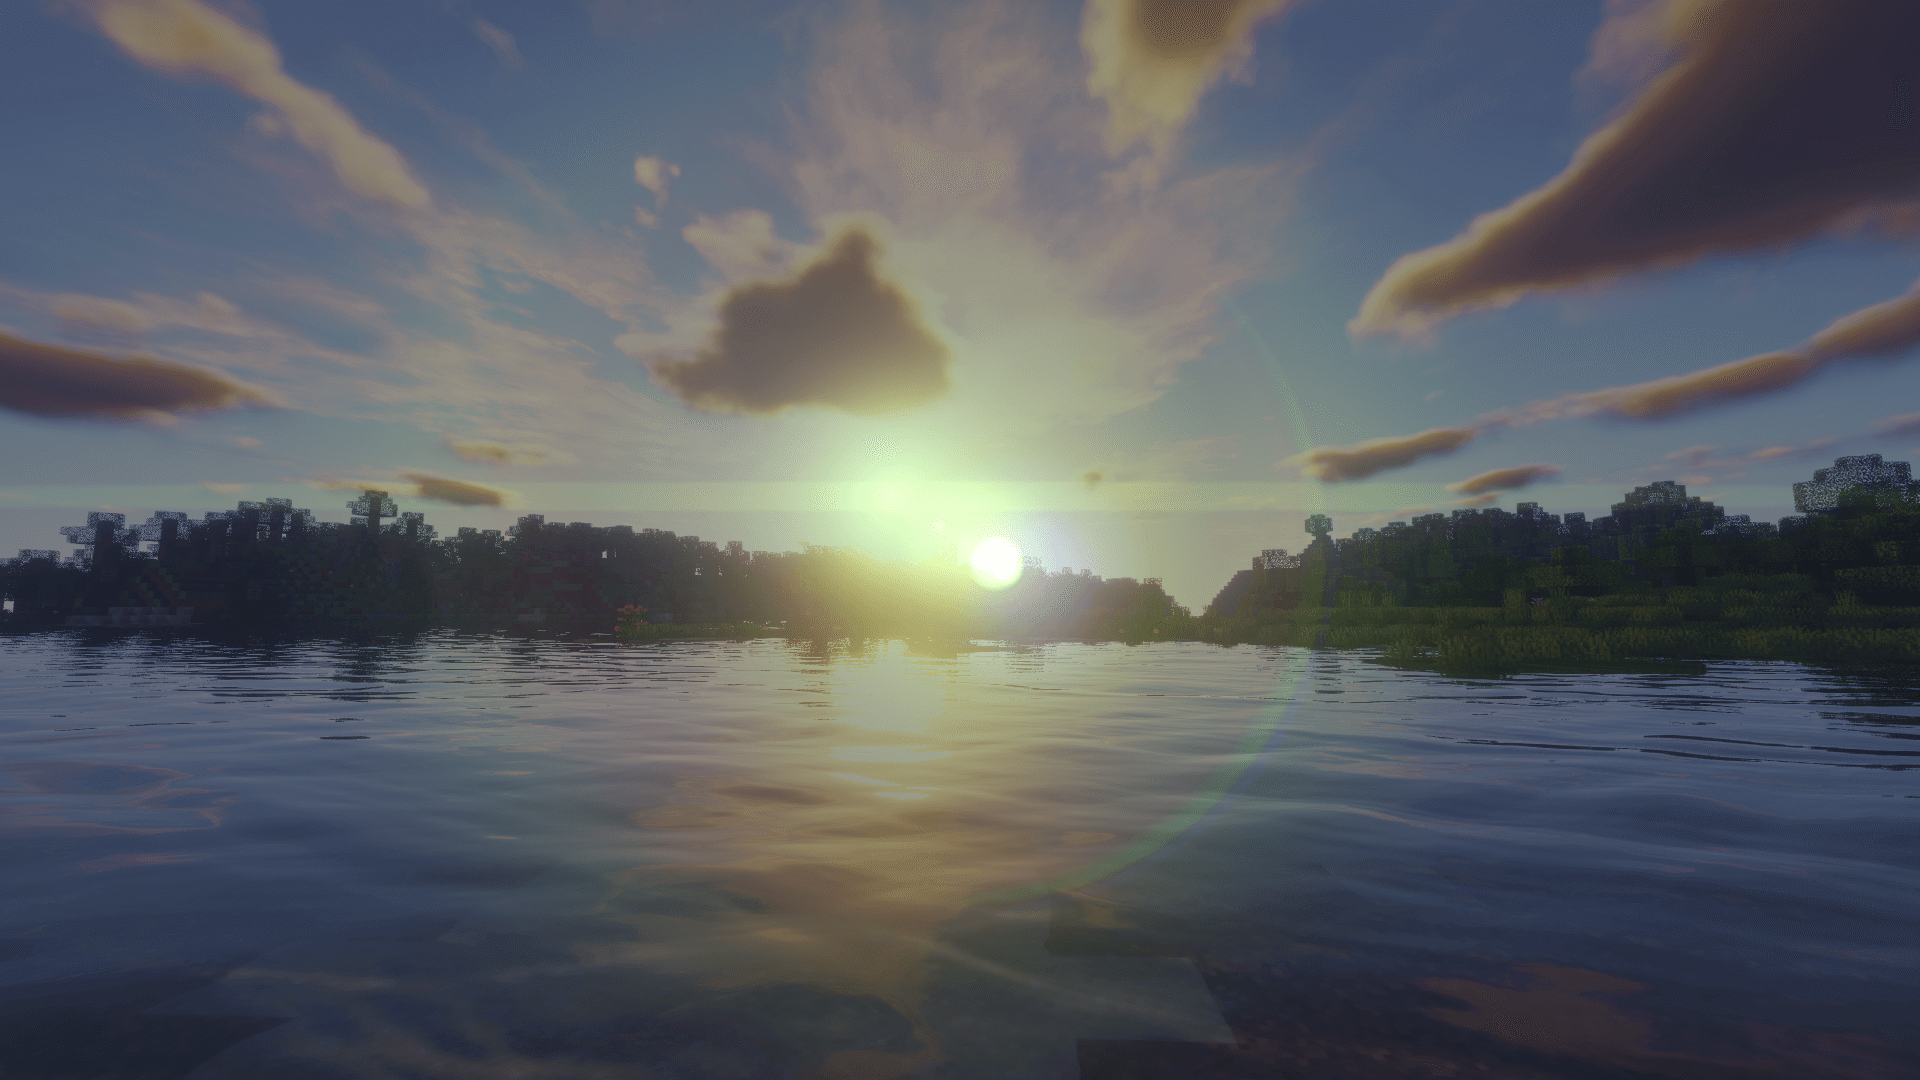
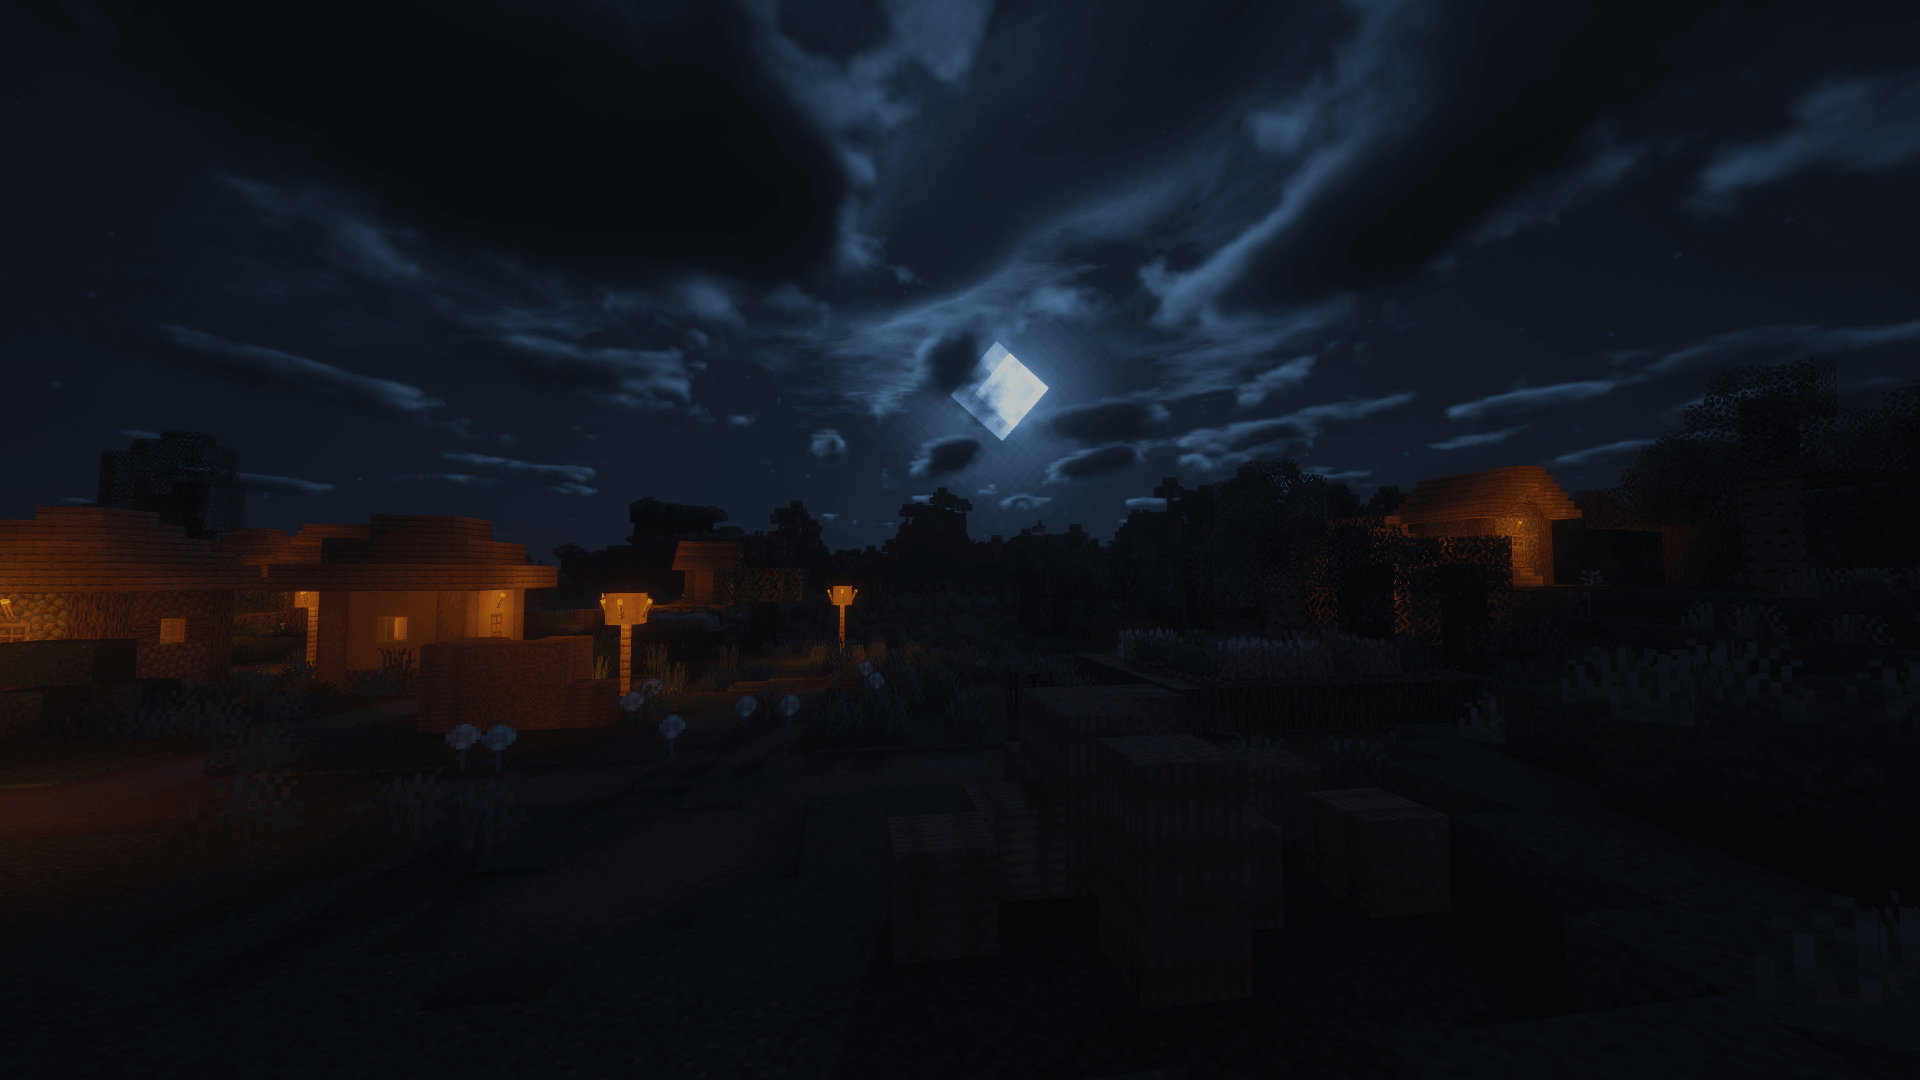
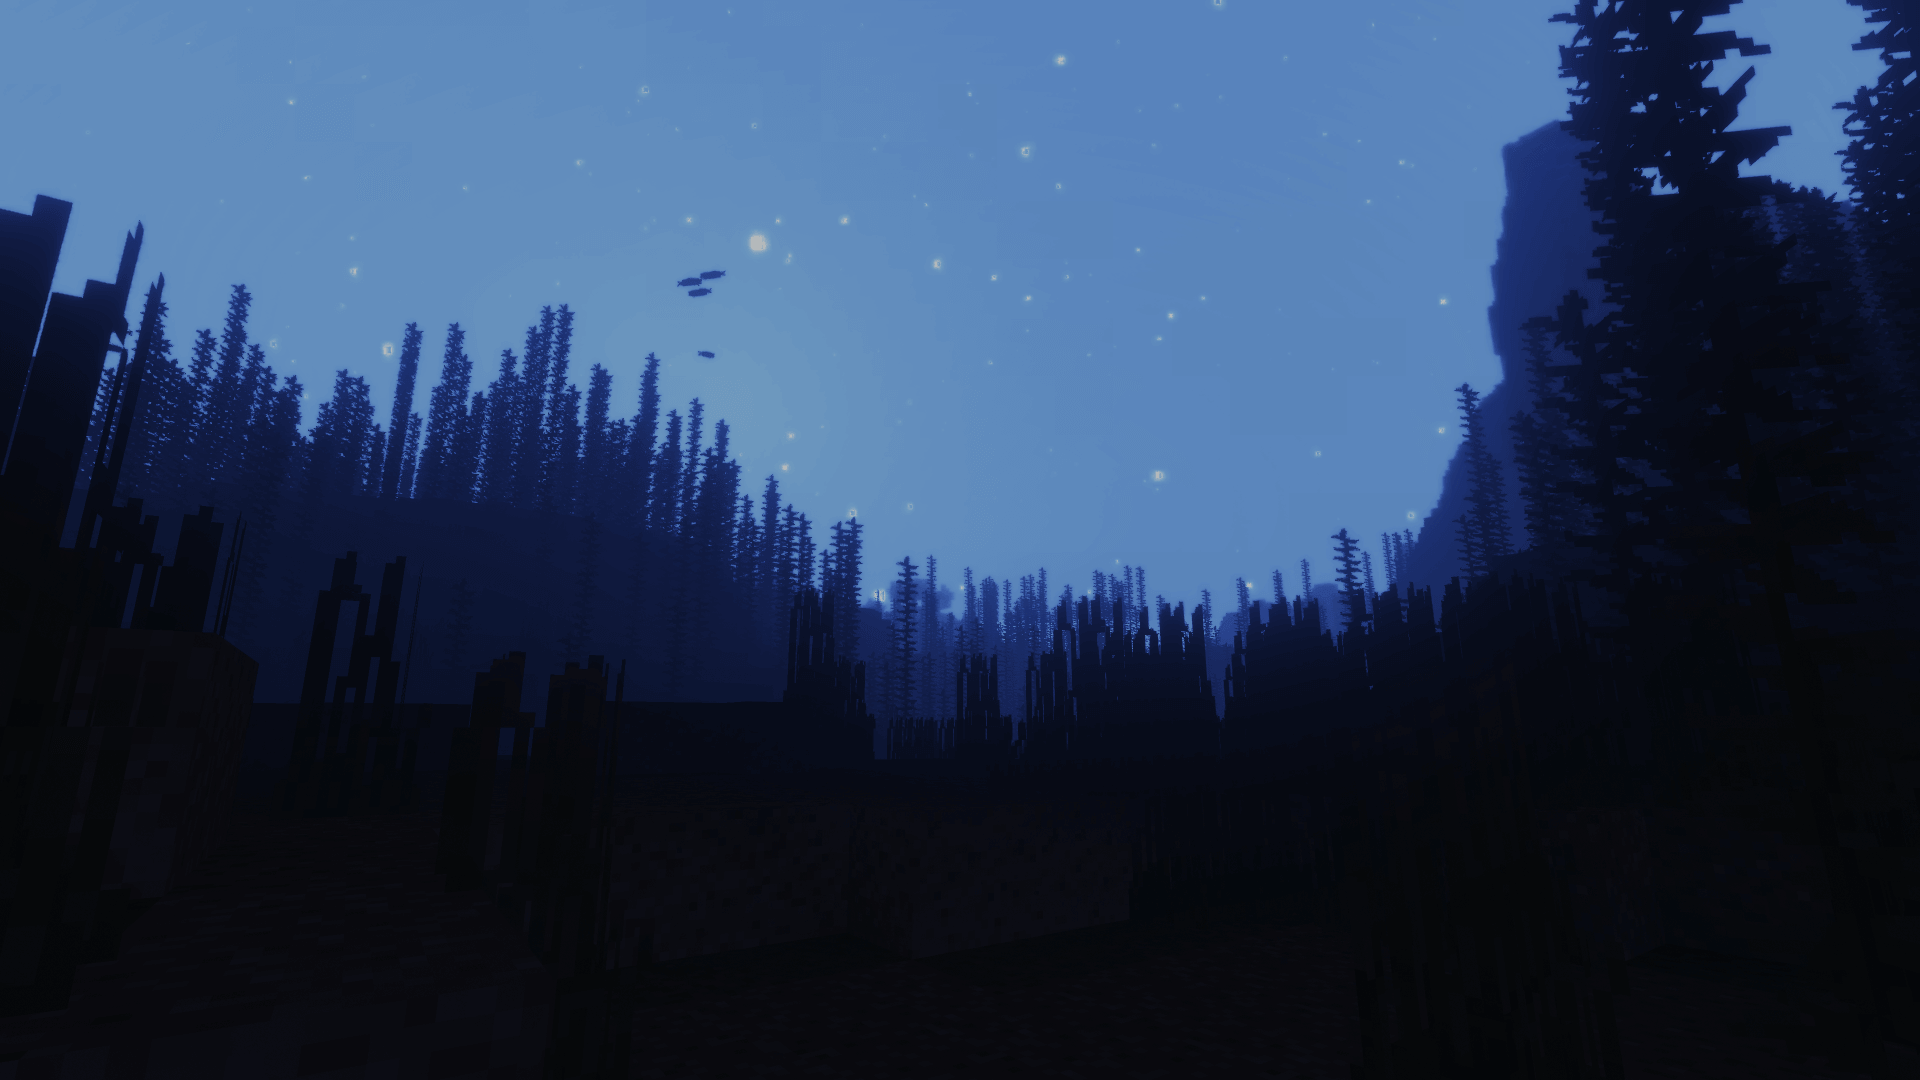
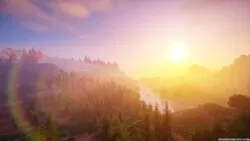
- The BBEPC Shader mod provides one of the best lighting detail we have seen in a Shader pack, as it features a realistic level of lighting for both night and day.
Gorgeous Weather and Storm Effect
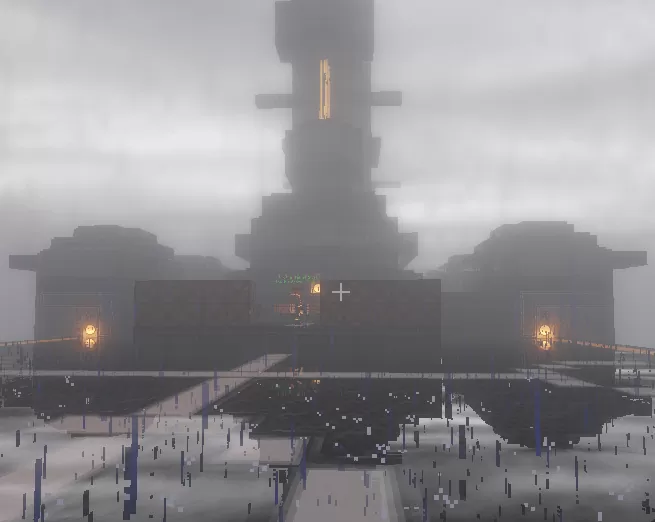
- One of this Shader pack’s many highlights is its beautiful effects on stormy weather. When there is a storm, the area will be covered with fog, the rain will become absolutely heavy, the ground will be wet and muddy, and visibility will be so low that it becomes more challenging. The way it should be!
Depth of Field
- One feature of this pack is the depth of field which gives it a solid cinematic effect by blurring everything outside the point of view and focusing only on what the user is looking at. Although beautiful and perfect for taking screenshots and cinematics, it is taxing on the PC and is better left for high-end PCs.
Calm Waving of Grass and Leaves
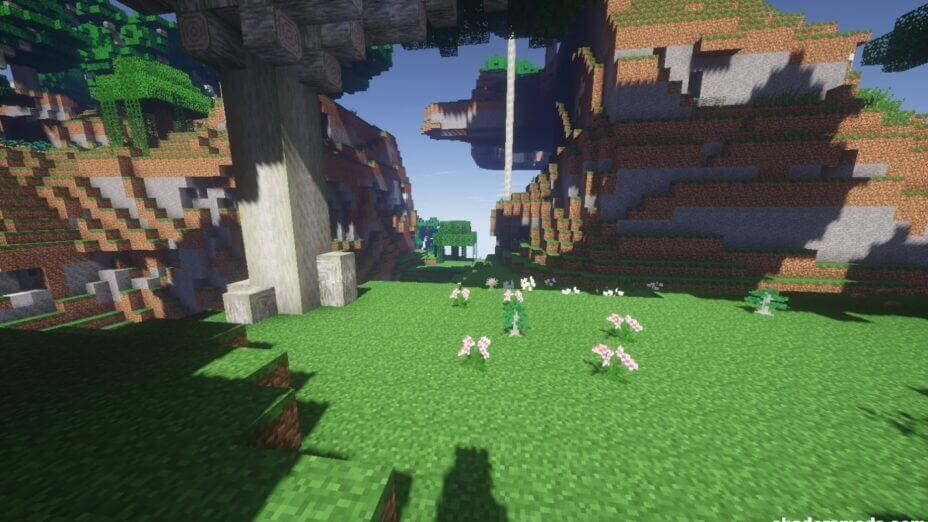
- Waving flora and foliage in Shaders is a bit common nowadays, but this pack features smooth waves that are very relaxing and calming on the eyes.
- 1.20
- 1.19.4
- 1.19.3
- 1.19.2
- 1.19.1
- 1.19
- 1.18.2
- 1.18.1
- 1.18
- 1.17.1
- 1.17
- 1.16.5
- 1.16.4
- 1.16.3
- 1.16.2
- 1.16.1
- 1.16
- 1.15.2
- 1.15.1
- 1.15
- 1.14.4
- 1.14.3
- 1.14.2
- 1.14.1
- 1.14
- 1.13.2
- 1.13.1
- 1.13
- 1.12.2
- 1.12.1
- 1.12
- 1.11.2
- 1.11.1
- 1.11
- 1.10.2
- 1.10.1
- 1.10
- 1.9.4
- 1.9.3
- 1.9.2
- 1.9.1
- 1.9
- 1.8.9
- 1.8.8
- 1.8.7
- 1.8.6
- 1.8.5
- 1.8.4
- 1.8.3
- 1.8.2
- 1.8.1
- 1.8
- 1.7.10
- 1.7.9
- 1.7.8
- 1.7.7
- 1.7.6
- 1.7.5
- 1.7.4
- 1.7.2
- 1.7
- 1.6.4
- 1.6.2
Beyond Belief Shaders — Versions
Features
Over 39 new features are available in Beyond Belief Shaders to enhance your gaming experience.
📊 Performance Impacts
Decrease in performance can vary from device to device, driver version, and many other factors, you should test yourself on your machine for the best result.
- None
- No performance decreases
- Small
- ~5%
- Medium
- ~10%
- High
- ~25%
- Extreme
- +50%
-
- Atmospheric SkySmall
- Simulates realistic atmospheric scattering.
-
- BloomSmall
- Enhance the game's lighting and create a more realistic and immersive visual experience
-
- BlurSmall
- Simulate how fast-moving objects appear to blur in a photograph or video.
-
- CausticHigh
- Simulating the way light is refracted and reflected by the water's surface
-
- Cel ShadingSmall
- Technique used to give the game a more stylized, cartoon-like appearance.
-
- CustomizationNone
- Customize various aspects of the game's visual effects.
-
- Depth of FieldMedium
- Making objects closer to the camera appear sharp and in focus, while objects farther away appear out of focus and blurry.
-
- Dirty LensSmall
- Simulates the effect of a dirty or scratched camera lens.
-
- HDRMedium
- Enhance the lighting and color in the game.
-
- Lens FlareSmall
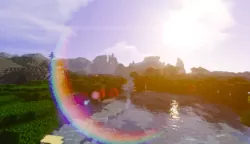
- Simulating the way light scatters and reflects inside a camera lens.
-
- LightMedium
- Enhance the game's overall visual quality.
-
- Motion BlurHigh
- Simulates the way that fast-moving objects appear to blur in the real world.
-
- Moving CloudsMedium
- Simulates the movement of clouds across the sky and can be used to create the appearance of a dynamic and ever-changing sky
-
- Normal MapSmall
- Add depth and detail to surfaces without increasing the number of polygons.
-
- Ocean WavesHigh
- Simulating the movement of waves on the surface of the ocean.
-
- Parallax WaterMedium
- Enhances the realism of water by simulating the parallax effect.
-
- Photorealistic SkyboxesMedium
- Replacing the in-game sky with high-resolution, realistic images of the sky.
-
- POMHigh
- Realism of textures by simulating the way light interacts with surfaces.
-
- Rain ReflectionsMedium
- Reflections during rainy weather by simulating the way light reflects off of wet surfaces.
-
- Ray-Traced ReflectionsExtreme
- Simulating how light behaves in the real world.
-
- Realistic SkyMedium
- More realistic and immersive sky experience.
-
- Realistic WaterHigh
- More realistic and immersive water experience.
-
- ShadowsSmall
- Simulate how light is blocked and scattered by objects in the environment.
-
- SunriseSmall
- More realistic and immersive sunrise experience.
-
- SunsetSmall
- More realistic and immersive sunset experience.
-
- Tone MappingSmall
- Adjusting the brightness, contrast, and saturation levels.
-
- Underwater ReflectionsMedium
- Simulate the appearance of light reflecting off of the water's surface.
-
- VibrantSmall
- More saturated colors and realistic lighting.
-
- Volumetric CloudsHigh
- Simulate the way that clouds appear to have volume and depth in the real world rather than just flat textures.
-
- Volumetric FogHigh
- Create the appearance of fog that is lit from within, casting shadows and creating a sense of depth.
-
- Volumetric LightHigh
- Simulating the scattering of light in the atmosphere and in the environment.
-
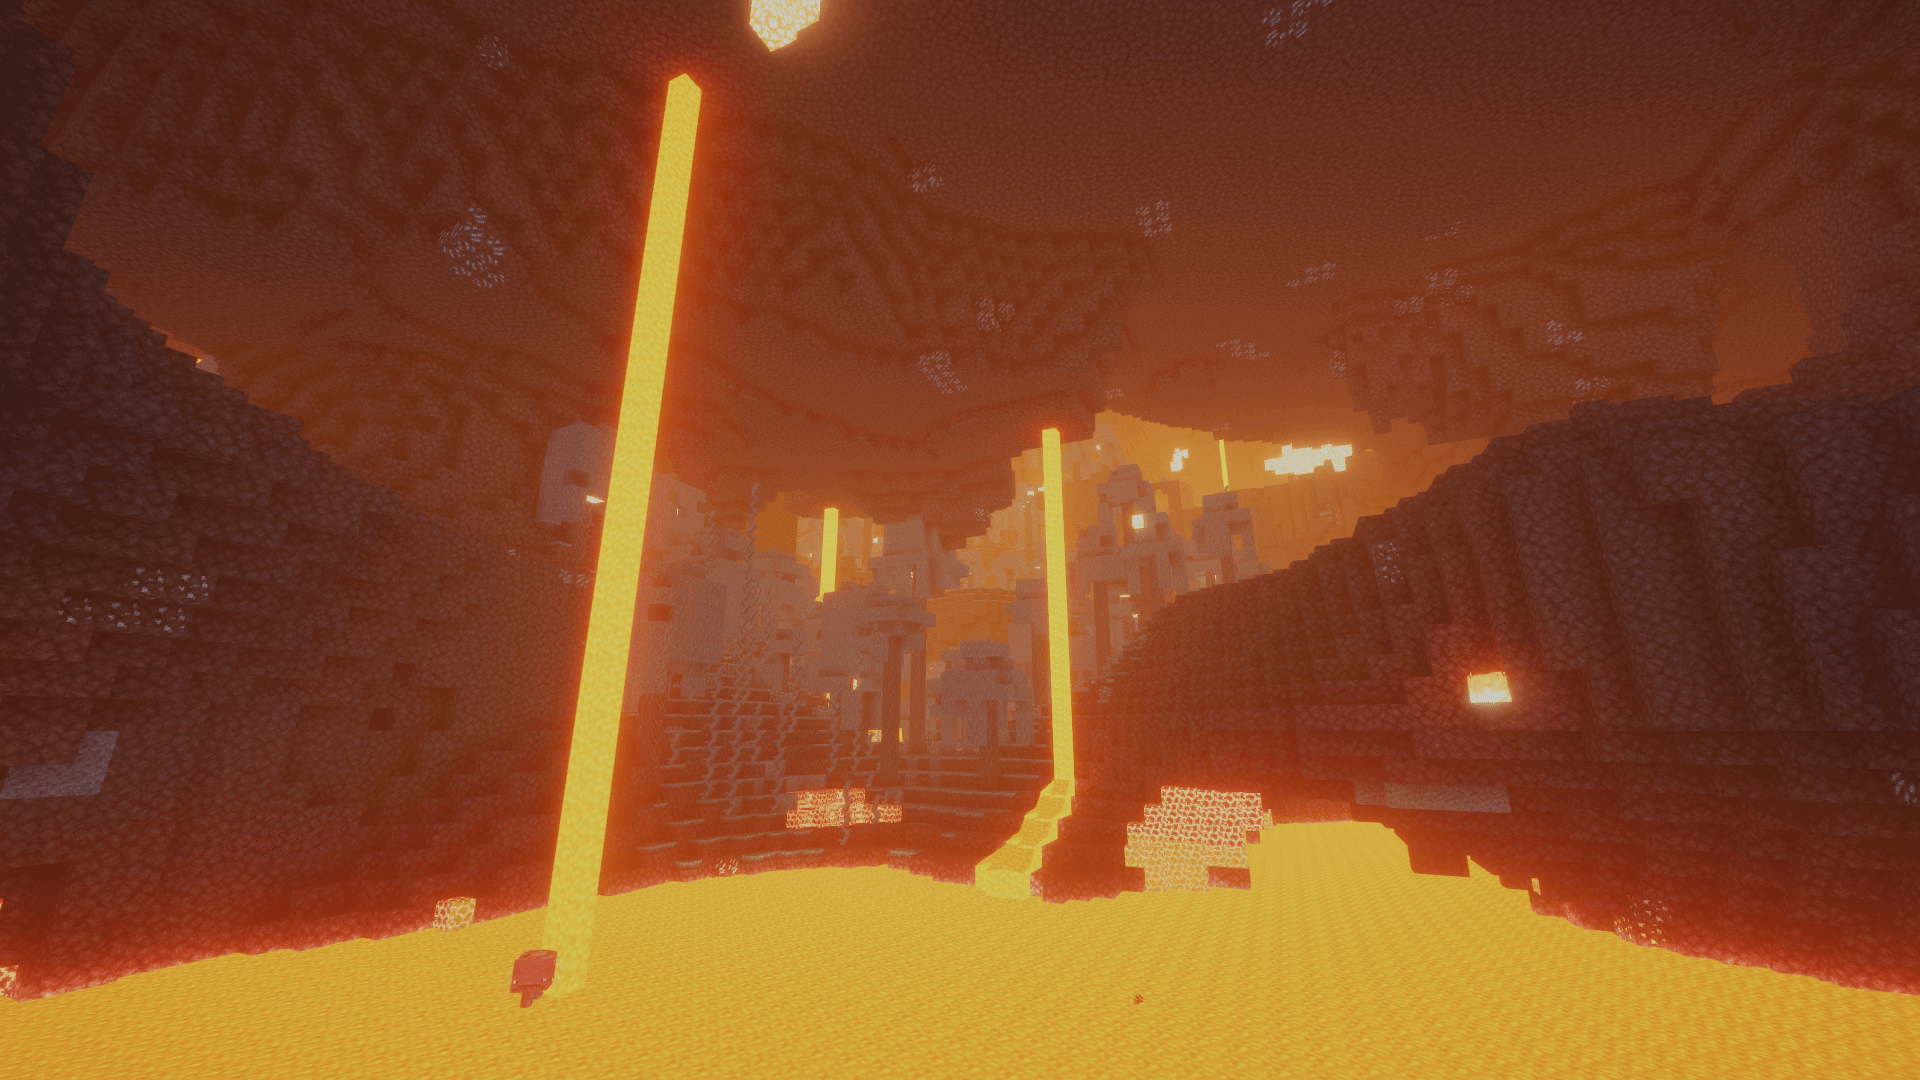
- Volumetric NetherHigh
-
- Volumetric The EndHigh
-
- Water ReflectionsMedium
- Simulating reflections on the surface of the water.
-
- Water WavesMedium
- Movement of waves on the surface of the water.
-
- Waving GrassSmall
- Simulating the way it moves and sways in the wind.
-
- Waving PlantsSmall
- Simulating the way they move and sway in the wind.
-
- Waving TreesSmall
- Adds movement to the leaves and branches of trees, making them look more alive and realistic.
-
- Wet EffectSmall
Beyond Belief Shaders allow you to change more than 56 settings to suit your needs.
| Settings | Description | Options |
|---|---|---|
| SeusV11 Settings | ||
| Atmospherics Options | ||
| Atmospheric Scattering | Blue tint of distant objects to simulate atmospheric scattering |
|
| Atmospheric Density | Strength of atmospheric scattering (atmospheric density). |
|
| Atmospheric Haze | Amount of haziness added to distant land. |
|
| Crepuscular Rays | Light rays from sunlight |
|
| Volumetric Clouds | Volumetric clouds |
|
| HQ Volumetric Clouds | High-quality volumetric clouds. Volumetric Clouds must be enabled! |
|
| Smooth Clouds | Smooth out dither pattern from volumetric clouds. Not necessary if HQ Volumetric Clouds is enabled. |
|
| Lighting & Shadows Options | ||
| Shadow Resolution | Shadows resolution. |
|
| Shadow Distance | Shadow distance. Set lower if you prefer nicer close shadows. Set higher if you prefer nicer distant shadows. |
|
| Soft Shadows |
| |
| Variable Penumbra Shadows | Contact-hardening (area) shadows |
|
| Colored Shadows | Tinted shadows from stained glass |
|
| Pixel-Locked Shadows | Pixel-locked shadows |
|
| Global Illumination | Indirect lighting from sunlight. |
|
| Average Exposure | Uses the average screen brightness to calculate exposure. Disable for old exposure behavior. |
|
| Torchlight Brightness | How bright is light from torches, fire, etc. |
|
| Motion Blur | Blurres your view/camera during movemenent. Low performance impact. Doesn't work with Depth of Field. |
|
| Tonemap Curve | Determines how bright colors are compressed during tonemapping. Lower levels result in more filmic soft look. Higher levels result in more natural vibrant look. |
|
| Exposure Multiplier | Pre-tonemapping brightness levels. |
|
| Bloom Strength | How strong the bloom effect is. |
|
| Surface Options | ||
| Texture Resolution | Resolution of current resource pack. This needs to be set properly for POM! |
|
| Parallax Occlusion Mapping |
| |
| Parallax Self-Shadows | Texture self-shadowing from heightmaps |
|
| Force Wet Effect | Make all surfaces get wet during rain regardless of specular texture values |
|
| Water Parallax |
| |
| Water Caustics |
| |
| Advanced GI Settings | ||
| GI Quality | Number of GI samples. More samples > smoother GI. High performance impact! |
|
| GI Artifact Reduction | Reduces artifacts on back edges of blocks at the cost of performance. |
|
| GI Resolution | Render resolution of GI. 0 - High. 1 - Low. Set to 1 for faster but blurrier GI. |
|
| GI Radius | How far indirect light can spread. Can help to reduce artifacts with low GI samples. |
|
| BBL Settings | ||
| Water | ||
| Clear water |
| |
| Water Fog Alpha |
| |
| Blue |
| |
| Green |
| |
| Red |
| |
| Water Alpha | Translucency of the water, higher is less opaque. |
|
| Wave Intensity |
| |
| Wave Speed |
| |
| Tonemap | ||
| BSL BSL Tonemap preset settings. Permission was given by Tatsu to use his Tonemap. | ||
| Exposure | Controls the exposure. |
|
| White Curve | Controls the white curve. |
|
| Lower Curve | Controls the lower curve. |
|
| Upper Curve | Controls the upper curve. |
|
| Saturation | Controls the saturation. |
|
| Vibrance | Controls the vibrance. |
|
| SWIZZLE | Channel mixing |
|
| Tonemap | Tonemapping |
|
| Custom Box | ||
| Toggle | Customize the color of your block selection box. Enabling will also change leads to the selected color Sadly this is unavoidable. |
|
| Red |
| |
| Green |
| |
| Blue |
| |
| Lens Flare |
| |
| Foliage Wave Speed |
| |
| Celshading |
| |
| Shareware Mode | This is a break, DO NOT REPORT BUGS WITH IT. Discord people thought it was fun so I made it a toggle. |
|
| Night Eye | Desaturates any color input at night, simulating the rods in the human eye |
|
| NightEye Desaturation | NightEye desaturation intensity. |
|
Comparison
Our comparison tool makes it easy to compare Beyond Belief Shaders with Minecraft vanilla and other shader packs.
How To Install Beyond Belief Shaders
- Support Forge / Vanilla
- Extra features
- Good performance
- Support Fabric / Quilt
- Better performance, depend on your hardware
Optifine Installation Guide
Note
Your device must have Java installed to run the Forge and Optifine installers.
Quick Java Installation Guide
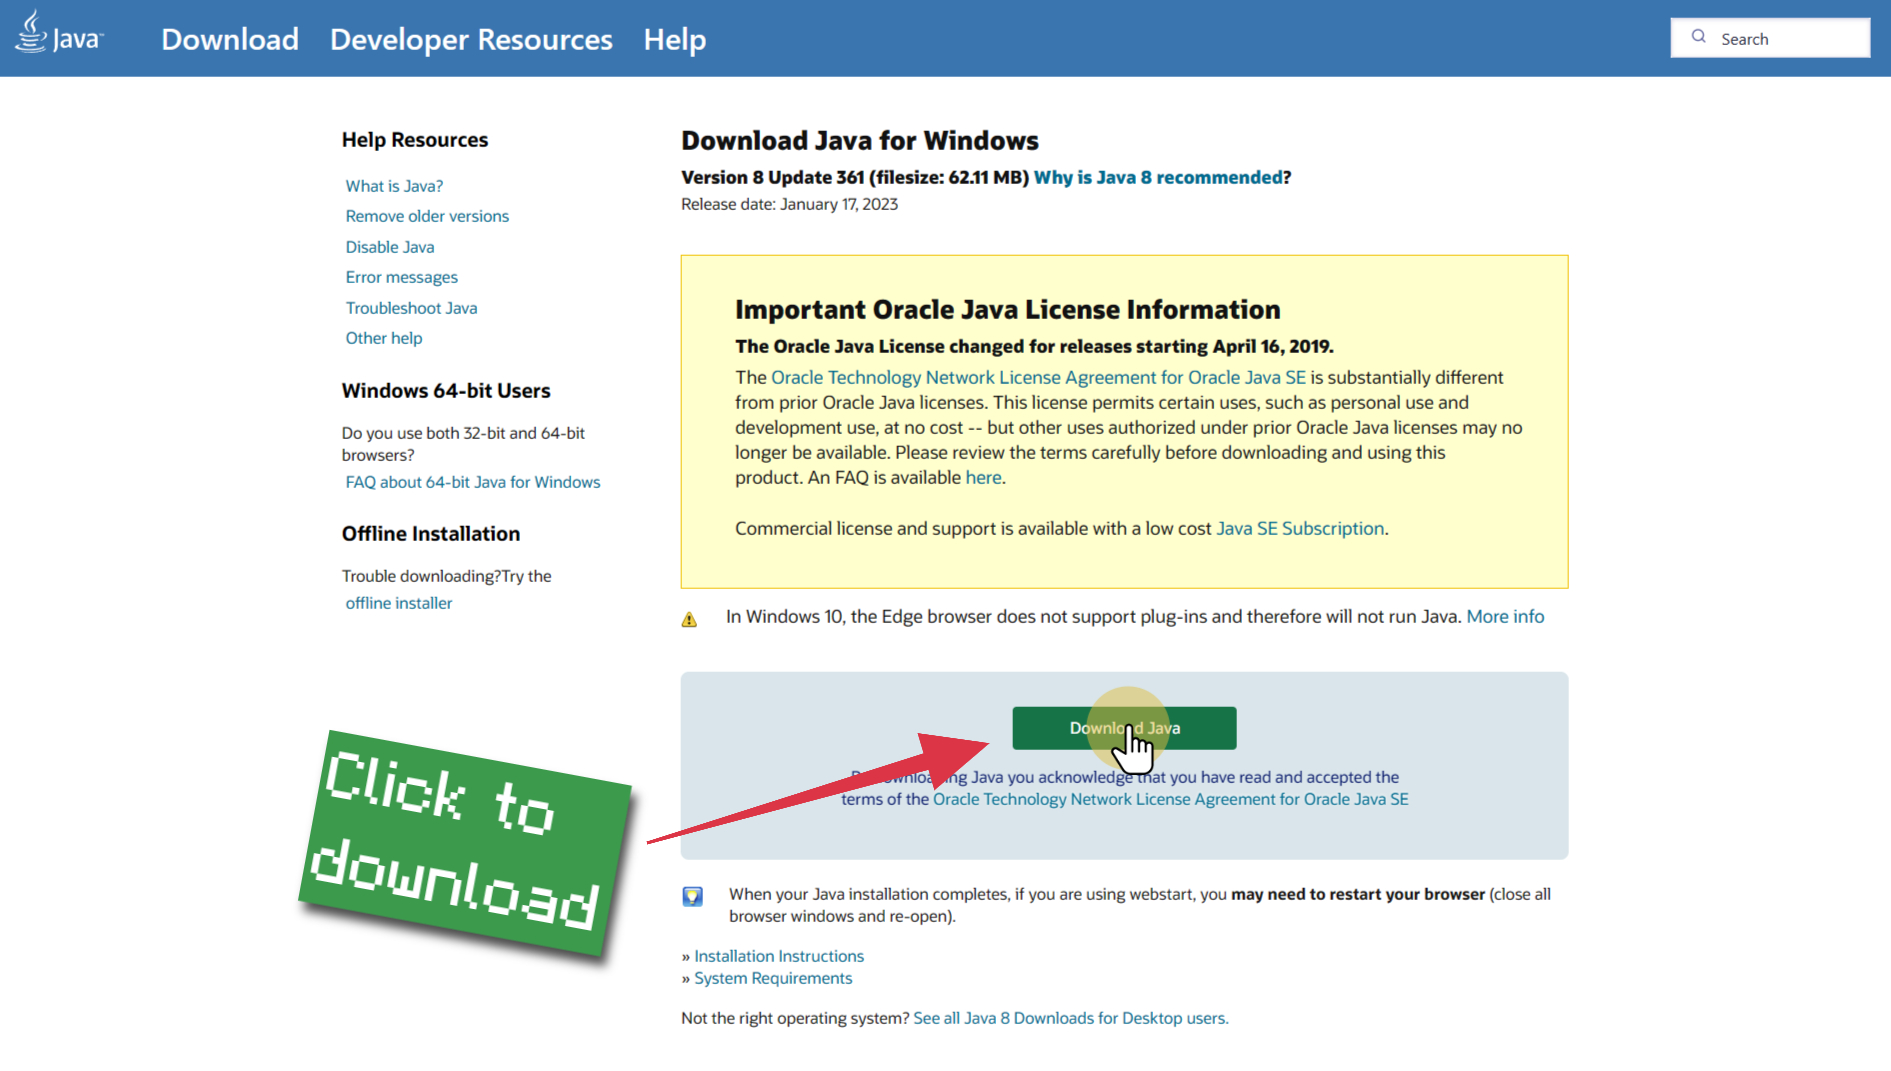
Download Java
Download the Java installer from the official website here.

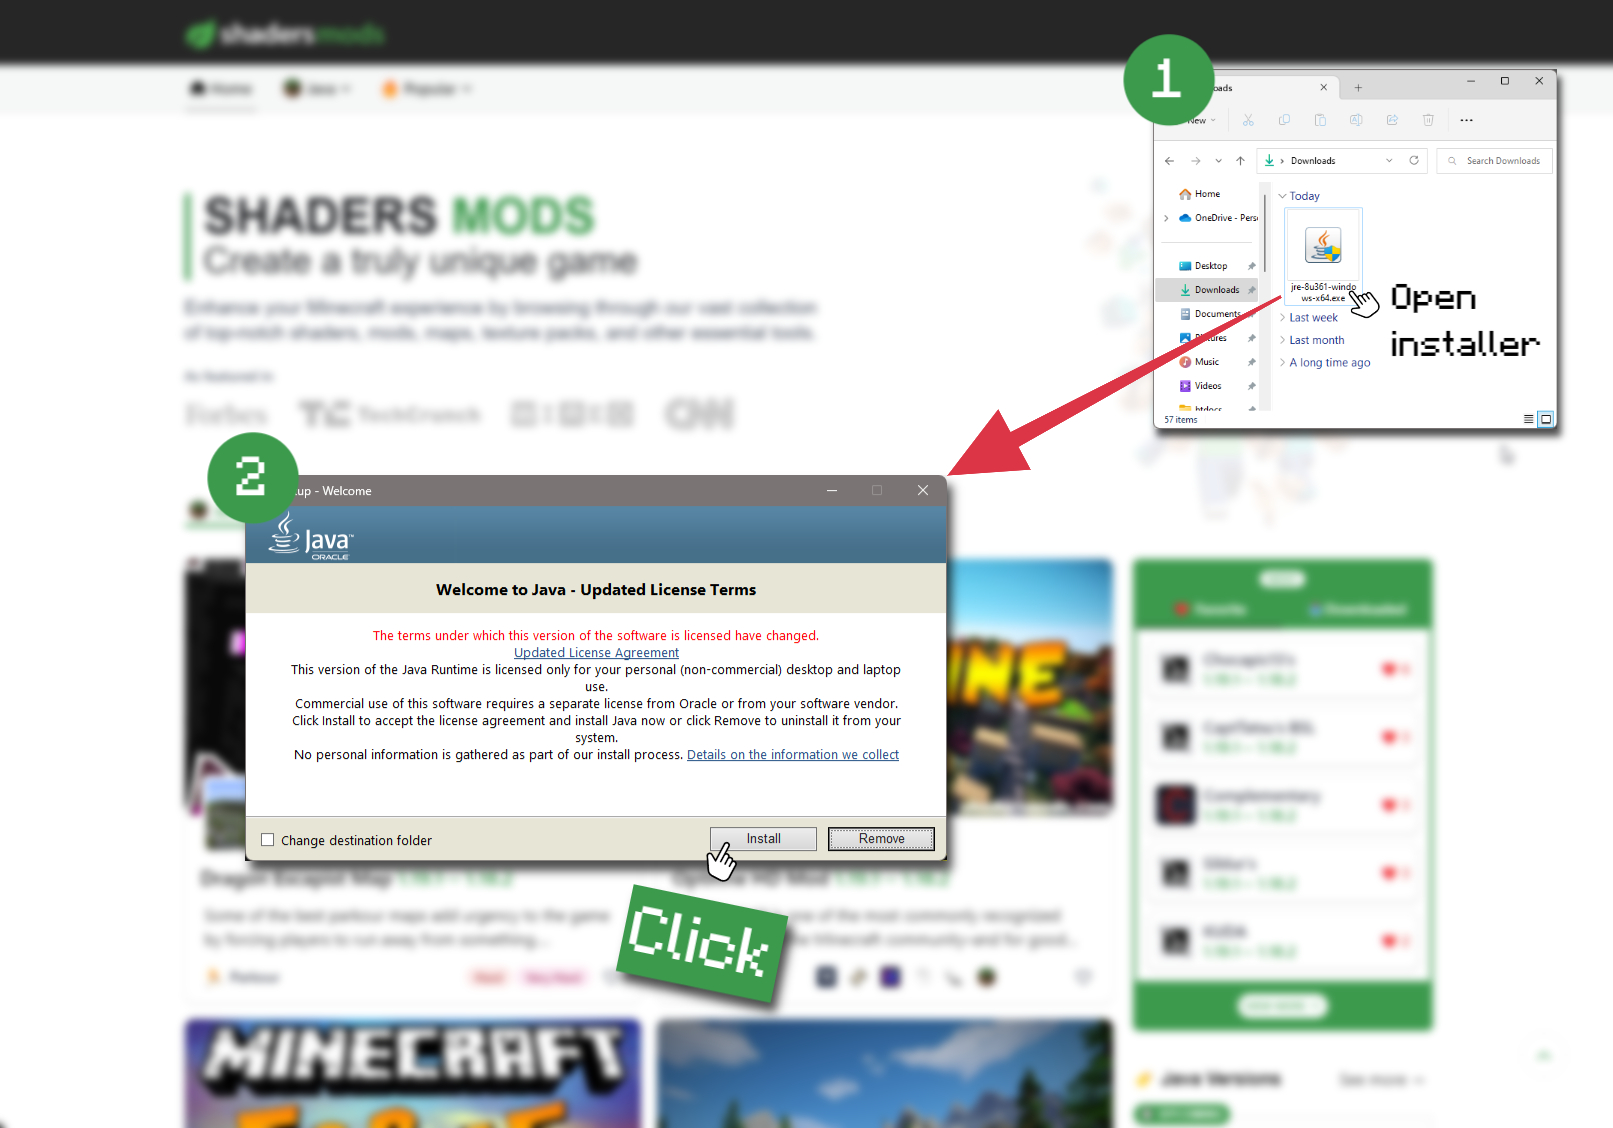
Open Installer
Once you have downloaded the file, run it and click the Install button.

How to install Beyond Belief Shaders with Optifine?
Download Optifine
Get the latest version of Optifine for your Minecraft version.
Download OptifineInstall Optifine
Run the Optifine installer and follow the on-screen instructions to complete the installation.

Download Beyond Belief Shaders
Go to the download section and get shaders zip file. Unzip the file if necessary, as some shader developers may bundle multiple shader versions in one zip file.
Launch Minecraft
Start the Minecraft launcher and make sure you have the Optifine profile selected.

In-game Shaders menu
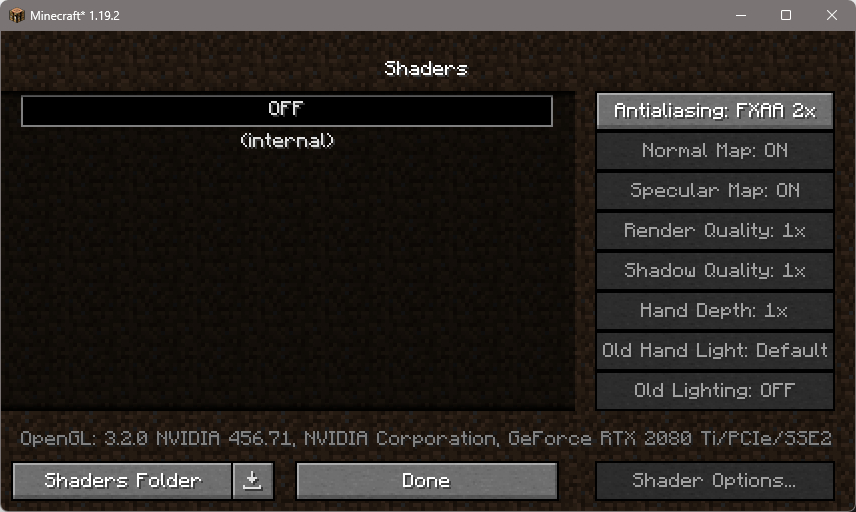
Go to Options > Video Settings > Shaders to access the shaders menu.

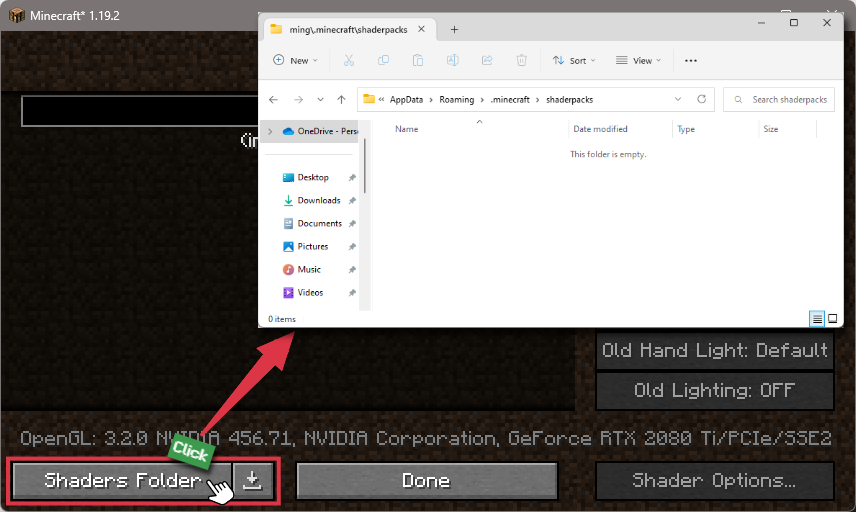
Open shaderpacks folder
Click on the "Shaders Folder" button to open the folder where shaders are stored, so you can add or remove shaders as desired.

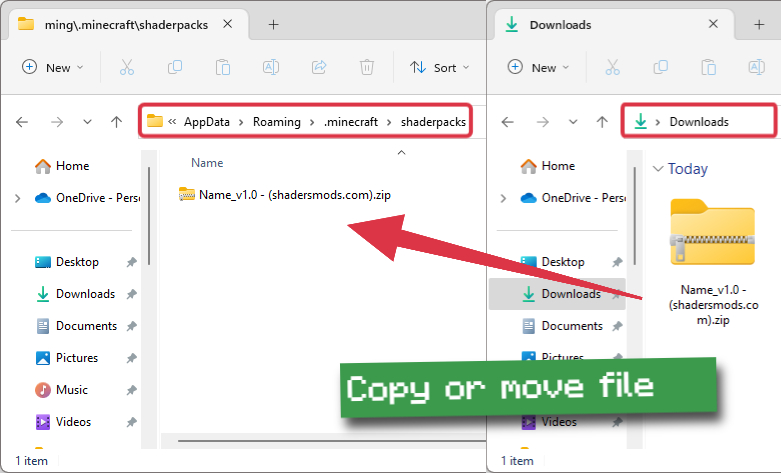
Install Beyond Belief Shaders
Copy or move the downloaded Beyond Belief shaders zip file into the shaderpacks folder.

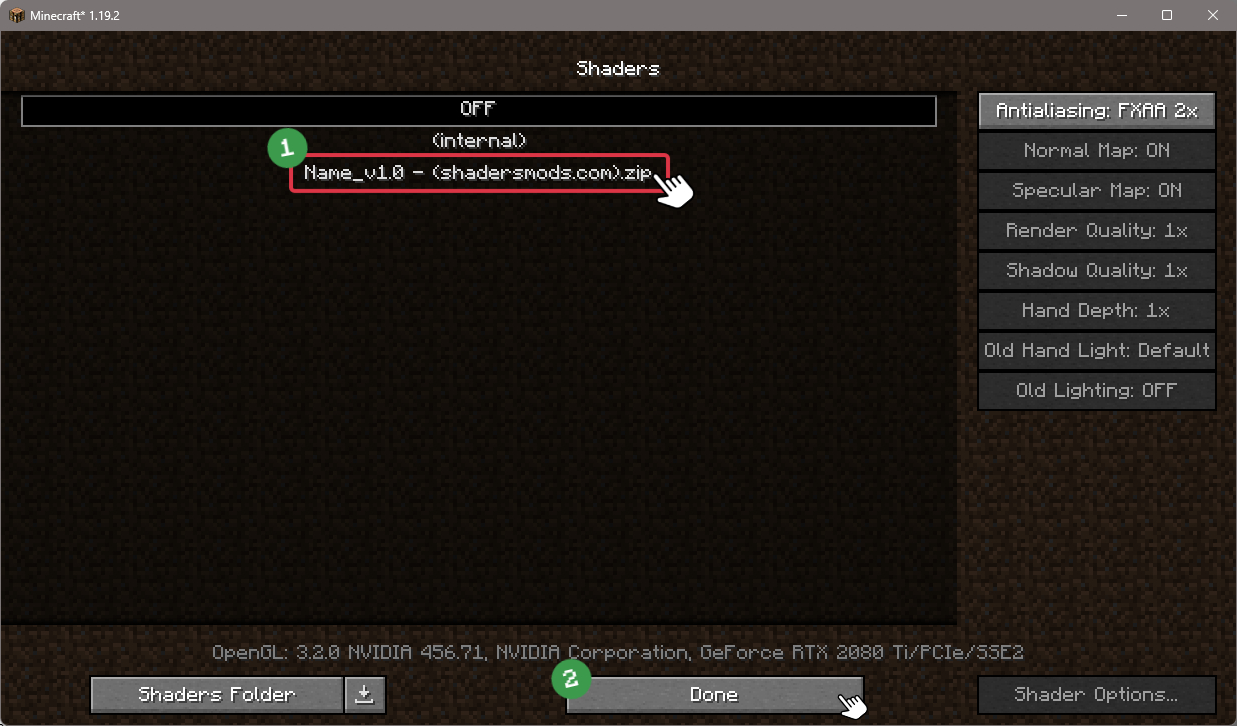
Select Beyond Belief Shaders
Choose Beyond Belief shader pack from the list of available shaders in the options menu.

How to install Beyond Belief Shaders with Forge and Optifine?
Quick Installation Guide
Install Forge
Obtain the latest version of Forge that is compatible with your Minecraft version.
Download Minecraft ForgeLaunch Minecraft
Start the Minecraft launcher and select the version of Minecraft you want to install Forge on. Run the game once by clicking on the "Play" button to create necessary files for Forge.

Install Forge Client
Double-click on the Forge installer jar file and choose "Install Client" in the window that appears.

Install Optifine
Download the Optifine jar file after Forge is installed. Move the Optifine jar file to the mods folder in the .minecraft directory.
Download Optifine
Launch Forge Profile
Launch Minecraft using the "Forge" profile, Optifine will be automatically loaded along with Forge.

Install Chocapic13's Shaders
Now the installation is the same as from the above Optifine instructions, just follow the steps starting from step 5.
Iris Installation Guide
Note
Your device must have Java installed to run the Iris installer.
Quick Java Installation Guide
Download Java
Download the Java installer from the official website here.

Open Installer
Once you have downloaded the file, run it and click the Install button.

How to install Beyond Belief Shaders with Iris?
Download Iris Shaders
Find the latest version of the Iris Shaders installer and download it.
Download Iris InstallerInstall Iris Shaders
Open the downloaded jar file, and choose the preferred game version and installation type.
⯈ Iris Install:
If you don't plan on using any other mods with Iris, choose this option.⯈ Fabric Install:
Choose this option if you want to use Iris with Fabric and other mods. The Iris jar files will be copied to the mods folder within the .minecraft directory.
Start Installation
After selecting the game version and installation type, click the "Install" button to start the installation process.
Launch Minecraft
Start the Minecraft launcher and make sure you have the Iris profile selected.
Note
Select the Fabric profile if you opt for the Fabric installation type.
In-game Shader Menu
Open the Minecraft game and go to Options > Video Settings > Shader Packs to access the shaders menu.
Tip
To simplify the process, simply drag and drop the shader ZIP file directly into the Minecraft window, bypassing the next two steps.
Open shaderpacks folder
Click on the "Open Shader Pack Folder" button to access the folder where shaders are stored.

Install Beyond Belief Shaders
Copy or move the shaders zip file into the shaderpacks folder.

Select Beyond Belief Shaders
Choose installed shader pack from the list of available shaders in the options menu and click the "Apply" or "Done" button to select it.
Tip
When the shader pack is selected, its name will be changed to yellow.
Known Bugs
- It will not display the red effect from Random things blood moons and can cause the screen to go black at certain heights during the event.
- Witchery mod werewolf mode messes with lens flare and haze.
- Ignore the gbuffers_weather message. It does not affect anything.
📥 Beyond Belief Shaders — Download
Something You Should Know
- Our links are only from the official developer, so you can be sure they are secure.
- No modifications or edits are made to the files.
🔄 Update Logs
v1.2.2
Added:
- Botania Support
- Bewitchment Support
- FutureMc Support
- Fossils and Archeology Revival Support (not for all the plants yet. Just leaves and saplings)
- Rats plants Support








Comments (72)
super
this is a very epic shader! LOVE IT
I LOVE IT !