ProjectLUMA Shaders 1.20, 1.19.4 → 1.18.2
Optimized Minecraft shader pack with stunning graphics, low performance cost, and enhancing gameplay.
| Developer | 👤DeDelner |
|---|---|
| Style | 🔅Semi-Realistic |
| Support GPUs | |
| Loaders | |
| Performance Impact | Low |
| Settings | 63 |
| Presets | 🛠️ Lite+4 |
| Features | Volumetric The End+39 |
| Created | Dec 14, 2019 |
| Updated | Dec 14, 2019 |
| Stats |
|
ProjectLUMA is a passion project from some dedicated Minecraft shader developers, the official successor to the popular KUDA shader pack. projectLUMA does not cut any corners and has been made completely from scratch to ensure game optimization and avoid any in-game errors.
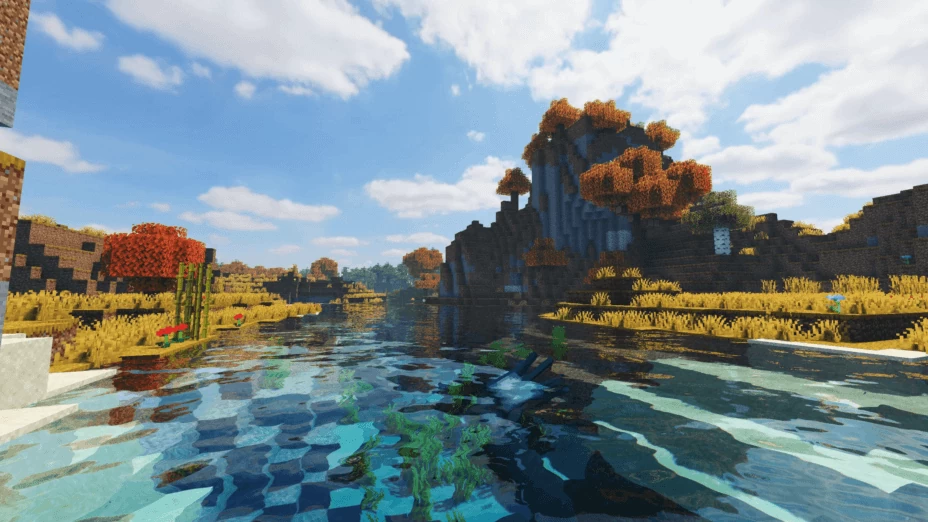
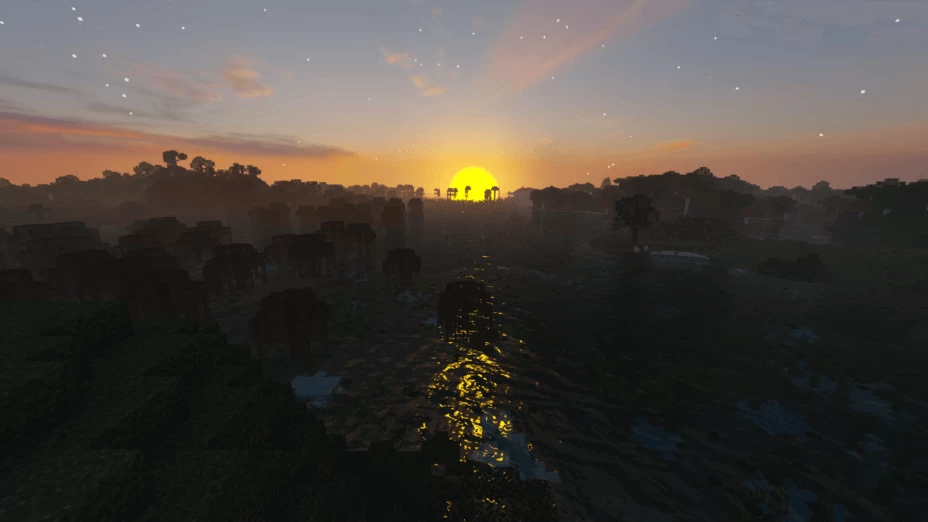
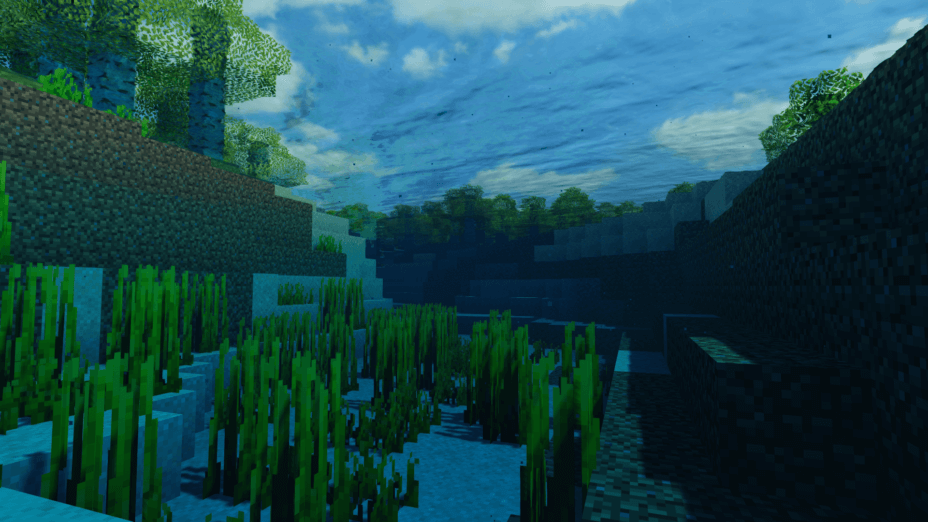
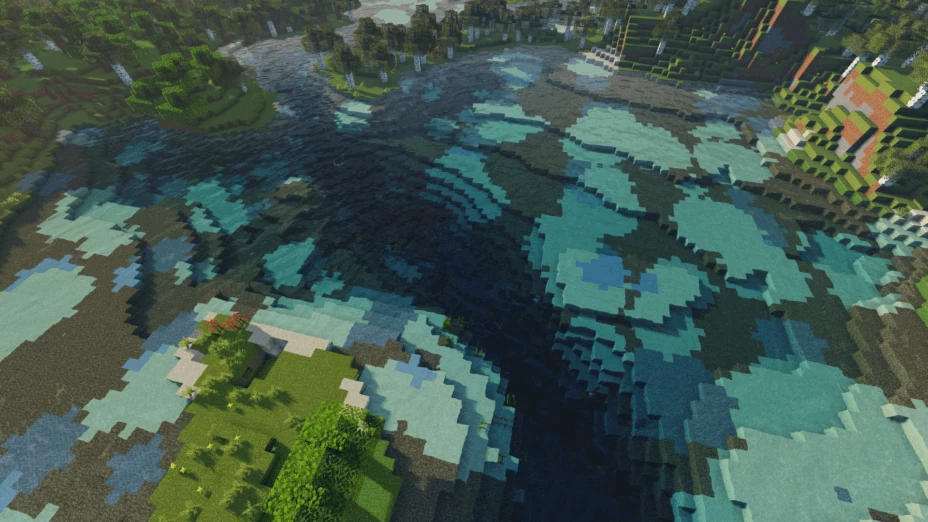
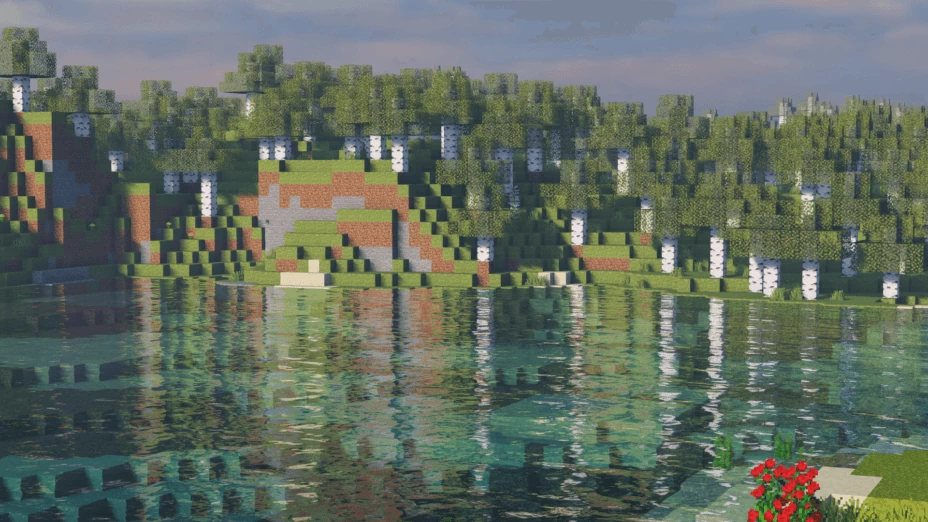
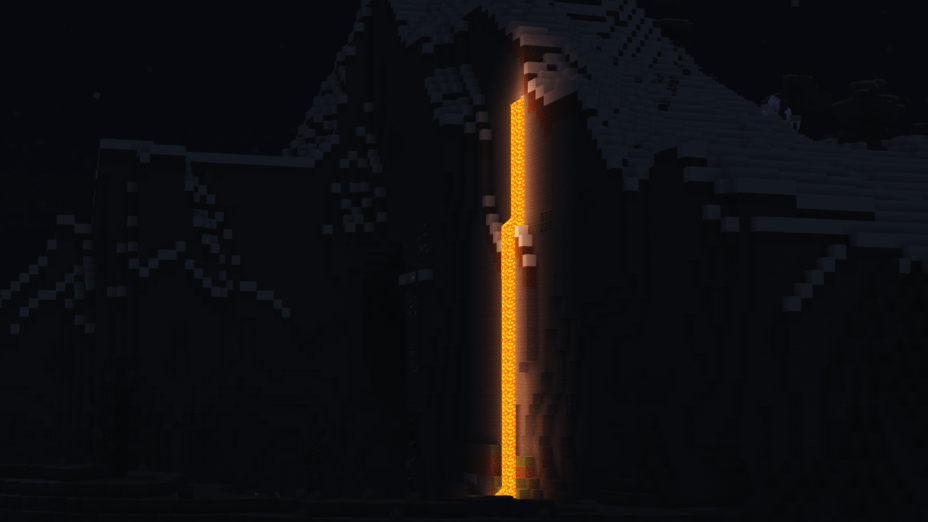
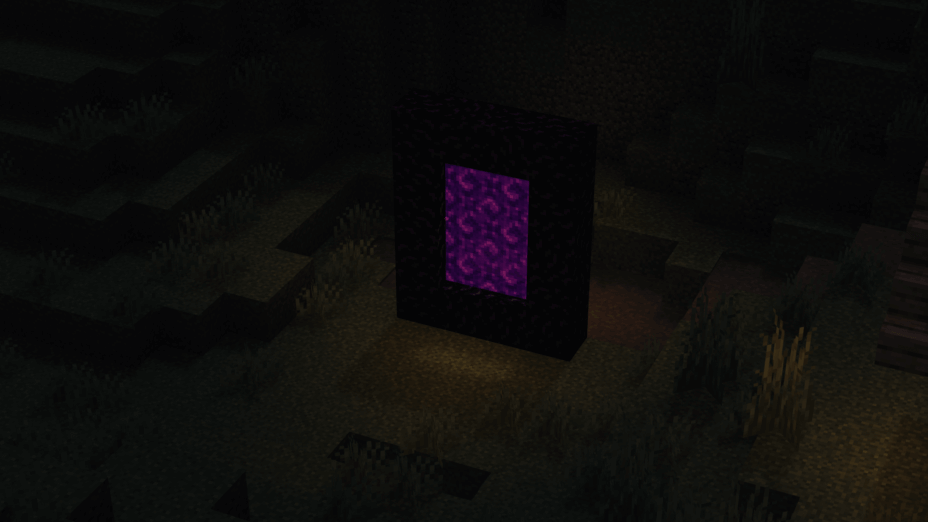
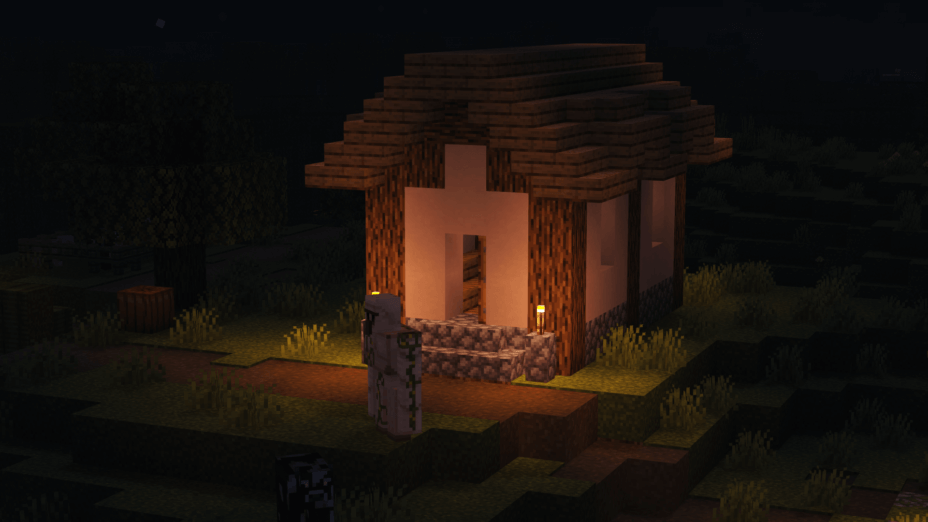
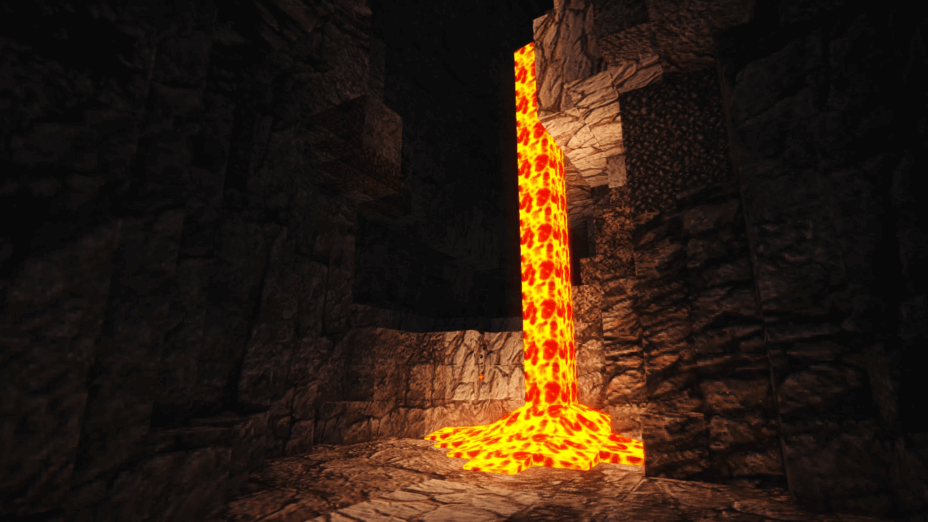
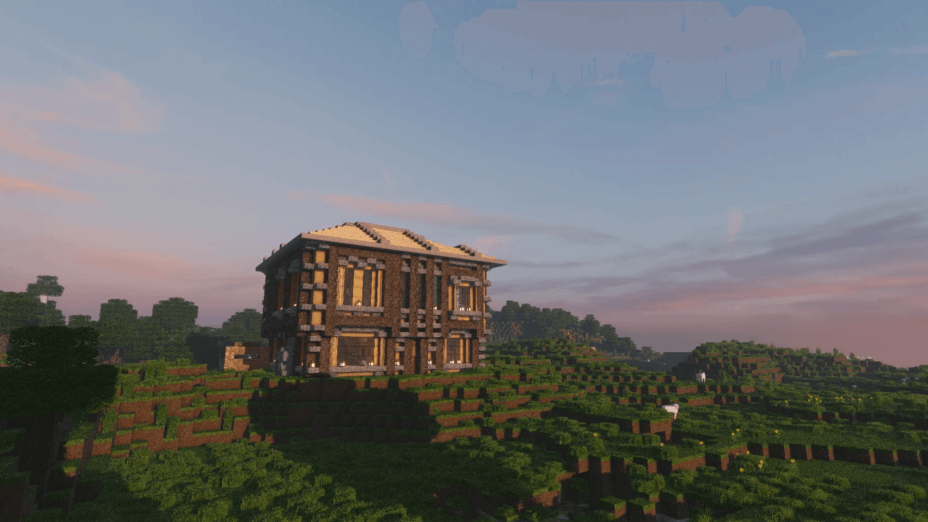
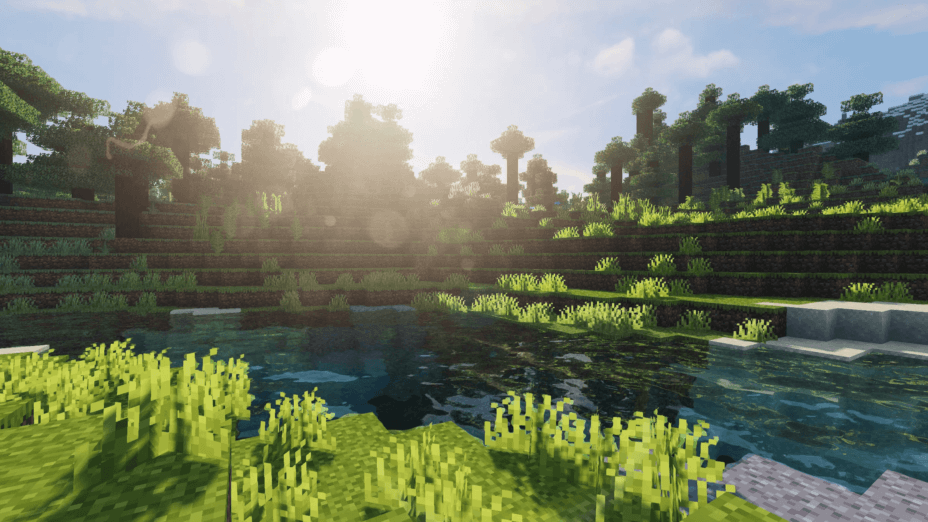
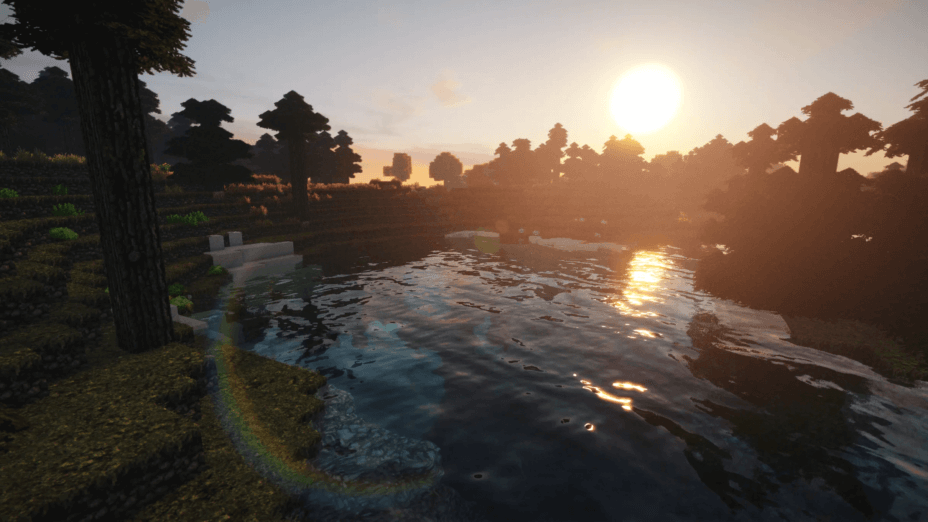
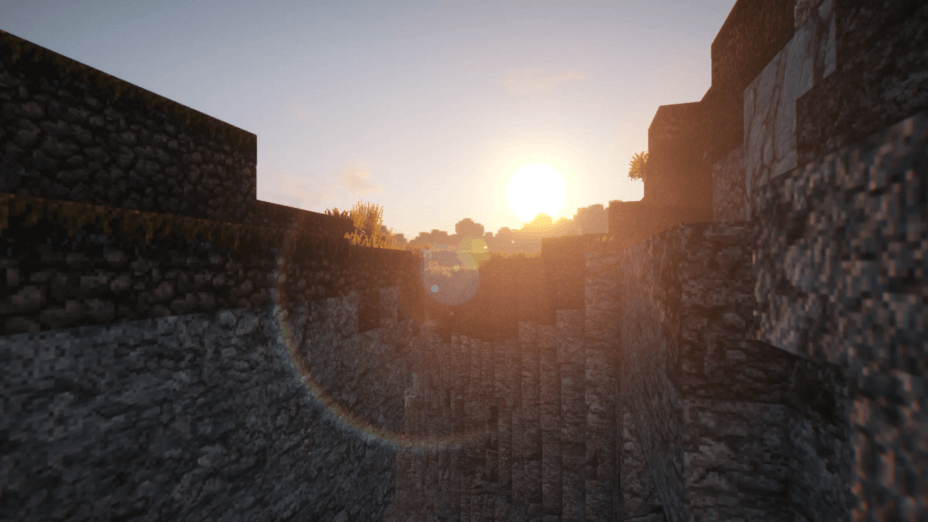
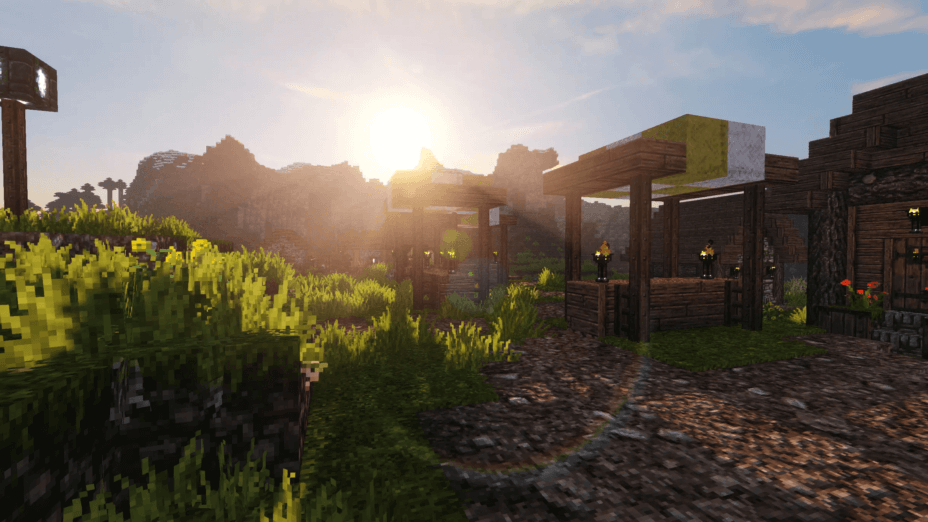
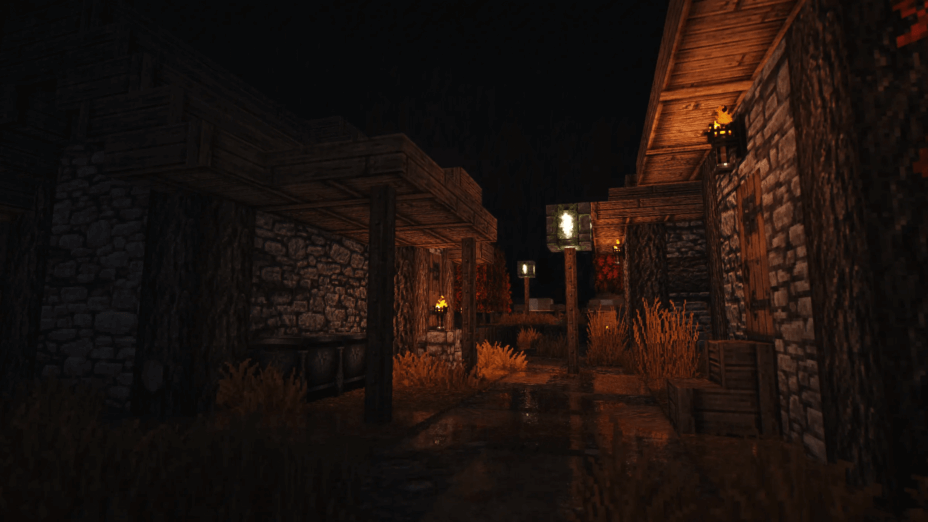
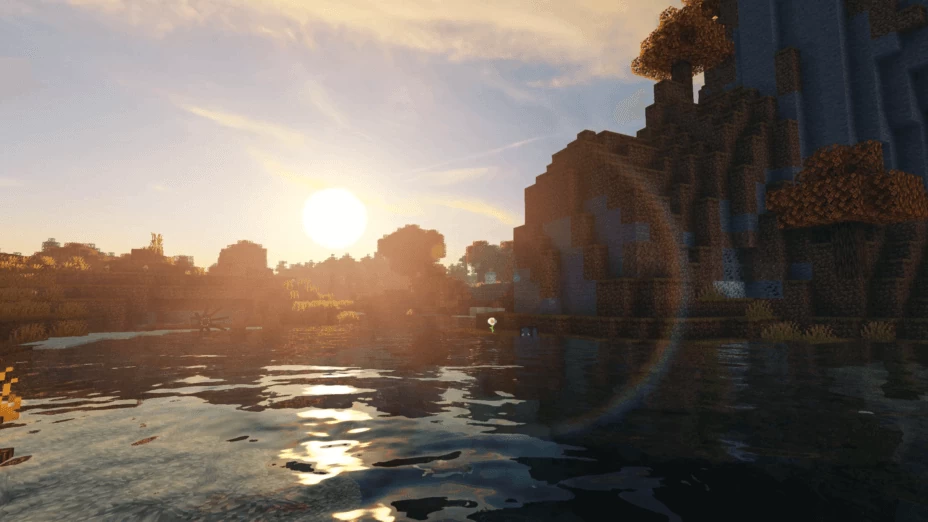
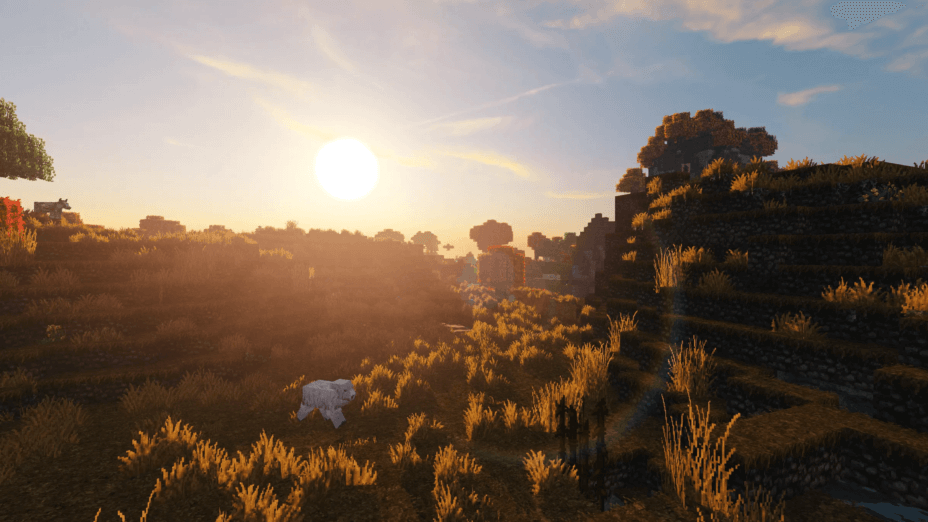
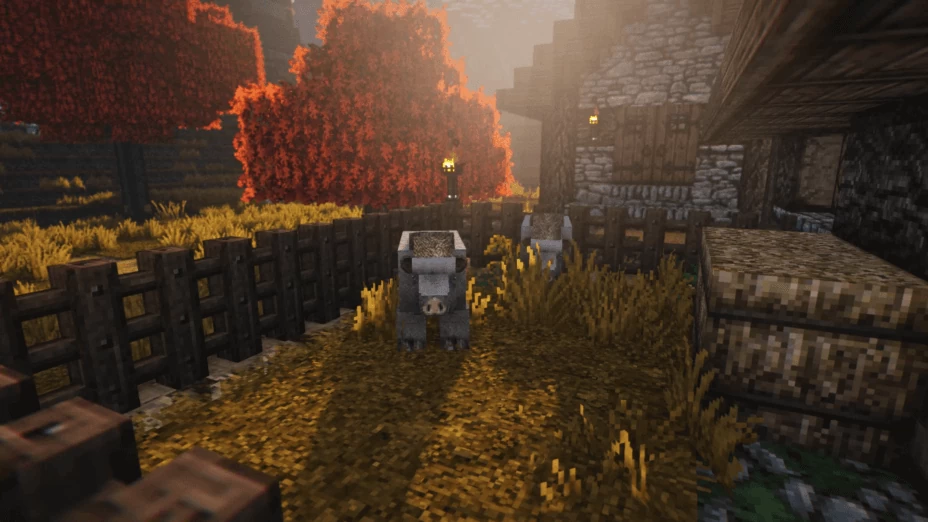
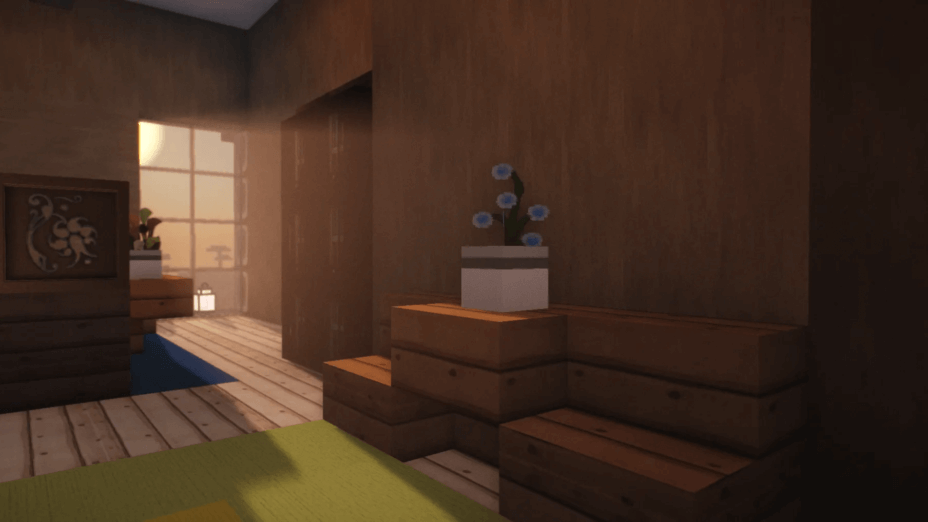
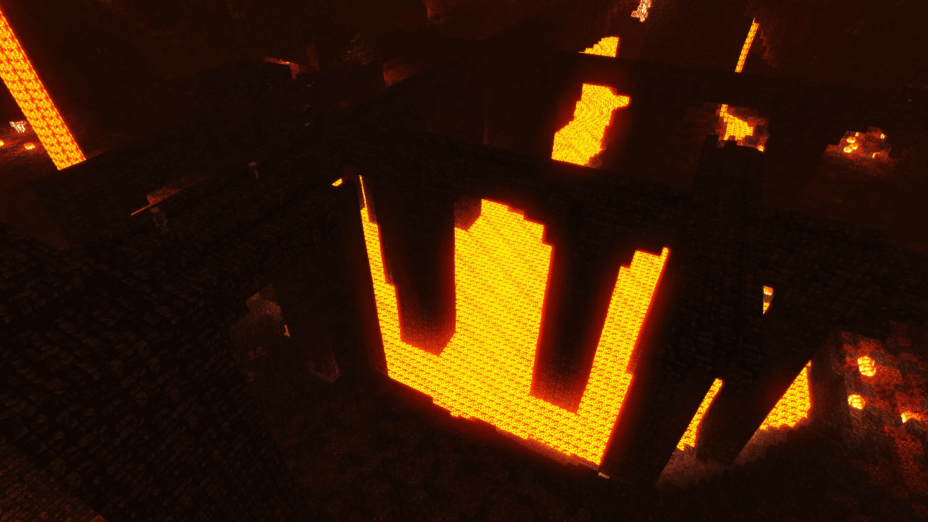
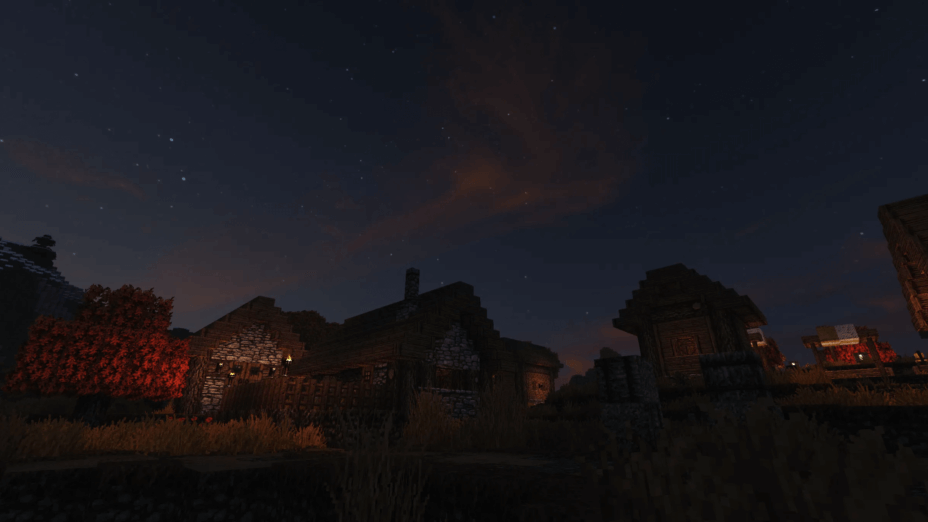
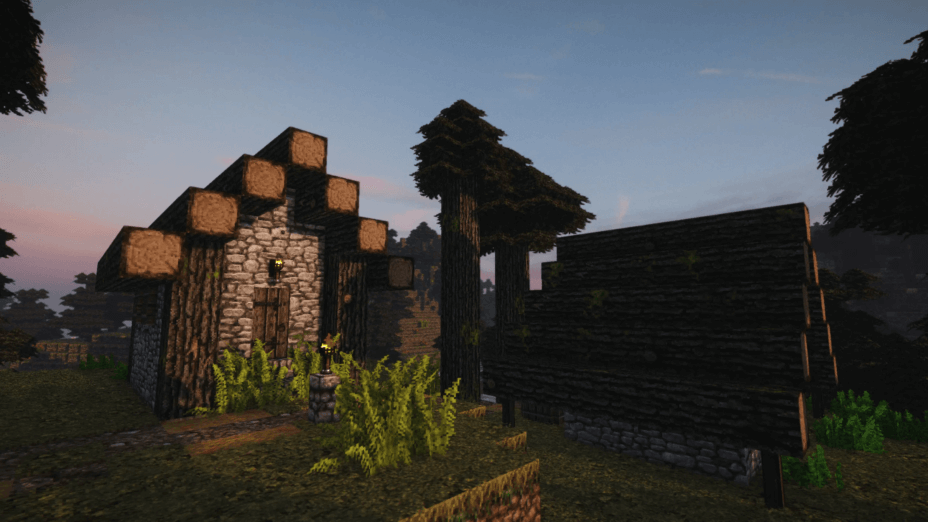
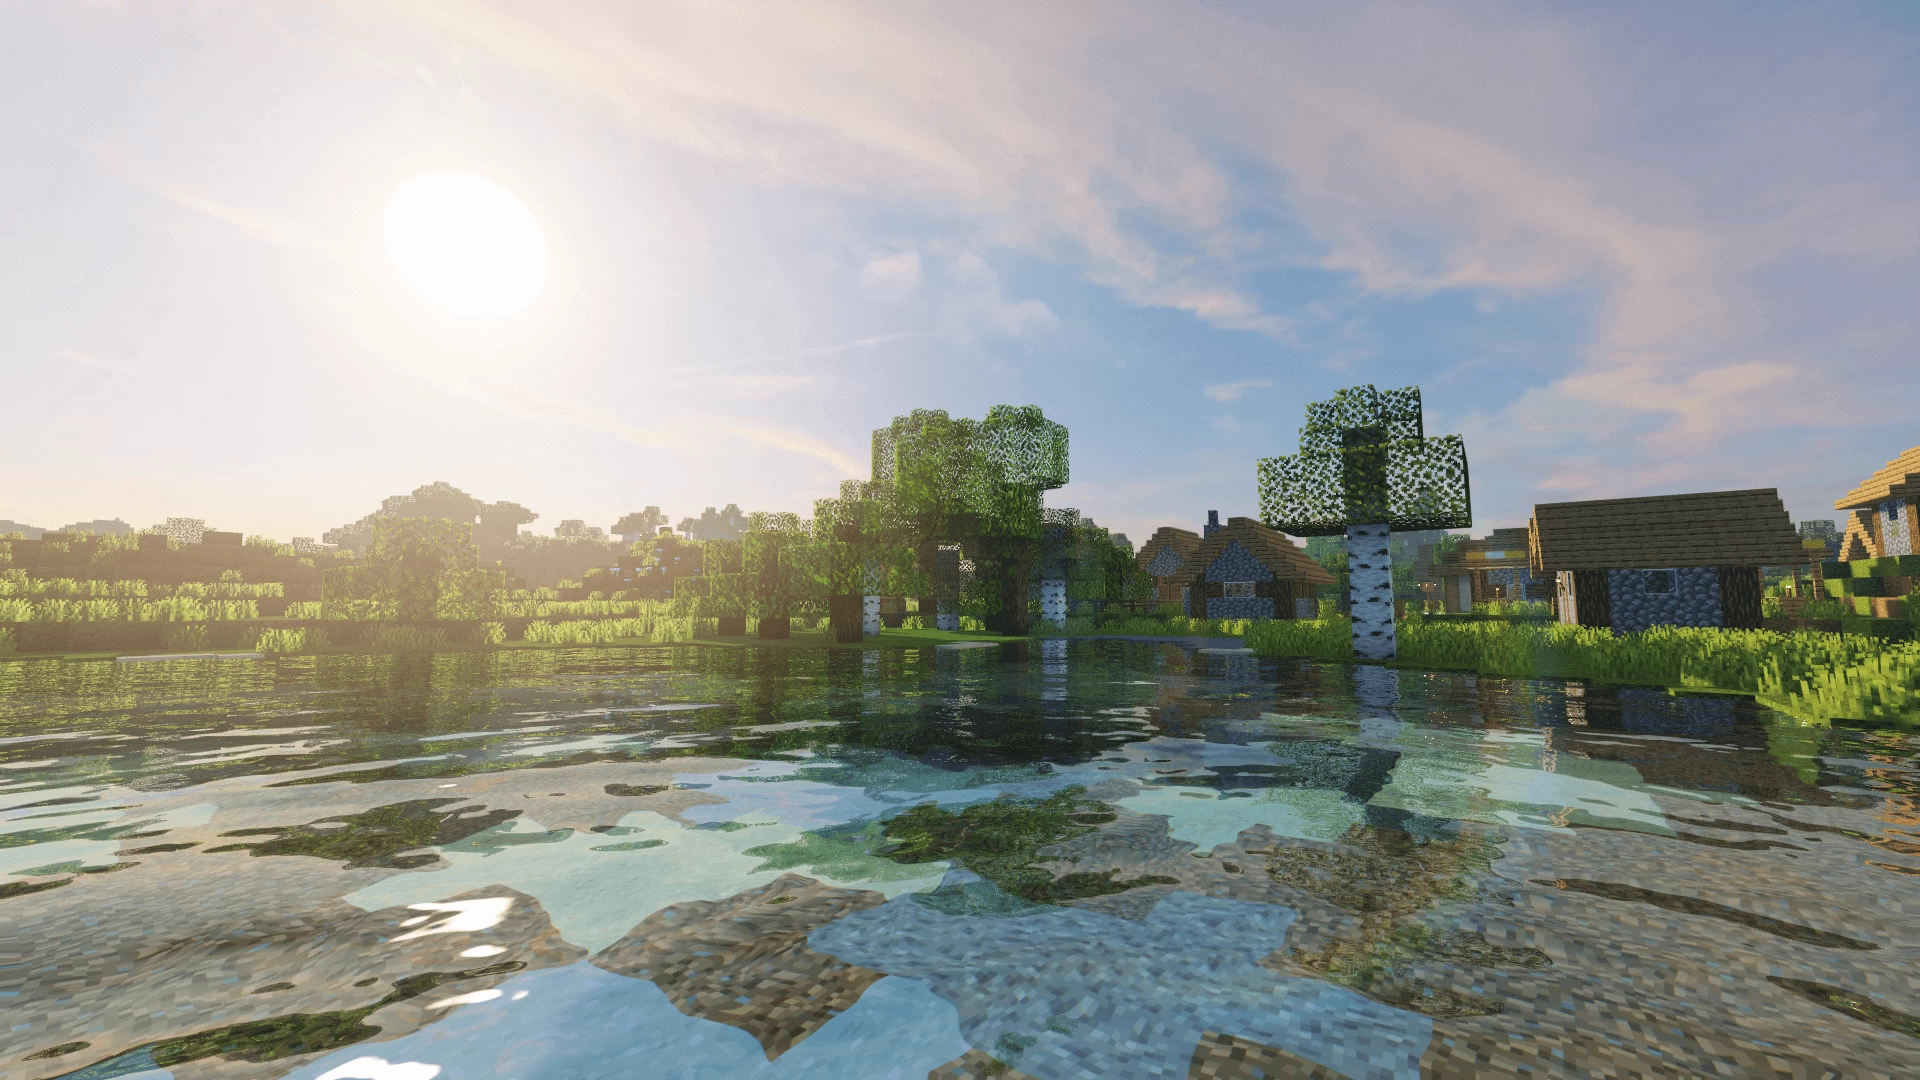
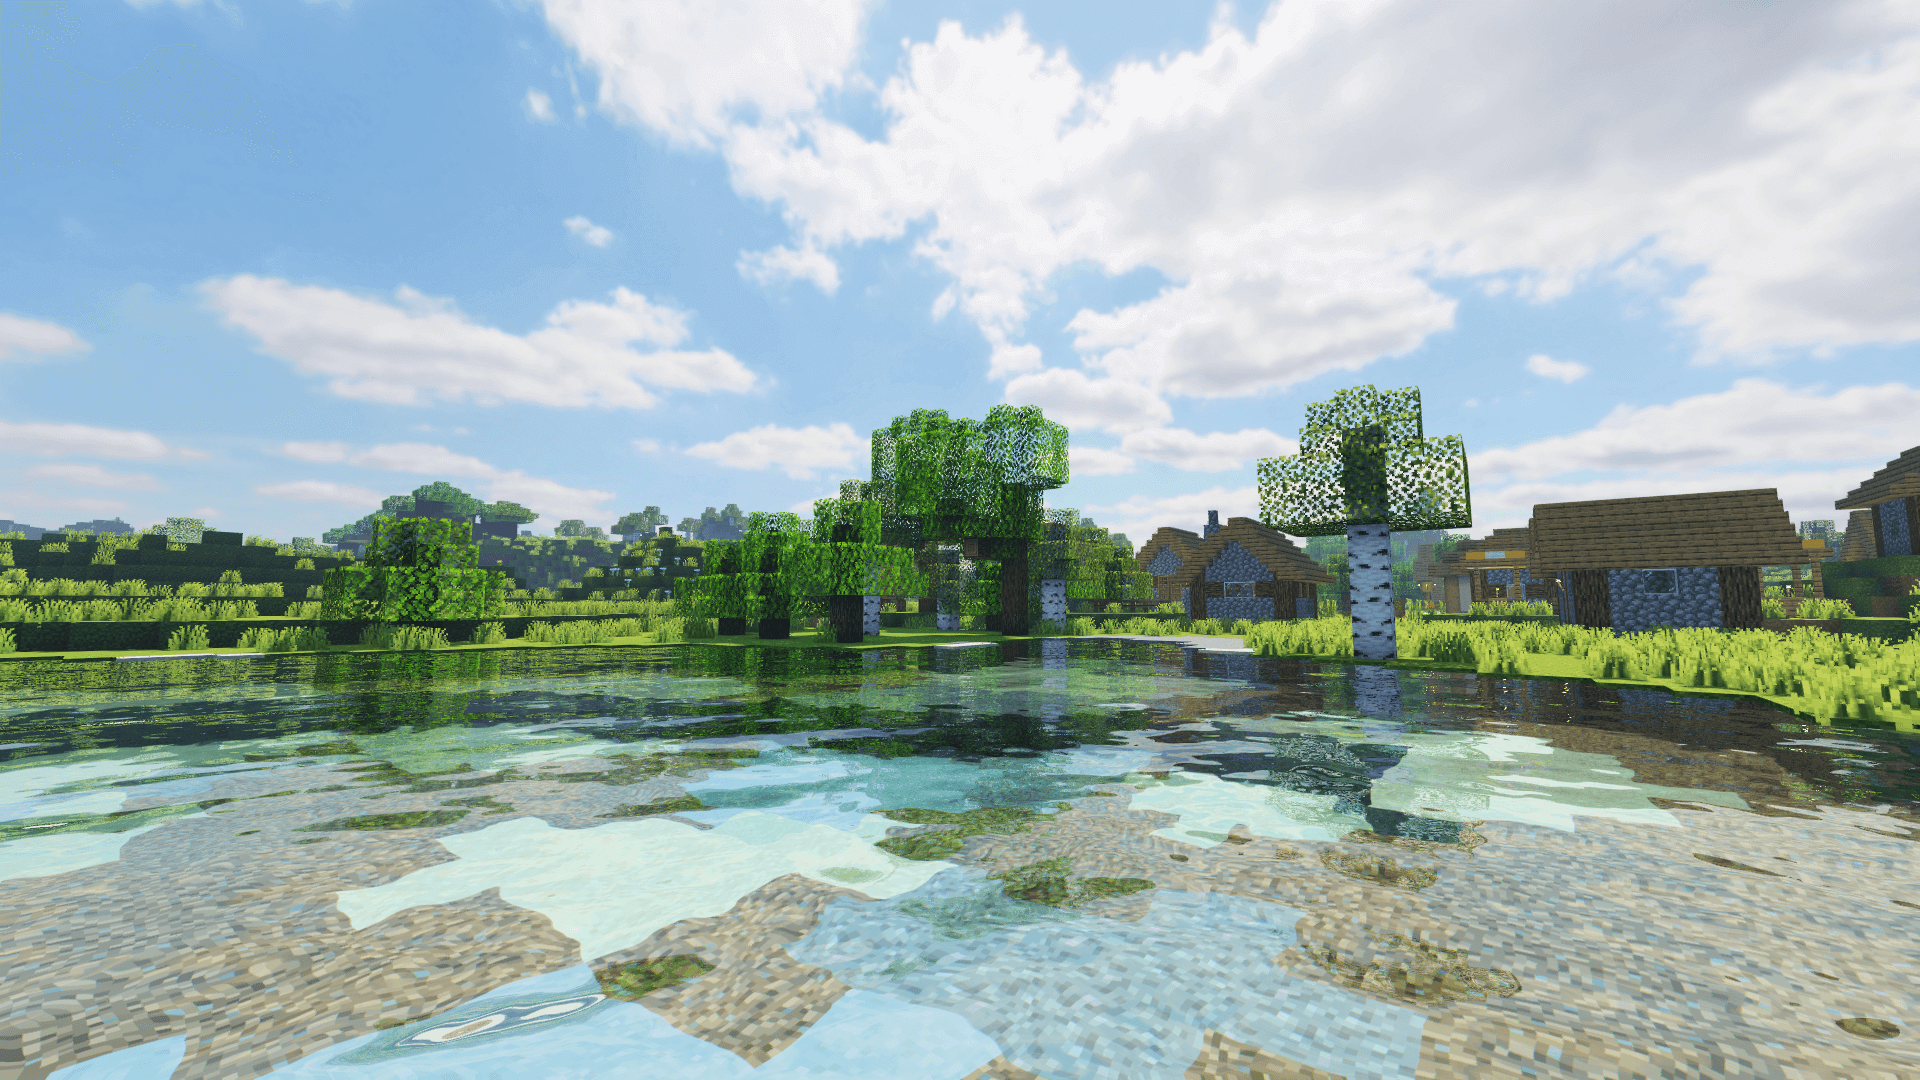
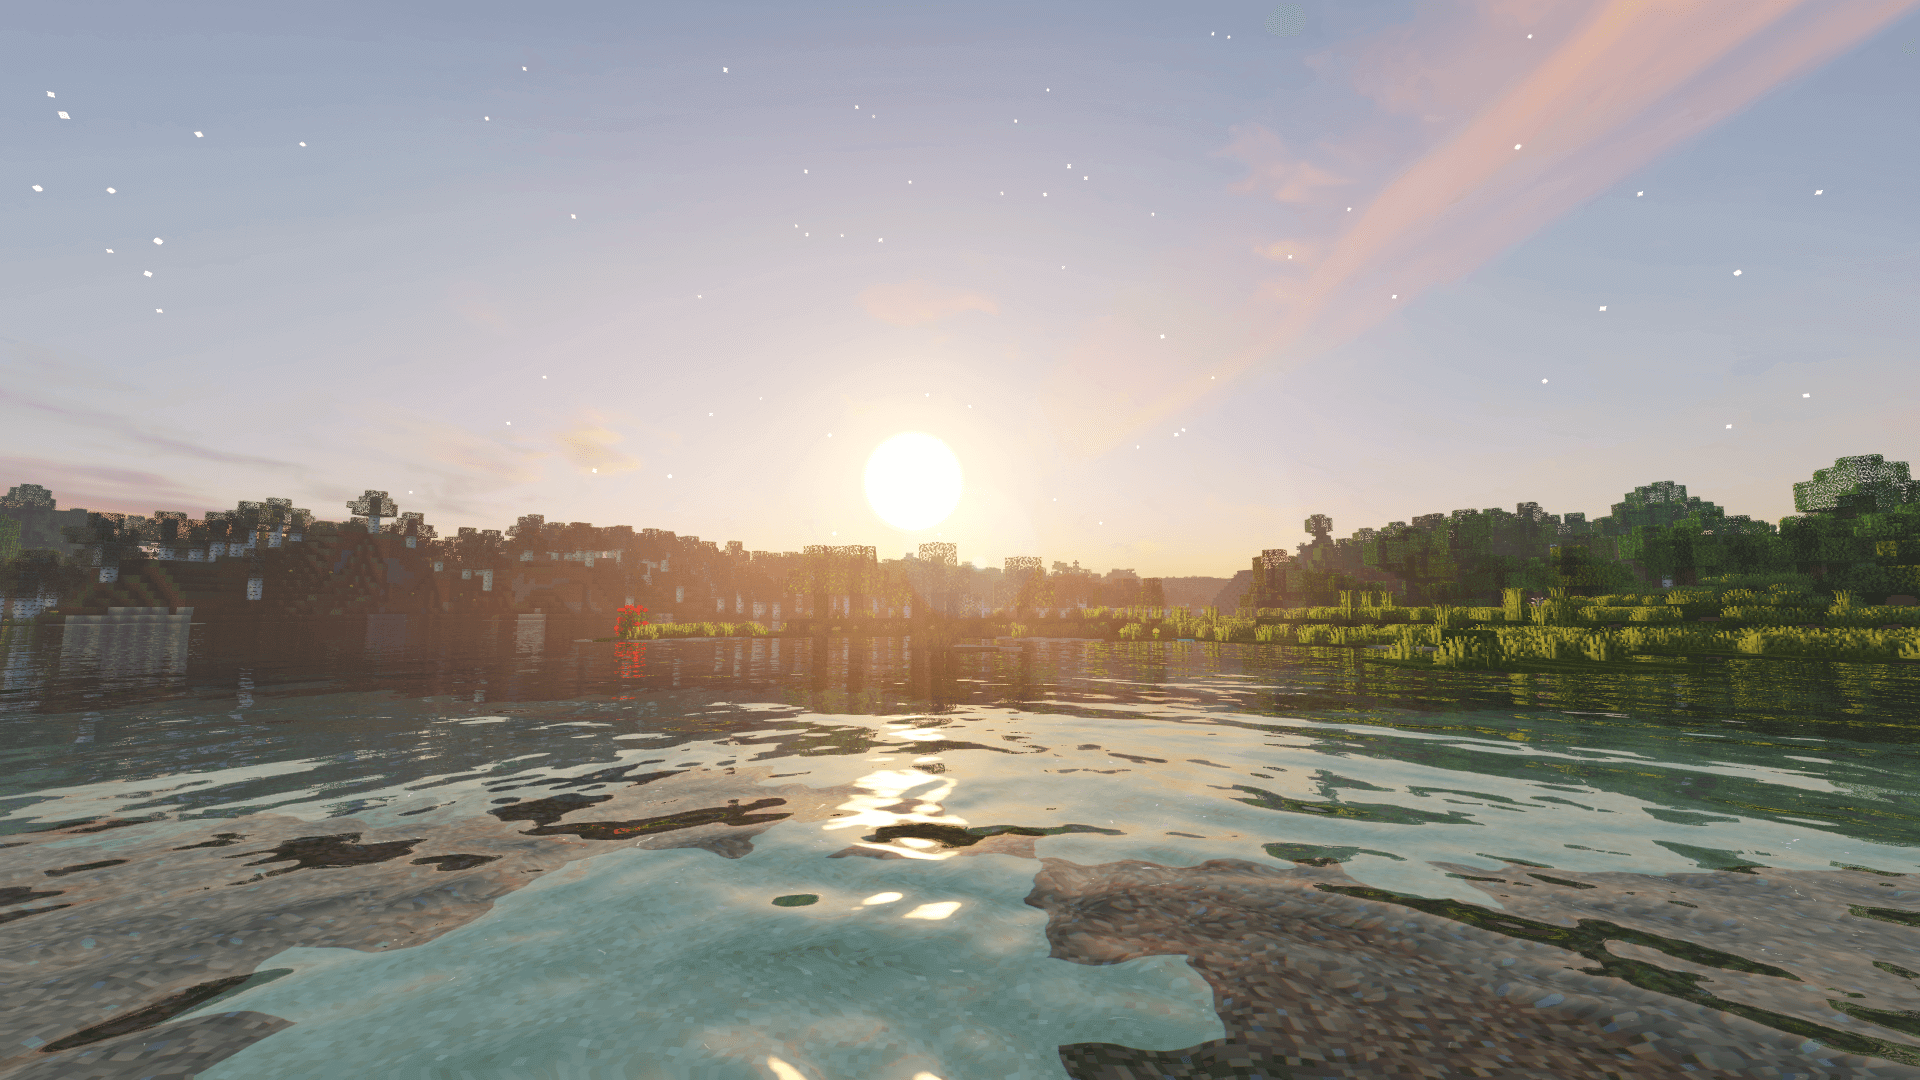
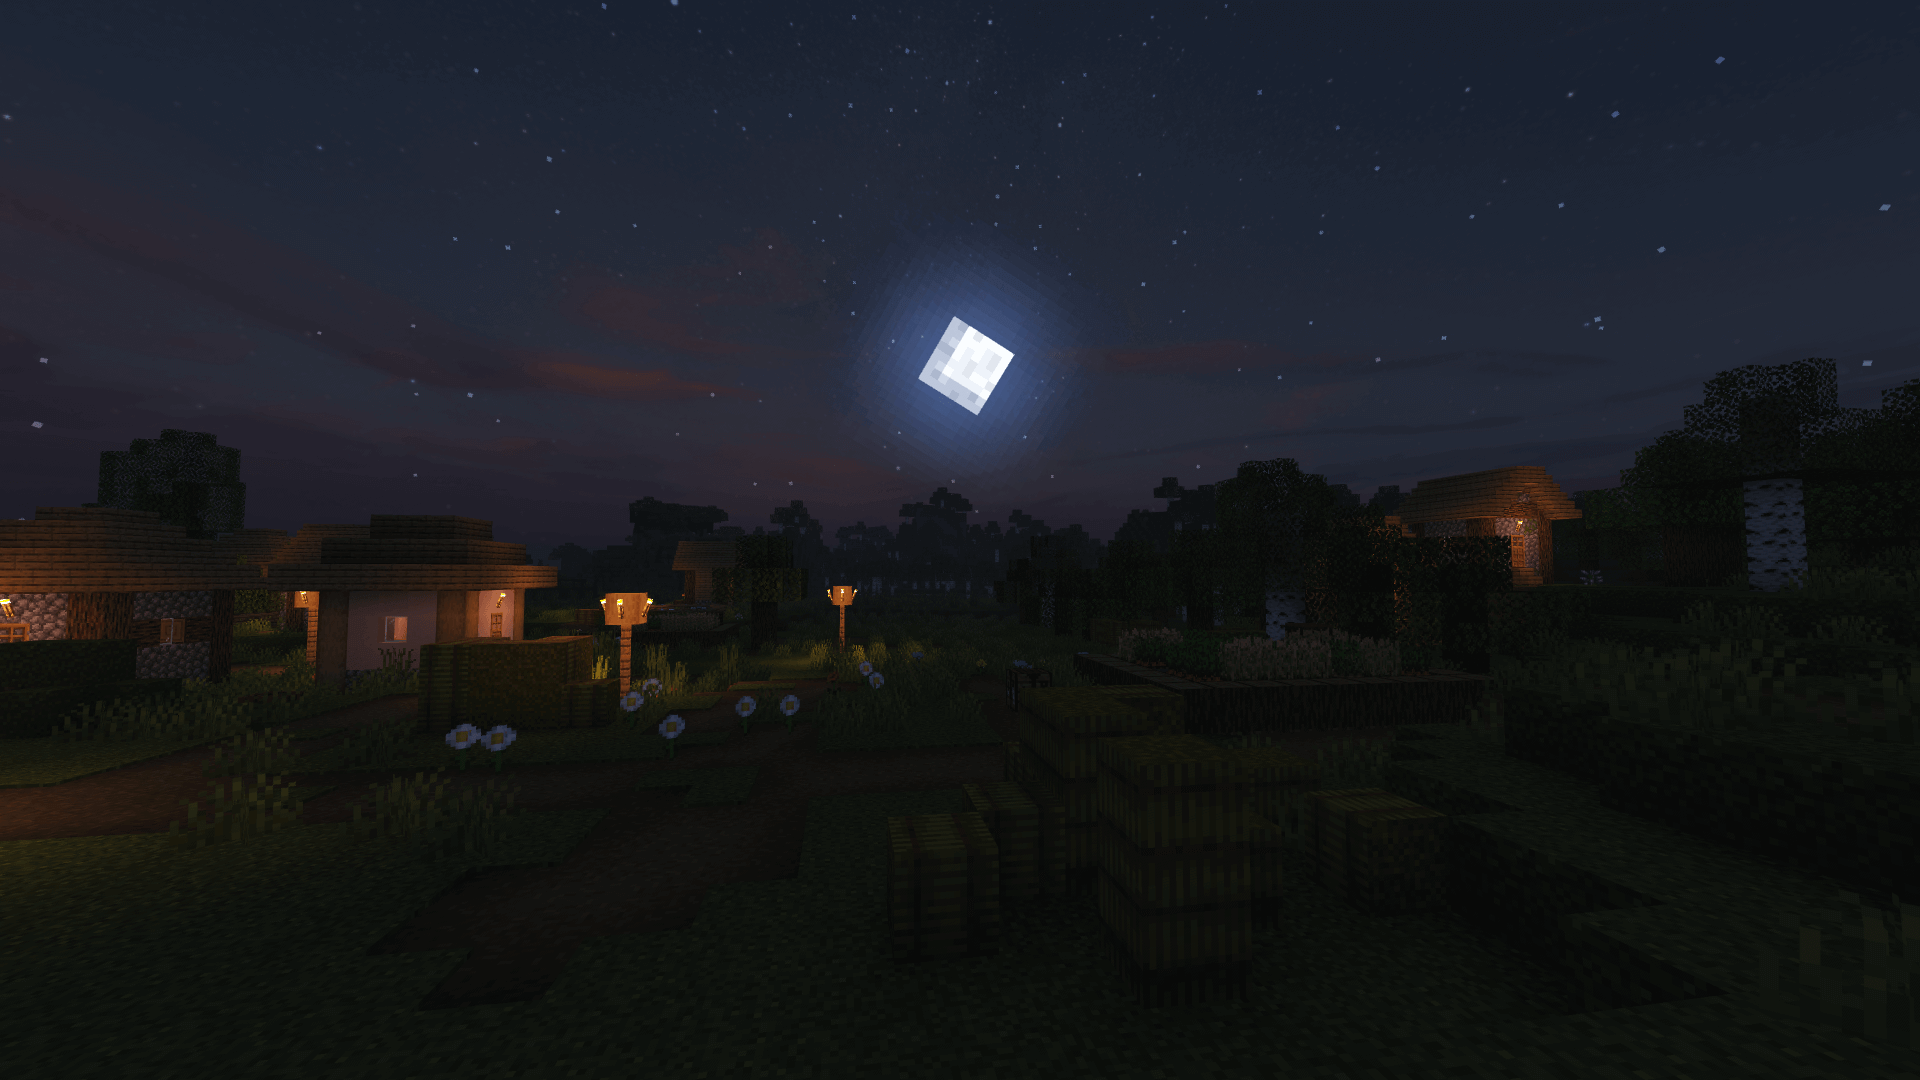
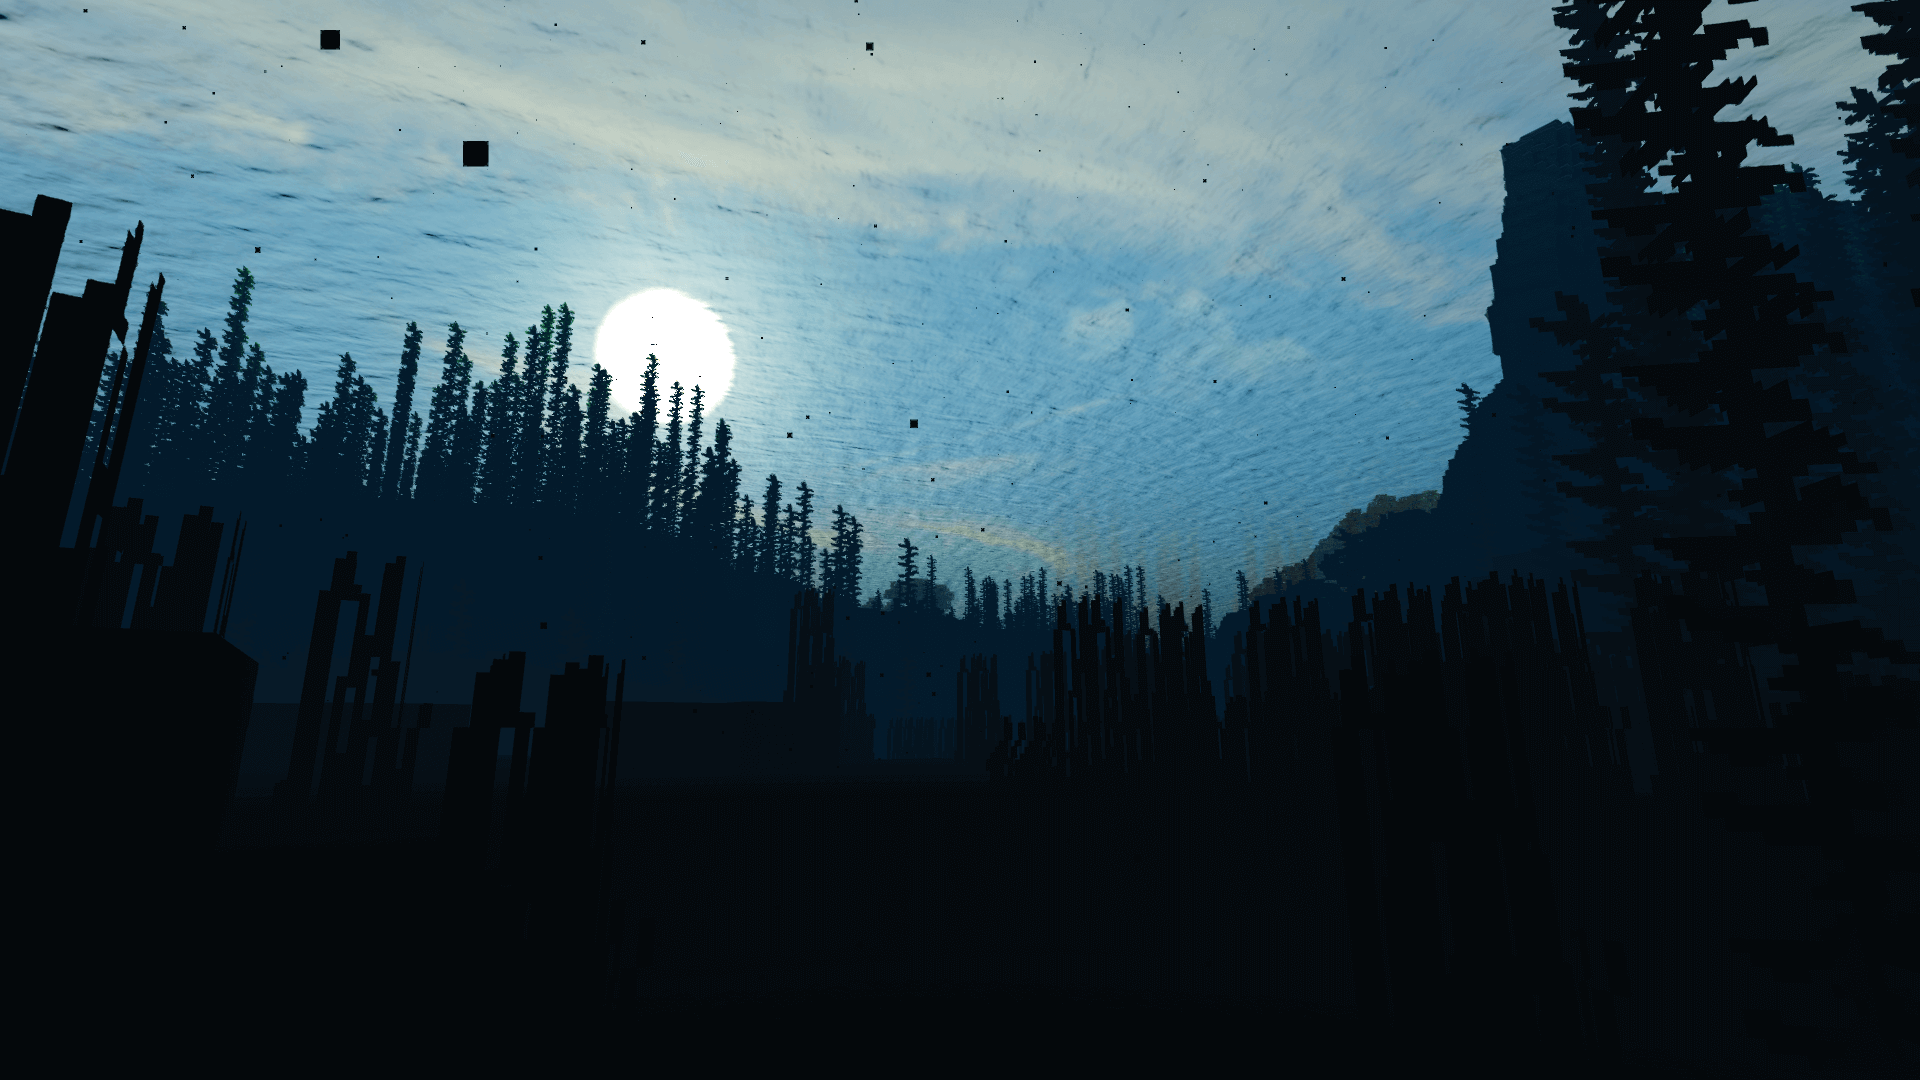
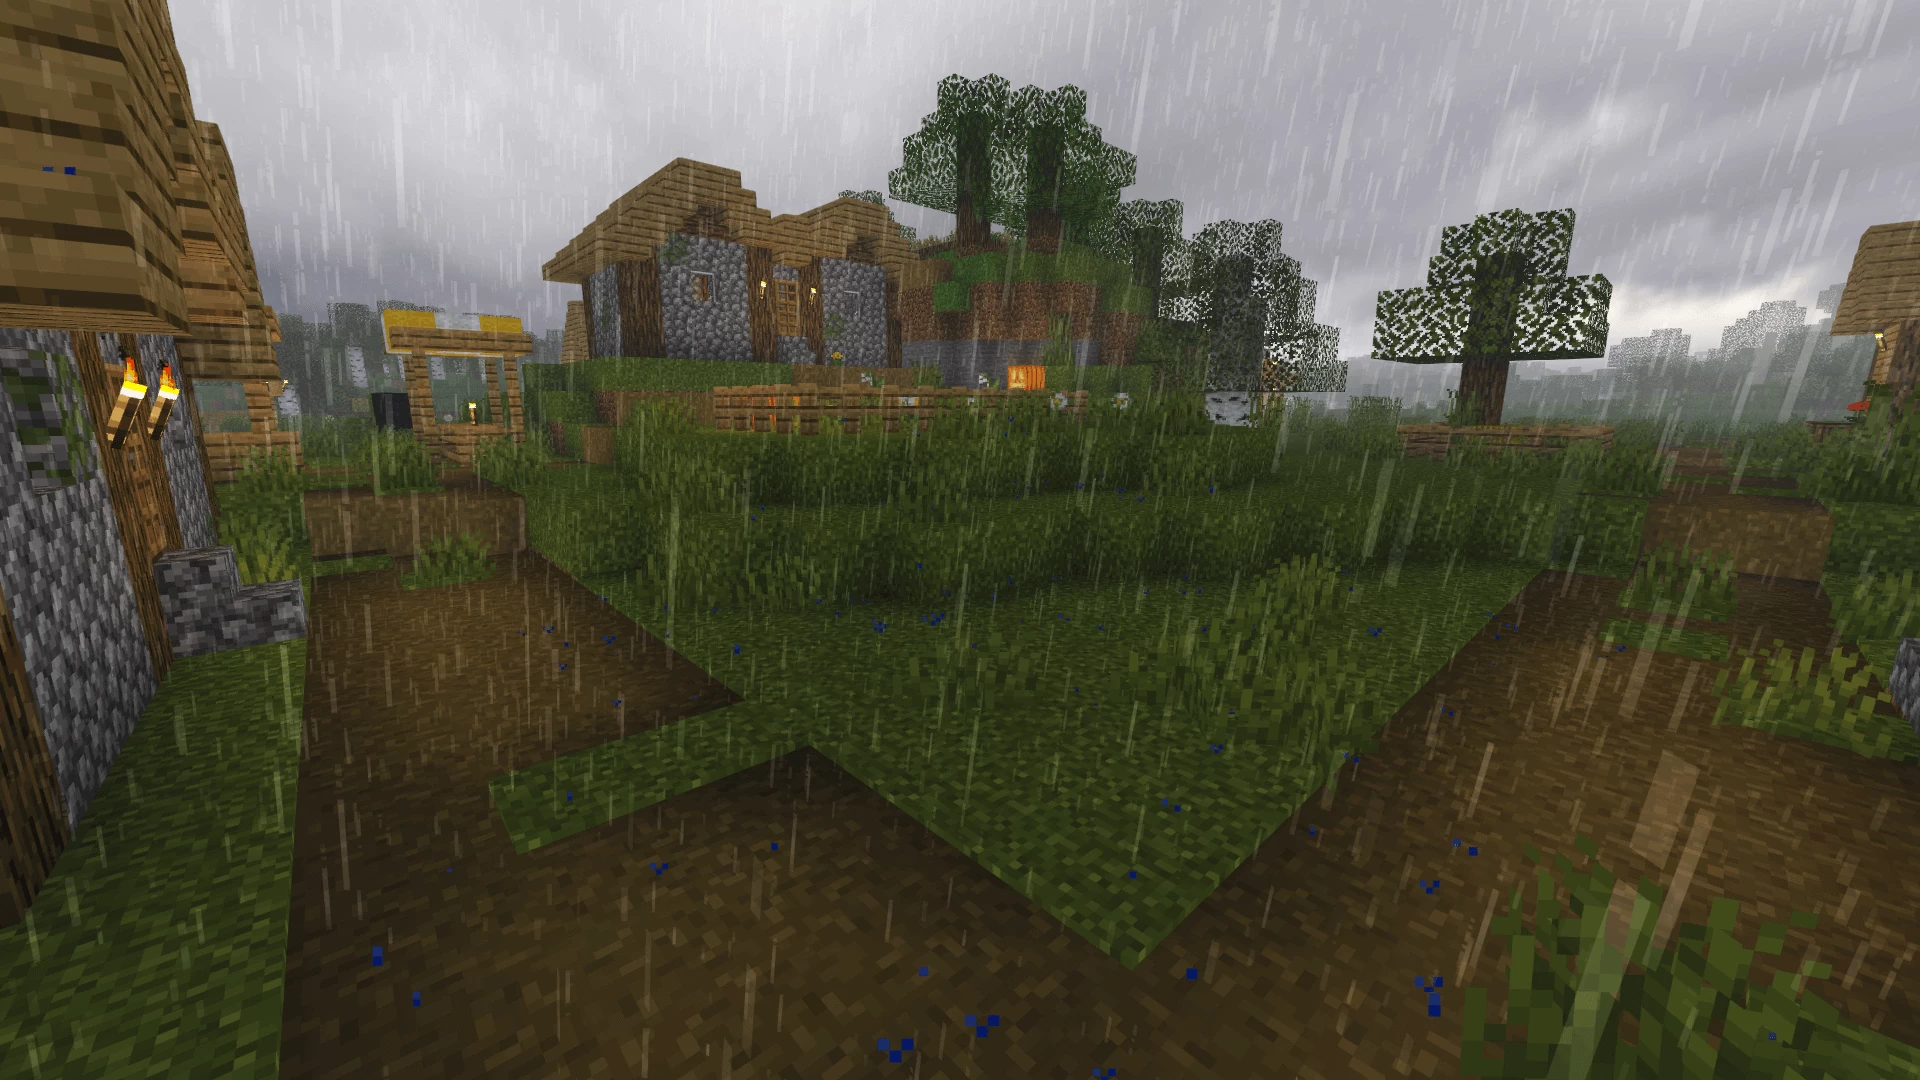
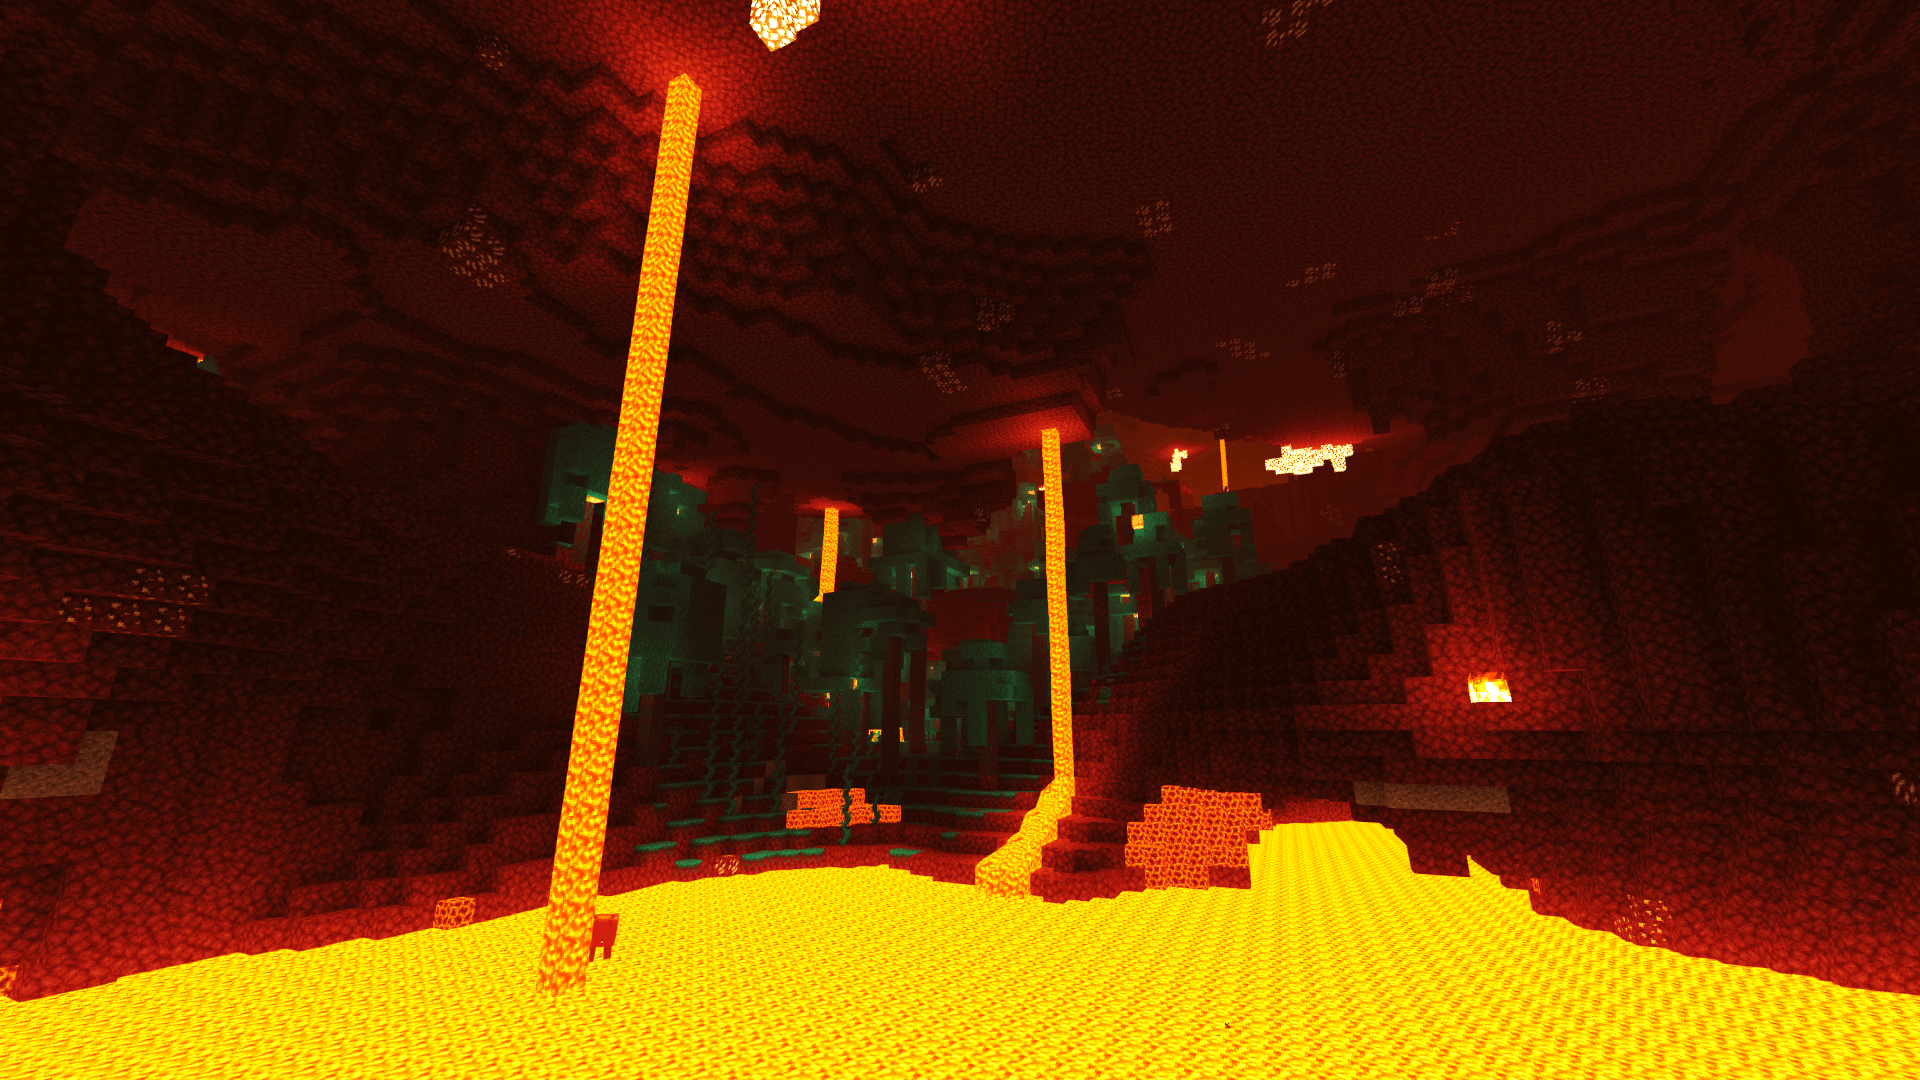
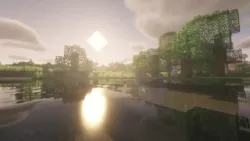
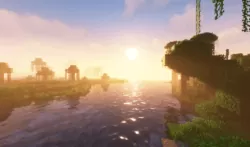
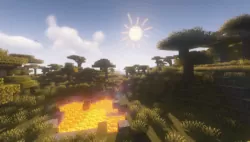
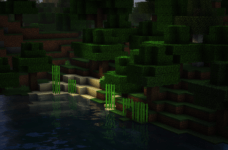
This is a fascinating shader pack because of the outstanding visuals you will find within the Minecraft world after installation. ProjectLUMA’s primary goal is to make the game world look as realistic and beautiful as possible. The collection of visual overhauls within the pack come together to give you a brand new experience.
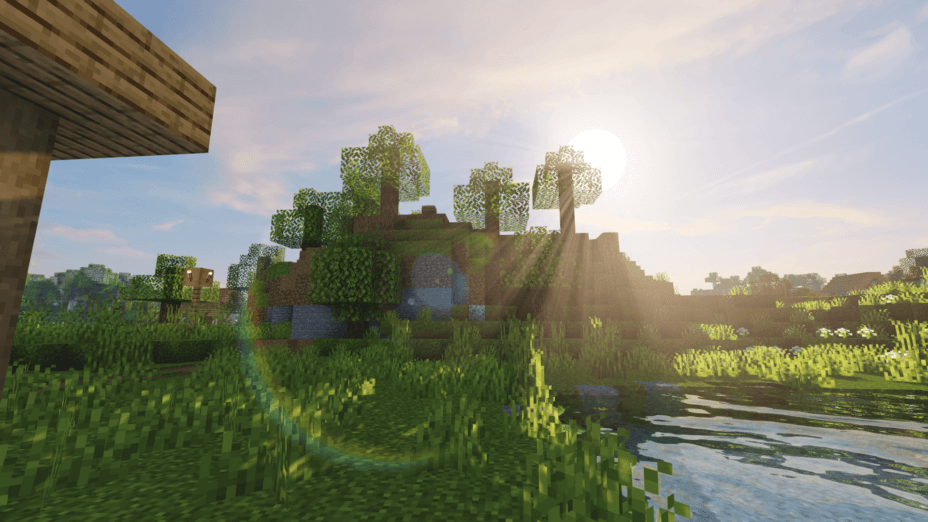
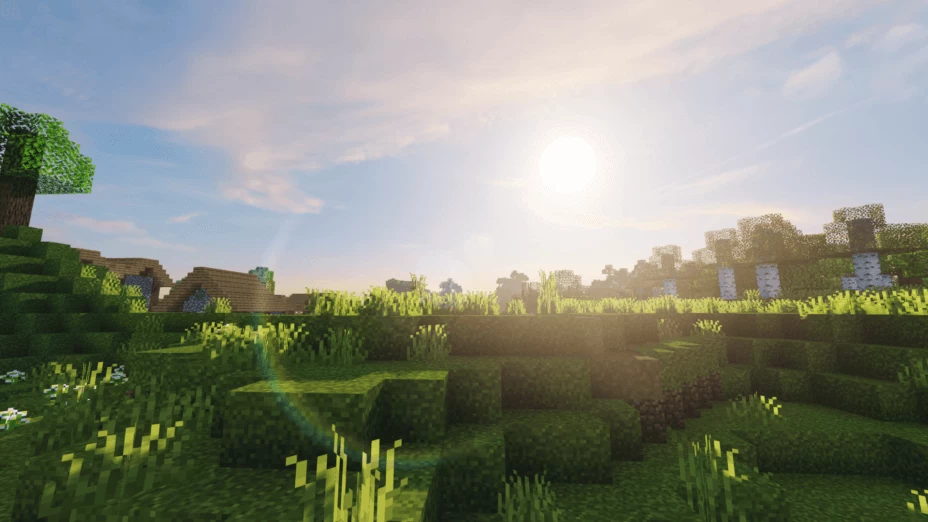
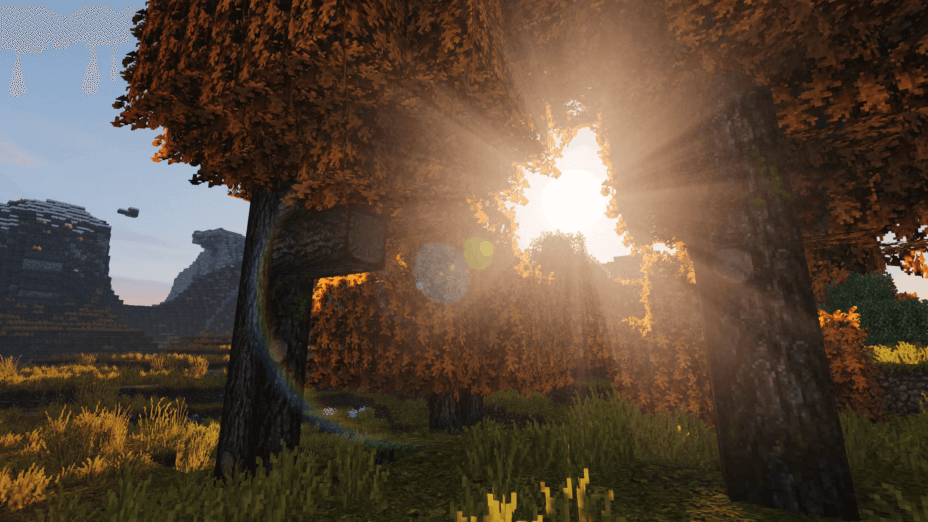
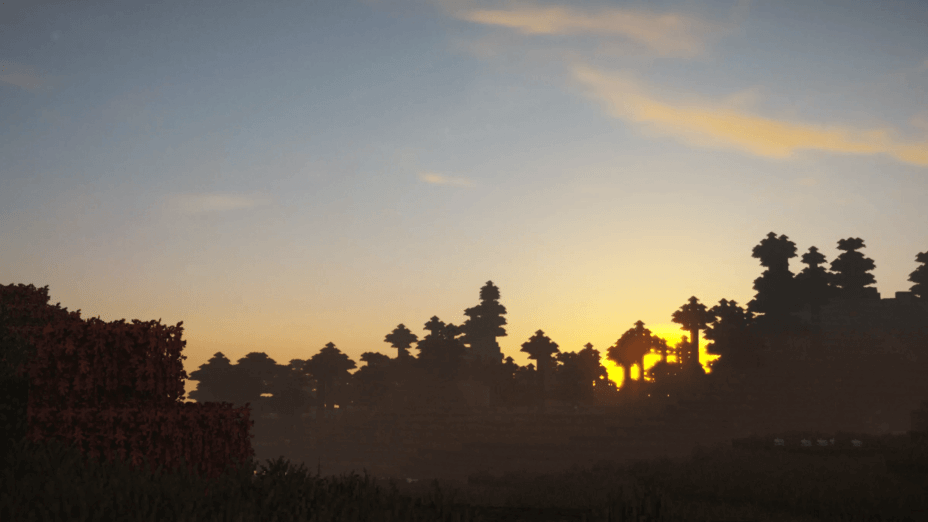
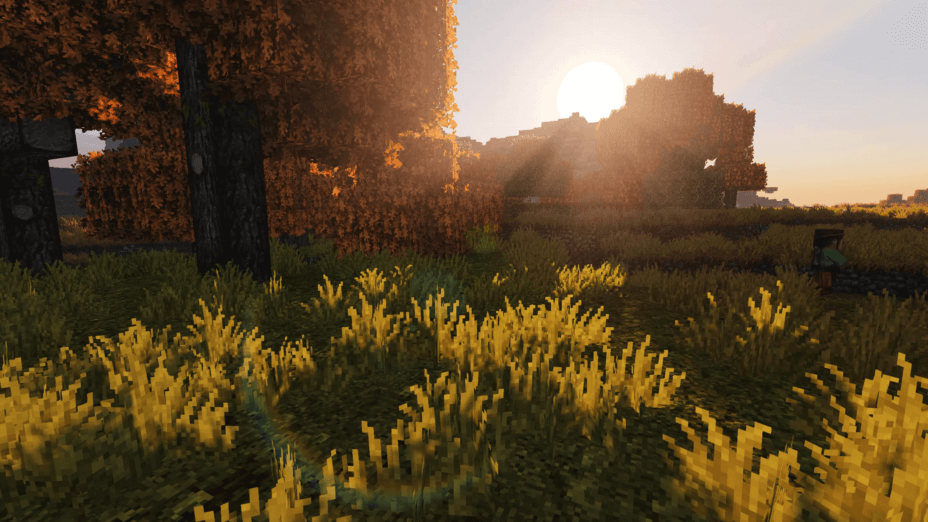
Once you load into the game world, you will immediately notice the new photorealistic skyblocks and the god rays shining down on the game world around you. A whole new level of immersion is created due to the lighting effects provided by this shader pack.
You will find that there are some advanced graphical adjustments to the game from this shader pack, such as the introduction of ambient occlusion and native motion blur. The developers have added visual enhancements that you might typically find in AAA games within Minecraft.
After getting familiarized with the new game world features and visual upgrades, you might notice that you are more at one with the game than ever before. This is because ProjectLUMA does a fantastic job of improving the comfort of the game world. You will picture yourself inside the game world more than ever with the new elements of realism. To further increase the realistic gaming experience of Minecraft, consider looking for a recommended realistic texture pack as well.
Be mindful that this shader pack is very demanding for computers and will run smoothly on newer, high-end machines. Those with older machines might see low framerates or less-than-optimal gaming conditions. ProjectLUMA Shaderpack can only be used by those who have Iris Shaders or Optifine installed for the shaders to function correctly. ProjectLUMA Shaderpack can automatically be used within your Minecraft world once the shader loader is installed.
- 1.20
- 1.19.4
- 1.19.3
- 1.19.2
- 1.19.1
- 1.19
- 1.18.2
- 1.18.1
- 1.18
- 1.17.1
- 1.17
- 1.16.5
- 1.16.4
- 1.16.3
- 1.16.2
- 1.16.1
- 1.16
- 1.15.2
- 1.15.1
- 1.15
- 1.14.4
- 1.14.3
- 1.14.2
- 1.14.1
- 1.14
- 1.13.2
- 1.13.1
- 1.13
- 1.12.2
- 1.12.1
- 1.12
- 1.11.2
- 1.11.1
- 1.11
- 1.10.2
- 1.10.1
- 1.10
- 1.9.4
- 1.9.3
- 1.9.2
- 1.9.1
- 1.9
- 1.8.9
- 1.8.8
- 1.8.7
- 1.8.6
- 1.8.5
- 1.8.4
- 1.8.3
- 1.8.2
- 1.8.1
- 1.8
- 1.7.10
- 1.7.9
- 1.7.8
- 1.7.7
- 1.7.6
- 1.7.5
- 1.7.4
- 1.7.2
- 1.7
- 1.6.4
- 1.6.2
Features
Over 39 new features are available in ProjectLUMA Shaders to enhance your gaming experience.
📊 Performance Impacts
Decrease in performance can vary from device to device, driver version, and many other factors, you should test yourself on your machine for the best result.
- None
- No performance decreases
- Small
- ~5%
- Medium
- ~10%
- High
- ~25%
- Extreme
- +50%
-
- Ambient OcclusionMedium
- Simulating how light interacts with objects and surfaces.
-
- Atmospheric SkySmall
- Simulates realistic atmospheric scattering.
-
- BloomSmall
- Enhance the game's lighting and create a more realistic and immersive visual experience
-
- BlurSmall
- Simulate how fast-moving objects appear to blur in a photograph or video.
-
- CausticHigh
- Simulating the way light is refracted and reflected by the water's surface
-
- CinematicExtreme
- Create more cinematic and visually-stunning scenes in the game.
-
- CustomizationNone
- Customize various aspects of the game's visual effects.
-
- Depth of FieldMedium
- Making objects closer to the camera appear sharp and in focus, while objects farther away appear out of focus and blurry.
-
- Dirty LensSmall
- Simulates the effect of a dirty or scratched camera lens.
-
- HDRMedium
- Enhance the lighting and color in the game.
-
- Lens FlareSmall
- Simulating the way light scatters and reflects inside a camera lens.
-
- Motion BlurHigh
- Simulates the way that fast-moving objects appear to blur in the real world.
-
- Moving CloudsMedium
- Simulates the movement of clouds across the sky and can be used to create the appearance of a dynamic and ever-changing sky
-
- Normal MapSmall
- Add depth and detail to surfaces without increasing the number of polygons.
-
- Parallax WaterMedium
- Enhances the realism of water by simulating the parallax effect.
-
- PBRHigh
- Enhances the realism of textures and materials by simulating the way light interacts with surfaces in a more physically accurate way.
-
- Photorealistic SkyboxesMedium
- Replacing the in-game sky with high-resolution, realistic images of the sky.
-
- Rain ReflectionsMedium
- Reflections during rainy weather by simulating the way light reflects off of wet surfaces.
-
- Ray-Traced ReflectionsExtreme
- Simulating how light behaves in the real world.
-
- Realistic NightskyMedium
- More realistic and immersive night sky.
-
- Realistic RainMedium
- More natural and immersive rain experience.
-
- Realistic SkyMedium
- More realistic and immersive sky experience.
-
- Realistic WaterHigh
- More realistic and immersive water experience.
-
- ShadowsSmall
- Simulate how light is blocked and scattered by objects in the environment.
-
- Sun RaysMedium
- Simulate the appearance of sunlight streaming through trees leaves, objects, clouds, or other atmospheric conditions.
-
- SunriseSmall
- More realistic and immersive sunrise experience.
-
- SunsetSmall
- More realistic and immersive sunset experience.
-
- Tone MappingSmall
- Adjusting the brightness, contrast, and saturation levels.
-
- VignetteNone
- Darkening effect around the edges of the screen
-
- Volumetric CloudsHigh
- Simulate the way that clouds appear to have volume and depth in the real world rather than just flat textures.
-
- Volumetric FogHigh
- Create the appearance of fog that is lit from within, casting shadows and creating a sense of depth.
-
- Volumetric LightHigh
- Simulating the scattering of light in the atmosphere and in the environment.
-
- Volumetric NetherHigh
-
- Volumetric The EndHigh
-
- Water ReflectionsMedium
- Simulating reflections on the surface of the water.
-
- Water WavesMedium
- Movement of waves on the surface of the water.
-
- Waving GrassSmall
- Simulating the way it moves and sways in the wind.
-
- Waving PlantsSmall
- Simulating the way they move and sway in the wind.
-
- Waving TreesSmall
- Adds movement to the leaves and branches of trees, making them look more alive and realistic.
There are 5 profiles pre-built into ProjectLUMA Shaders to adjust the level of intensity of these effects.
| Profiles | Lite | Medium | High | Ultra | Cinematic |
|---|---|---|---|---|---|
Ambient Occlusion | |||||
Bloom | |||||
Chromatic Aberration | |||||
Depth of Field | |||||
Dirty Lens | |||||
Distance Blur | |||||
Film Grain | |||||
Lens Flare | |||||
Light Scattering | |||||
Rain Puddles | |||||
Shadow Distance | |||||
Shadow Resolution | |||||
Soft Shadows | |||||
SSR Method | |||||
Vignette |
ProjectLUMA Shaders allow you to change more than 63 settings to suit your needs.
| Settings | Description | Options |
|---|---|---|
| Profile | ||
| Shadows | ||
| Shadow Resolution |
| |
| Shadow Distance |
| |
| Soft Shadows |
| |
| Fix Underground Light Leak | This will fix sunlight leaking in underground by multiplying the sunlight with the cavelight. |
|
| Simulated Subsurface Scattering |
| |
| Environment | ||
| Color Temperature | Lower -> Cold. Higher -> Warm. |
|
| Torchlight Temperature | Lower -> Cold. Higher -> Warm. |
|
| Light Scattering |
| |
| Windy Terrain |
| |
| Quality |
| |
| Wind Speed |
| |
| Render Distance |
| |
| Ambient Occlusion | Also known as SSAO |
|
| Waving Water |
| |
| Effects | ||
| Depth of Field |
| |
| Bloom |
| |
| Focus Speed |
| |
| Distance Blur |
| |
| Raindrop Refraction |
| |
| Motionblur |
| |
| Heatwave | Only in the Nether. |
|
| Motionblur Amount |
| |
| Dirty Lens | Only applied to sun and moon |
|
| PostProcess | ||
| Chromatic Aberration |
| |
| Lens Flare |
| |
| Vignette |
| |
| Film Grain |
| |
| Cinematic Mode | Will crop the screen to a cinematic format. |
|
| Surface | ||
| Normal Map Bumpmult |
| |
| SSR Method | Reflected Vector: Very fast, 1 sample only but somtimes inaccurate. Raytrace: Traditional Screen Space Reflections (SSR), |
|
| Auto Bump | Will automatically generate normals maps. Useful for resource packs that don't include normal maps. |
|
| Physically Based Rendering |
| |
| Texture Resolution | Adjust the resolution to your current resource pack. You can use a higher resolution to keep some details. |
|
| PBR Format | Select the format matching to your resource pack. Default: r -> smoothness; g -> metallic. |
|
| Parallax Occlusion Mapping |
| |
| Rain Puddles |
| |
| Depth |
| |
| Directional Lighting | Simulates normal mapping for torch- and skylight. Still buggy at some cases! |
|
| Tonemapping | ||
| Tonemapping |
| |
| Exposure |
| |
| Brightness |
| |
| Saturation |
| |
| Contrast |
| |
| White Scale |
| |
| Patreon Reward | ||
| Colors | ||
| OVERRIDE_COLORS |
| |
| AMBIENT_R |
| |
| SUNLIGHT_R |
| |
| AMBIENT_G |
| |
| SUNLIGHT_G |
| |
| AMBIENT_B |
| |
| SUNLIGHT_B |
| |
| TORCH_R |
| |
| AMBIENT_LIGHT |
| |
| TORCH_G |
| |
| SUNLIGHT |
| |
| TORCH_B |
| |
| OVERRIDE_FOLIAGE_COLOR |
| |
| AO_AMOUNT |
| |
| FOG_DENSITY |
| |
| LIGHT_SCATTERING_AMOUNT |
| |
| BLOOM_STRENGTH |
| |
| LENS_POWER |
|
Comparison
Our comparison tool makes it easy to compare ProjectLUMA Shaders with Minecraft vanilla and other shader packs.
How To Install ProjectLUMA Shaders
- Support Forge / Vanilla
- Extra features
- Good performance
- Support Fabric / Quilt
- Better performance, depend on your hardware
Optifine Installation Guide
Note
Your device must have Java installed to run the Forge and Optifine installers.
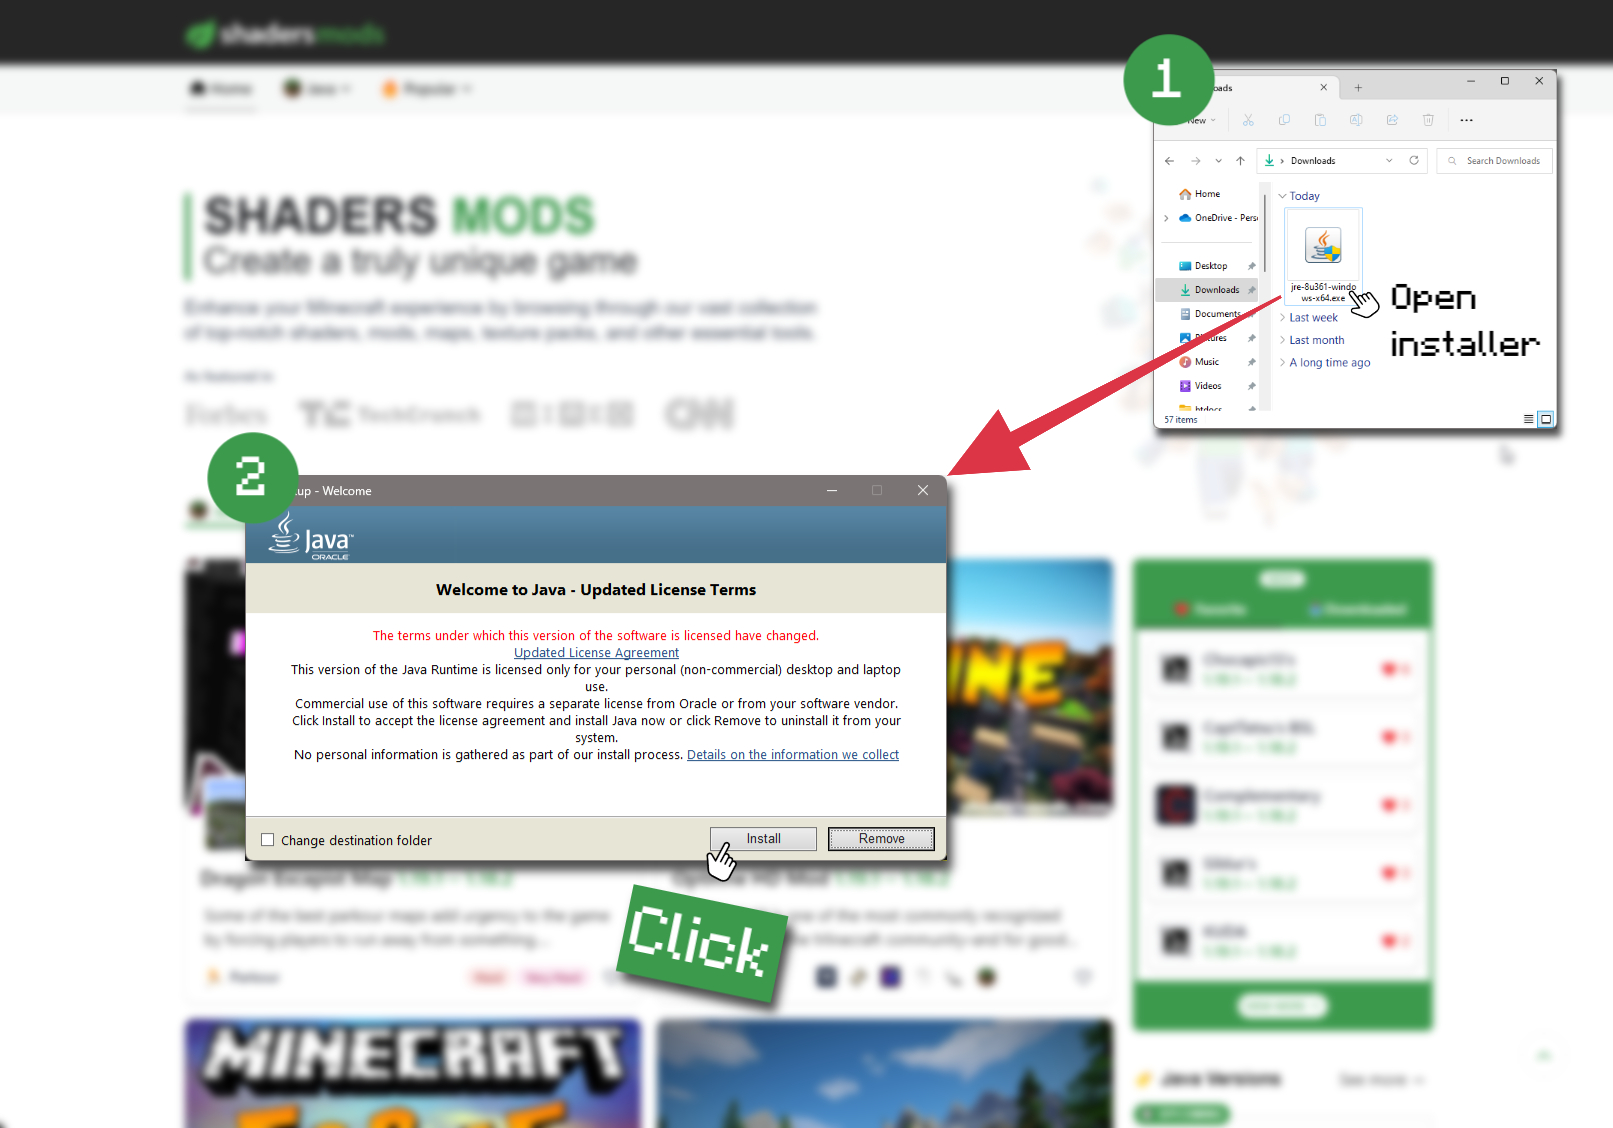
Quick Java Installation Guide
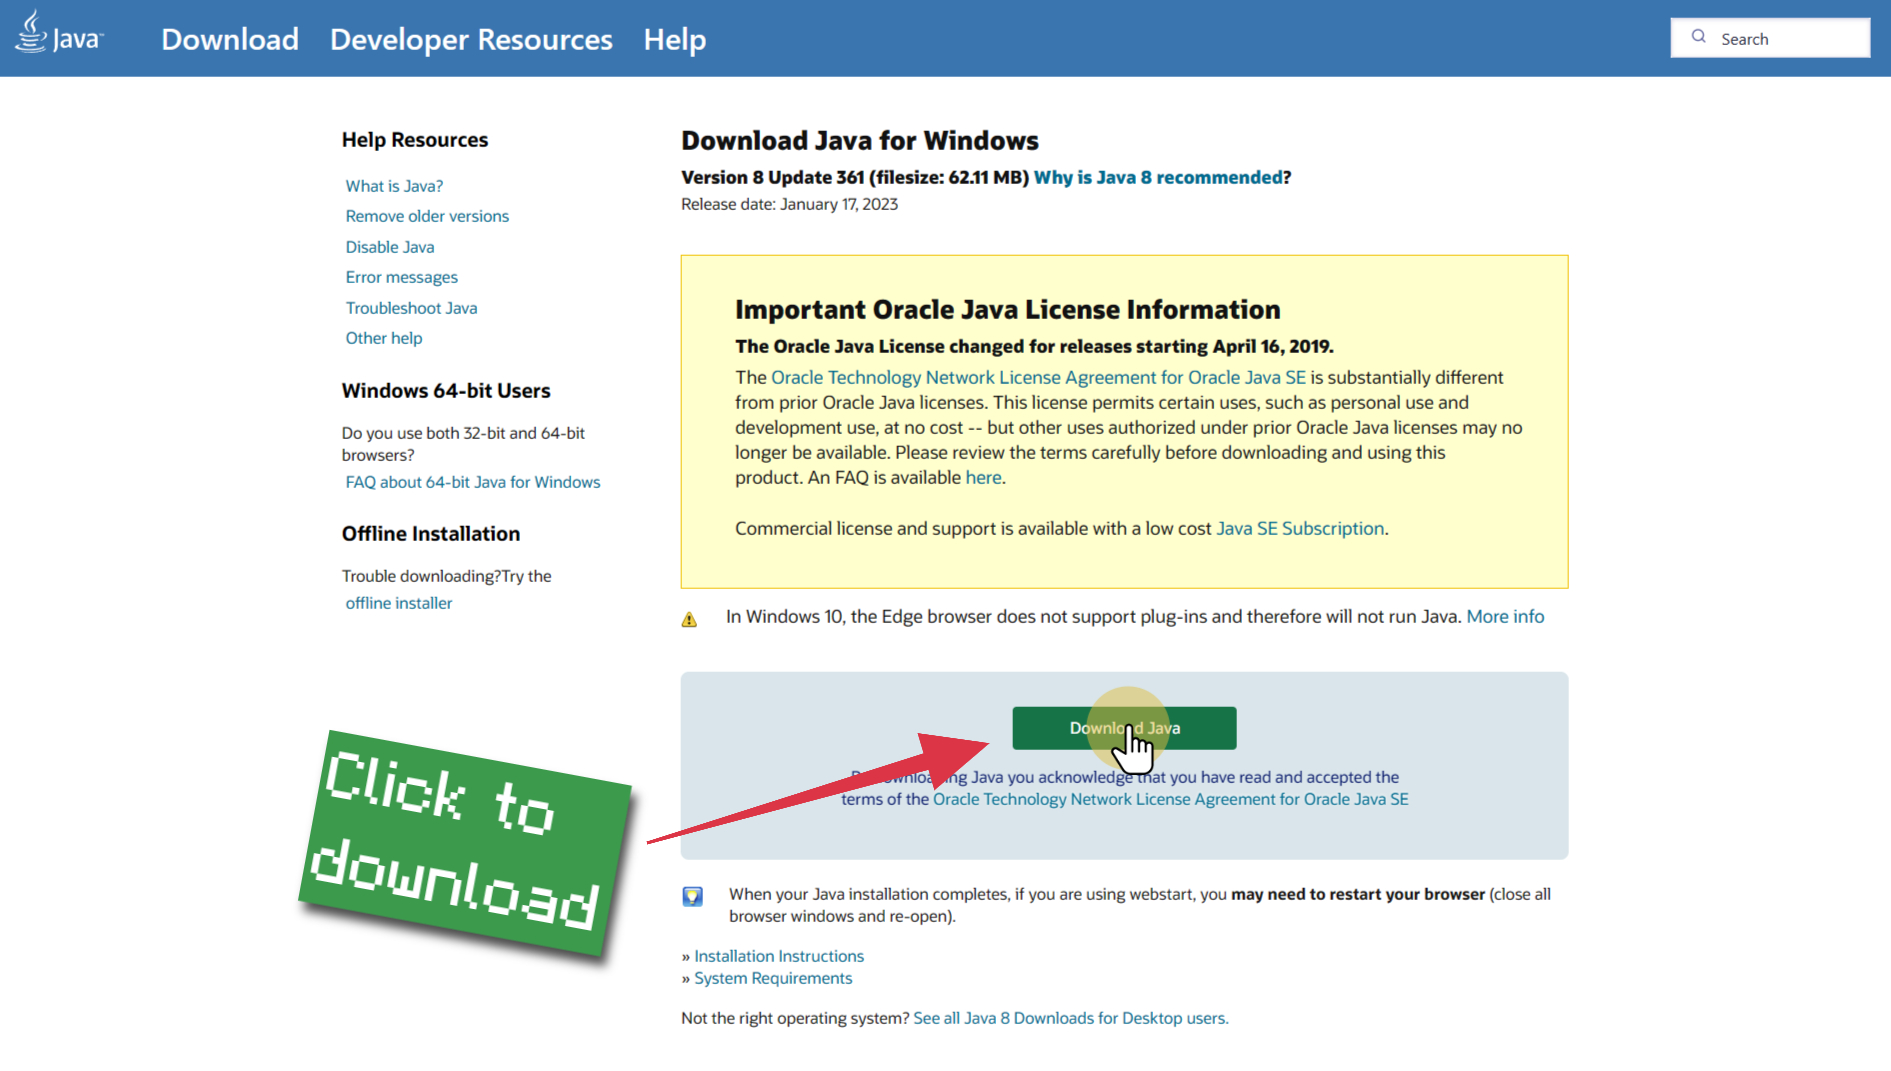
Download Java
Download the Java installer from the official website here.

Open Installer
Once you have downloaded the file, run it and click the Install button.

How to install ProjectLUMA Shaders with Optifine?
Download Optifine
Get the latest version of Optifine for your Minecraft version.
Download OptifineInstall Optifine
Run the Optifine installer and follow the on-screen instructions to complete the installation.

Download ProjectLUMA Shaders
Go to the download section and get shaders zip file. Unzip the file if necessary, as some shader developers may bundle multiple shader versions in one zip file.
Launch Minecraft
Start the Minecraft launcher and make sure you have the Optifine profile selected.

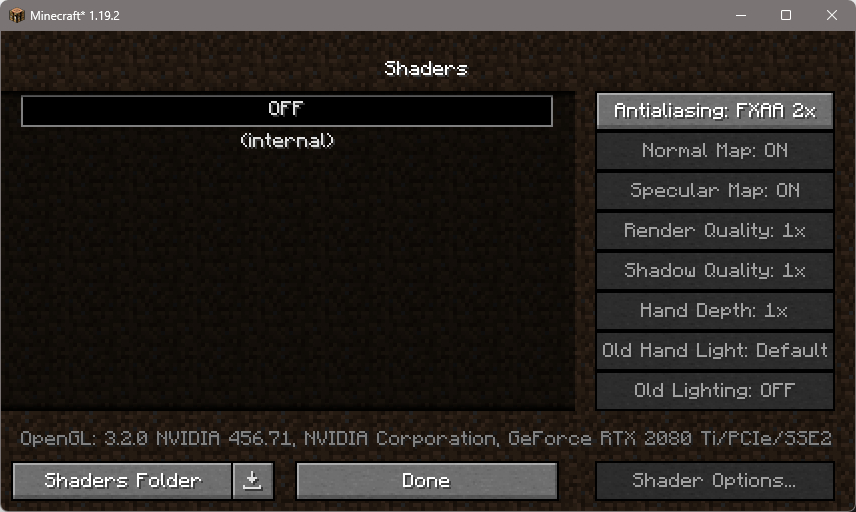
In-game Shaders menu
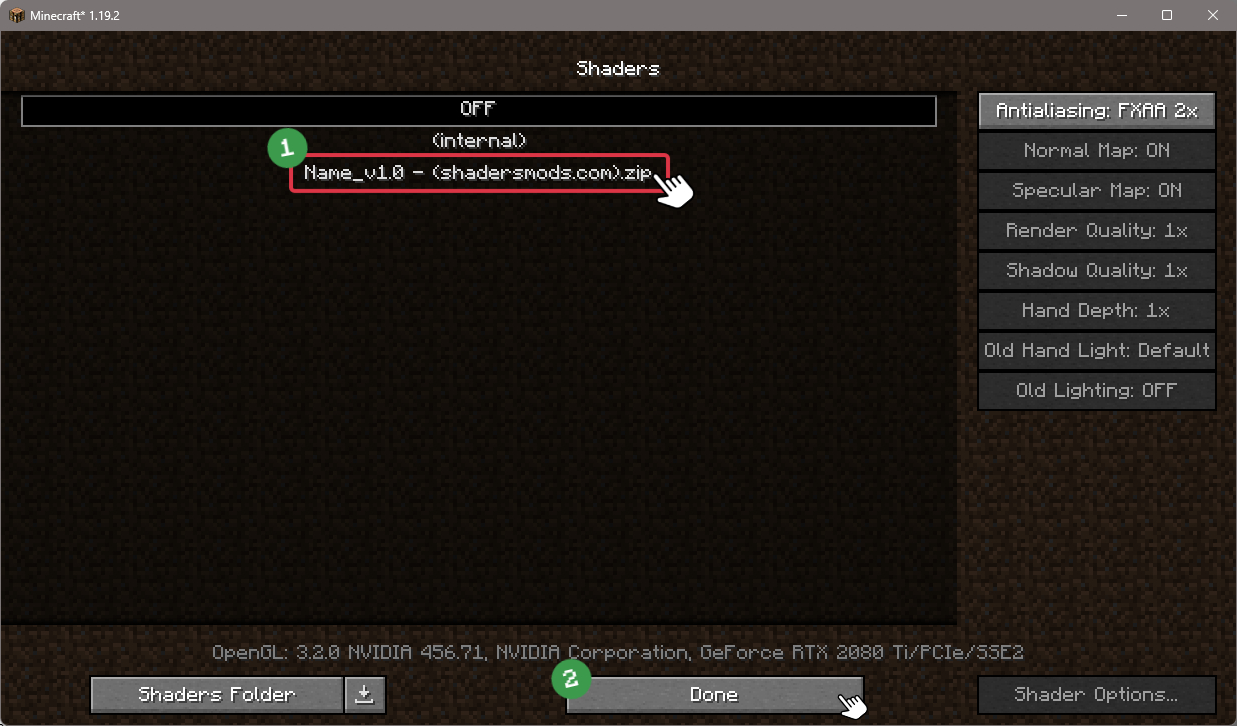
Go to Options > Video Settings > Shaders to access the shaders menu.

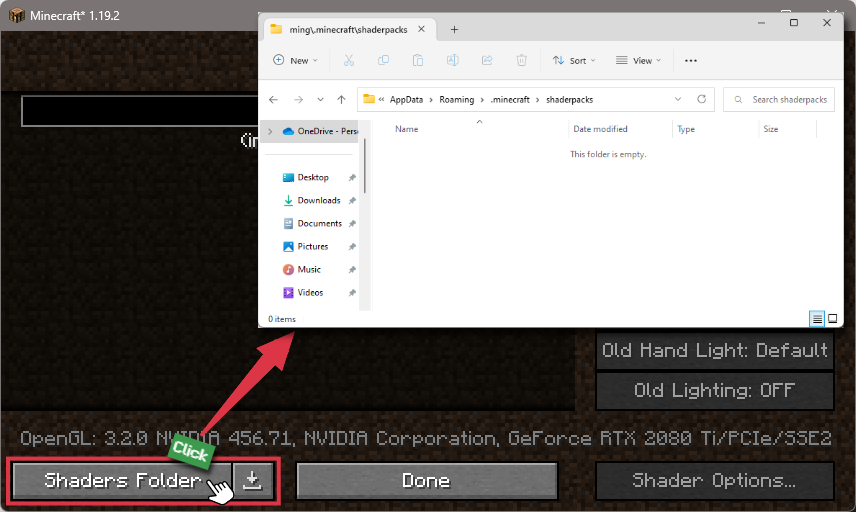
Open shaderpacks folder
Click on the "Shaders Folder" button to open the folder where shaders are stored, so you can add or remove shaders as desired.

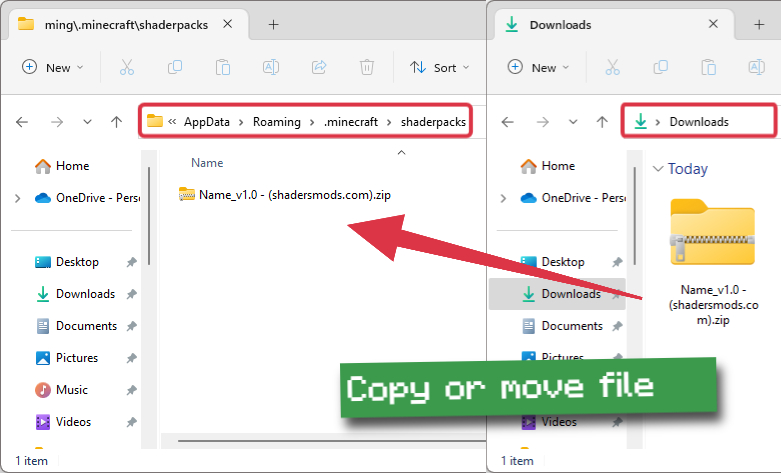
Install ProjectLUMA Shaders
Copy or move the downloaded ProjectLUMA shaders zip file into the shaderpacks folder.

Select ProjectLUMA Shaders
Choose ProjectLUMA shader pack from the list of available shaders in the options menu.

How to install ProjectLUMA Shaders with Forge and Optifine?
Quick Installation Guide
Install Forge
Obtain the latest version of Forge that is compatible with your Minecraft version.
Download Minecraft ForgeLaunch Minecraft
Start the Minecraft launcher and select the version of Minecraft you want to install Forge on. Run the game once by clicking on the "Play" button to create necessary files for Forge.

Install Forge Client
Double-click on the Forge installer jar file and choose "Install Client" in the window that appears.

Install Optifine
Download the Optifine jar file after Forge is installed. Move the Optifine jar file to the mods folder in the .minecraft directory.
Download Optifine
Launch Forge Profile
Launch Minecraft using the "Forge" profile, Optifine will be automatically loaded along with Forge.

Install Chocapic13's Shaders
Now the installation is the same as from the above Optifine instructions, just follow the steps starting from step 5.
Iris Installation Guide
Note
Your device must have Java installed to run the Iris installer.
Quick Java Installation Guide
Download Java
Download the Java installer from the official website here.

Open Installer
Once you have downloaded the file, run it and click the Install button.

How to install ProjectLUMA Shaders with Iris?
Download Iris Shaders
Find the latest version of the Iris Shaders installer and download it.
Download Iris InstallerInstall Iris Shaders
Open the downloaded jar file, and choose the preferred game version and installation type.
⯈ Iris Install:
If you don't plan on using any other mods with Iris, choose this option.⯈ Fabric Install:
Choose this option if you want to use Iris with Fabric and other mods. The Iris jar files will be copied to the mods folder within the .minecraft directory.
Start Installation
After selecting the game version and installation type, click the "Install" button to start the installation process.
Launch Minecraft
Start the Minecraft launcher and make sure you have the Iris profile selected.
Note
Select the Fabric profile if you opt for the Fabric installation type.
In-game Shader Menu
Open the Minecraft game and go to Options > Video Settings > Shader Packs to access the shaders menu.
Tip
To simplify the process, simply drag and drop the shader ZIP file directly into the Minecraft window, bypassing the next two steps.
Open shaderpacks folder
Click on the "Open Shader Pack Folder" button to access the folder where shaders are stored.

Install ProjectLUMA Shaders
Copy or move the shaders zip file into the shaderpacks folder.

Select ProjectLUMA Shaders
Choose installed shader pack from the list of available shaders in the options menu and click the "Apply" or "Done" button to select it.
Tip
When the shader pack is selected, its name will be changed to yellow.
Note
- Ensure you have the latest graphics driver installed.
- projectLUMA Shaderpack has been tested and works smoothly with the latest version of the Iris Shaders mod.
Optifine Settings
- Options > Video Settings > Details > Clouds: OFF or Default
- Options > Video Settings > Details > Sky: ON
📥 ProjectLUMA Shaders — Download
Something You Should Know
- Our links are only from the official developer, so you can be sure they are secure.
- No modifications or edits are made to the files.
🔄 Update Logs
v1.54
- Consistent sky reflection
- Fixed bad fog texture downscaling
- Fixed normals for entities when Auto Bump is enabled
- Further HDR and eye adaption improvements
- Added indoor/cave fog
- Different emissive light strengths
- Code cleanup
v1.32
- New tone mapper.
- Added stage spider eyes.
- In case torchlight doesn’t work in Minecraft, emissive entities will be lit properly.
- Changed water and ambient color.
- Replaced motion blur with reprojection-based motion blur.
- Added temperature slider.
- Added torchlight temperature slider.
- Added feature “Waving Water”.
- Added feature “Dirty Lens”.
- Warmer ambient color.
- A little darker ambient light.
- Reduced film grain amount.
- Added feature rain puddles.
- Changed PBR roughness curve.
- Reduced saturation by 1.045 %.








Comments (39)
It don’t work in 1.7.10 :(
It’s a shame that the shaders make it so that there is no outline of the block the player is looking at, it makes building a bit awkward. I don’t know if there was an option to change that because i couldn’t find it, but it’s the only thing keeping me from switching to Luma from Complementary
best looking for fps, gtx 1060 on lite 170fps and looks like some top shaders
You are a best shader of world for zero leg for best is a space hundred best shaded
cool shader
If I look up it looks so lagy
how am i supposed to add the packs and not the folders to the resource packs?
best shaders!!!
I put it on Minecraft Android, it worked and it was really great. Why fps Gives very little 😕
it looks terrible tbh, theres these lines across the floor and the lighting is inverted. I have a Ryzen 7 5700g and a rx570