KUDA Shaders 1.20, 1.19.4 → 1.18.2
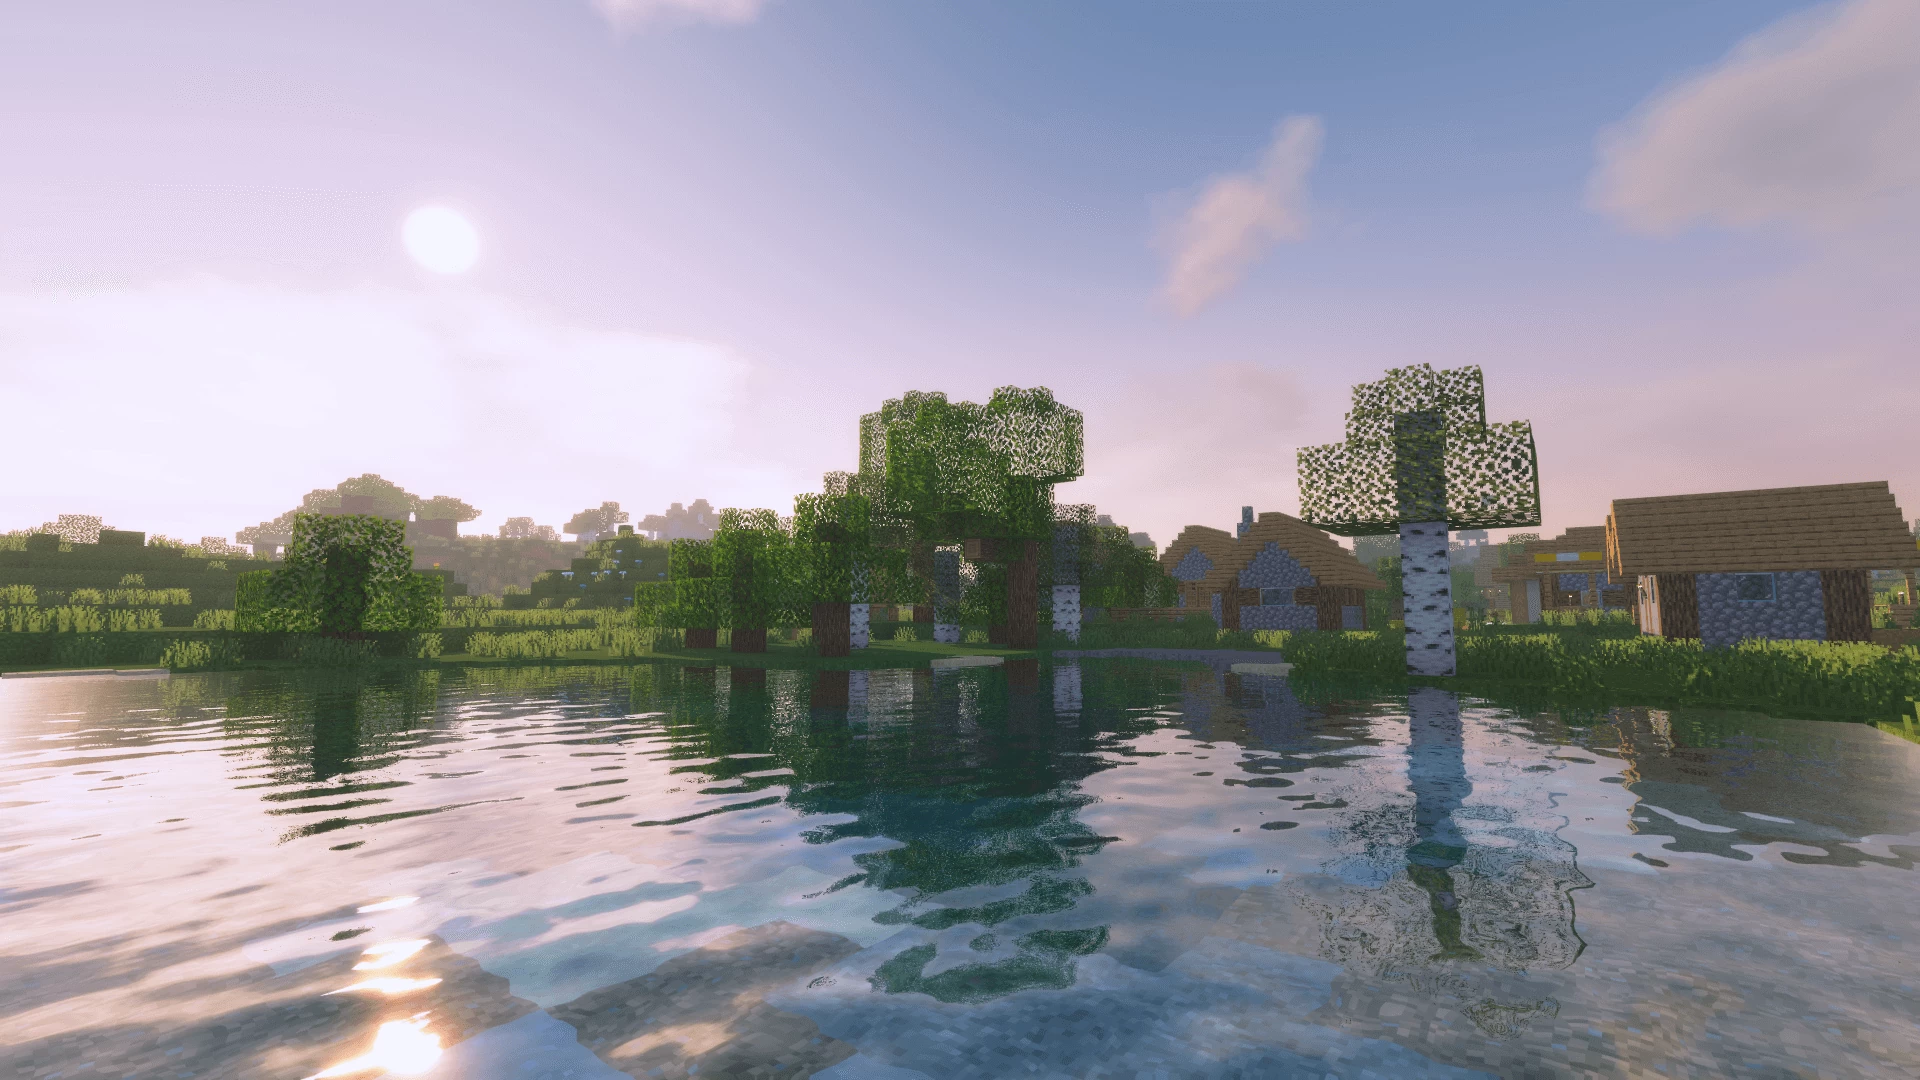
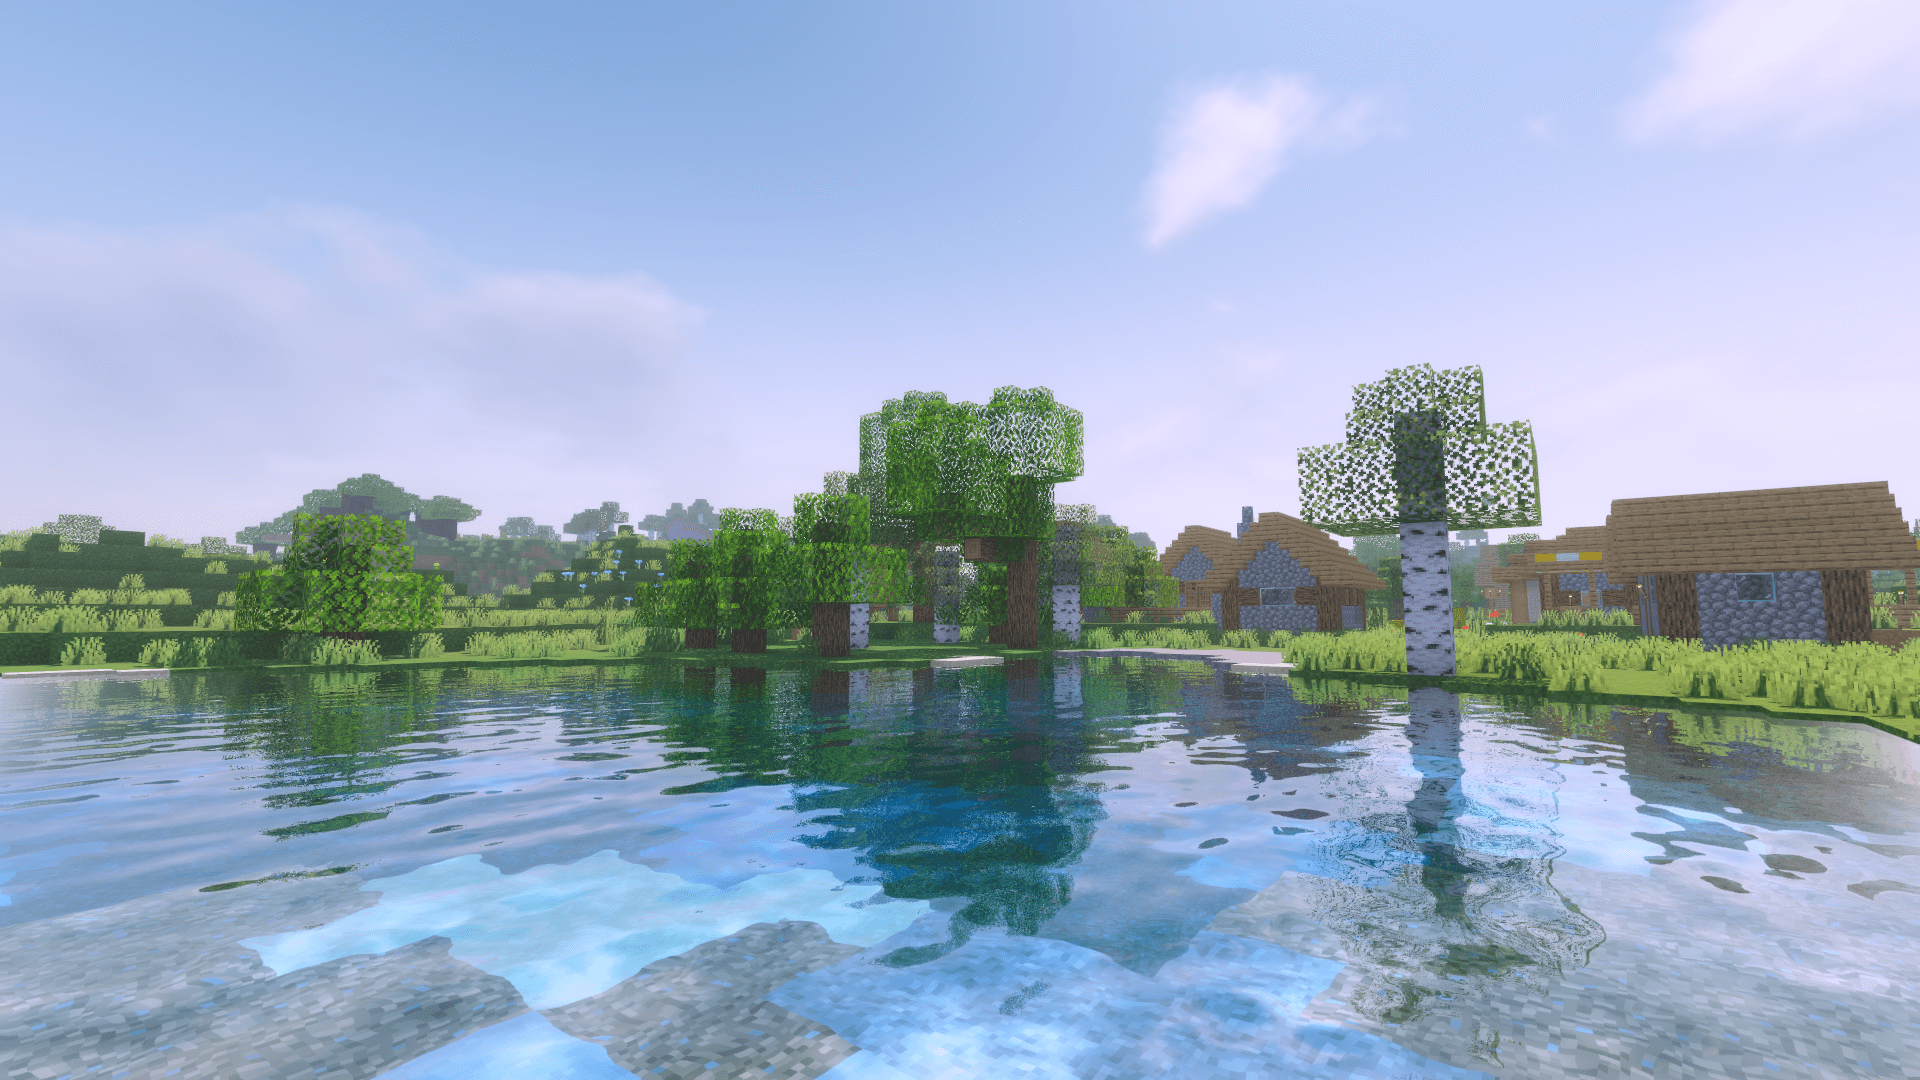
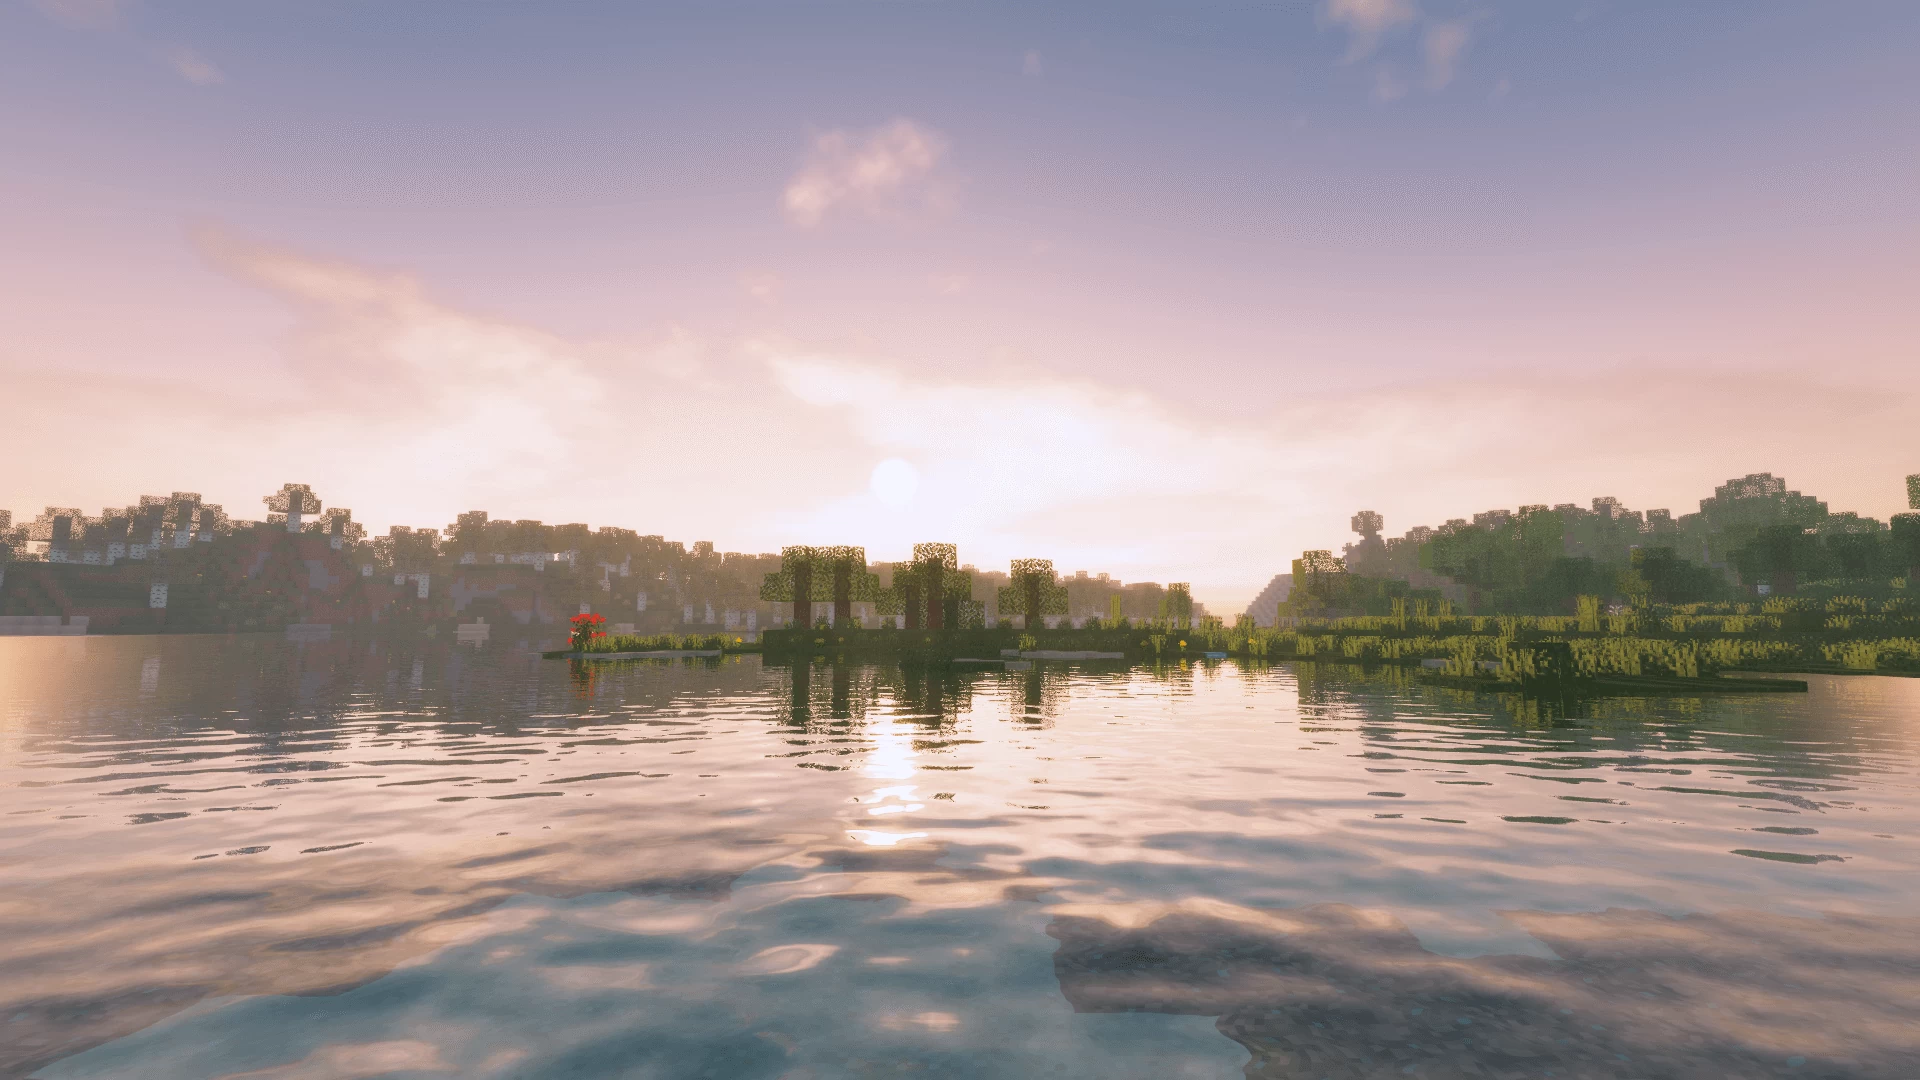
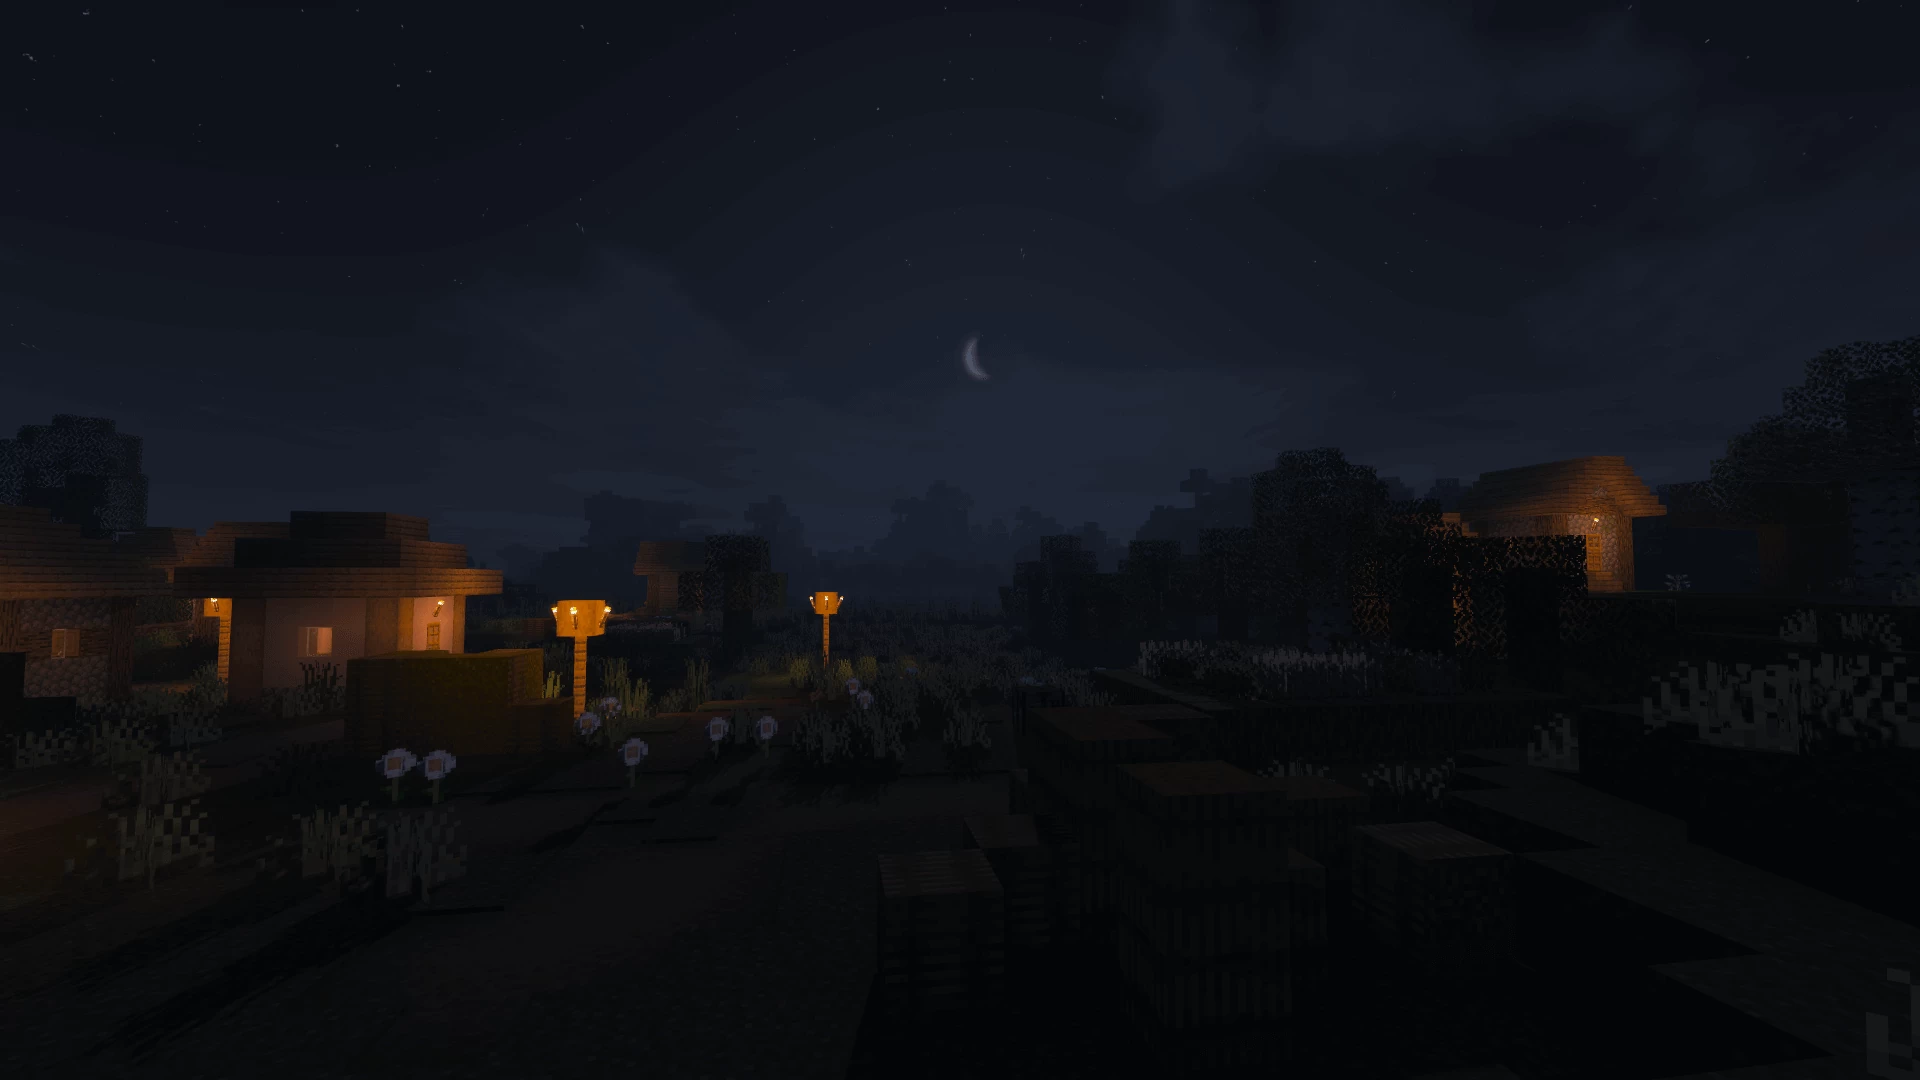
High-performance Minecraft shader pack adding realistic lighting, shadows, and reflections.
| Developer | 👤DeDelner |
|---|---|
| Style | 🌅Realistic |
| Support GPUs | |
| Loaders | |
| Performance Impact | Low |
| Settings | 72 |
| Presets | 🛠️ Low+4 |
| Features | Ambient Occlusion+37 |
| Created | May 25, 2014 |
| Updated | Jan 30, 2018 |
| Stats |
|
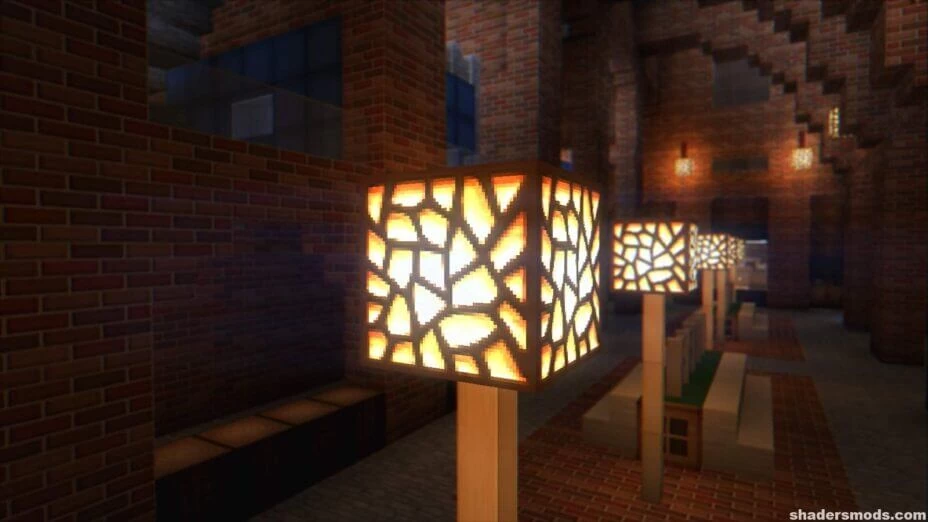
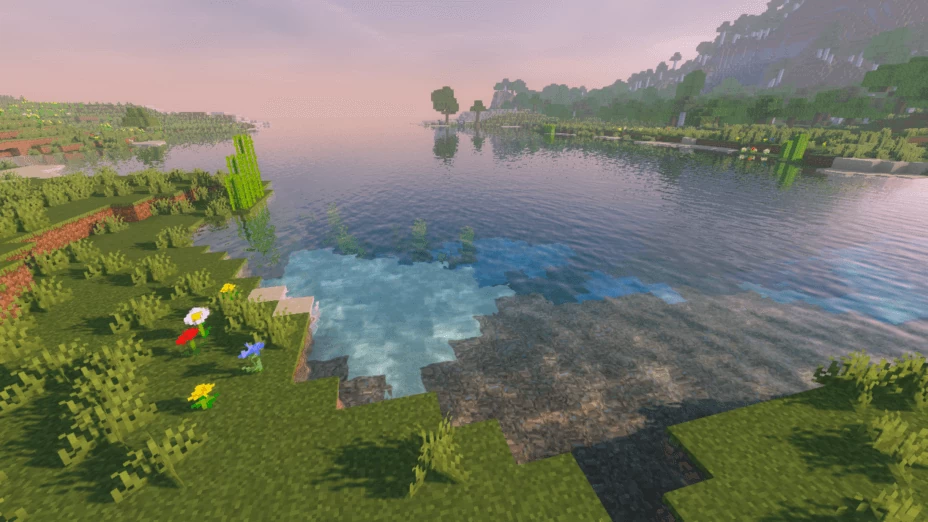
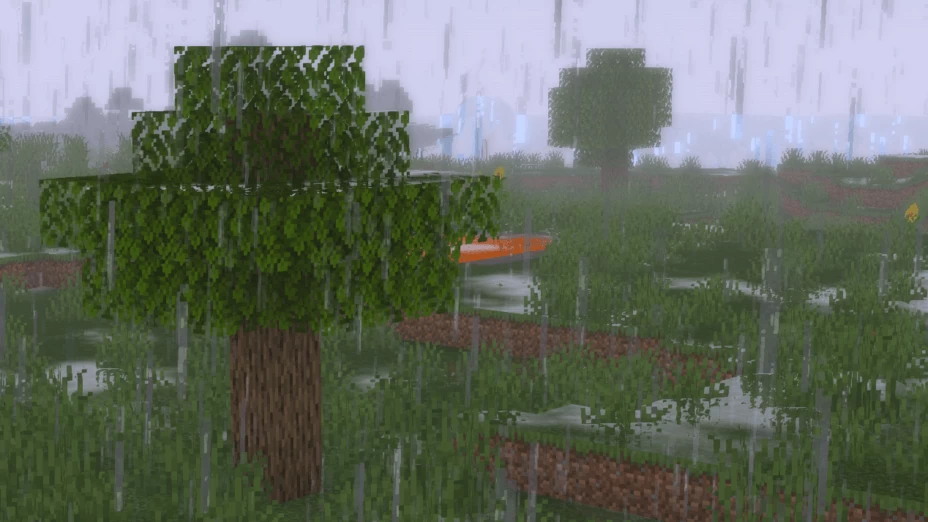
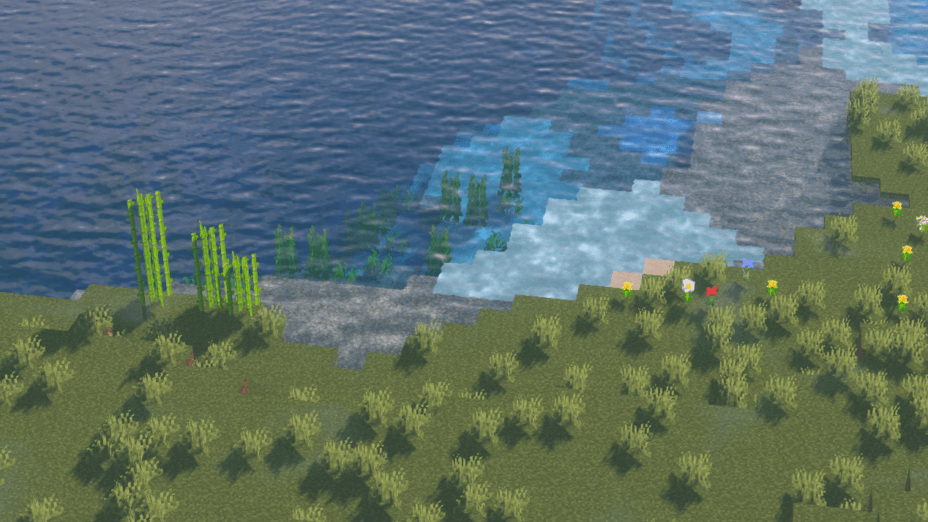
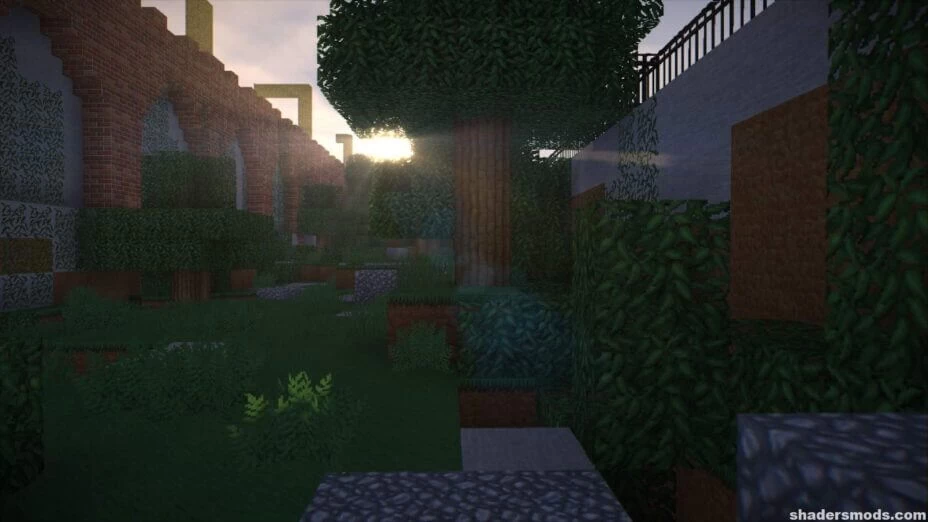
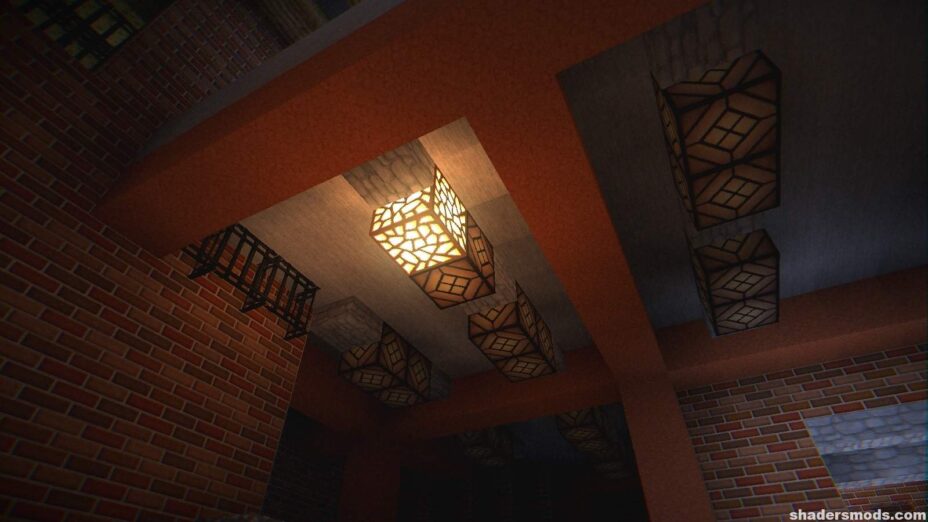
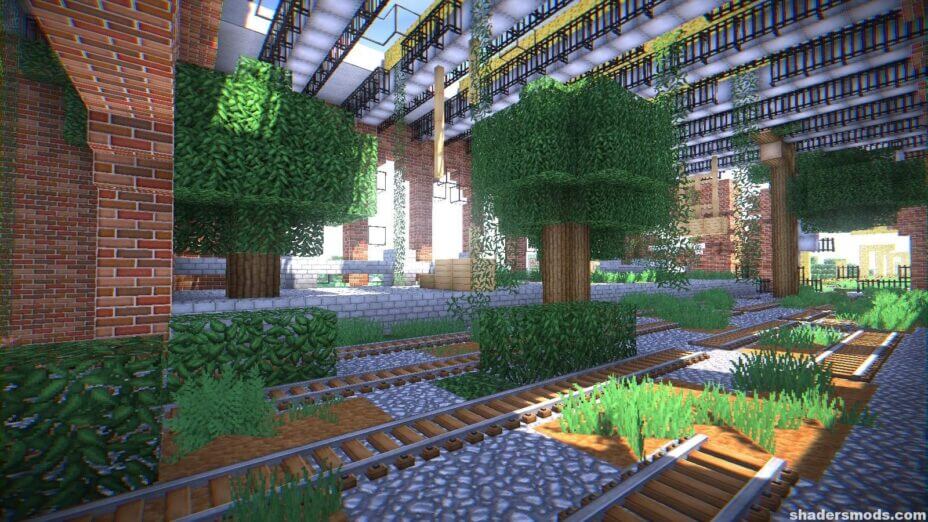
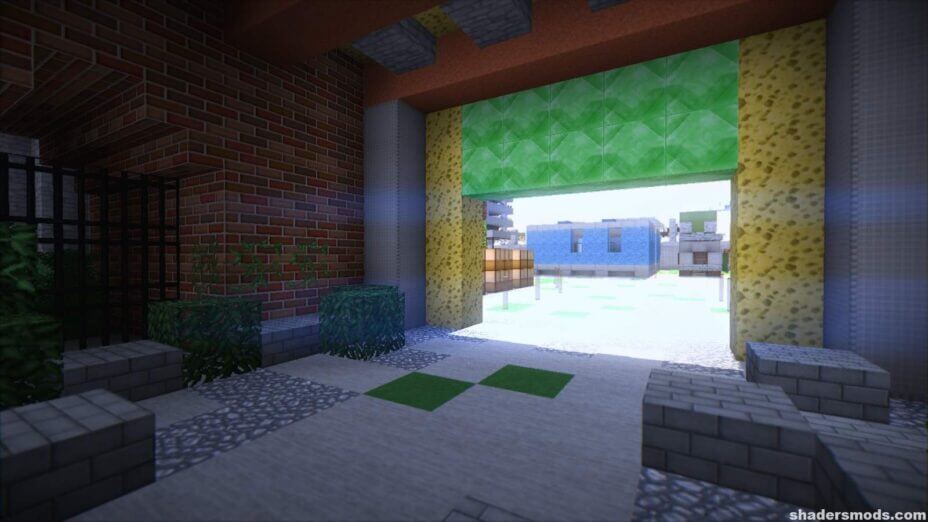
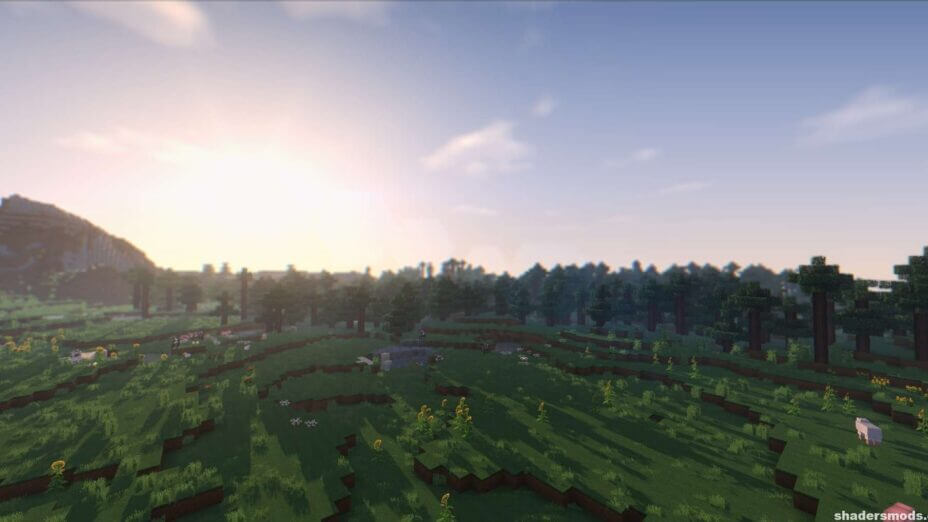
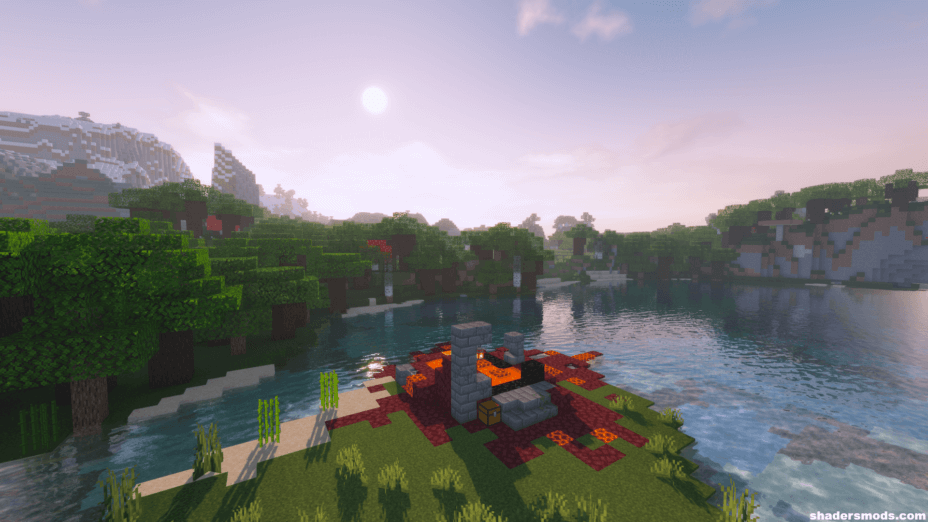
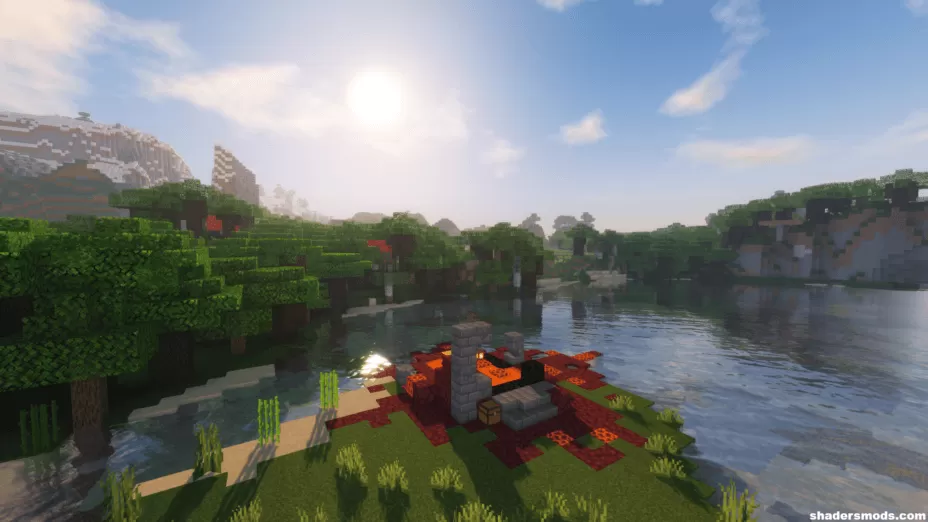
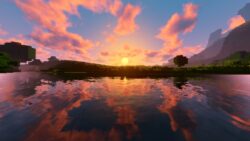
The KUDA Shaders mod is one of Minecraft’s most popular shader packs of all time. This is because it’s a well-made addition with very few bugs and a high degree of compatibility compared to other shader packs. KUDA Shaders made it out of Beta and into a full release on January 30, 2018. The main reason there are so few bugs and so much compatibility is that KUDA Shaders was in development for so long. Now that it’s finally finished, there shouldn’t be any more glitches or errors to worry about.
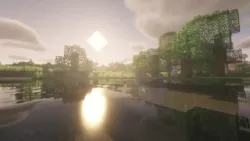
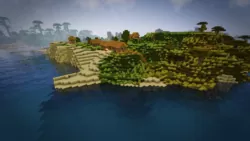
With the first fully stable release of KUDA Shaders, many people are finally trying this shader pack and testing it out for themselves. With cool special effects like a volumetric fog that seems to move and breathe like it’s a living thing, as well as great-looking default textures without needless motion blur and other strange, unwanted effects, KUDA Shaders delivers just the right balance of things players want and things they don’t want. That is, it’s full of great features everyone likes, and nothing that people hate. That doesn’t mean it’s a perfect shader pack, even with all that time in development.
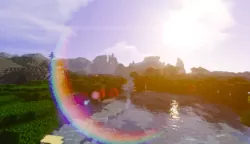
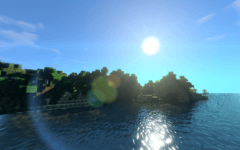
The bloom effect seems a little weird sometimes, with light flares happening in places where you wouldn’t normally expect them to happen or being bolder or more pronounced than you would imagine. But this is a relatively little “bad” thing compared to the heap of good things that KUDA Shaders do for players. This shader pack requires more system resources than most because of how much it does, so you shouldn’t try to use it with integrated graphics. A good graphics card is pretty much a necessity if you want to use this shader mod.
Because it does so many things so well, KUDA Shaders comes highly recommended, not just by this author but also by most of the players who have tried it before. It’s come a long way since its beta days, and many issues have been ironed out and removed, so you’re left with a highly functional shader pack that makes Minecraft look better. KUDA Shaders still suffers from some of the same issues that plague other shaders though, like environmental shadows that seem to wiggle and move while the player is moving, but these issues are not enough to make this mod look bad.
- 1.20
- 1.19.4
- 1.19.3
- 1.19.2
- 1.19.1
- 1.19
- 1.18.2
- 1.18.1
- 1.18
- 1.17.1
- 1.17
- 1.16.5
- 1.16.4
- 1.16.3
- 1.16.2
- 1.16.1
- 1.16
- 1.15.2
- 1.15.1
- 1.15
- 1.14.4
- 1.14.3
- 1.14.2
- 1.14.1
- 1.14
- 1.13.2
- 1.13.1
- 1.13
- 1.12.2
- 1.12.1
- 1.12
- 1.11.2
- 1.11.1
- 1.11
- 1.10.2
- 1.10.1
- 1.10
- 1.9.4
- 1.9.3
- 1.9.2
- 1.9.1
- 1.9
- 1.8.9
- 1.8.8
- 1.8.7
- 1.8.6
- 1.8.5
- 1.8.4
- 1.8.3
- 1.8.2
- 1.8.1
- 1.8
- 1.7.10
- 1.7.9
- 1.7.8
- 1.7.7
- 1.7.6
- 1.7.5
- 1.7.4
- 1.7.2
- 1.7
- 1.6.4
- 1.6.2
KUDA Shaders — Versions
Features
Over 37 new features are available in KUDA Shaders to enhance your gaming experience.
📊 Performance Impacts
Decrease in performance can vary from device to device, driver version, and many other factors, you should test yourself on your machine for the best result.
- None
- No performance decreases
- Small
- ~5%
- Medium
- ~10%
- High
- ~25%
- Extreme
- +50%
-
- Ambient OcclusionMedium
- Simulating how light interacts with objects and surfaces.
-
- Atmospheric SkySmall
- Simulates realistic atmospheric scattering.
-
- BloomSmall
- Enhance the game's lighting and create a more realistic and immersive visual experience
-
- BlurSmall
- Simulate how fast-moving objects appear to blur in a photograph or video.
-
- CausticHigh
- Simulating the way light is refracted and reflected by the water's surface
-
- CustomizationNone
- Customize various aspects of the game's visual effects.
-
- Depth of FieldMedium
- Making objects closer to the camera appear sharp and in focus, while objects farther away appear out of focus and blurry.
-
- Dirty LensSmall
- Simulates the effect of a dirty or scratched camera lens.
-
- HDRMedium
- Enhance the lighting and color in the game.
-
- Lens FlareSmall
- Simulating the way light scatters and reflects inside a camera lens.
-
- LightMedium
- Enhance the game's overall visual quality.
-
- Motion BlurHigh
- Simulates the way that fast-moving objects appear to blur in the real world.
-
- Moving CloudsMedium
- Simulates the movement of clouds across the sky and can be used to create the appearance of a dynamic and ever-changing sky
-
- Normal MapSmall
- Add depth and detail to surfaces without increasing the number of polygons.
-
- Parallax WaterMedium
- Enhances the realism of water by simulating the parallax effect.
-
- Photorealistic SkyboxesMedium
- Replacing the in-game sky with high-resolution, realistic images of the sky.
-
- POMHigh
- Realism of textures by simulating the way light interacts with surfaces.
-
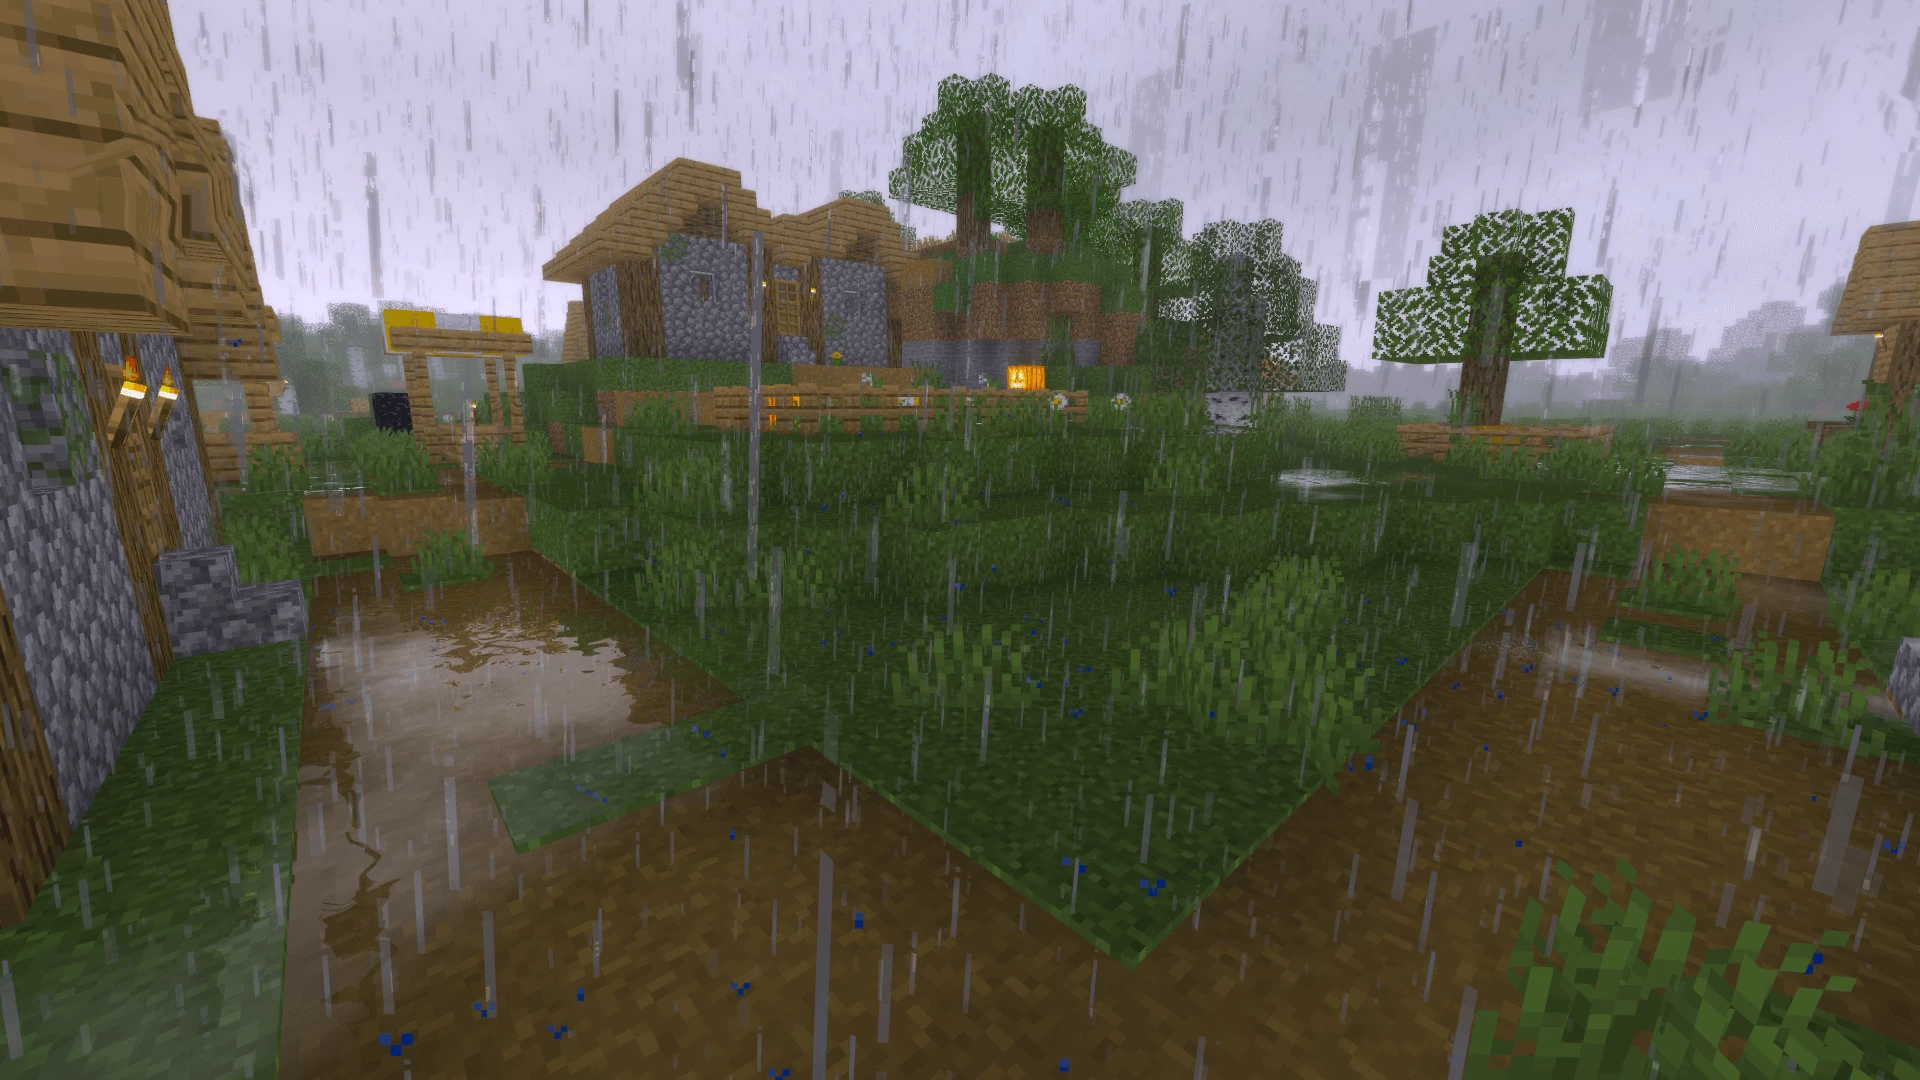
- Rain ReflectionsMedium
- Reflections during rainy weather by simulating the way light reflects off of wet surfaces.
-
- Ray-Traced ReflectionsExtreme
- Simulating how light behaves in the real world.
-
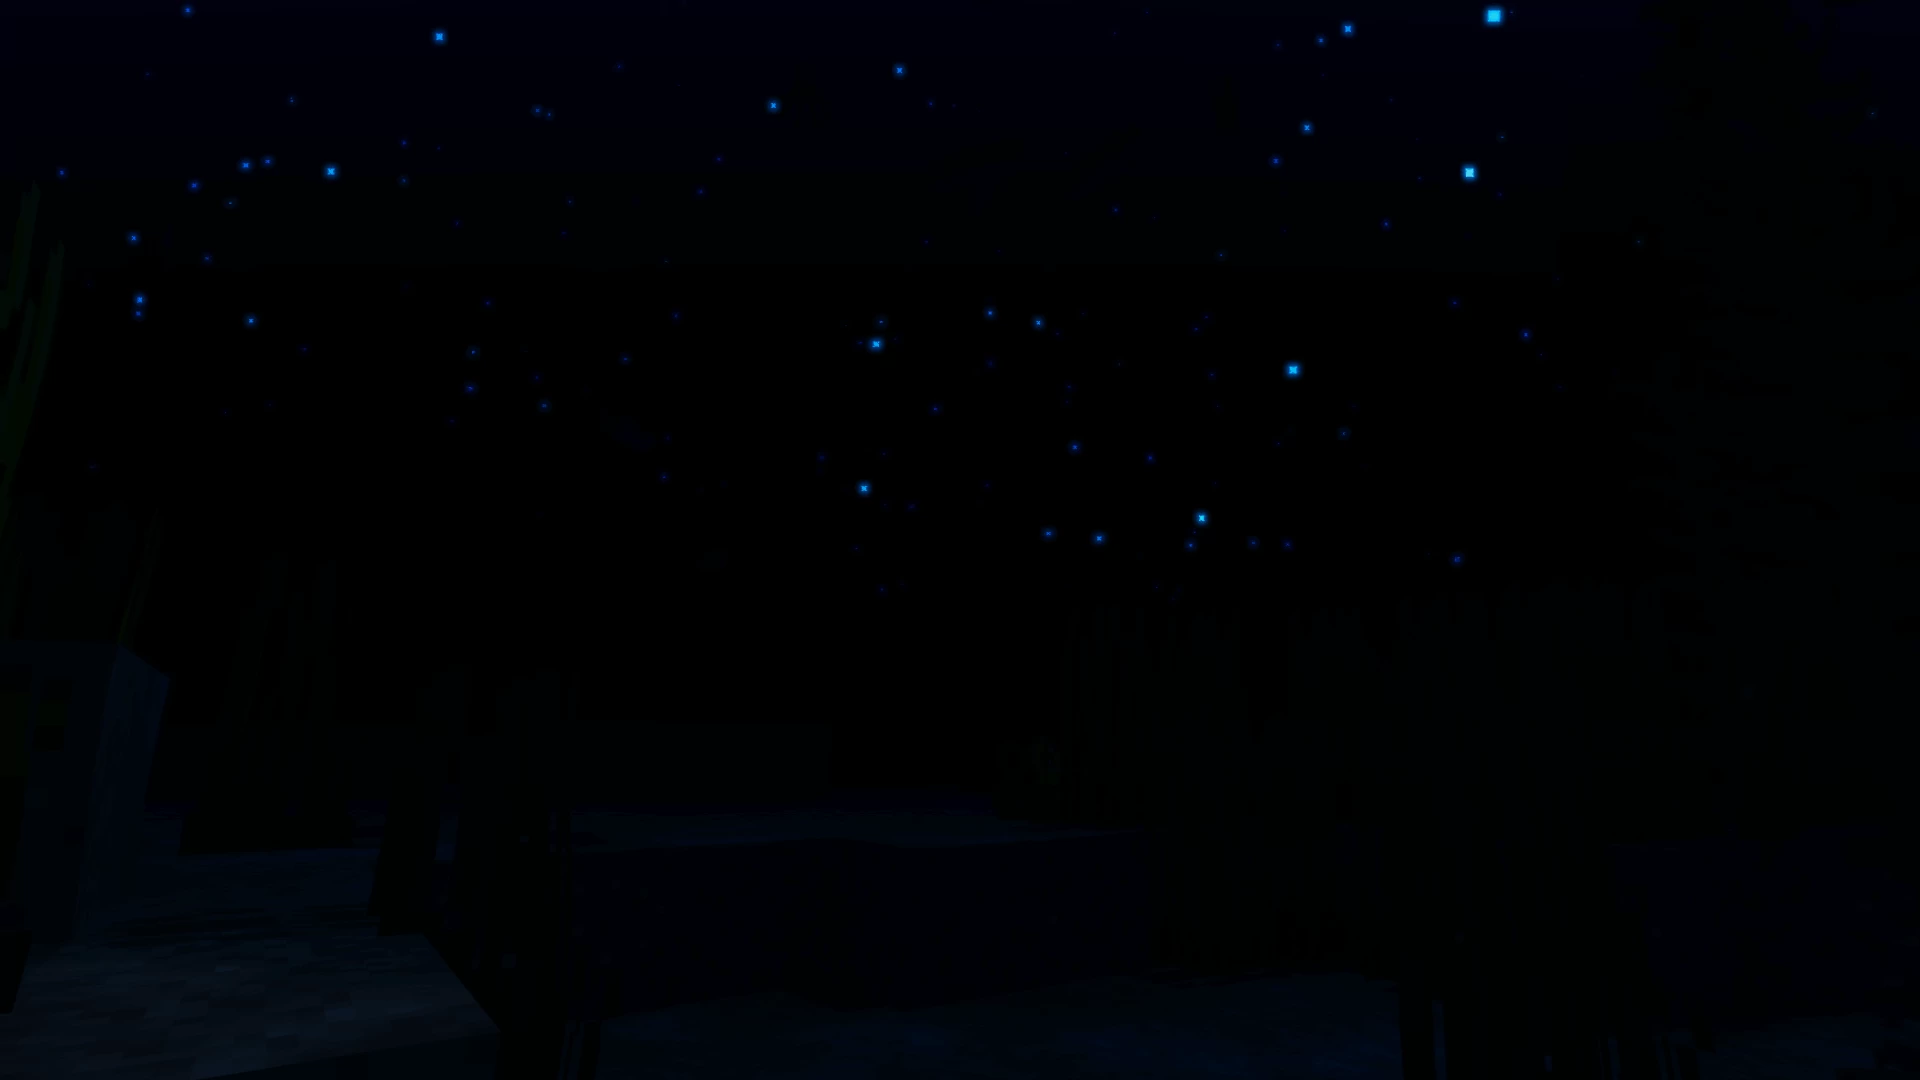
- Realistic NightskyMedium
- More realistic and immersive night sky.
-
- Realistic RainMedium
- More natural and immersive rain experience.
-
- Realistic SkyMedium
- More realistic and immersive sky experience.
-
- Realistic WaterHigh
- More realistic and immersive water experience.
-
- ShadowsSmall
- Simulate how light is blocked and scattered by objects in the environment.
-
- SunriseSmall
- More realistic and immersive sunrise experience.
-
- SunsetSmall
- More realistic and immersive sunset experience.
-
- Tone MappingSmall
- Adjusting the brightness, contrast, and saturation levels.
-
- VignetteNone
- Darkening effect around the edges of the screen
-
- Volumetric LightHigh
- Simulating the scattering of light in the atmosphere and in the environment.
-
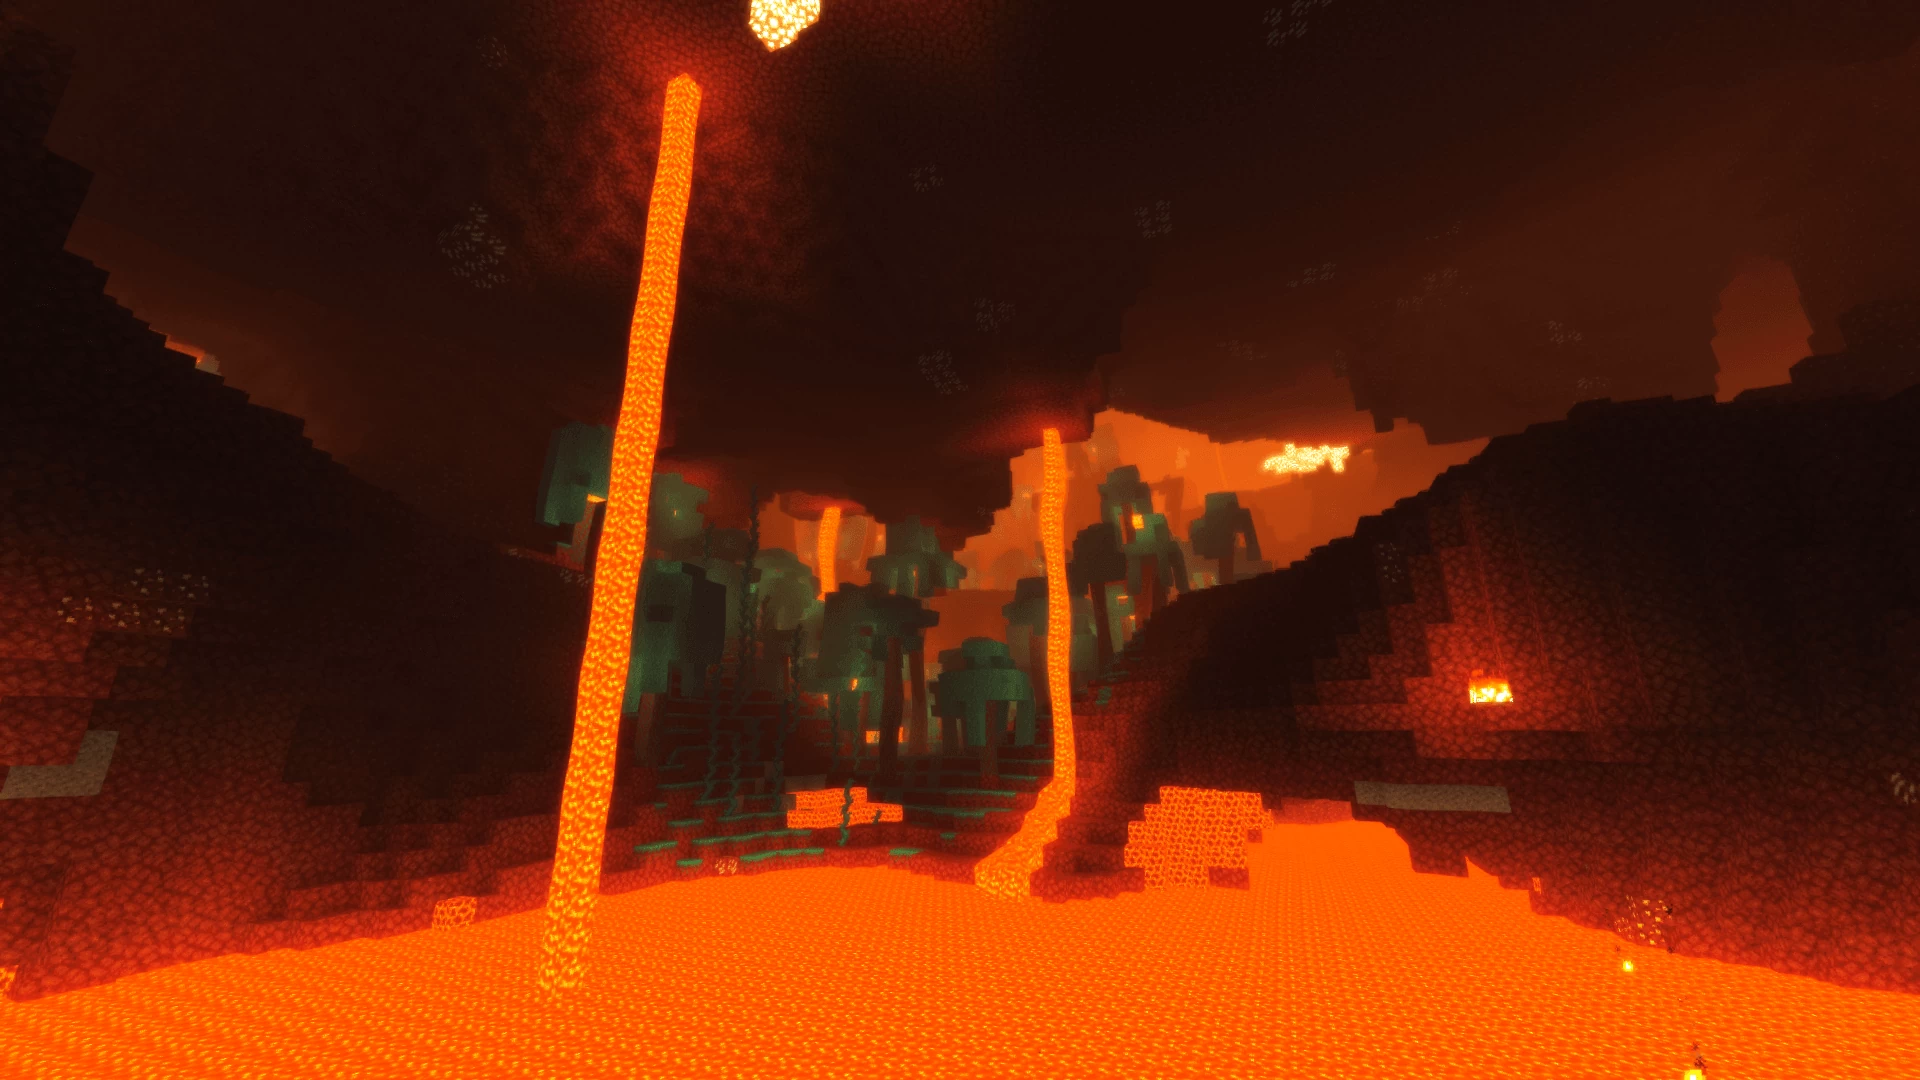
- Volumetric NetherHigh
-
- Volumetric The EndHigh
-
- Water ReflectionsMedium
- Simulating reflections on the surface of the water.
-
- Water WavesMedium
- Movement of waves on the surface of the water.
-
- Waving GrassSmall
- Simulating the way it moves and sways in the wind.
-
- Waving PlantsSmall
- Simulating the way they move and sway in the wind.
-
- Waving TreesSmall
- Adds movement to the leaves and branches of trees, making them look more alive and realistic.
-
- Wet EffectSmall
There are 5 profiles pre-built into KUDA Shaders to adjust the level of intensity of these effects.
| Profiles | Low | Medium | High | Ultra | Cinematic |
|---|---|---|---|---|---|
Anamorphic Lens Flare | |||||
Bloom | |||||
Camera Noise | |||||
CHROMATICABERRATION | |||||
2D Clouds | |||||
Depth of Field | |||||
Dirty Lens | |||||
Distance Blur | |||||
Fog Blur | |||||
Motionblur | |||||
Parallax Occlusion Mapping (POM) | |||||
PROGRAM.COMPOSITE2 | |||||
PROGRAM.COMPOSITE3 | |||||
Rain Puddles | |||||
Screen Space Reflections | |||||
Shadow Distance | |||||
Shadow Resolution | |||||
Shadow Samples | |||||
Shaking Camera | |||||
Soft Shadows | |||||
Vignette | |||||
VL Quality | |||||
VL Render Distance | |||||
Volumetric Light | |||||
Water Shader | |||||
YCOCG_COMPRESSION |
KUDA Shaders allow you to change more than 72 settings to suit your needs.
| Settings | Description | Options |
|---|---|---|
| Profile | ||
| Shading | ||
| Shadow Resolution |
| |
| Shadow Distance |
| |
| Acne-Fix Multiplier |
| |
| Shadow Bias |
| |
| Fix Underground Shadows |
| |
| Soft Shadows |
| |
| Normal Mapping |
| |
| Shadow Samples |
| |
| Normal Map strength |
| |
| Default AO level |
| |
| BlackBodyTorchTemp |
| |
| Environment | ||
| Weather | ||
| Air Density |
| |
| Wind Speed |
| |
| Dynamic Weather |
| |
| Use Moon Phases |
| |
| Weather Ratio Speed |
| |
| Use fixed Weather Ratio |
| |
| Cloud Cover |
| |
| Light | ||
| Minimum Light |
| |
| Torchlight Radius |
| |
| Torchlight Brightness |
| |
| Volumetric Light |
| |
| VL Strength |
| |
| VL Quality |
| |
| VL Render Distance |
| |
| Fog Blur |
| |
| Stars |
| |
| 2D Clouds |
| |
| Windy Terrain |
| |
| Heatwave |
| |
| Effects | ||
| Blur Effects | ||
| Motionblur |
| |
| Motionblur Amount |
| |
| motionblurSampleAmount |
| |
| Depth of Field |
| |
| HQ Focus |
| |
| Distance Blur |
| |
| Blur Factor |
| |
| Underwater Blur |
| |
| Focus Speed |
| |
| Bloom | ||
| Bloom |
| |
| Anamorphic Lens Flare |
| |
| Dirty Lens |
| |
| AnamorphicOptions | ||
| Anamorphic Lens Intensity |
| |
| Anamorphic Lens Samples |
| |
| Shaking Hand |
| |
| Shaking Camera |
| |
| Jitter |
| |
| Raindrops on Screen |
| |
| Post Process | ||
| Tonemapping | ||
| Enable Tonemapping |
| |
| Exposure |
| |
| Constrast |
| |
| Saturation |
| |
| Camera Noise |
| |
| chromaticAberration |
| |
| Vignette |
| |
| Cinematic Mode |
| |
| Filters | ||
| sepiaFilter |
| |
| Surface | ||
| Water | ||
| Water Shader |
| |
| Water Refraction |
| |
| Water Caustics |
| |
| Parallax water |
| |
| RGB_Offset |
| |
| Screen Space Reflections |
| |
| Rain Puddles |
| |
| Parallax Occlusion Mapping (POM) |
| |
| POM Depth |
| |
| pomSampleAmount |
| |
| Experimental | ||
| YCoCg_Compression |
| |
| animateUsingWorldTime |
| |
| ambientOcclusion |
| |
| artificialTorchlightMapping |
|
Comparison
Our comparison tool makes it easy to compare KUDA Shaders with Minecraft vanilla and other shader packs.
How To Install KUDA Shaders
- Support Forge / Vanilla
- Extra features
- Good performance
- Support Fabric / Quilt
- Better performance, depend on your hardware
Optifine Installation Guide
Note
Your device must have Java installed to run the Forge and Optifine installers.
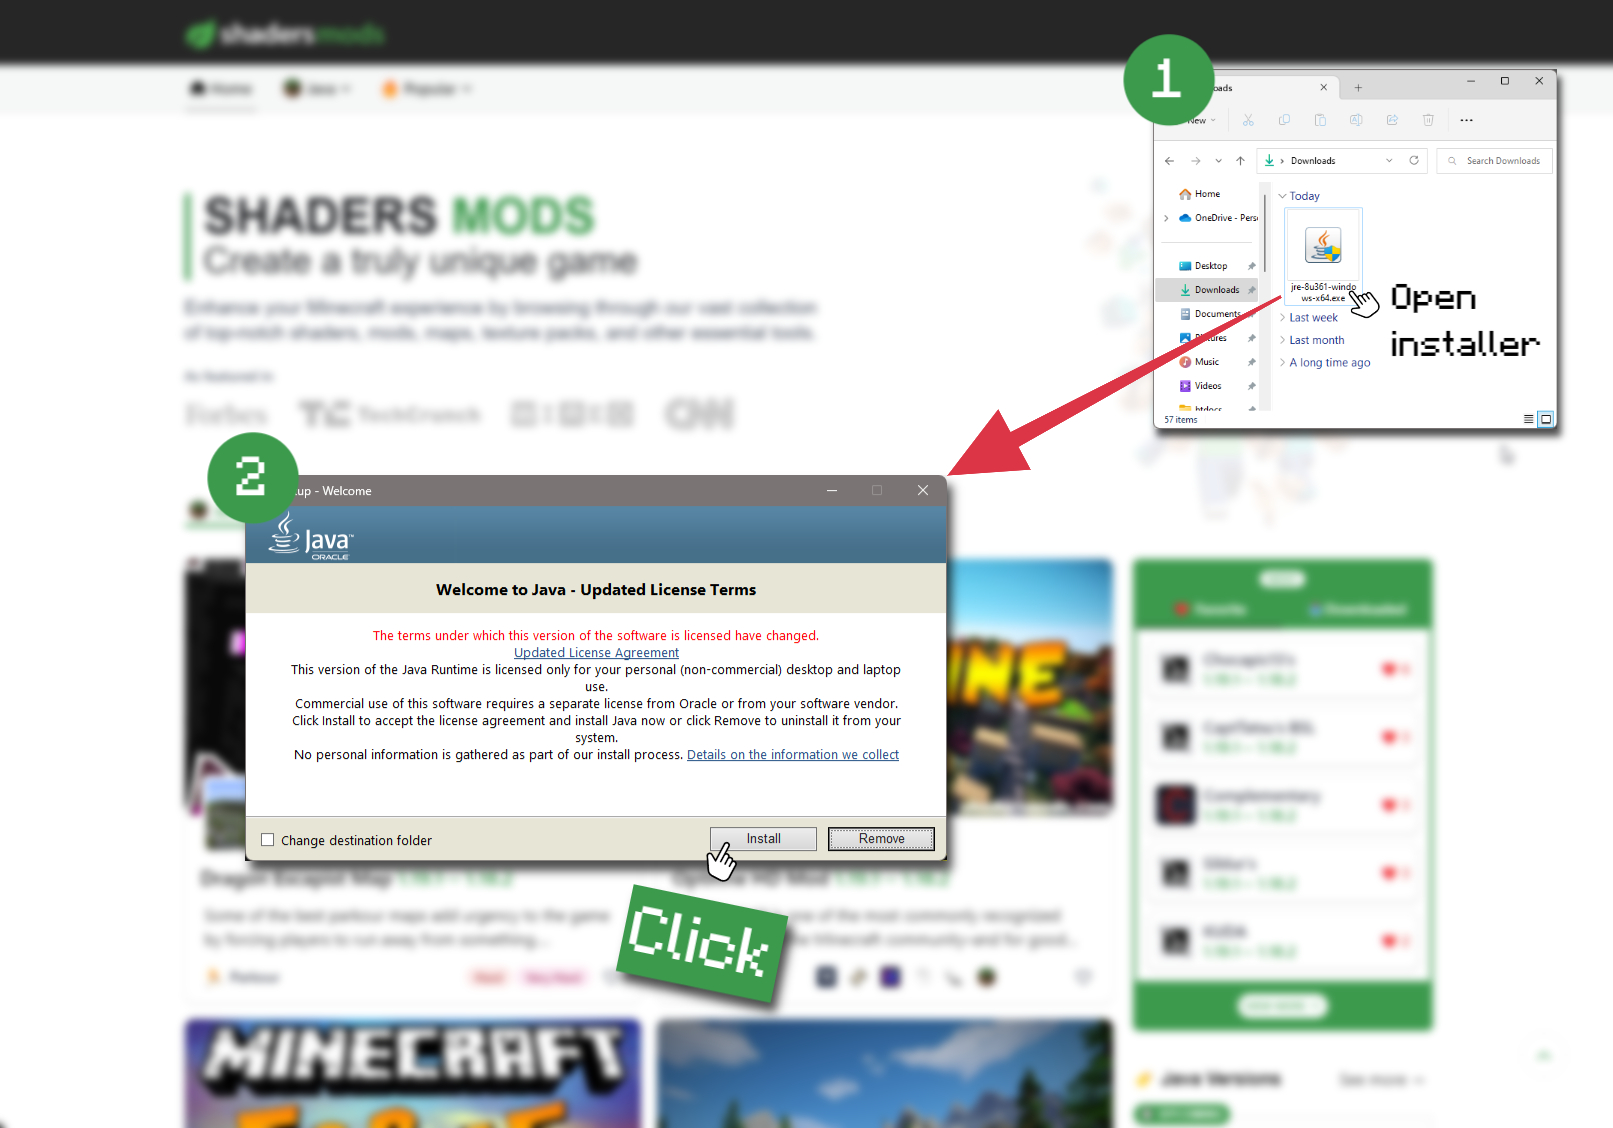
Quick Java Installation Guide
Download Java
Download the Java installer from the official website here.

Open Installer
Once you have downloaded the file, run it and click the Install button.

How to install KUDA Shaders with Optifine?
Download Optifine
Get the latest version of Optifine for your Minecraft version.
Download OptifineInstall Optifine
Run the Optifine installer and follow the on-screen instructions to complete the installation.

Download KUDA Shaders
Go to the download section and get shaders zip file. Unzip the file if necessary, as some shader developers may bundle multiple shader versions in one zip file.
Launch Minecraft
Start the Minecraft launcher and make sure you have the Optifine profile selected.

In-game Shaders menu
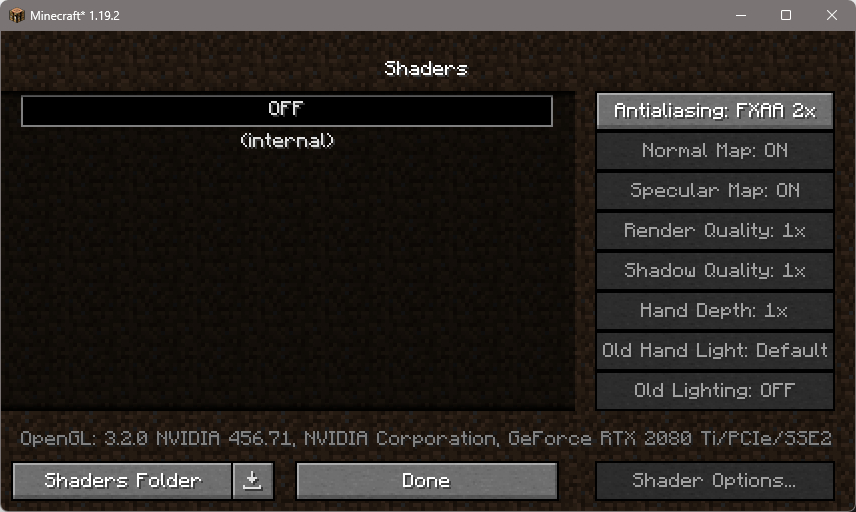
Go to Options > Video Settings > Shaders to access the shaders menu.

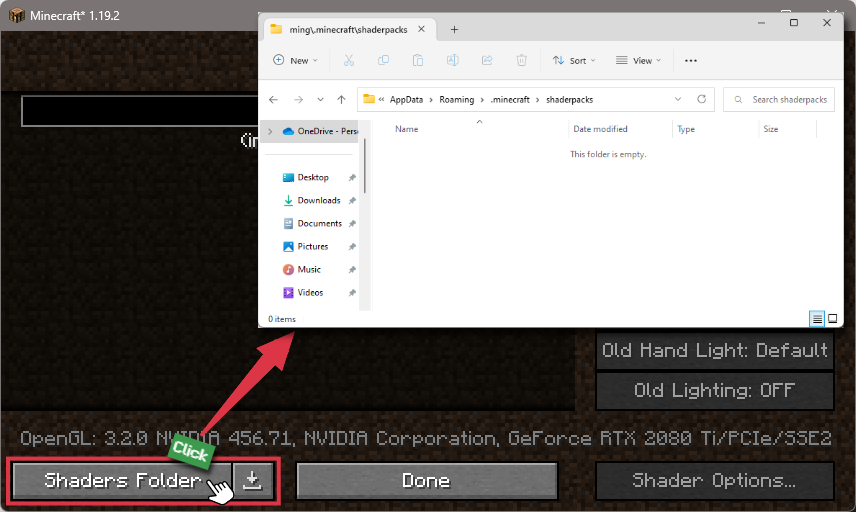
Open shaderpacks folder
Click on the "Shaders Folder" button to open the folder where shaders are stored, so you can add or remove shaders as desired.

Install KUDA Shaders
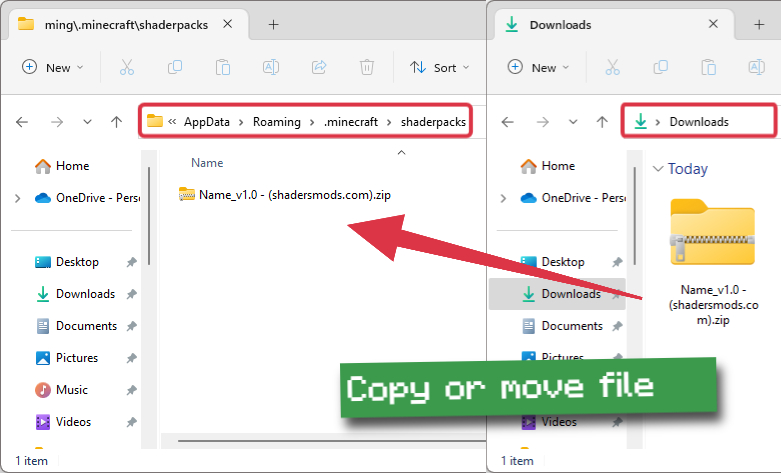
Copy or move the downloaded KUDA shaders zip file into the shaderpacks folder.

Select KUDA Shaders
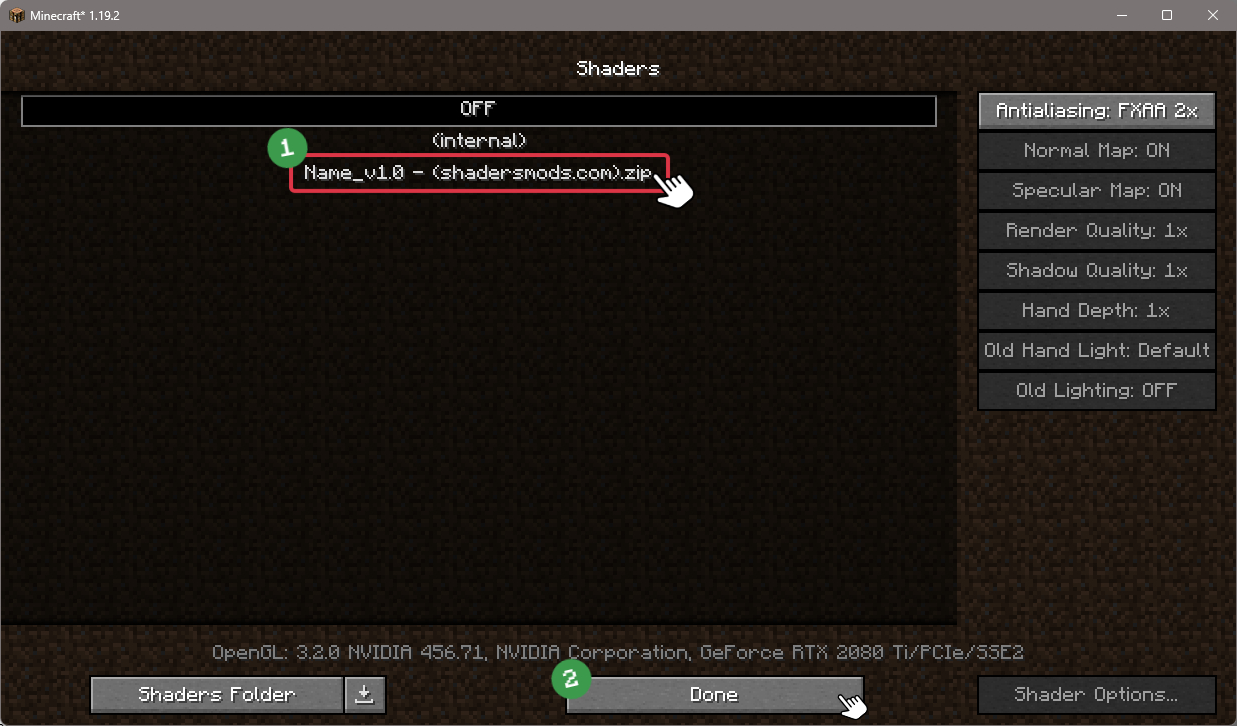
Choose KUDA shader pack from the list of available shaders in the options menu.

How to install KUDA Shaders with Forge and Optifine?
Quick Installation Guide
Install Forge
Obtain the latest version of Forge that is compatible with your Minecraft version.
Download Minecraft ForgeLaunch Minecraft
Start the Minecraft launcher and select the version of Minecraft you want to install Forge on. Run the game once by clicking on the "Play" button to create necessary files for Forge.

Install Forge Client
Double-click on the Forge installer jar file and choose "Install Client" in the window that appears.

Install Optifine
Download the Optifine jar file after Forge is installed. Move the Optifine jar file to the mods folder in the .minecraft directory.
Download Optifine
Launch Forge Profile
Launch Minecraft using the "Forge" profile, Optifine will be automatically loaded along with Forge.

Install Chocapic13's Shaders
Now the installation is the same as from the above Optifine instructions, just follow the steps starting from step 5.
Iris Installation Guide
Note
Your device must have Java installed to run the Iris installer.
Quick Java Installation Guide
Download Java
Download the Java installer from the official website here.

Open Installer
Once you have downloaded the file, run it and click the Install button.

How to install KUDA Shaders with Iris?
Download Iris Shaders
Find the latest version of the Iris Shaders installer and download it.
Download Iris InstallerInstall Iris Shaders
Open the downloaded jar file, and choose the preferred game version and installation type.
⯈ Iris Install:
If you don't plan on using any other mods with Iris, choose this option.⯈ Fabric Install:
Choose this option if you want to use Iris with Fabric and other mods. The Iris jar files will be copied to the mods folder within the .minecraft directory.
Start Installation
After selecting the game version and installation type, click the "Install" button to start the installation process.
Launch Minecraft
Start the Minecraft launcher and make sure you have the Iris profile selected.
Note
Select the Fabric profile if you opt for the Fabric installation type.
In-game Shader Menu
Open the Minecraft game and go to Options > Video Settings > Shader Packs to access the shaders menu.
Tip
To simplify the process, simply drag and drop the shader ZIP file directly into the Minecraft window, bypassing the next two steps.
Open shaderpacks folder
Click on the "Open Shader Pack Folder" button to access the folder where shaders are stored.

Install KUDA Shaders
Copy or move the shaders zip file into the shaderpacks folder.

Select KUDA Shaders
Choose installed shader pack from the list of available shaders in the options menu and click the "Apply" or "Done" button to select it.
Tip
When the shader pack is selected, its name will be changed to yellow.
Note
- Ensure you have the latest graphics driver installed.
- Kuda Shaders v6.1 Legacy has been tested and works smoothly with the latest version of the Iris Shaders mod.
📥 KUDA Shaders — Download
Something You Should Know
- Our links are only from the official developer, so you can be sure they are secure.
- No modifications or edits are made to the files.









Comments (115)
this is a awsom shader god work
All of the entities are purple
Strange… I don’t have a folder called “shaderpacks” in .minecraft
Someone knows why?
Hello! The reason for this is you have not went into shader settings then clicking something like “View folder” in the options. Otherwise go into the main Minecraft directory and make the folder yourself.
-Wolfie
Create the shaders pack folder yourself
Moreover, the shader is quite thick; therefore, you need a great computer configuration to run smoothly.
I have an issue where rain doesn’t appear over water. It rains about water but the particles seem to just stop at the top of water and appear again under it. Looking at water at about a 45 degree angle gives it a really weird look. I tried demonstrating this as best I could below (| = rain, ~ = water)
|||||||||
||||~||||
||~~~~|||
||~~~~~||
|||~~||||
|||||||||
Above*
I have a Very very low end pc but at least i can play it with 15-20 FPS and it look Really nice!
Thanks for creating this shaderpack
My PC have :
Intel(R) Core(TM) i7-2637M CPU @ 1.7GHZ 1.7GHZ
is this a virus?
Really awesome pack you made! It’s in a perfect balance of being a good looking shader pack and not dropping me down to 10-15 fps.
But I got a concern though. I’m playing with a bunch of other mods, one of them is Immersive Engineering. But it seems like when I have your pack enabled a few of the models gets slightly distorted. This is for almost all models from IE and other mod’s models.
Sorry I’m writing here, I couldn’t find any kind of link to Github or from Google. Keep up the good work!
Is anybody else lagging a lot with this shaders pack?
Everytime i mine something my game crashes. How to fix?