DrDestens Shaders 1.19.4 → 1.18.2
DrDesten's Shaders is a mature shaderpack emphasizing performance with a unique, vibrant visual style.
| Developer | 👤DrDesten |
|---|---|
| Style | 🧱Vanilla |
| Support GPUs | |
| Loaders | |
| Performance Impact | Low |
| Settings | 121 |
| Presets | 🛠️ Low+2 |
| Features | Vignette+28 |
| Created | Jul 26, 2021 |
| Updated | Apr 16, 2023 |
| Stats |
|
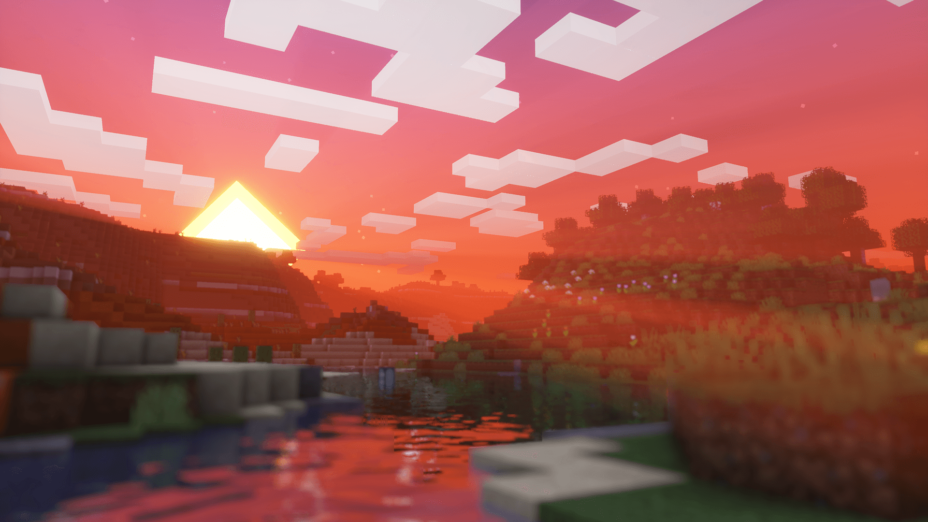
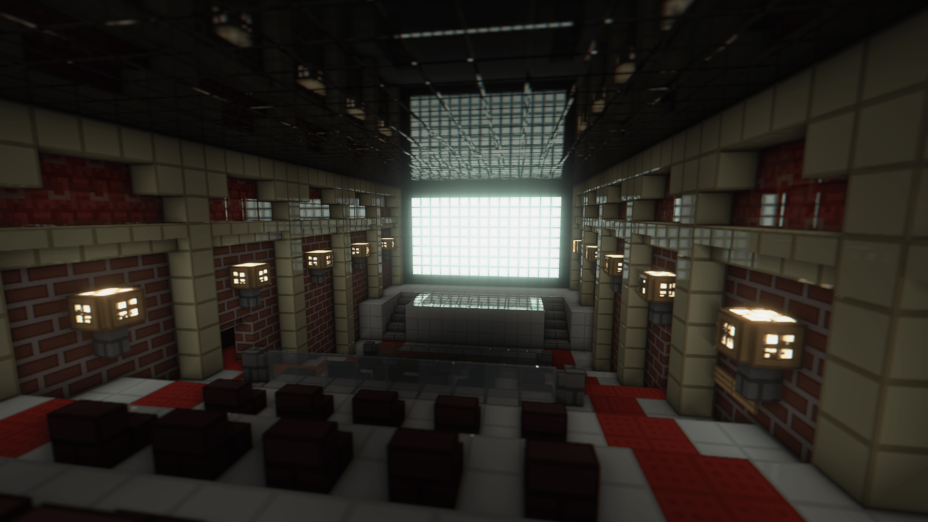
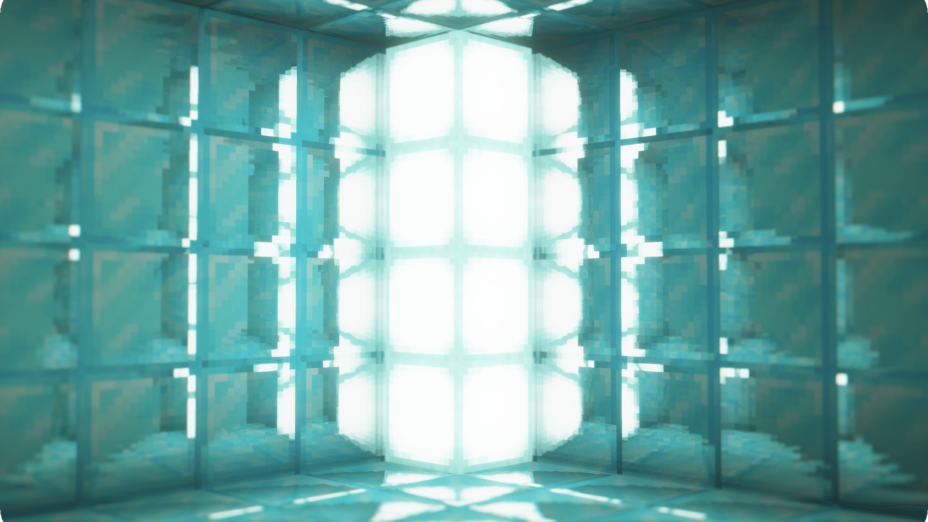
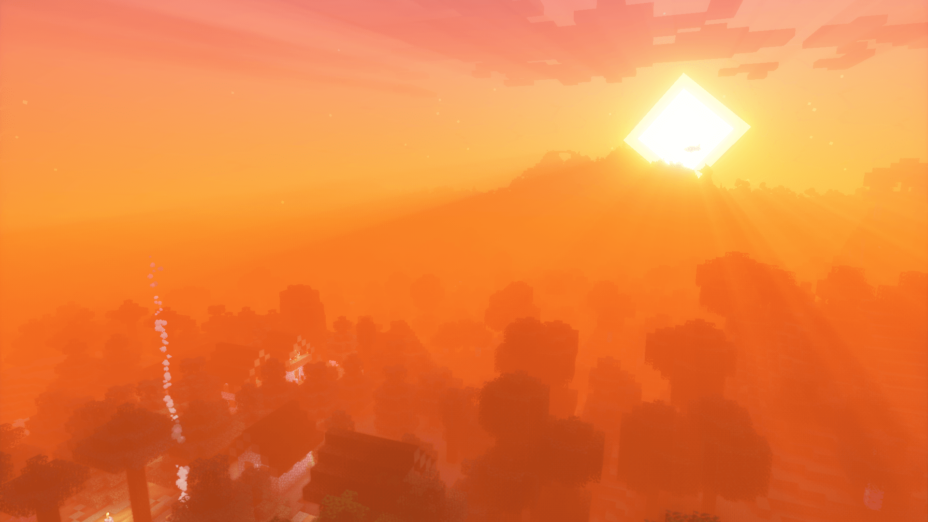
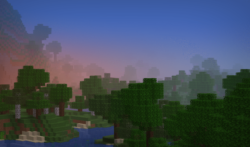
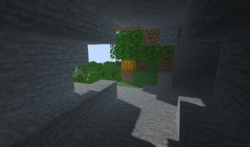
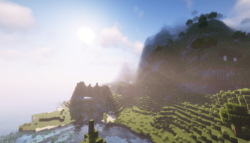
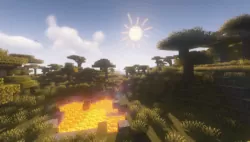
DrDesten’s shader pack has godrays. It’s one of the first things you’ll notice if you start a new world after installing these shaders. They’re so well done that motes of dust are visible floating through the air, under the right circumstances. It’s not just the sun that glows brighter than usual though – all of the ores that can be chopped, except coal, are very vivid. They’re bright, which makes them easy to find when digging tunnels and caves. Gold, Redstone, iron, lapis and yes, even diamonds, are all easier to see, even under low light conditions. They look the best when reflecting light though, so bring along torches like normal.
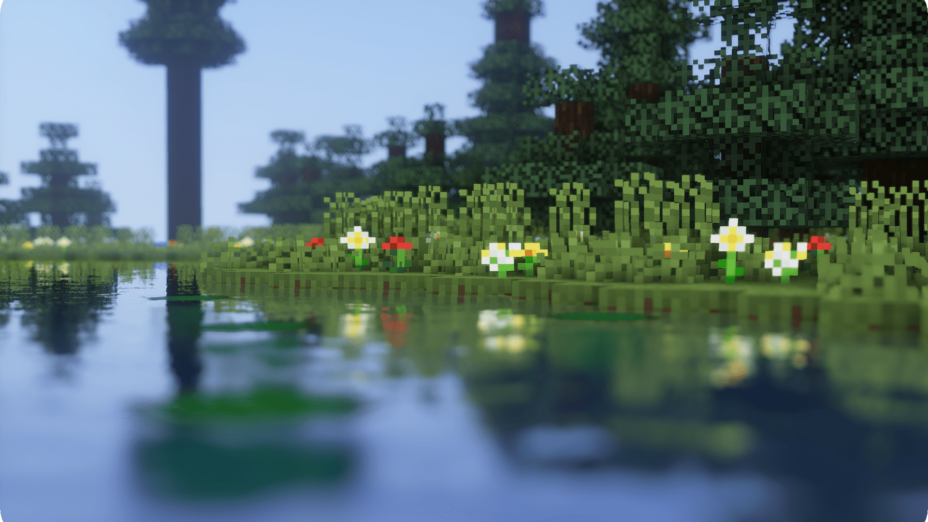
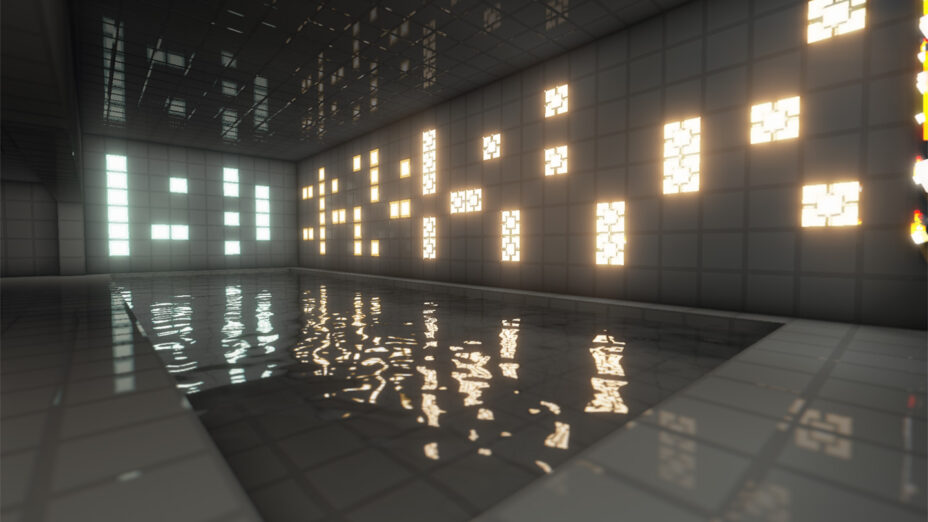
Water reflections are a nice touch, but they’re dynamic. That means if the water ripples, like from someone jumping in and causing a splash, the reflections will ripple as well. It might sound like a small thing, but this is a big resource eater. DrDesten’s shaders can be adjusted to turn features on and off as wanted, so if the pack seems to slow things too much, try changing this setting first. The sun and moon are rounded, which doesn’t affect anything, but is nicer to look at than big blocks in the sky. Outlines around objects can be toggled on and off for players who aren’t sure what block they’re interacting with too. That’s not a graphics change so much, but it’s a great feature almost anyone can benefit from using.
DrDestens Shaders improve visuals in many ways, but the pack also adds some quality-of-life changes on top of that. You need Optifine or Iris to load it, like most shader packs, so get the latest version of Minecraft, DrDesten’s, and Optifine or Iris (v1.5+) for the best experience possible. The lack of shadow effects in DrDesten’s means middle and even low-range PC users can still use these shaders to upgrade their visuals.
Info
- 1.19.4
- 1.19.3
- 1.19.2
- 1.19.1
- 1.19
- 1.18.2
- 1.18.1
- 1.18
- 1.17.1
- 1.17
- 1.16.5
- 1.16.4
- 1.16.3
- 1.16.2
- 1.16.1
- 1.16
- 1.15.2
- 1.15.1
- 1.15
- 1.14.4
- 1.14.3
- 1.14.2
- 1.14.1
- 1.14
- 1.13.2
- 1.13.1
- 1.13
- 1.12.2
- 1.12.1
- 1.12
- 1.11.1
- 1.11
- 1.10.2
- 1.10.1
- 1.10
- 1.9.4
- 1.9.3
- 1.9.2
- 1.9.1
- 1.9
- 1.8.9
Features
Over 28 new features are available in DrDestens Shaders to enhance your gaming experience.
📊 Performance Impacts
Decrease in performance can vary from device to device, driver version, and many other factors, you should test yourself on your machine for the best result.
- None
- No performance decreases
- Small
- ~5%
- Medium
- ~10%
- High
- ~25%
- Extreme
- +50%
-
- Ambient OcclusionMedium
- Simulating how light interacts with objects and surfaces.
-
- BloomSmall
- Enhance the game's lighting and create a more realistic and immersive visual experience
-
- BlurSmall
- Simulate how fast-moving objects appear to blur in a photograph or video.
-
- CustomizationNone
- Customize various aspects of the game's visual effects.
-
- DarkNone
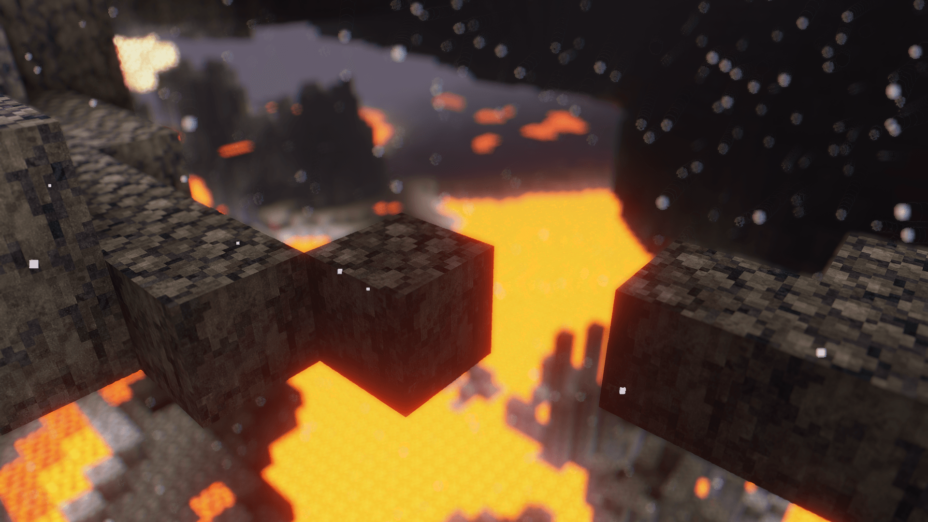
- Enjoy exploring dark and mysterious environments, such as caves or ruins.
-
- Depth of FieldMedium
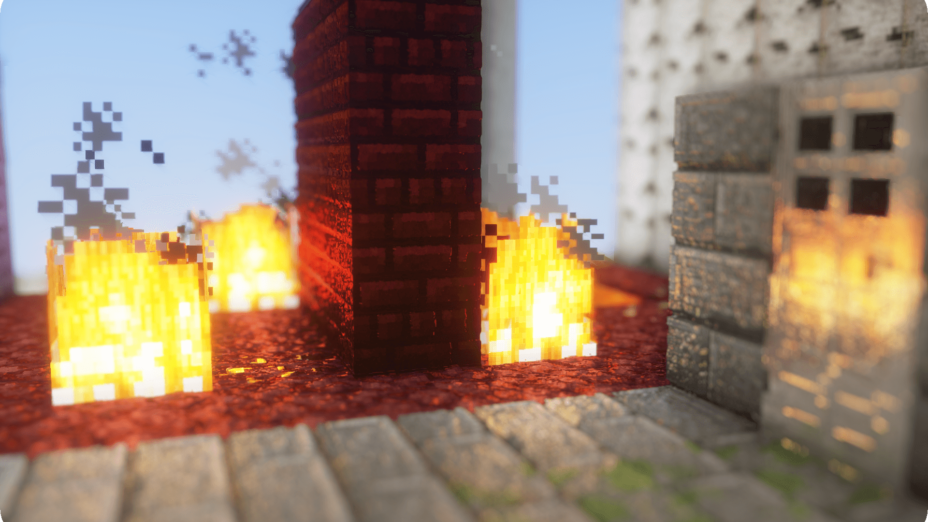
- Making objects closer to the camera appear sharp and in focus, while objects farther away appear out of focus and blurry.
-
- LightMedium
- Enhance the game's overall visual quality.
-
- Motion BlurHigh
- Simulates the way that fast-moving objects appear to blur in the real world.
-
- Normal MapSmall
- Add depth and detail to surfaces without increasing the number of polygons.
-
- Parallax WaterMedium
- Enhances the realism of water by simulating the parallax effect.
-
- PBRHigh
- Enhances the realism of textures and materials by simulating the way light interacts with surfaces in a more physically accurate way.
-
- POMHigh
- Realism of textures by simulating the way light interacts with surfaces.
-
- Realistic WaterHigh
- More realistic and immersive water experience.
-
- ShadowsSmall
- Simulate how light is blocked and scattered by objects in the environment.
-
- Sun RaysMedium
- Simulate the appearance of sunlight streaming through trees leaves, objects, clouds, or other atmospheric conditions.
-
- SunriseSmall
- More realistic and immersive sunrise experience.
-
- SunsetSmall
- More realistic and immersive sunset experience.
-
- TAAMedium
- Smooth out jagged edges and reduce the "stair-stepping" effect that can occur when rendering graphics.
-
- Tone MappingSmall
- Adjusting the brightness, contrast, and saturation levels.
-
- Underwater ReflectionsMedium
- Simulate the appearance of light reflecting off of the water's surface.
-
- VibrantSmall
- More saturated colors and realistic lighting.
-
- VignetteNone
- Darkening effect around the edges of the screen
-
- Volumetric FogHigh
- Create the appearance of fog that is lit from within, casting shadows and creating a sense of depth.
-
- Water ReflectionsMedium
- Simulating reflections on the surface of the water.
-
- Water WavesMedium
- Movement of waves on the surface of the water.
-
- Waving GrassSmall
- Simulating the way it moves and sways in the wind.
-
- Waving PlantsSmall
- Simulating the way they move and sway in the wind.
-
- Waving TreesSmall
- Adds movement to the leaves and branches of trees, making them look more alive and realistic.
There are 3 profiles pre-built into DrDestens Shaders to adjust the level of intensity of these effects.
| Profiles | Low | Medium | High |
|---|---|---|---|
TAA Options | |||
Bloom | |||
Depth of Field | |||
Bokeh Samples | |||
Godrays | |||
Motion Blur | |||
SSAO | |||
SSAO Quality | |||
Reflection Mode |
DrDestens Shaders allow you to change more than 121 settings to suit your needs.
| Settings | Description | Options |
|---|---|---|
| ||
| Depth Of Field | ||
| Depth of Field | Blurs non-focused objects, like a real camera. |
|
| Bokeh Samples | Quality of the blur. Higher is better. Significantly affects performance. |
|
| DoF Intensity | Intensity of the Depth of Field effect. Low performance impact. |
|
| Maximum Blur | Limits the strength of the DoF blur. Helps reduce artifacts when using lower sample counts and is better for gameplay. |
|
| DoF Downsampling Amount | Amount of Downsampling that takes place for the Depth of Field effect. Reduces DoF artifacts, increases pixelation artifacts. No/Low performance impact. |
|
| Far Blur Only | Only blurs far away things. |
|
| Sample Rejection | Improved DoF Quality by (mostly) removing color bleeding. Can have a significant performance impact. |
|
| Focus Delay | Sets how long the focus takes to adjust. |
|
| Reflections | ||
| Reflection Mode | Screen Space Reflection Mode |
|
| Raytracing Quality | Number of raytracing iterations. Lower is faster. |
|
| Thickness Estimation Modifier | Increase this if the reflection blind spots annoy you. Influences assumption about how thick a pixel is. No performance impact. |
|
| Fade Edges |
| |
| Reflection Threshold | PBR only. Sets the minimum required reflectiveness in order for SSR to enable. Higher values may introduce reflection cutoffs. |
|
| Screen Space Refraction | Distorts things seen through water. |
|
| Refraction Strength |
| |
| Glass Reflections | Adds reflections to tinted glass blocks. |
|
| Water | ||
| Waves | "Physical" Waves. Moves the water surface. |
|
| Wave Height | Physical Wave Height |
|
| Bump Mapping |
| |
| Bump Amount | Fake Waves, pretending to be real ones. Added detail. |
|
| Bump Size |
| |
| Water Absorption Density | Fog Density of Water |
|
| Water Absorption Bias | Adds a constant to the water fog distance. Can help in making water more visible. |
|
| Water Texture | Enables the vanilla water texture |
|
| Water Color Options | ||
| Water Absorption Color R |
| |
| Water Absorption Color G |
| |
| Water Absorption Color B |
| |
| Absorption Color Multiplier |
| |
| Physically Based Rendering | ||
| PBR Format |
| |
| Resource Pack Resolution |
| |
| PBR | Enables Physically Based Rendering. Make sure you enable Normal and Specular mapsm in the OptiFine shader options. |
|
| PBR Blend | In order to stay closer to minecraft vanilla rendering, my shader blends between PBR and vanilla rendering. If you increase this value, the PBR effect will be stronger. |
|
| Height as AO | Uses the Height information for Ambient occlusion |
|
| Normal Mapping Fix | With newer OptiFine versions this might not be necessary. Enable this if normal maps do not show on entities or handheld objects. |
|
| Use Hardcoded Metals | If disabled, the shader will use the color for the reflectance data. LabPBR only. |
|
| Subsurface Scattering |
| |
| Parallax Occlusion Mapping | Adds additional detail to blocks using the height map. Low performance impact. Can create artifacts at screen borders. |
|
| POM Options | ||
| POM Depth | Specifies how deep the POM goes. Higher values will create artifacts. |
|
| POM Distortion | Exaggerates the height map. Helps create more depth with small POM Depth values. Creates artifacts when used with high POM Depth values. |
|
| Smooth POM | Smooths out the height map. Significantly reduces artifacts. |
|
| Ambient light multiplier |
| |
| Camera and Tonemapping | ||
| Exposure |
| |
| Tonemapping |
| |
| Contrast |
| |
| Vibrance |
| |
| Saturation |
| |
| Brightness |
| |
| Vignette | Darkens screen borders. |
|
| Vignette Strength |
| |
| Chromatic Aberration | Color Diffraction. |
|
| Post Processing | ||
| TAA | Temporal Anti-Aliasing. Smooths edges at the cost of a slightly blurrier image. Might cause problems with OptiFine's high-res screenshot feature. |
|
| TAA Options | ||
| TAA Blending Constant | Controls the opacity of the current frame. Set this value lower for smoother TAA. |
|
| TAA Sharpening | Changes the strength of the sharpening effect. |
|
| Bloom | Creates a glow around bright objects. Looks nice ;). |
|
| Bloom Strength |
| |
| Motion Blur |
| |
| Motion Blur Intensity |
| |
| SSAO | Screen Space Ambient Occlusion. Makes cavities dark. High performance impact. |
|
| SSAO Quality |
| |
| SSAO Strength |
| |
| Atmospherics | ||
| Fog |
| |
| Fog Amount |
| |
| Morning Fog | Increases fog amount during sunsets. Only works with fog in "Normal" mode. Requires fog and sunsets to be enabled. |
|
| Morning Fog Strength |
| |
| Cave Fog |
| |
| Cave Fog Brightness |
| |
| Godrays |
| |
| Godray Colors | ||
| Godray Sun R |
| |
| Godray Sun G |
| |
| Godray Sun B |
| |
| Godray Moon R |
| |
| Godray Moon G |
| |
| Godray Moon B |
| |
| Godray Strength |
| |
| Godray Radius |
| |
| Godray Samples |
| |
| Sky Colors | ||
| Sky Day R |
| |
| Sky Day G |
| |
| Sky Day B |
| |
| Sky Sunset R |
| |
| Sky Sunset G |
| |
| Sky Sunset B |
| |
| Sky Night R |
| |
| Sky Night G |
| |
| Sky Night B |
| |
| End Sky Upper R |
| |
| End Sky Upper G |
| |
| End Sky Upper B |
| |
| End Sky Lower R |
| |
| End Sky Lower G |
| |
| End Sky Lower B |
| |
| Sun Angle |
| |
| Weather | ||
| Rain Detection |
| |
| Rain Opacity |
| |
| Rain Refraction |
| |
| Rain Refraction Strength |
| |
| Other Stuff | ||
| Outline |
| |
| Outline Distance |
| |
| Block Selection Outline | /!\ Only works with newer OptiFine versions (G7 or higher) |
|
| Wavy Blocks |
| |
| Wavy Leaves |
| |
| World Curvature |
| |
| World Radius |
| |
| Hand Invisibility Effect | Distorts handheld objects when invisible |
|
| White World |
| |
| Directional Lightmaps | Applies normal mapping to dynamic lights. Requires a ressource pack with PBR support. |
|
| Directional Lightmap Strength |
| |
| Dynamic Light Brightness | Changes the brightness of light from emissive blocks. |
|
| DEBUG | ||
| ambientOcclusionLevel |
| |
| BLOOM_RADIUS |
| |
| DoF Chromatic Aberration | Color Diffraction. |
|
| END |
| |
| NETHER |
| |
| OVERWORLD |
| |
| POM_DEBUG |
| |
| POM_ENABLED |
| |
| SSR_DEBUG |
| |
| SSR_NO_REFINEMENT |
| |
| TAA_NOCLIP |
| |
| WATER_EFFECTS |
|
How To Install DrDestens Shaders
- Support Forge / Vanilla
- Extra features
- Good performance
- Support Fabric / Quilt
- Better performance, depend on your hardware
Optifine Installation Guide
Note
Your device must have Java installed to run the Forge and Optifine installers.
Quick Java Installation Guide
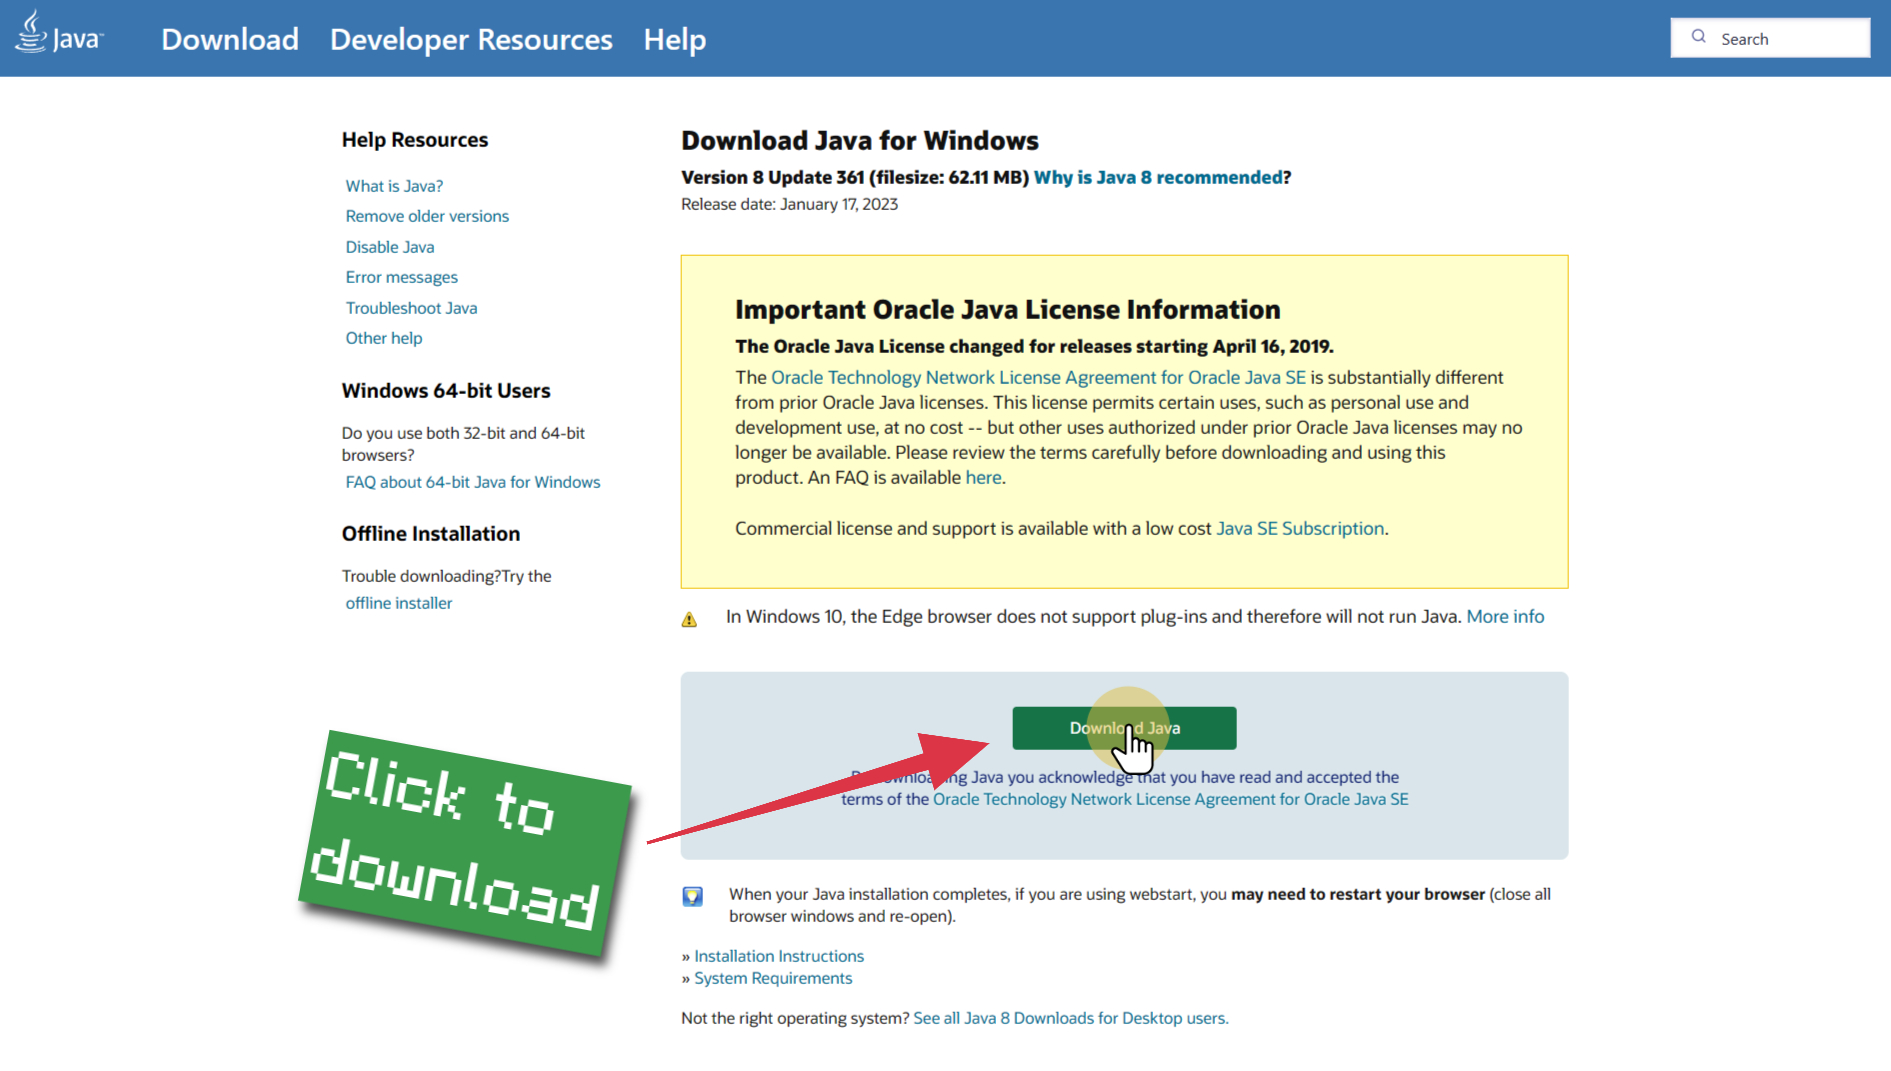
Download Java
Download the Java installer from the official website here.

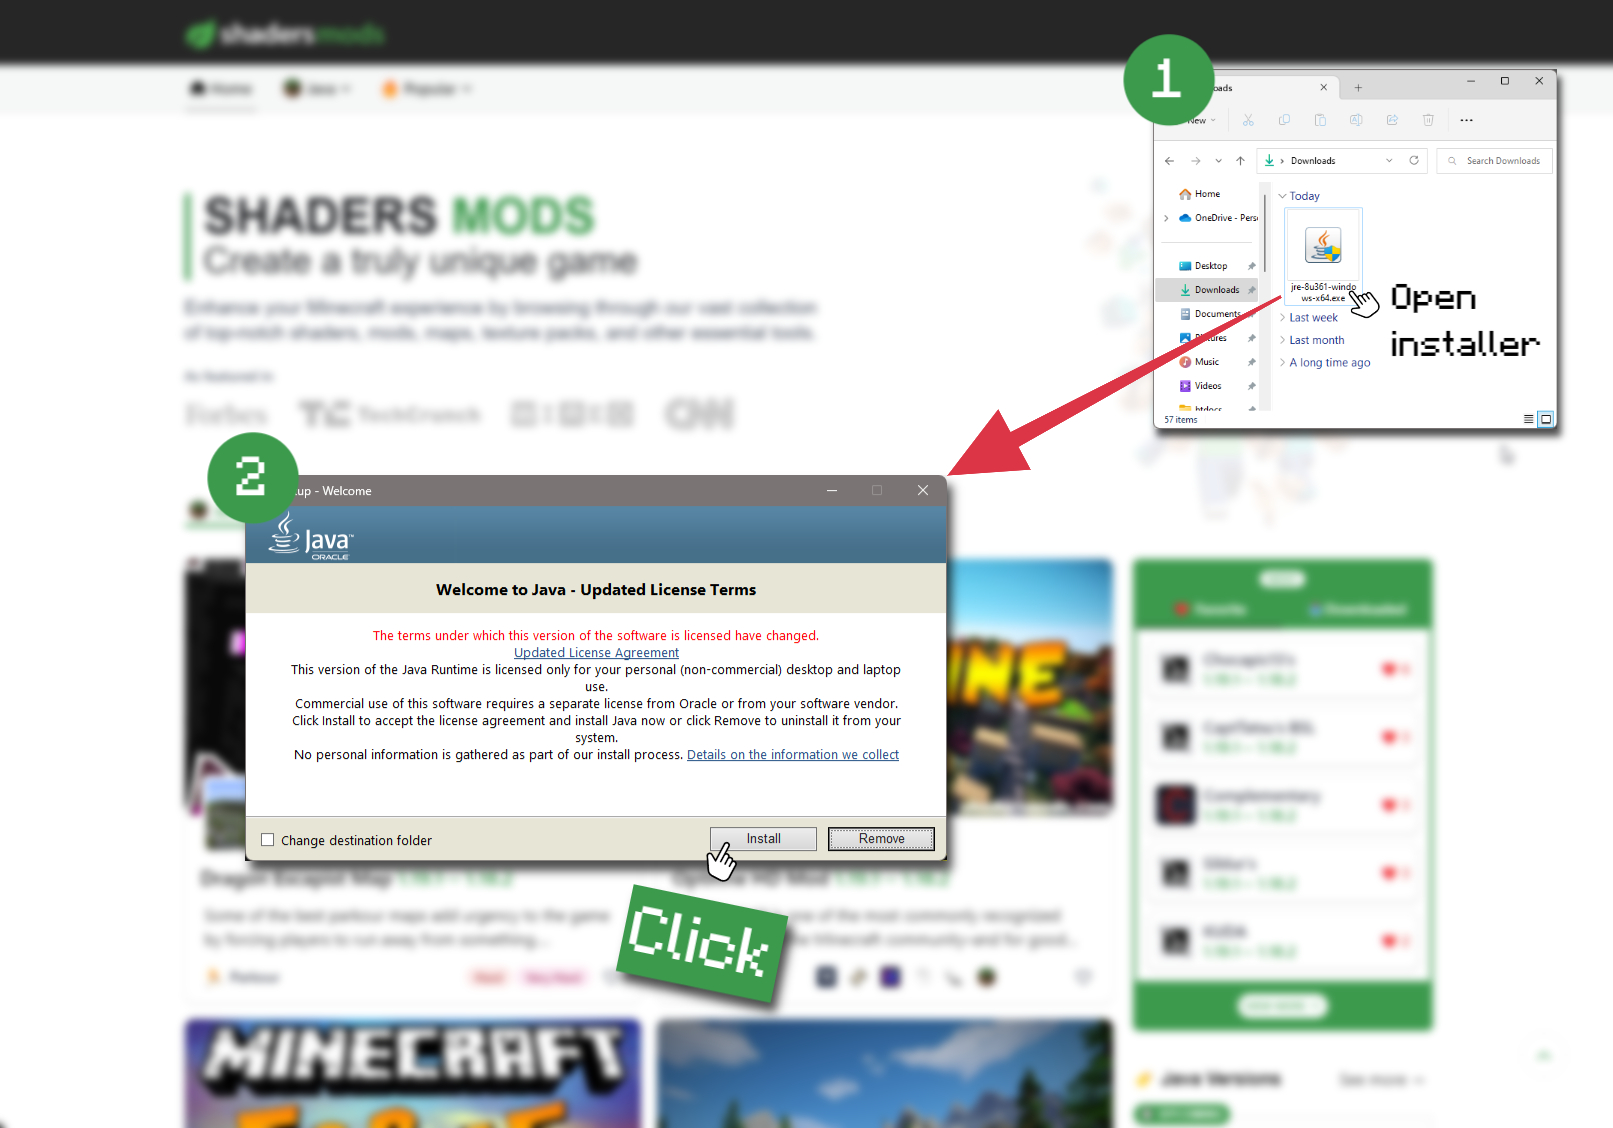
Open Installer
Once you have downloaded the file, run it and click the Install button.

How to install DrDestens Shaders with Optifine?
Download Optifine
Get the latest version of Optifine for your Minecraft version.
Download OptifineInstall Optifine
Run the Optifine installer and follow the on-screen instructions to complete the installation.

Download DrDestens Shaders
Go to the download section and get shaders zip file. Unzip the file if necessary, as some shader developers may bundle multiple shader versions in one zip file.
Launch Minecraft
Start the Minecraft launcher and make sure you have the Optifine profile selected.

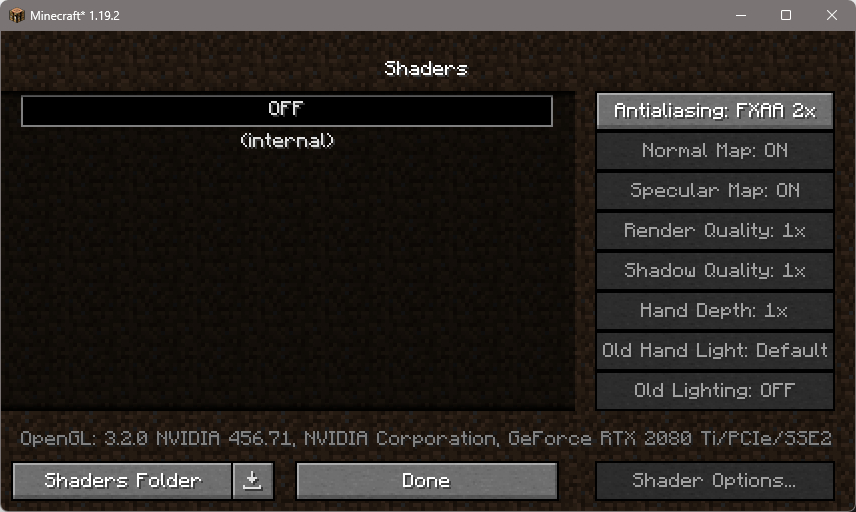
In-game Shaders menu
Go to Options > Video Settings > Shaders to access the shaders menu.

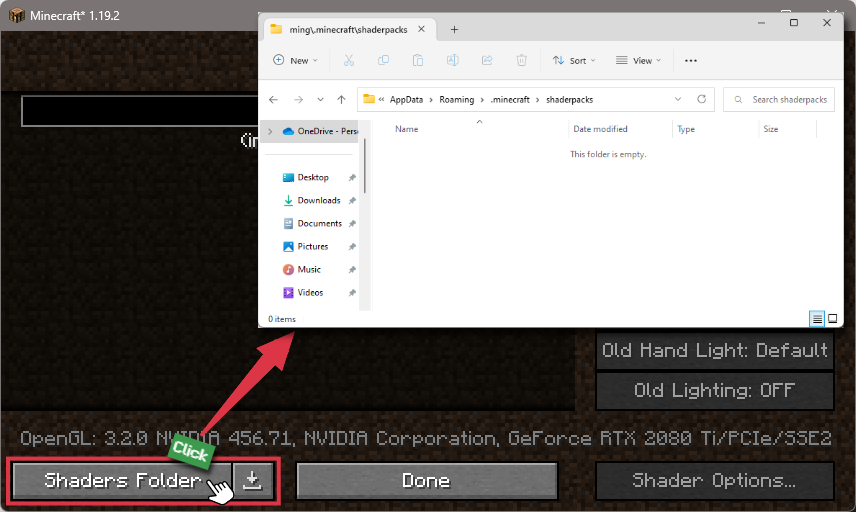
Open shaderpacks folder
Click on the "Shaders Folder" button to open the folder where shaders are stored, so you can add or remove shaders as desired.

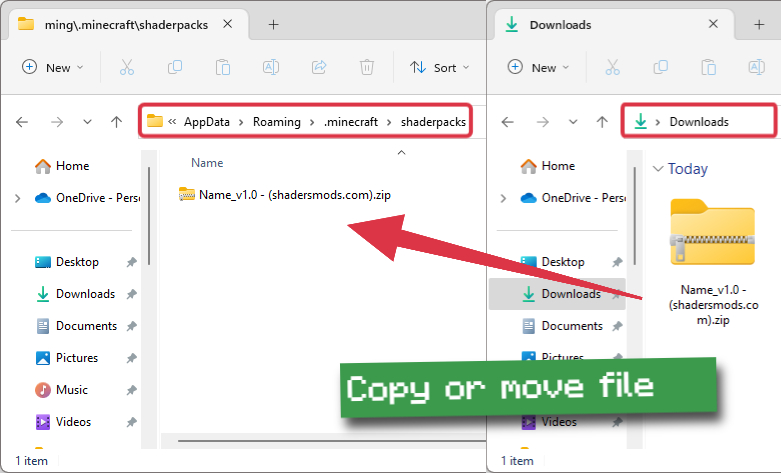
Install DrDestens Shaders
Copy or move the downloaded DrDestens shaders zip file into the shaderpacks folder.

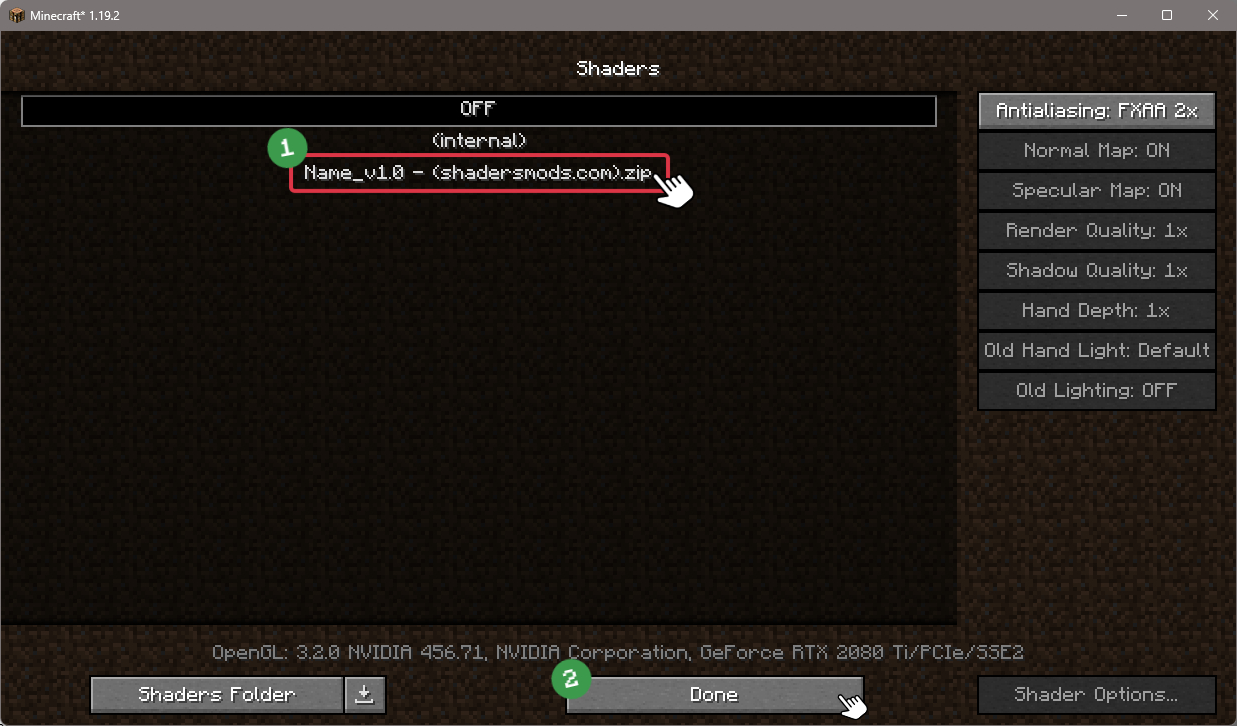
Select DrDestens Shaders
Choose DrDestens shader pack from the list of available shaders in the options menu.

How to install DrDestens Shaders with Forge and Optifine?
Quick Installation Guide
Install Forge
Obtain the latest version of Forge that is compatible with your Minecraft version.
Download Minecraft ForgeLaunch Minecraft
Start the Minecraft launcher and select the version of Minecraft you want to install Forge on. Run the game once by clicking on the "Play" button to create necessary files for Forge.

Install Forge Client
Double-click on the Forge installer jar file and choose "Install Client" in the window that appears.

Install Optifine
Download the Optifine jar file after Forge is installed. Move the Optifine jar file to the mods folder in the .minecraft directory.
Download Optifine
Launch Forge Profile
Launch Minecraft using the "Forge" profile, Optifine will be automatically loaded along with Forge.

Install Chocapic13's Shaders
Now the installation is the same as from the above Optifine instructions, just follow the steps starting from step 5.
Iris Installation Guide
Note
Your device must have Java installed to run the Iris installer.
Quick Java Installation Guide
Download Java
Download the Java installer from the official website here.

Open Installer
Once you have downloaded the file, run it and click the Install button.

How to install DrDestens Shaders with Iris?
Download Iris Shaders
Find the latest version of the Iris Shaders installer and download it.
Download Iris InstallerInstall Iris Shaders
Open the downloaded jar file, and choose the preferred game version and installation type.
⯈ Iris Install:
If you don't plan on using any other mods with Iris, choose this option.⯈ Fabric Install:
Choose this option if you want to use Iris with Fabric and other mods. The Iris jar files will be copied to the mods folder within the .minecraft directory.
Start Installation
After selecting the game version and installation type, click the "Install" button to start the installation process.
Launch Minecraft
Start the Minecraft launcher and make sure you have the Iris profile selected.
Note
Select the Fabric profile if you opt for the Fabric installation type.
In-game Shader Menu
Open the Minecraft game and go to Options > Video Settings > Shader Packs to access the shaders menu.
Tip
To simplify the process, simply drag and drop the shader ZIP file directly into the Minecraft window, bypassing the next two steps.
Open shaderpacks folder
Click on the "Open Shader Pack Folder" button to access the folder where shaders are stored.

Install DrDestens Shaders
Copy or move the shaders zip file into the shaderpacks folder.

Select DrDestens Shaders
Choose installed shader pack from the list of available shaders in the options menu and click the "Apply" or "Done" button to select it.
Tip
When the shader pack is selected, its name will be changed to yellow.
📥 DrDestens Shaders — Download
Something You Should Know
- Our links are only from the official developer, so you can be sure they are secure.
- No modifications or edits are made to the files.
🔄 Update Logs
v2.0.2
Fixes
- End Sky should look normal again
- Fixed inaccurate TBN calculations (thanks to @TimLee9024)
Other Changes
- Added option to disable flat vertex interpolation
v2.0.1
- Fixes PBR Reflections
v2.0
- New Depth of Field algorithm with hexagonal visual style and improved efficiency
- Better Depth of Field rejection
- New and improved Temporal Anti-Aliasing (TAA) implementation
- New and improved Bloom implementation
- Improved Screen-Space Ambient Occlusion (SSAO)
- New and improved Water effects
- New Color options (from Stracciatella)
- Improved Physically Based Rendering (PBR)
- New and improved sky.
