


AirLoocke42 Shaders 1.19.1 → 1.18.2
Popular among high-end computers, with multiple range options, unique features.
| Developer | 👤AirLoocke42 |
|---|---|
| Style | 🌅Realistic |
| Support GPUs | |
| Loaders | |
| Performance Impact | High |
| Settings | 23 |
| Features | Water Waves+32 |
| Created | Apr 4, 2015 |
| Updated | Sep 18, 2015 |
| Stats |
|
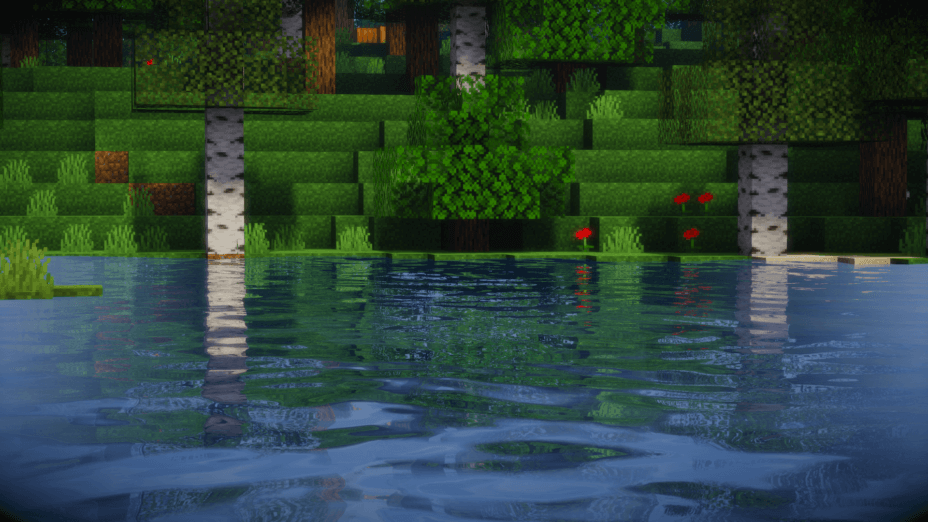
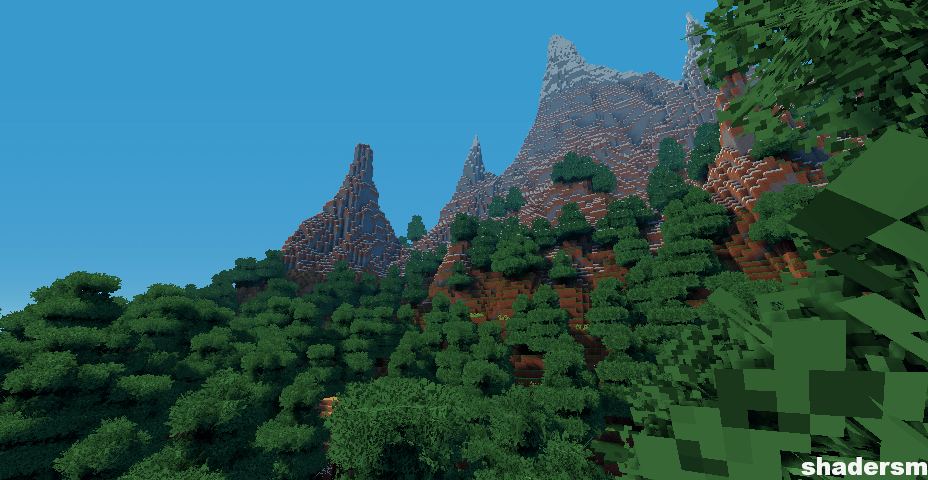
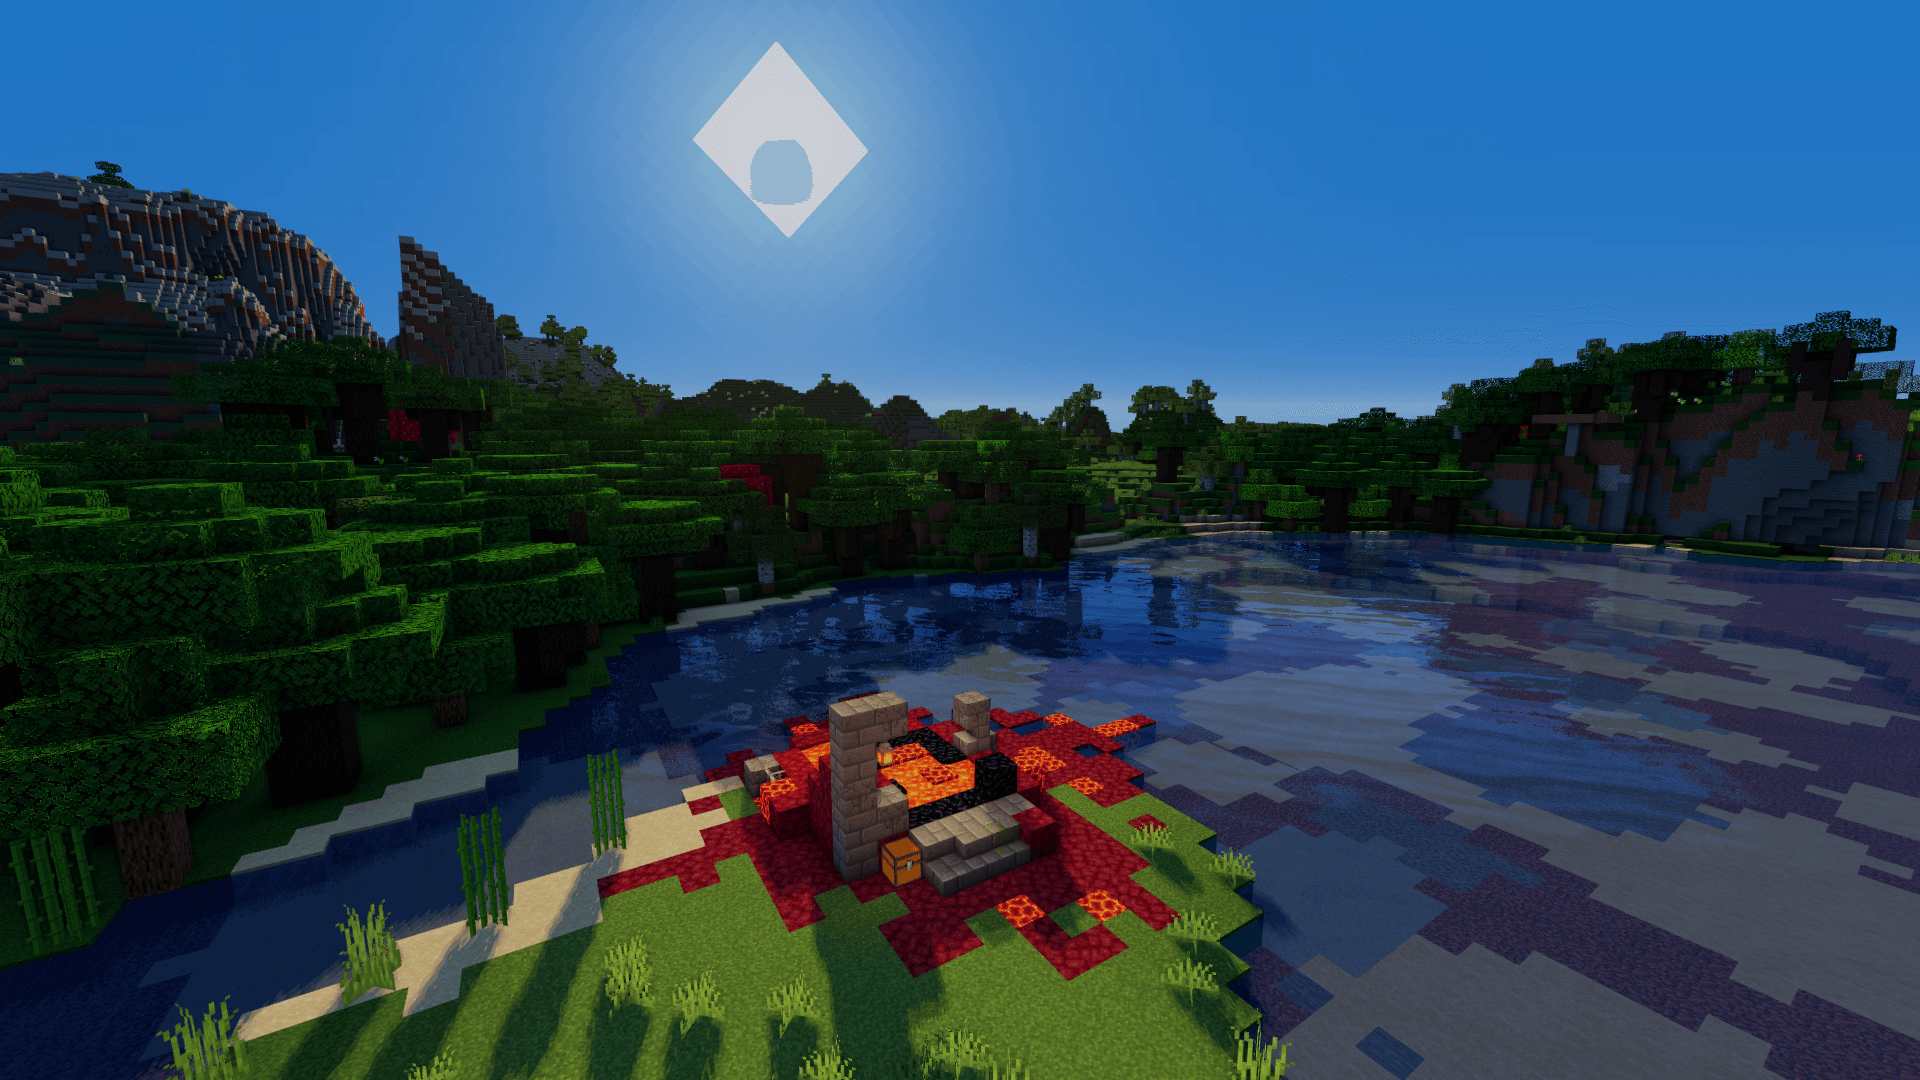
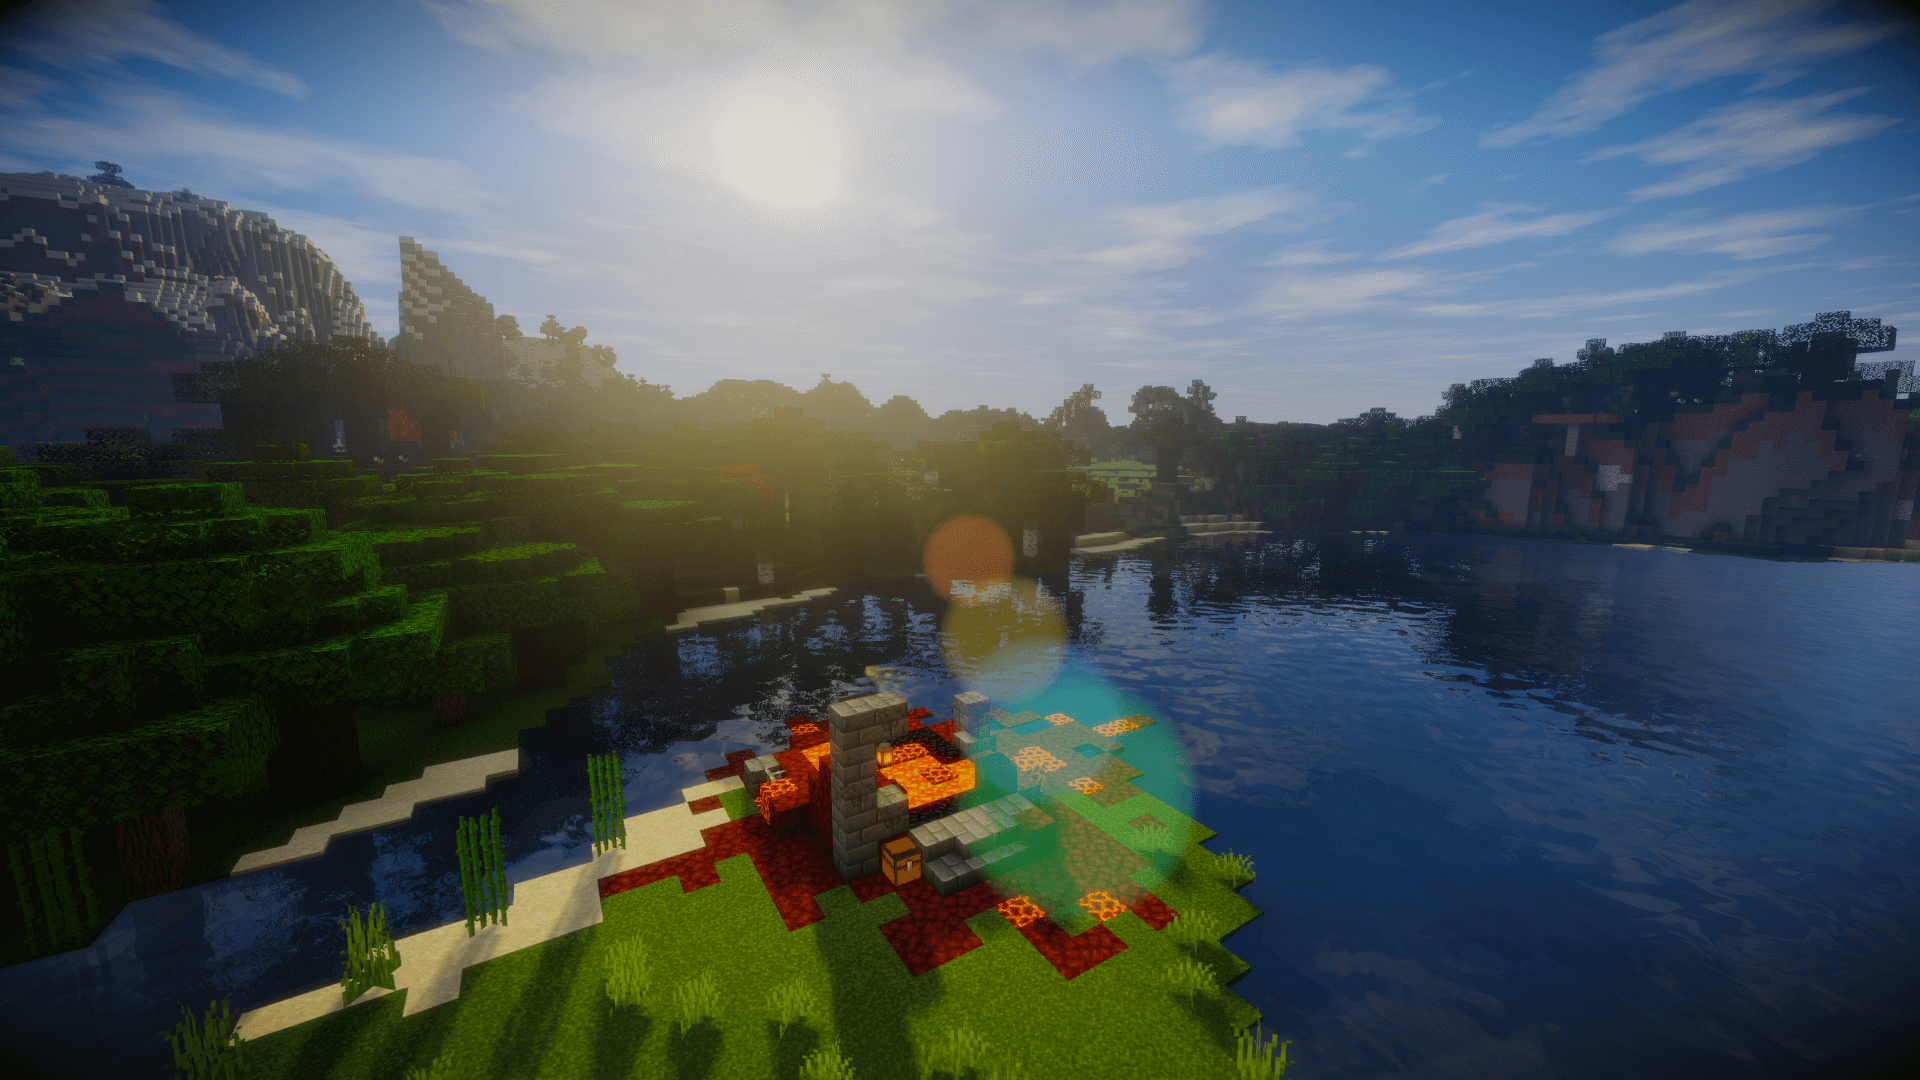
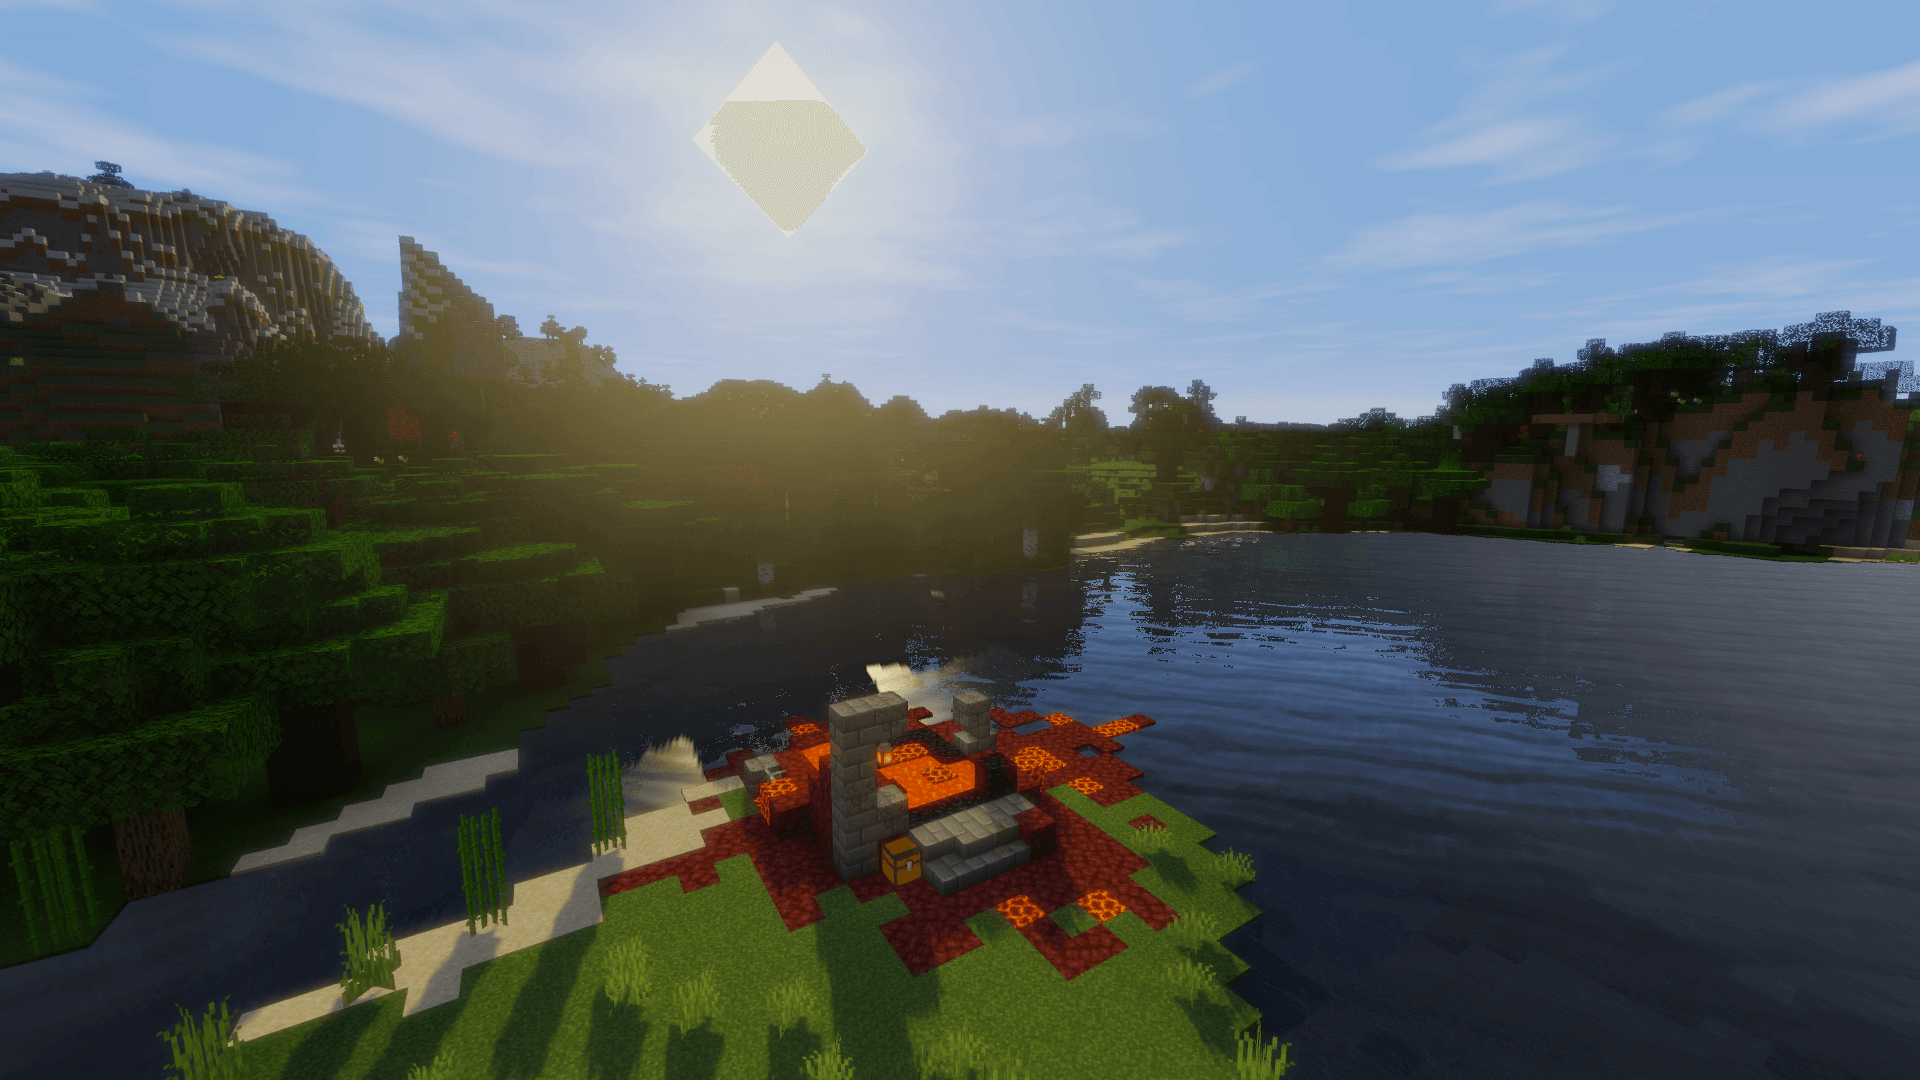
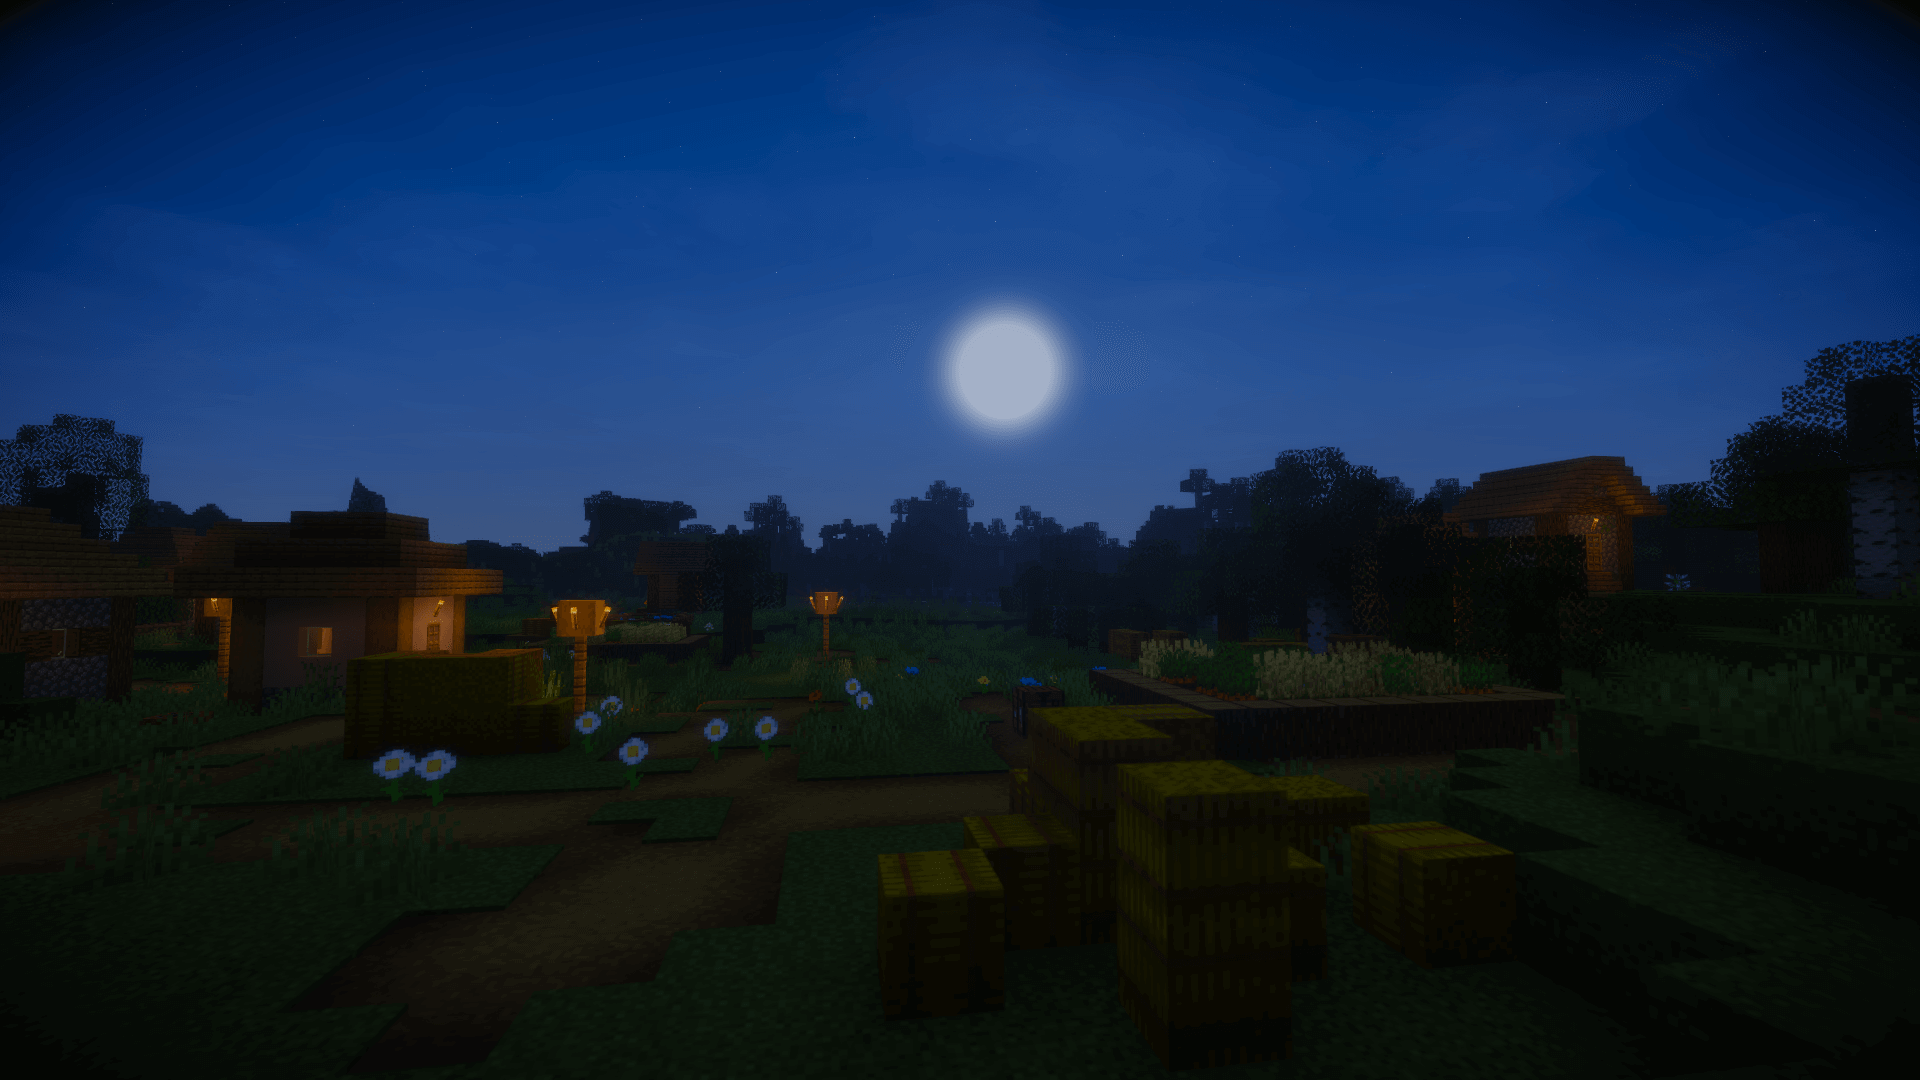
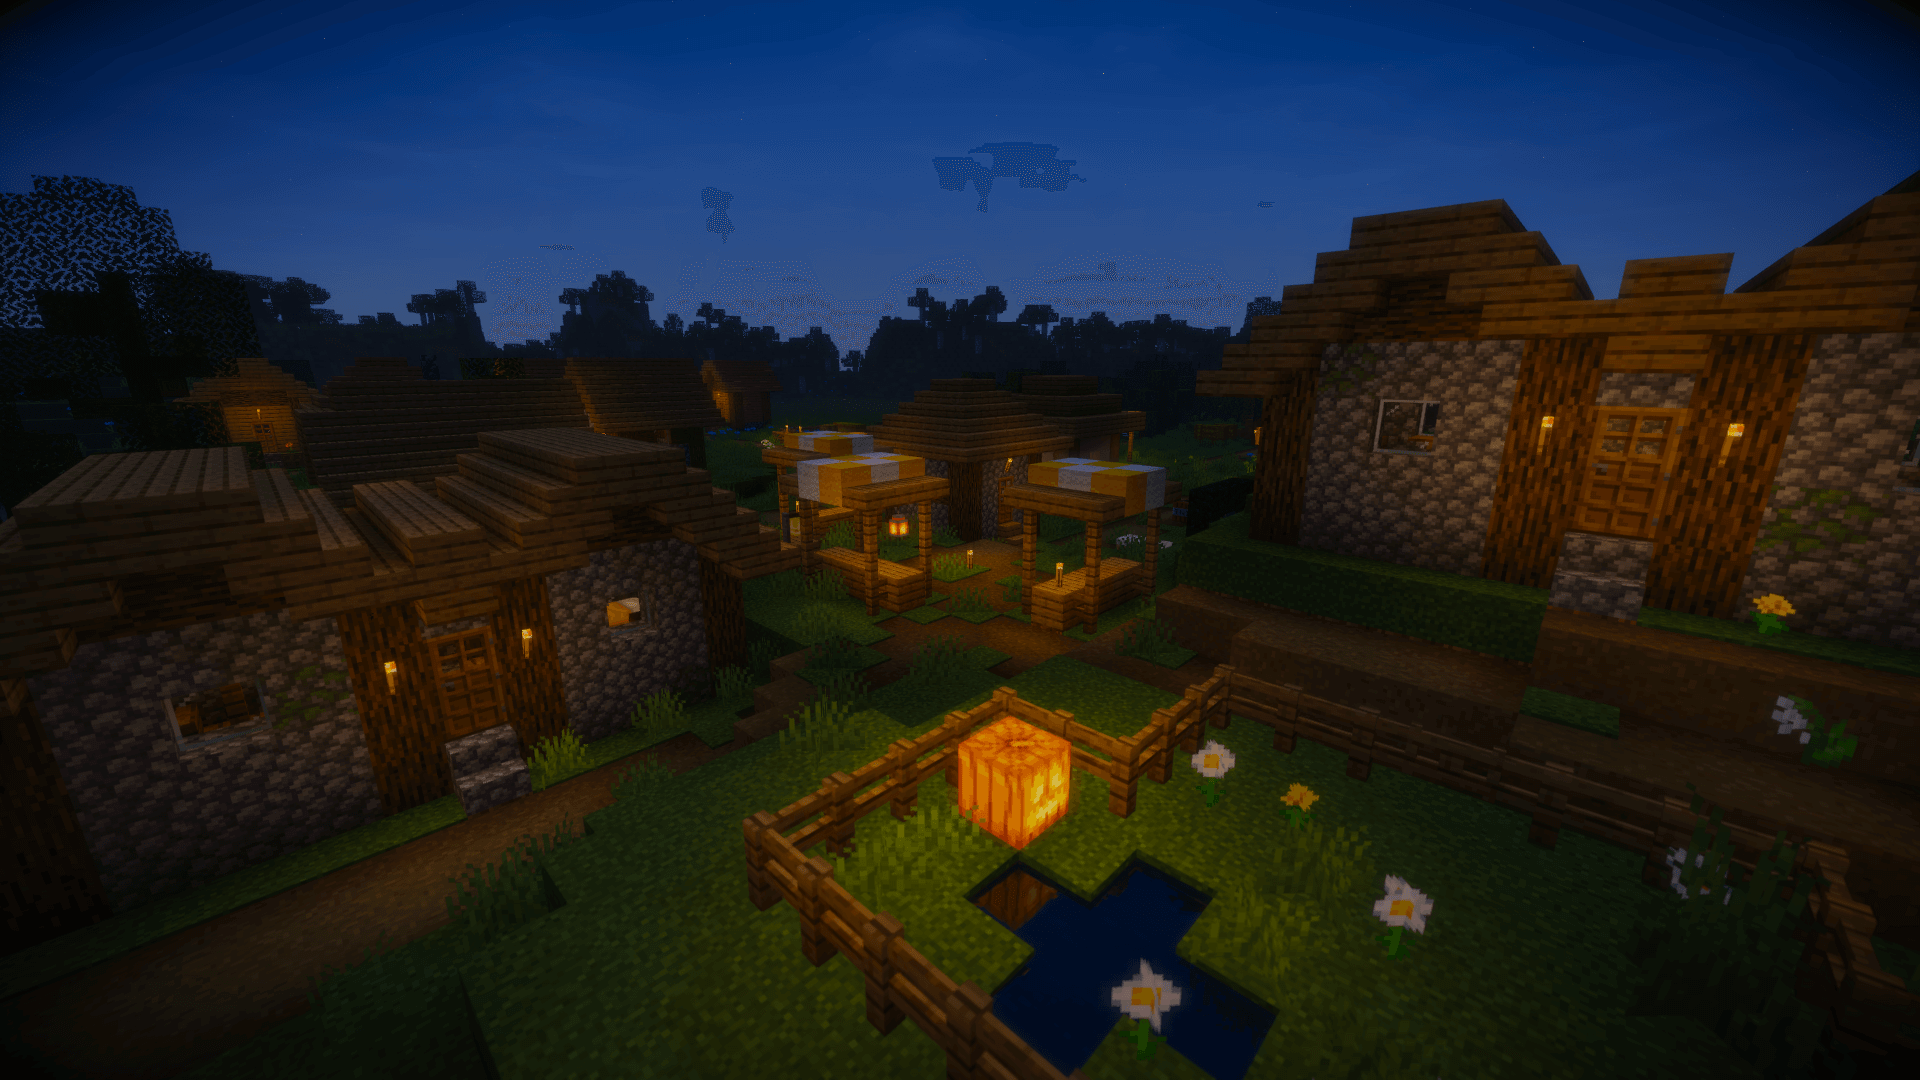
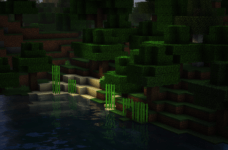
The AirLoocke42 Shaders mod is a relatively new entry in the long list of different shaders available for Minecraft. It was released a long time ago – September 2015, so it’s barely a 7-year-old at the time this review is being written. That’s good and bad: good because it includes most Minecraft content through 1.8 and bad because it doesn’t include any content from the combat update or Minecraft 1.9 and new releases. While you can use this shader pack with the most recent Minecraft client, on our test, everything works on the latest Minecraft version with Optifine HD mod installed.
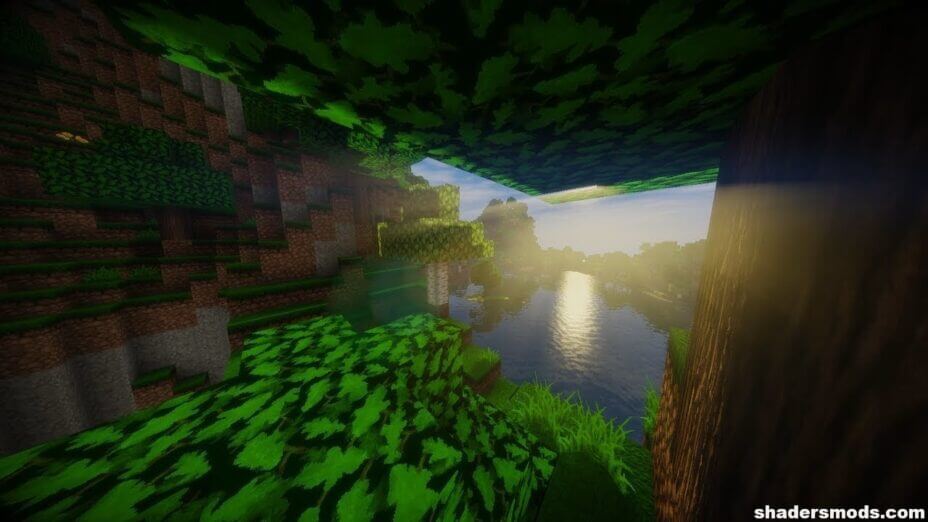
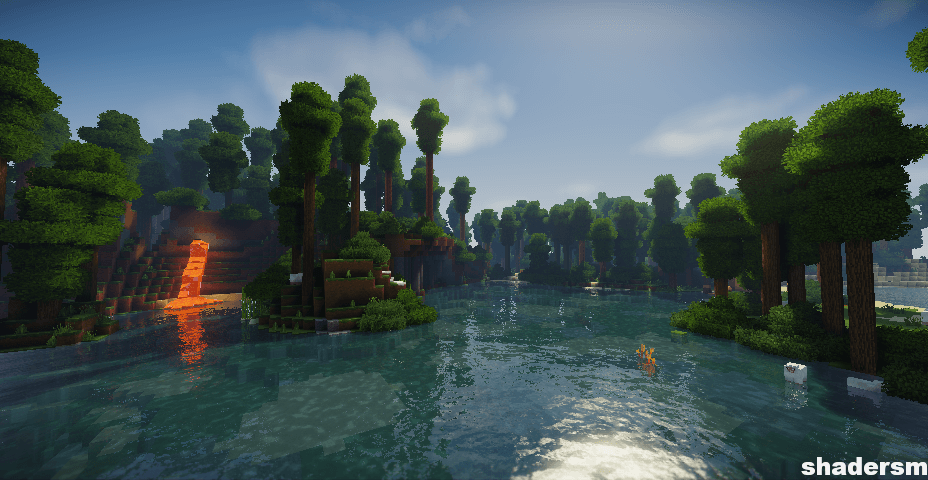
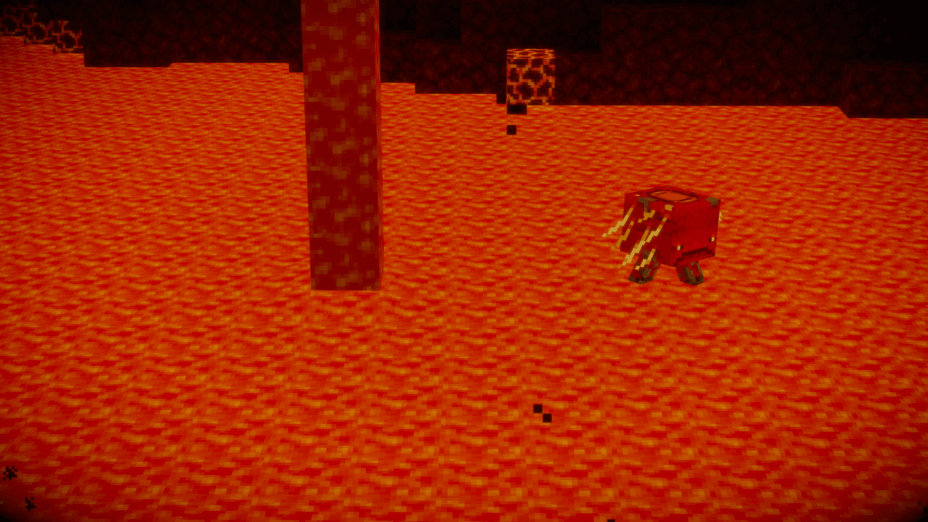
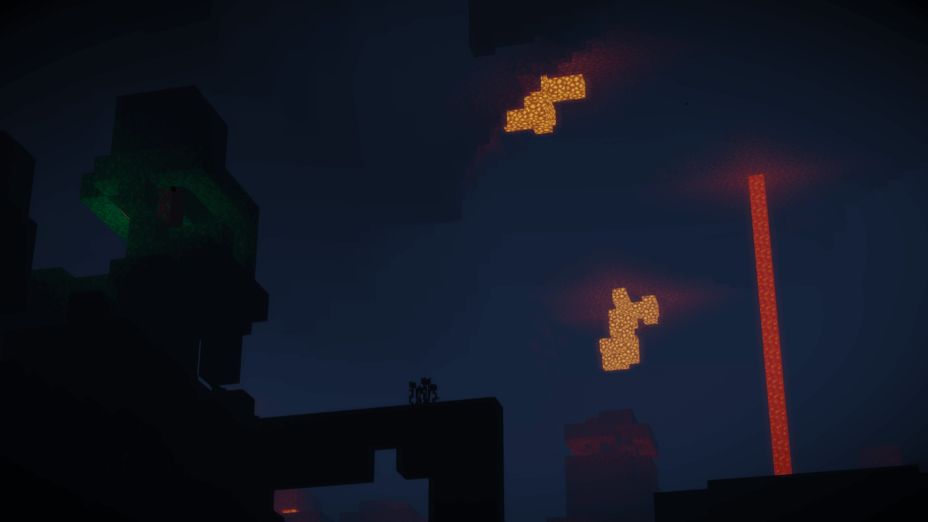
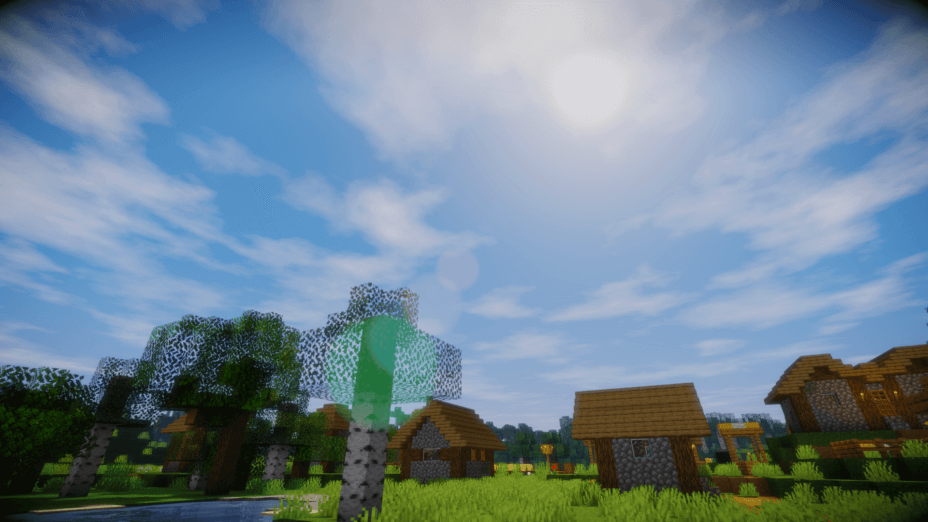
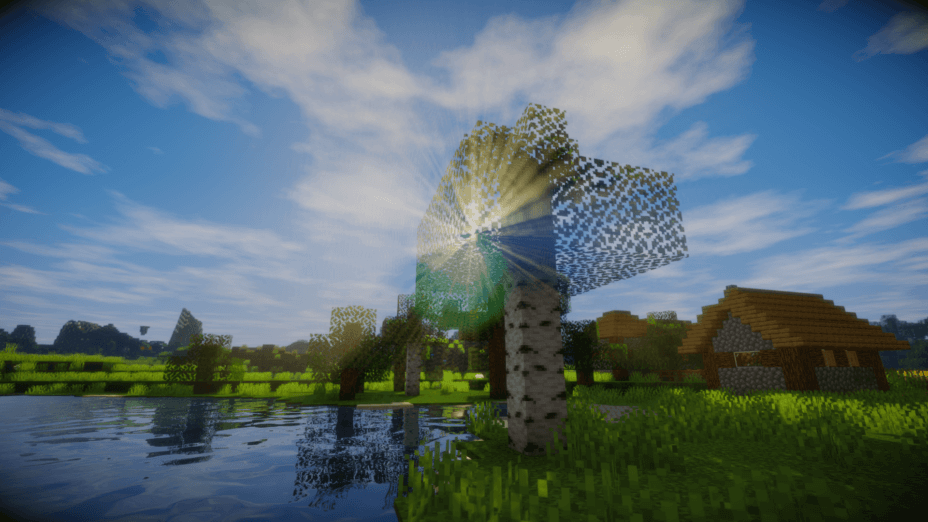
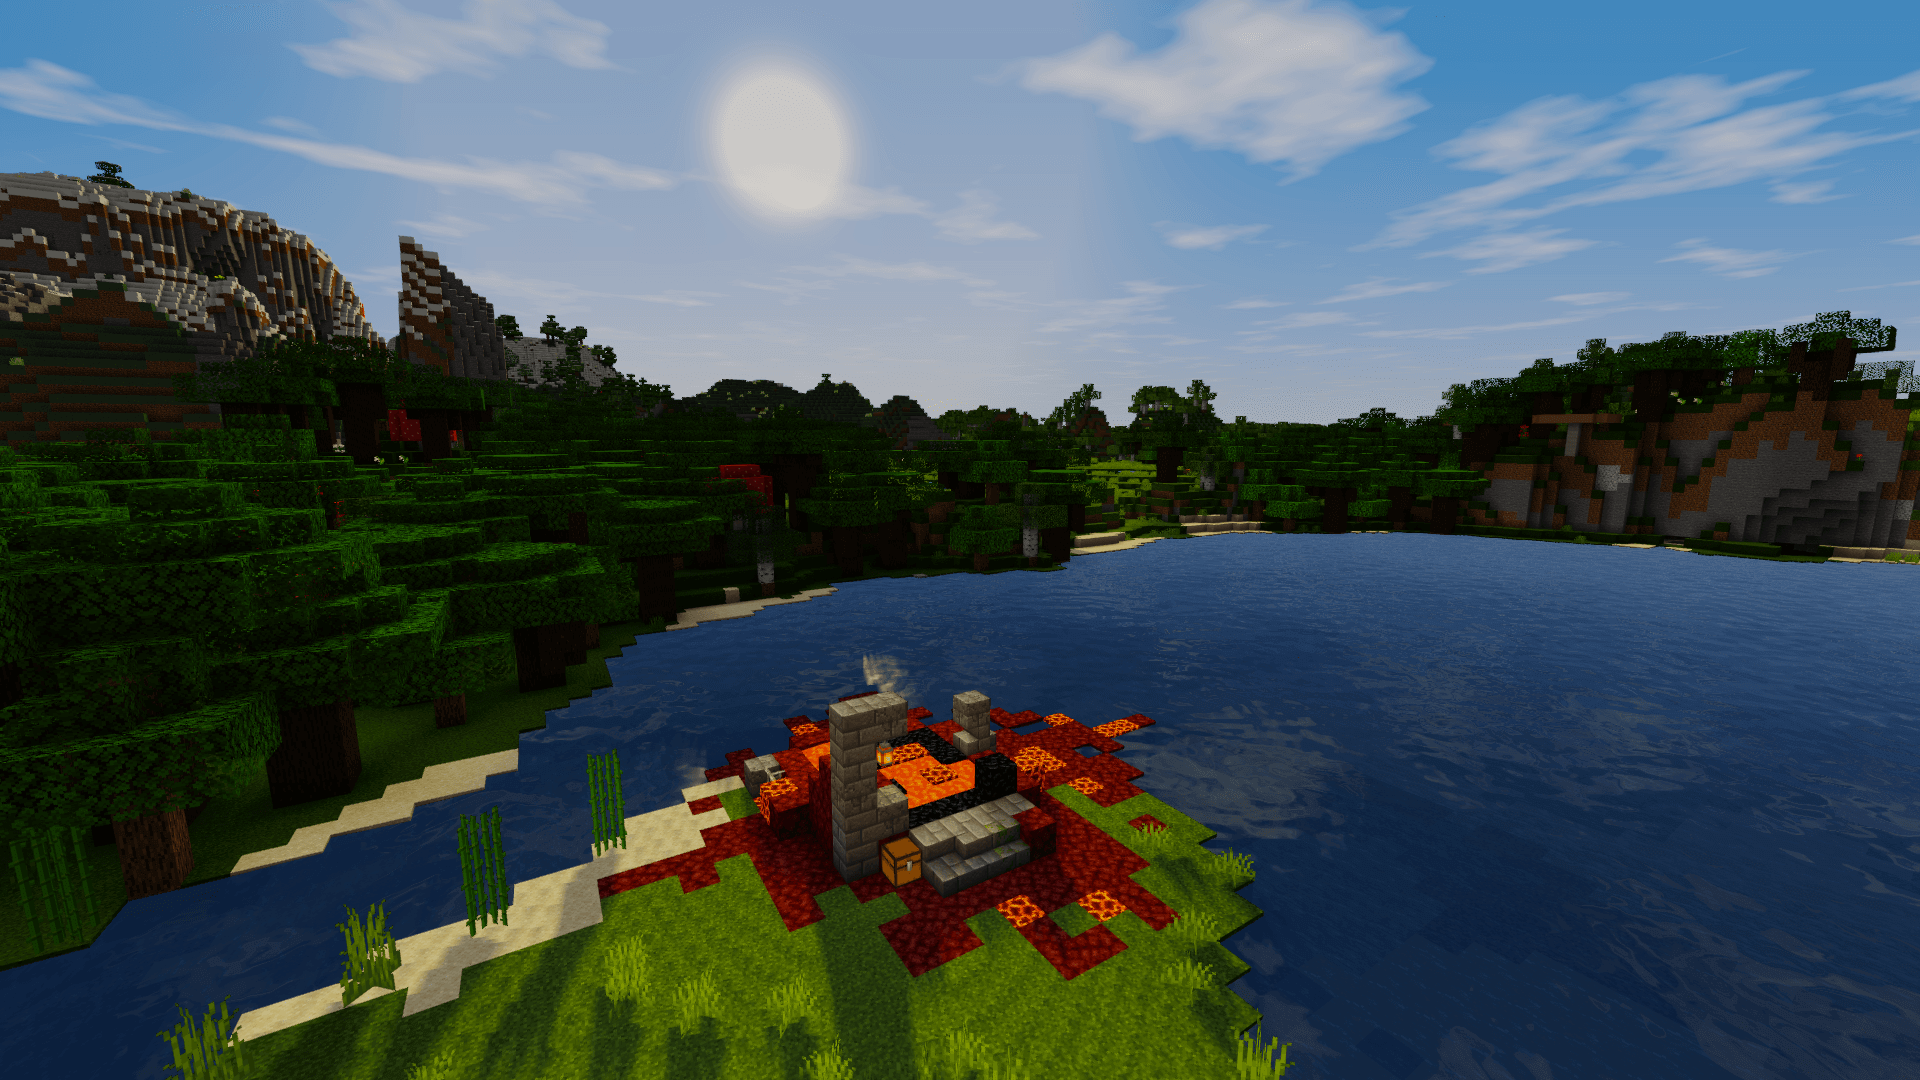
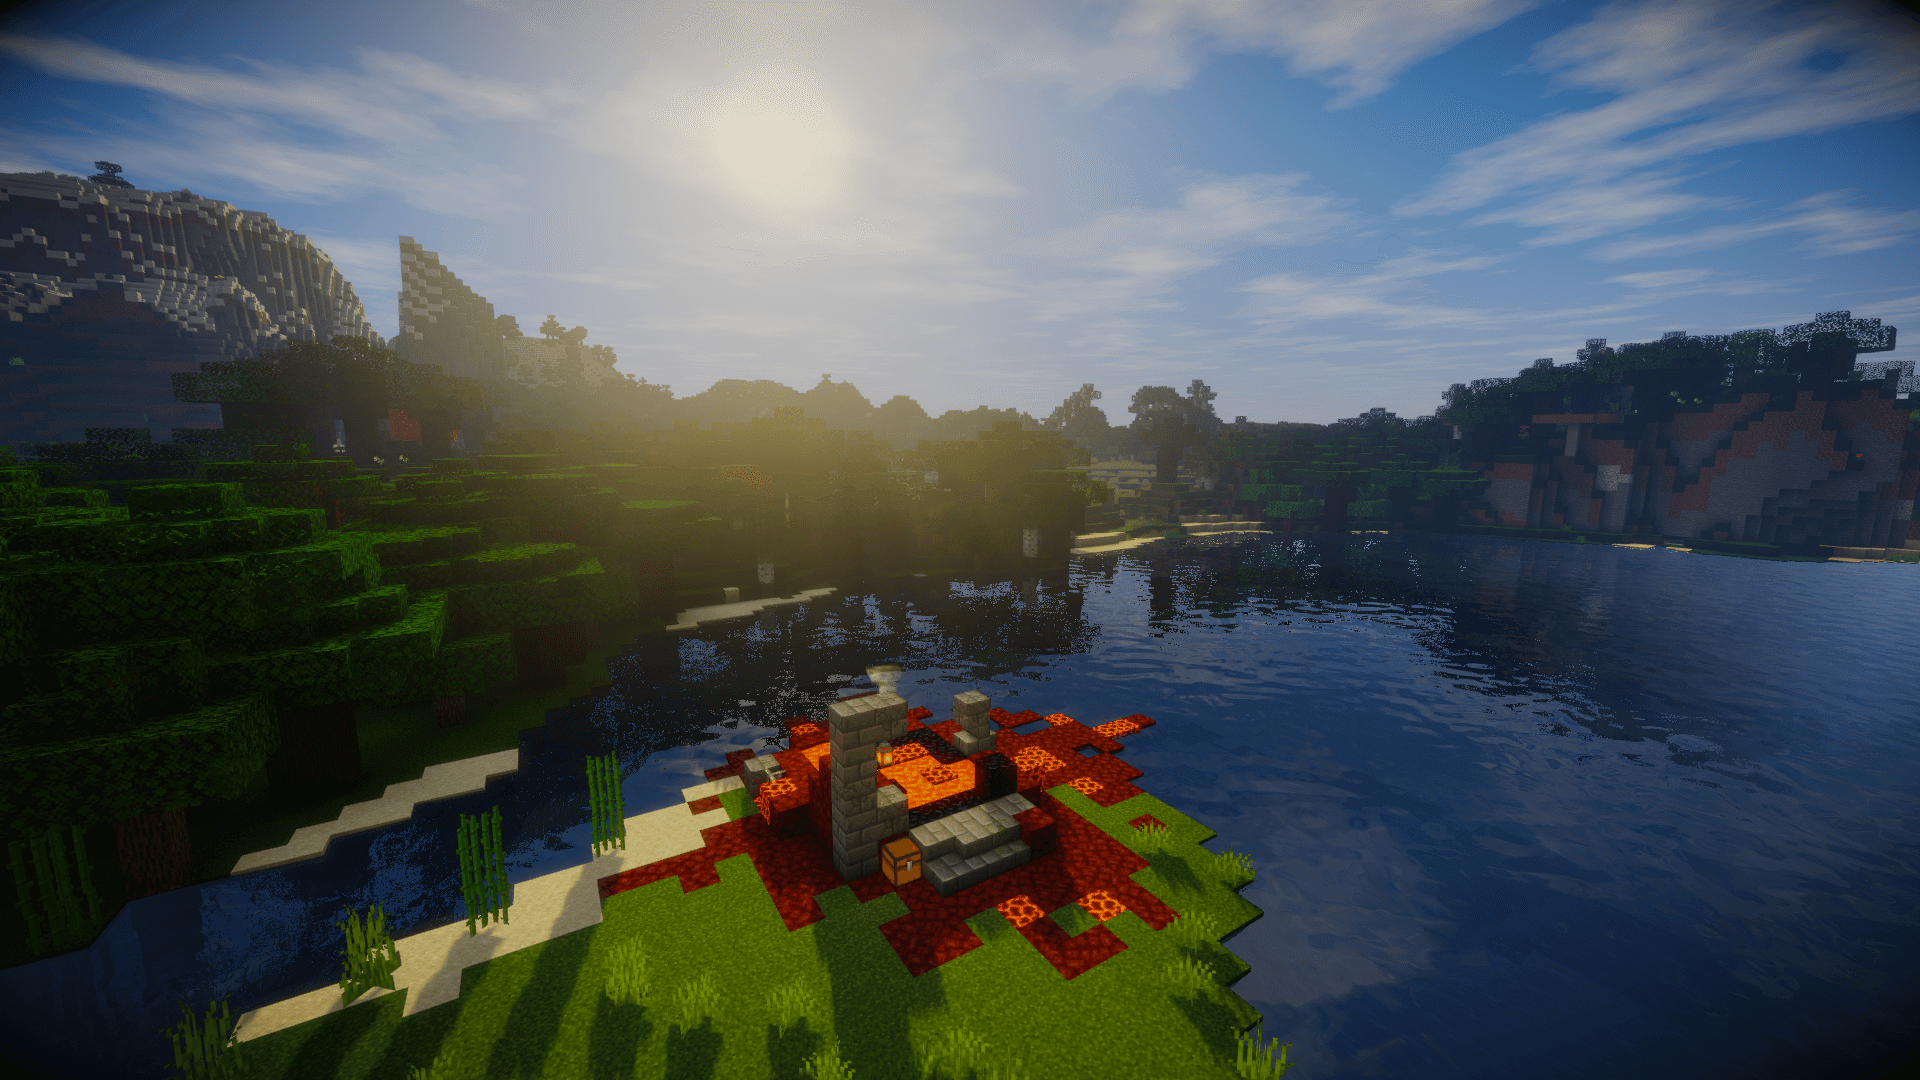
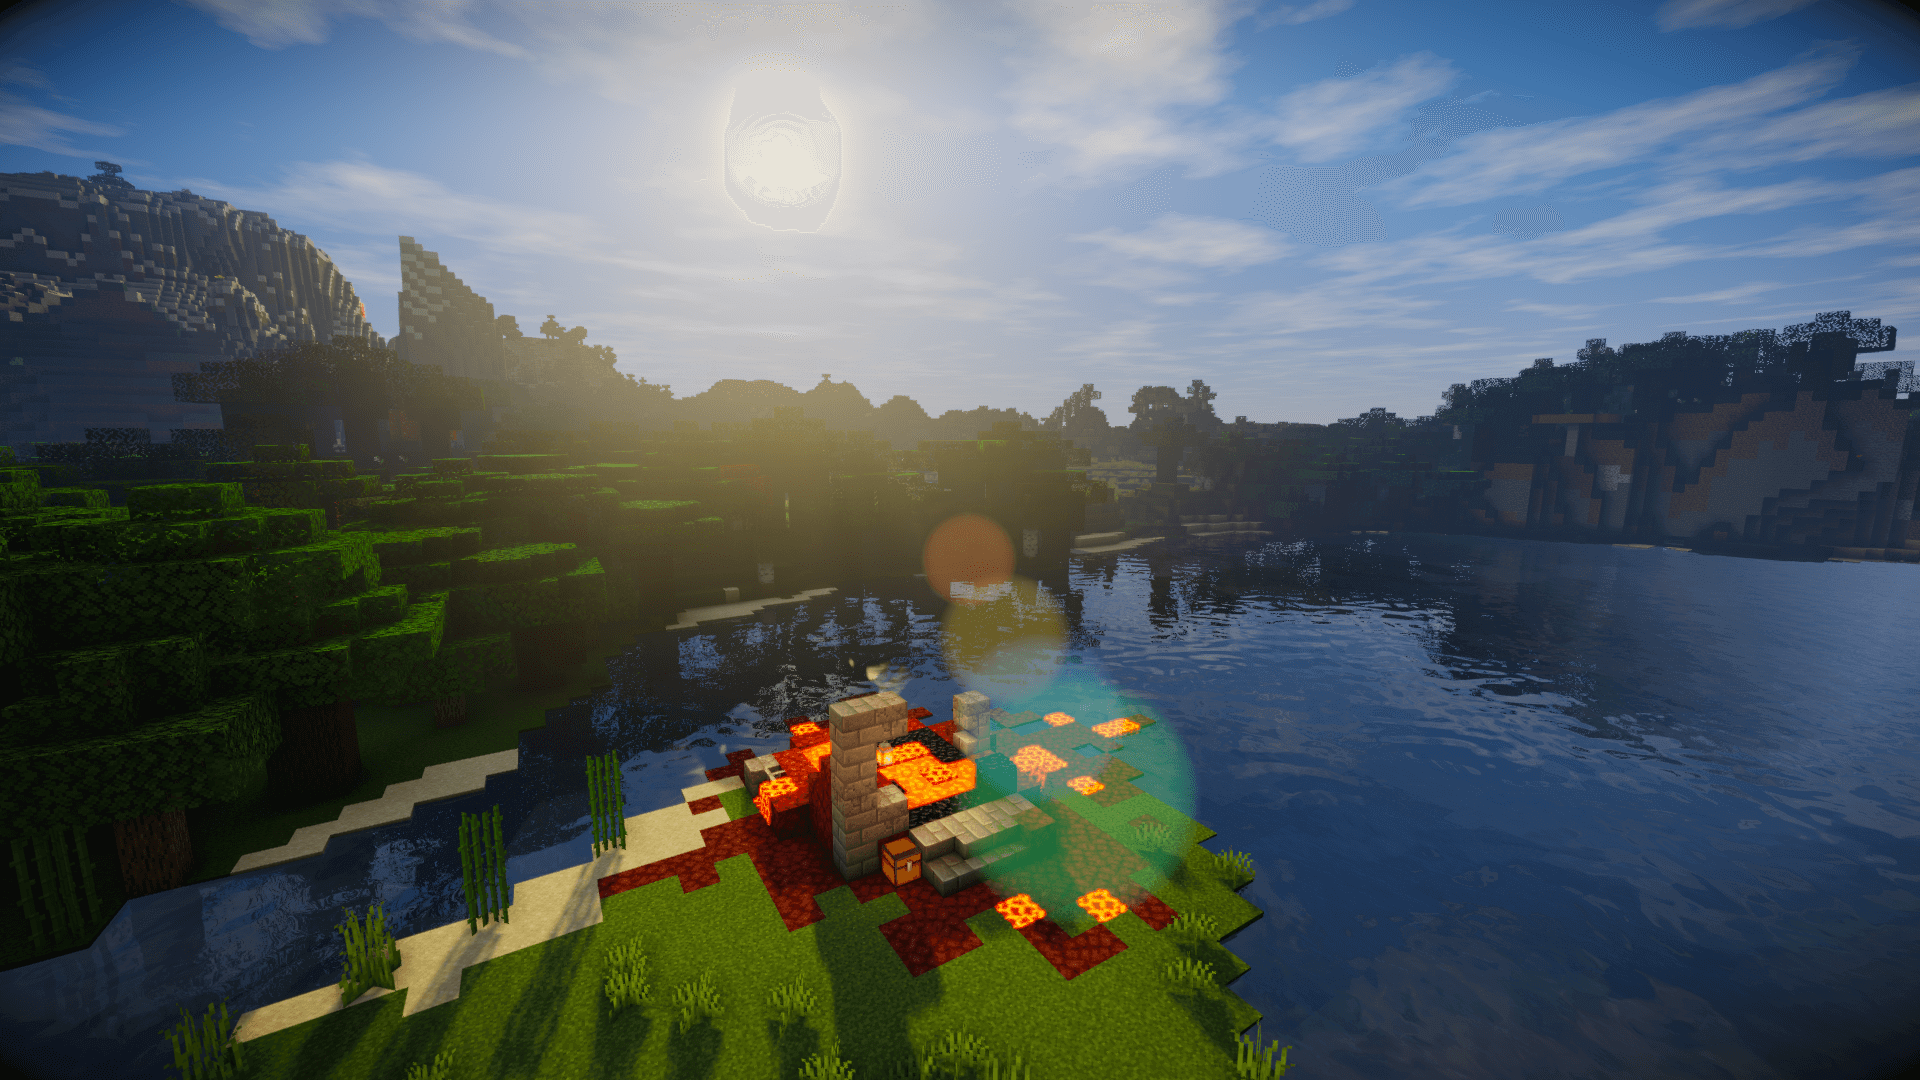
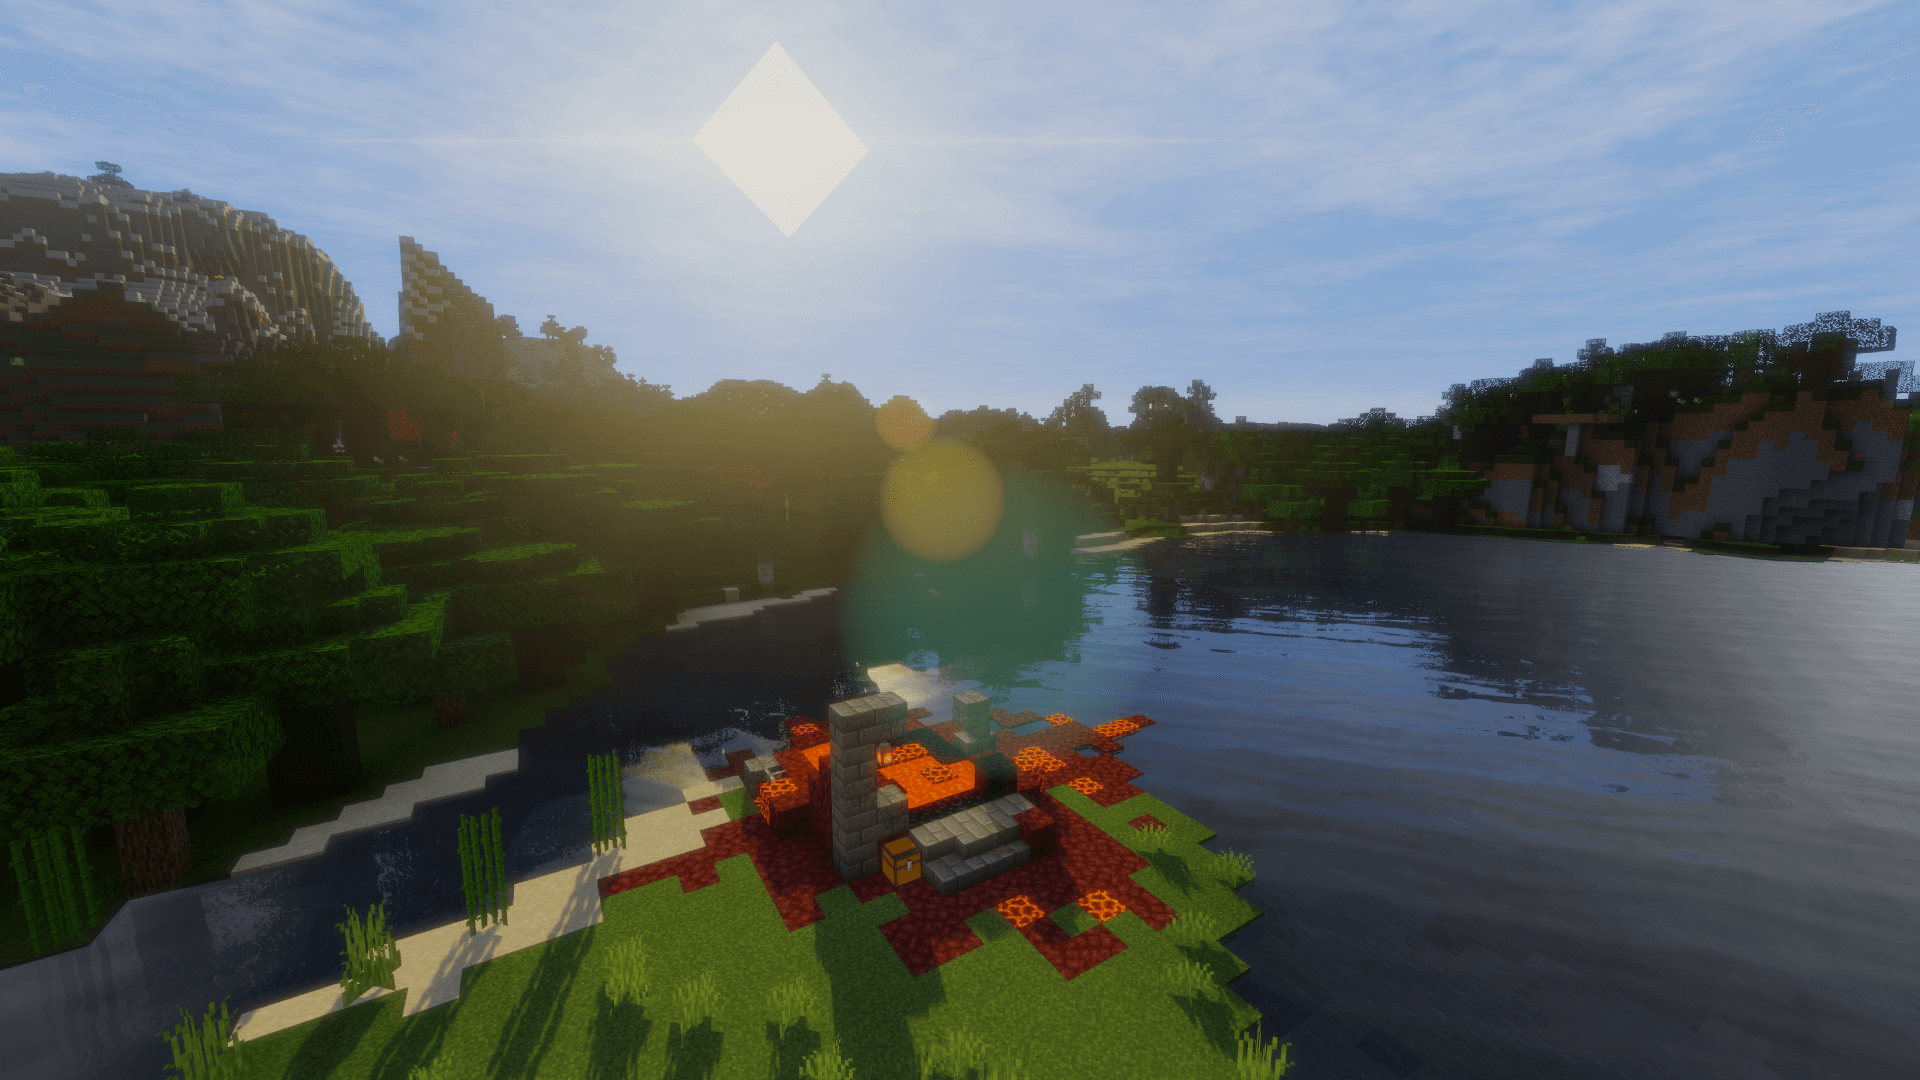
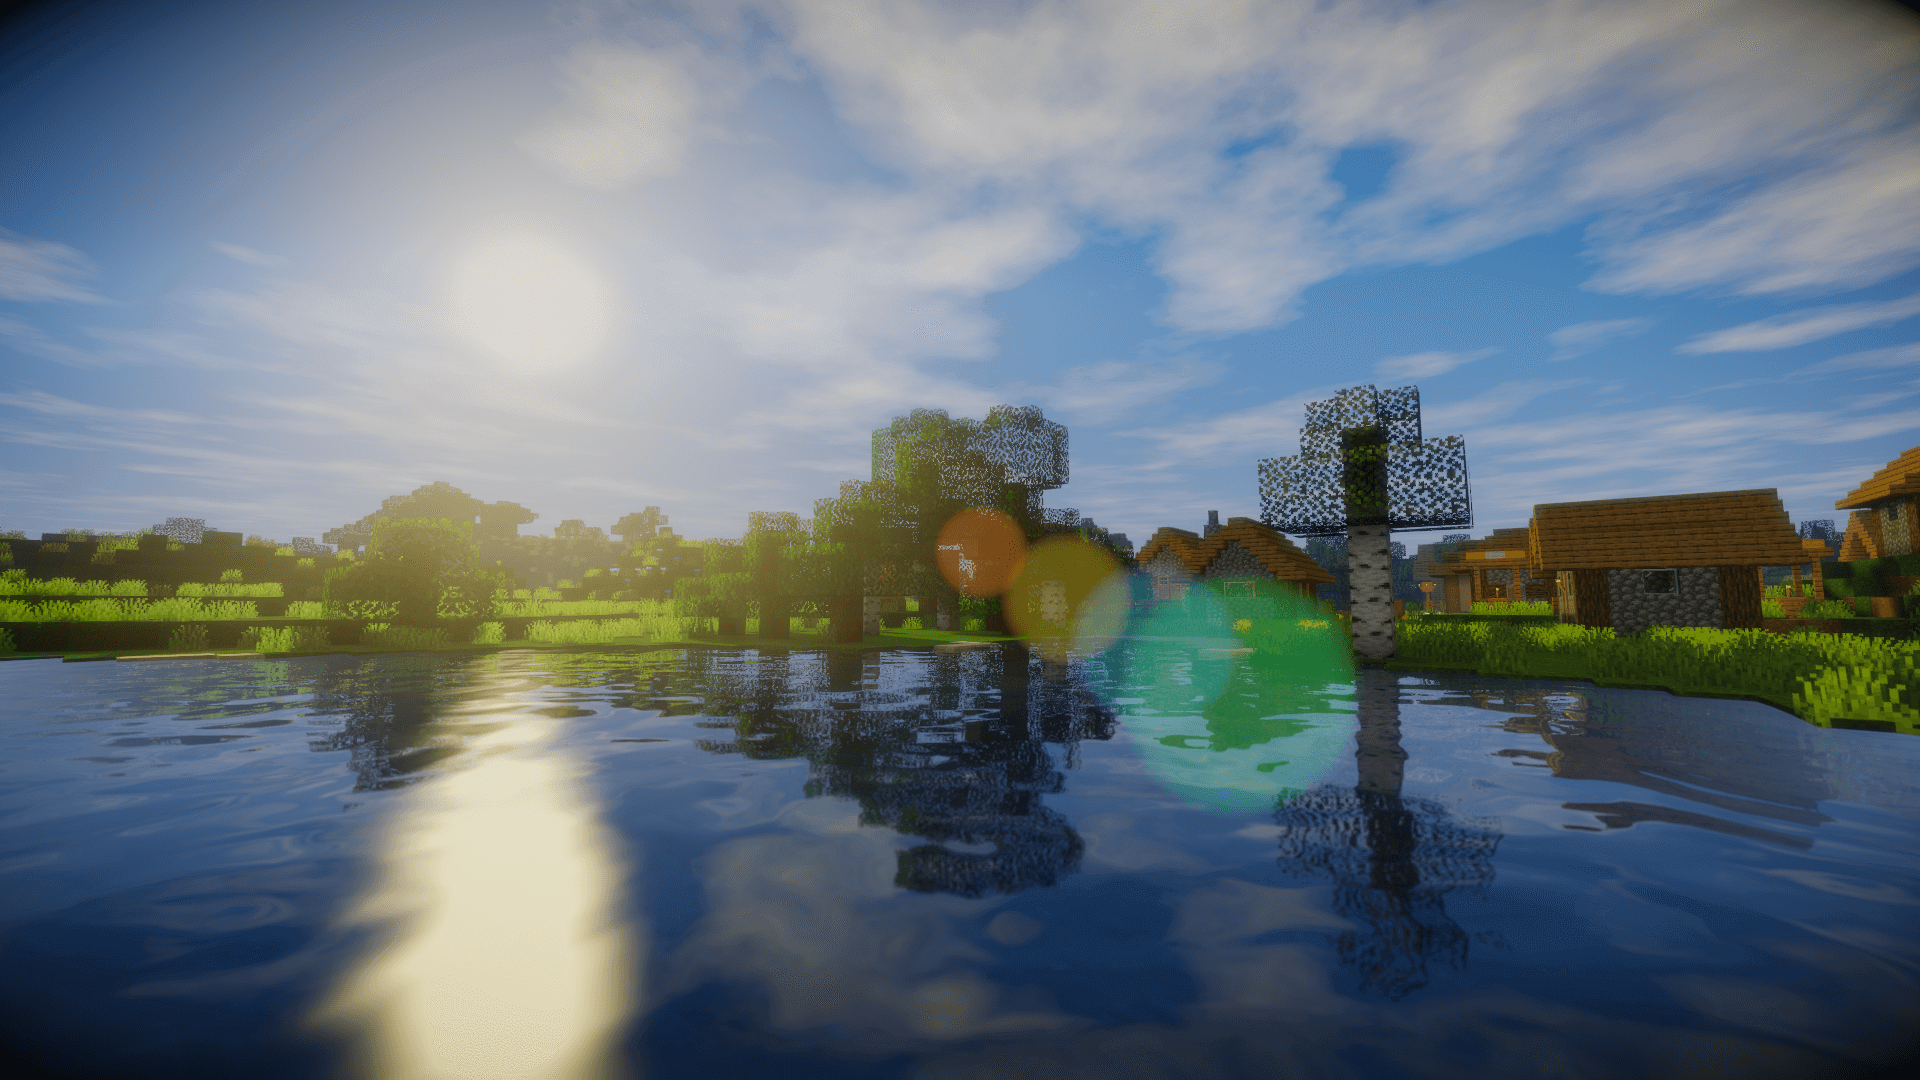
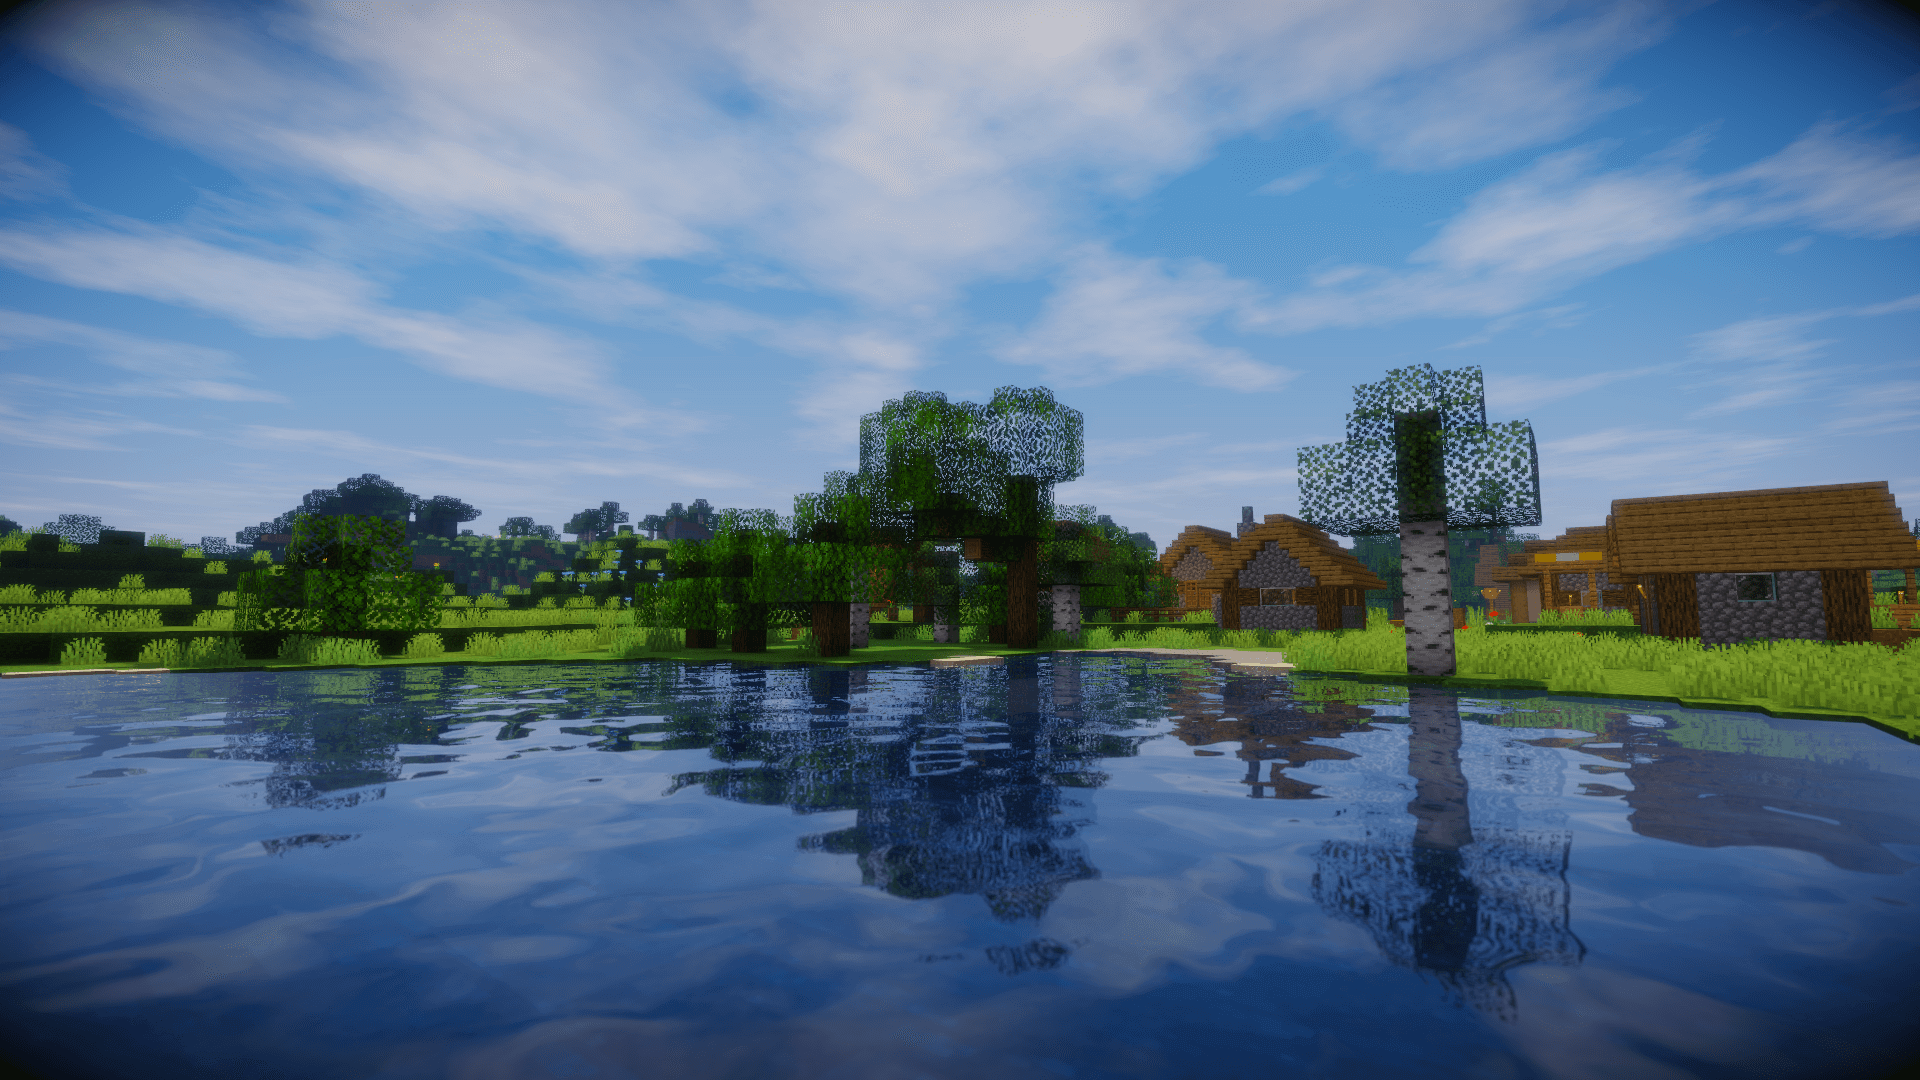
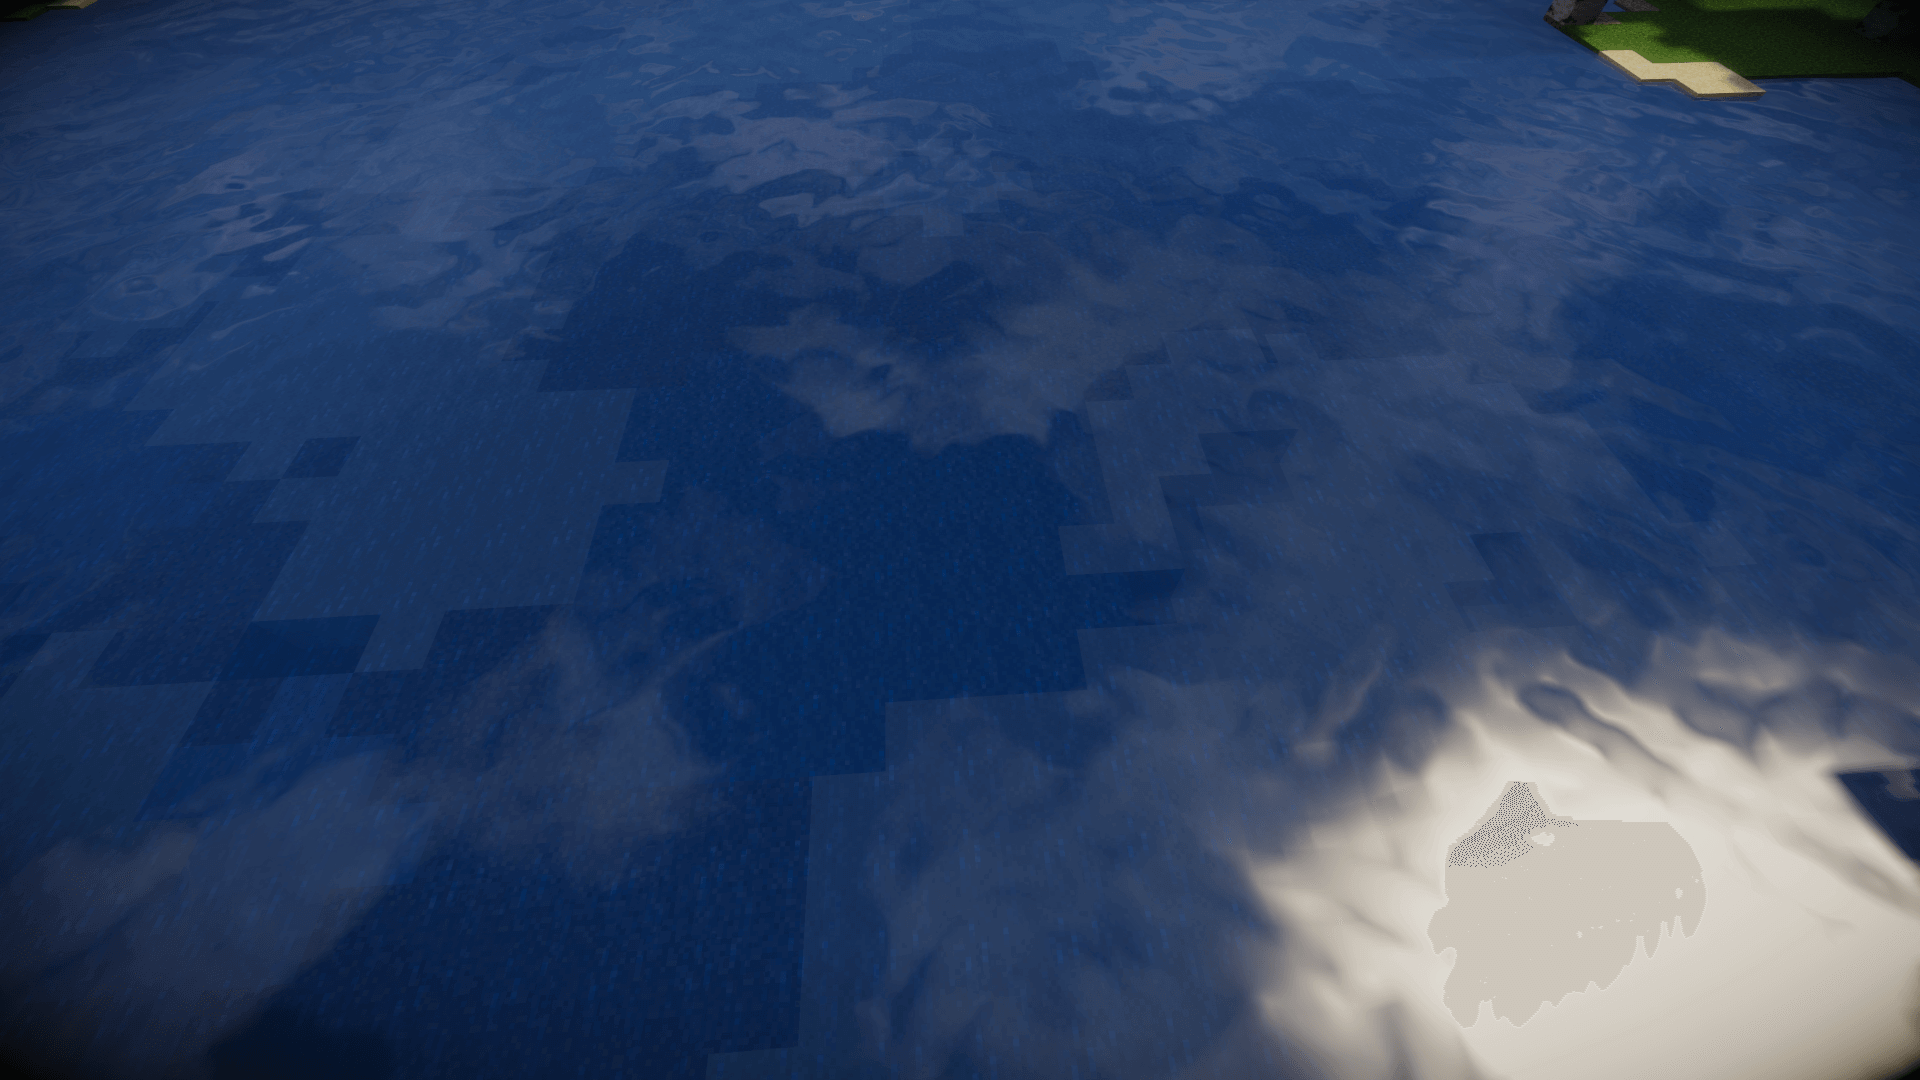
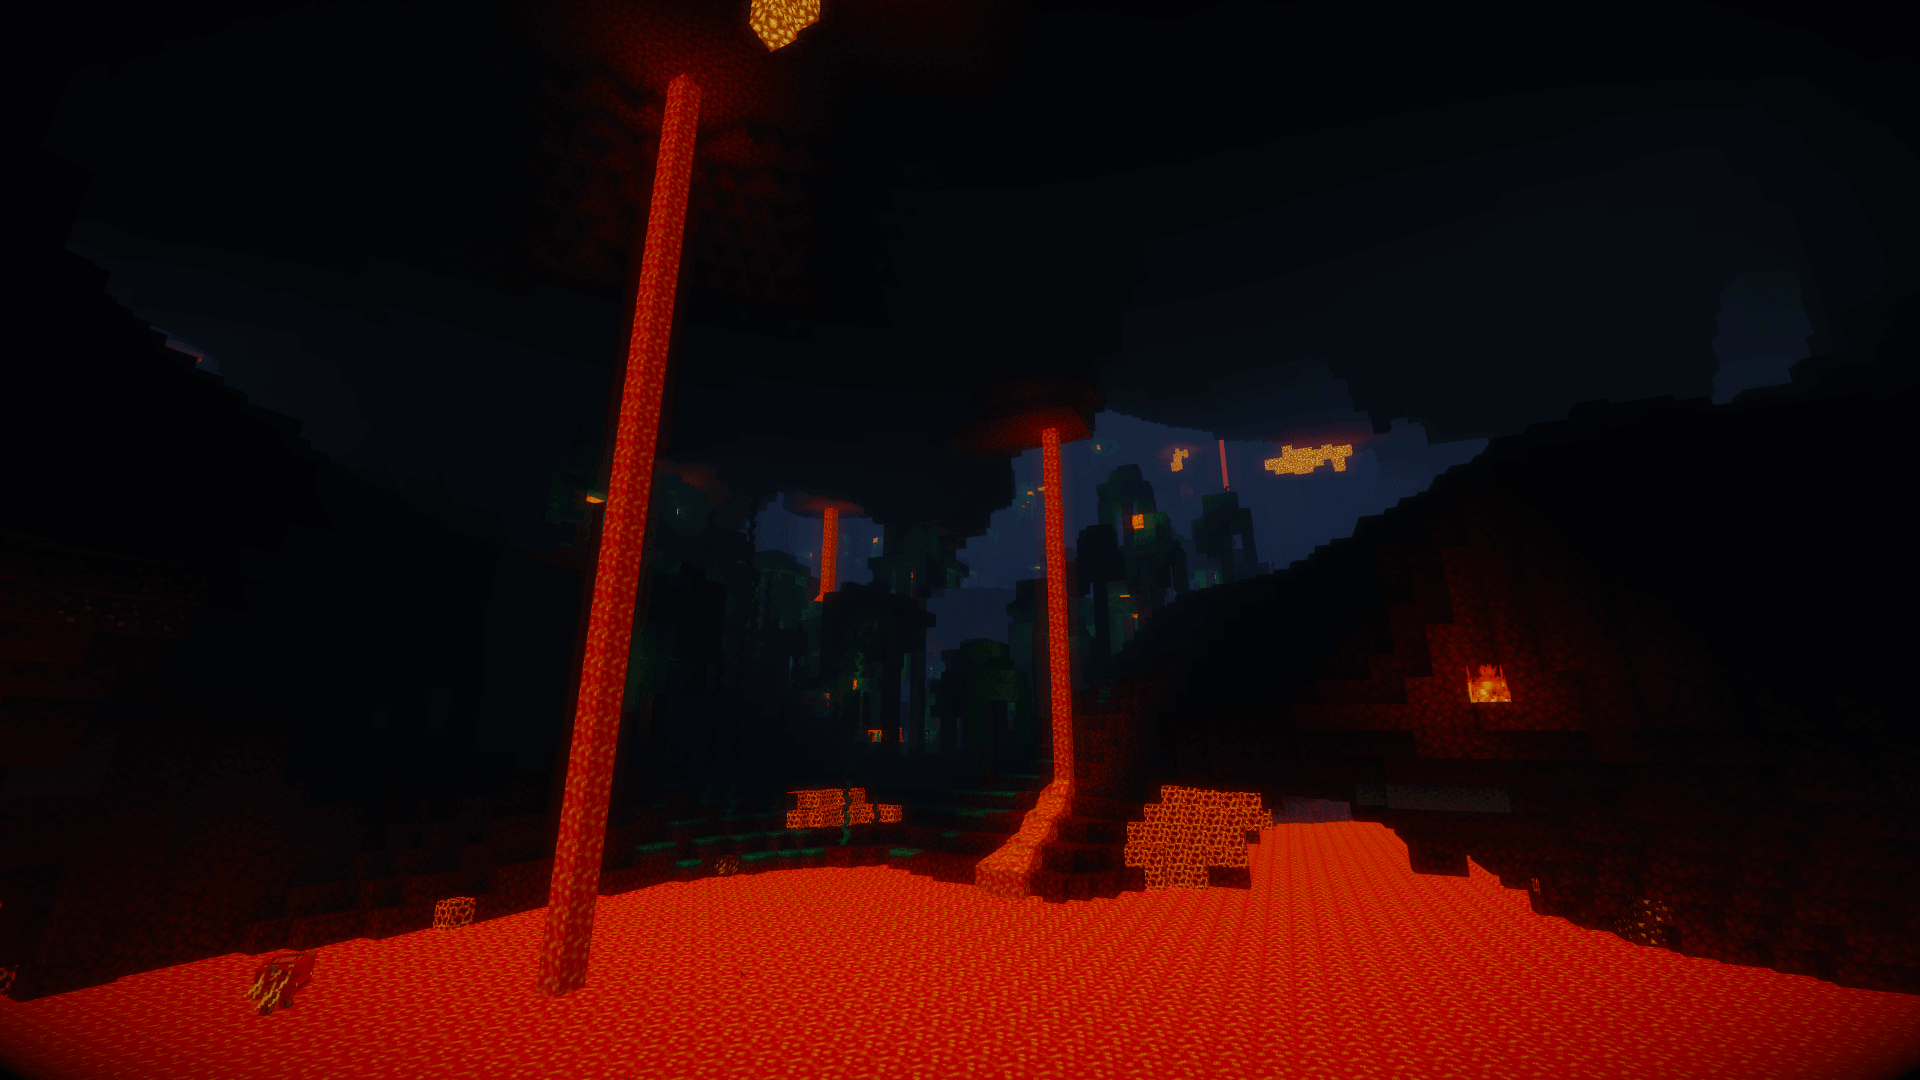
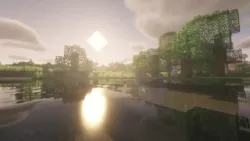
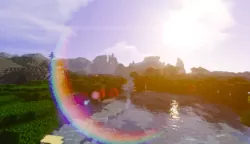
It’s hard to nail down the functions of the AirLoocke42 Shader pack because it comes in several different iterations, with different quality levels in each. With Beta, Ultra, High, Standard, Lite, and Re-Mastered versions to choose from, there are many available options, making it difficult to nail down any single version of the shader pack. You get improved reflections in all the different versions. This means water won’t be so flat and boring to look at when you’re running alongside a river or sailing across an ocean. Lighting effects, especially those for lava, are also improved significantly.
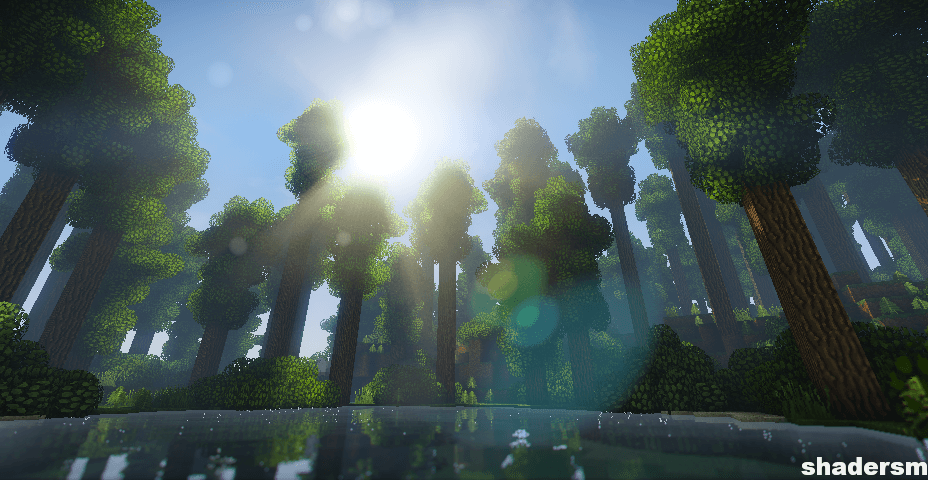
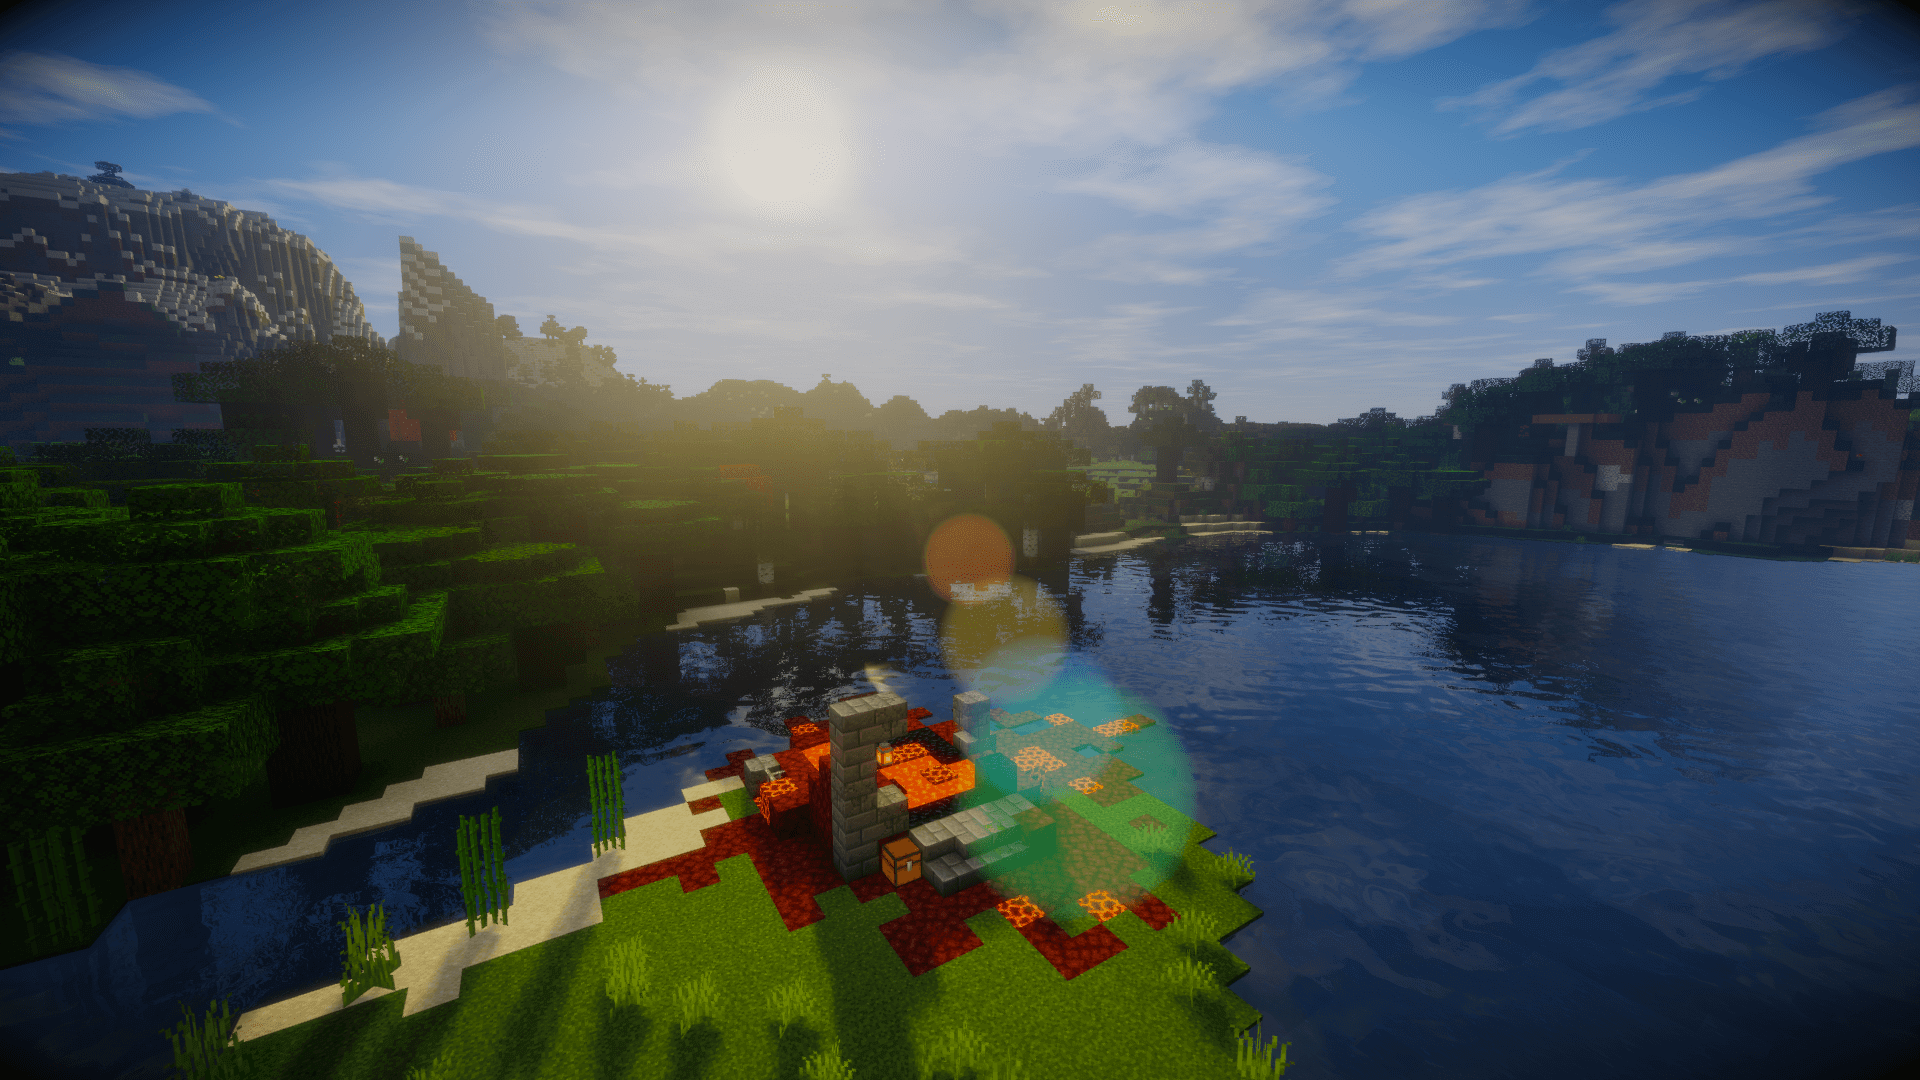
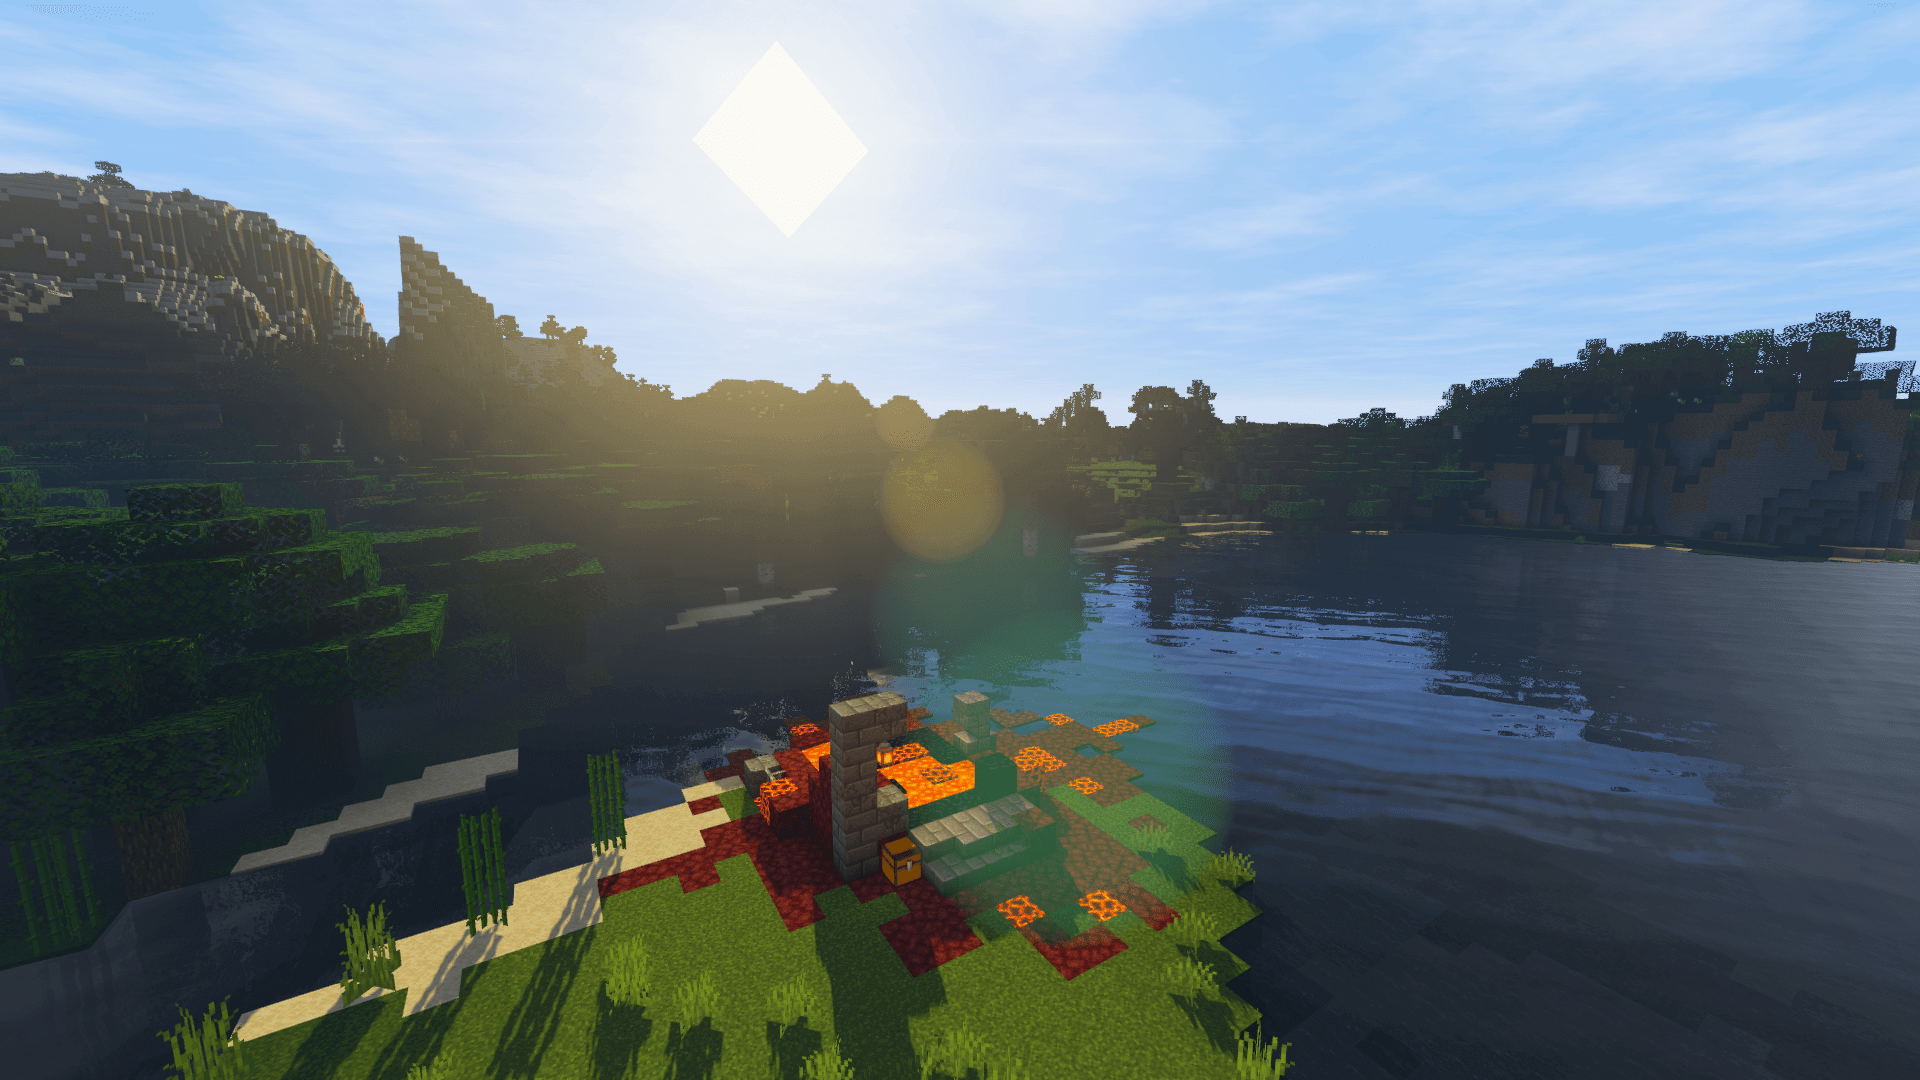
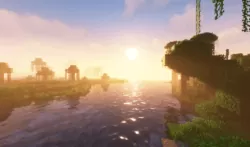
Because the different versions of the AirLoocke42 Shaders provide different levels of detail and visuals throughout Minecraft, it’s hard to nail down a specific set of requirements to make the pack work. Some versions will work on systems that would never be able to support other versions. Overall, this shader pack creates a greater level of strain and heightens Minecraft’s demand for system resources, so you’ll want more available memory, CPU power, and GPU power than normal if you want to use these shader packs. Hardware lag and a massive drop in FPS will happen otherwise.
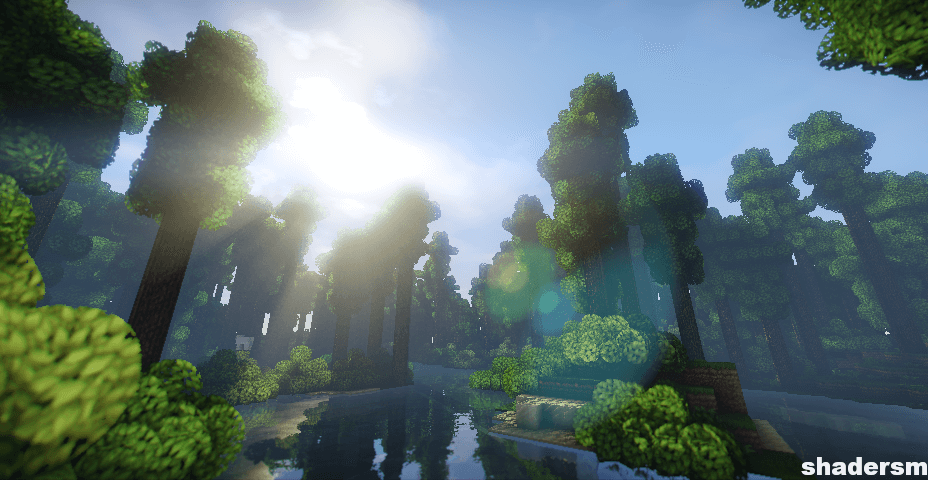
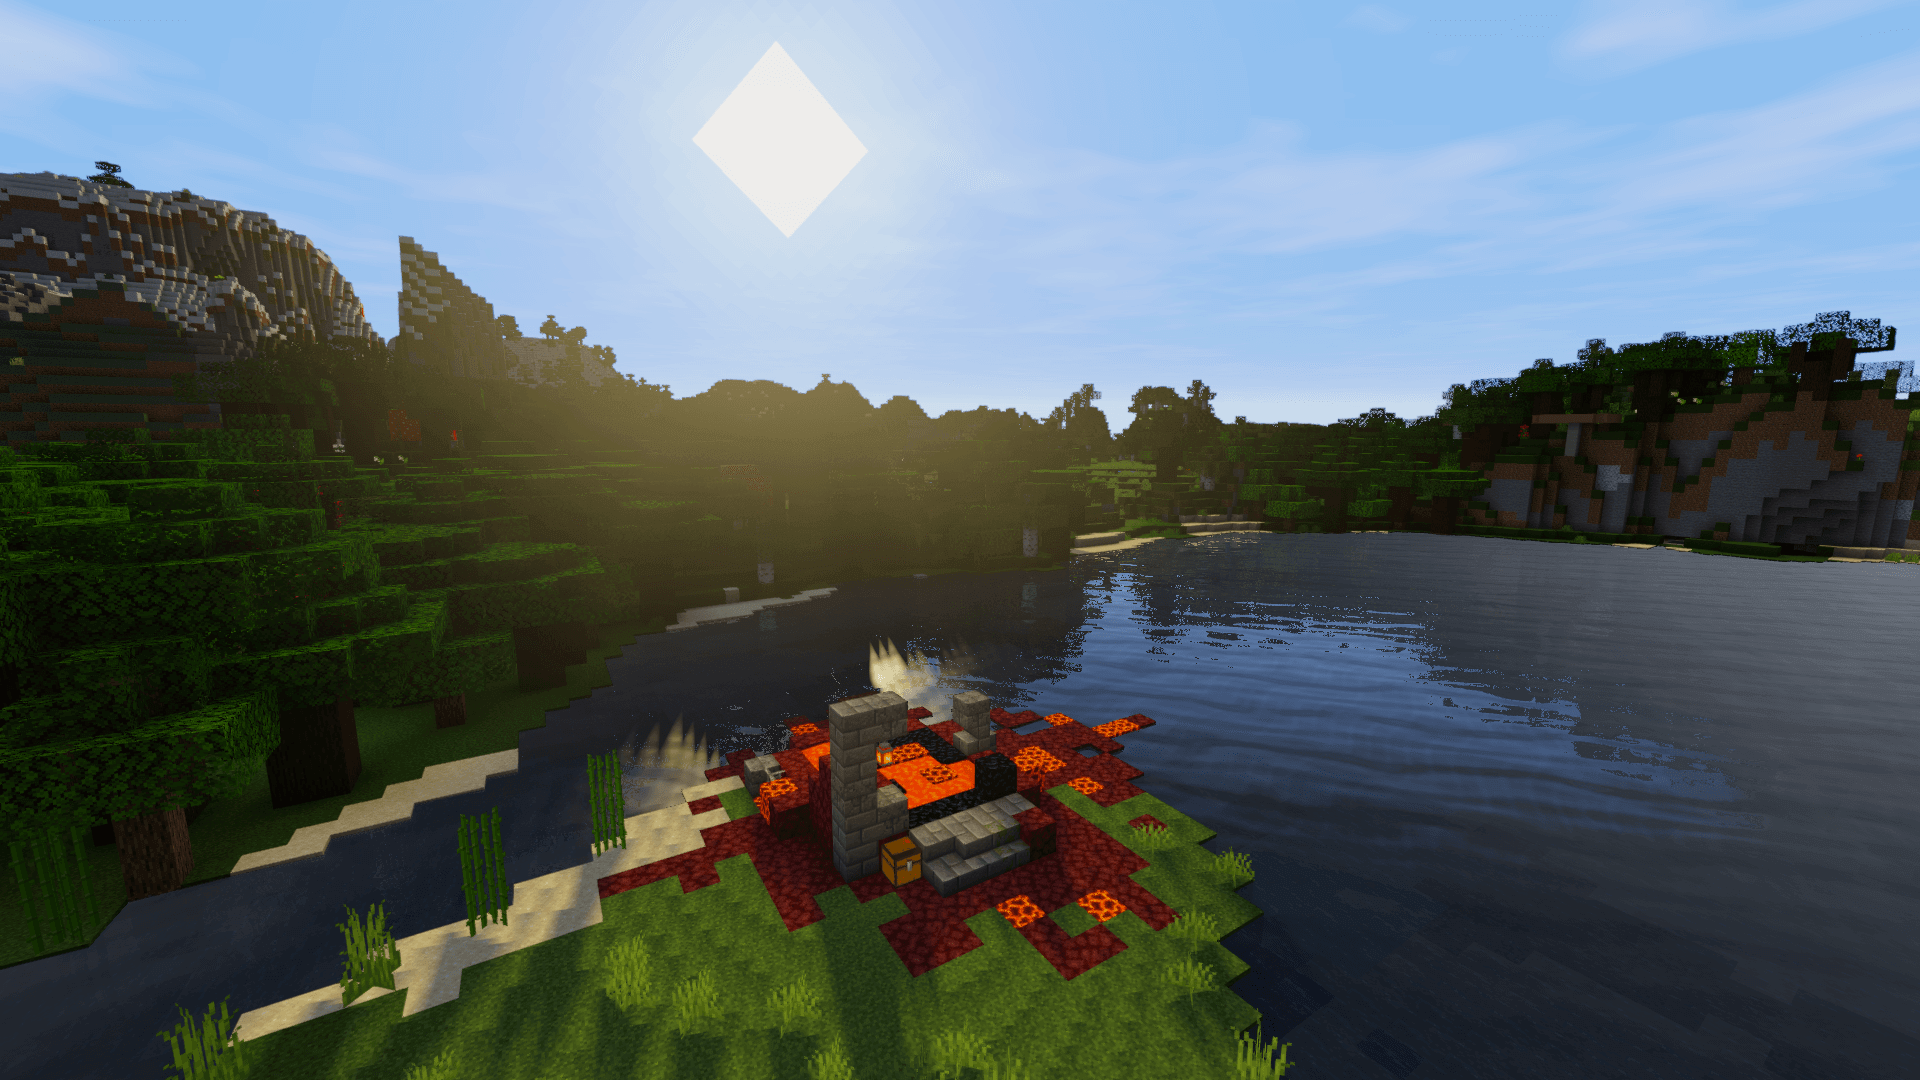
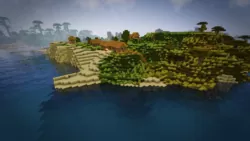
That wide variety of different versions with different visuals and different resource demands means there is pretty much a version of the AirLoocke42 Shaders for every Minecraft player. Those struggling now to play Minecraft in its vanilla state will want to shy away from this shader pack, but everyone else playing the game can get something out of it. Those relying on integrated graphics (those not using GPUs) will be disappointed with this pack, but that’s only because they won’t see it at its full potential. Everyone else should be able to find something to like about this shader.
AirLoocke42 – v2.2.0 Versions
AirLoocke42 – FXD Versions
You should use the FXD version if your PC can not handle the main versions, these versions are a little bit low in quality, but you will get better FPS in-game and less memory usage.
- 1.19.1
- 1.19
- 1.18.2
- 1.18.1
- 1.18
- 1.17.1
- 1.17
- 1.16.5
- 1.16.4
- 1.16.3
- 1.16.2
- 1.16.1
- 1.16
- 1.15.2
- 1.15.1
- 1.15
- 1.14.4
- 1.14.3
- 1.14.2
- 1.14.1
- 1.14
- 1.13.2
- 1.13.1
- 1.13
- 1.12.2
- 1.12.1
- 1.12
- 1.11.2
- 1.11.1
- 1.11
- 1.10.2
- 1.10.1
- 1.10
- 1.9.4
- 1.9.3
- 1.9.2
- 1.9.1
- 1.9
- 1.8.9
- 1.8.8
- 1.8.7
- 1.8.6
- 1.8.5
- 1.8.4
- 1.8.3
- 1.8.2
- 1.8.1
- 1.8
- 1.7.10
- 1.7.9
- 1.7.8
- 1.7.7
- 1.7.6
- 1.7.5
- 1.7.4
- 1.7.2
- 1.7
- 1.6.4
- 1.6.2
Features
Over 32 new features are available in AirLoocke42 Shaders to enhance your gaming experience.
📊 Performance Impacts
Decrease in performance can vary from device to device, driver version, and many other factors, you should test yourself on your machine for the best result.
- None
- No performance decreases
- Small
- ~5%
- Medium
- ~10%
- High
- ~25%
- Extreme
- +50%
-
- Ambient OcclusionMedium
- Simulating how light interacts with objects and surfaces.
-
- Atmospheric SkySmall
- Simulates realistic atmospheric scattering.
-
- BloomSmall
- Enhance the game's lighting and create a more realistic and immersive visual experience
-
- BlurSmall
- Simulate how fast-moving objects appear to blur in a photograph or video.
-
- Cel ShadingSmall
- Technique used to give the game a more stylized, cartoon-like appearance.
-
- CustomizationNone
- Customize various aspects of the game's visual effects.
-
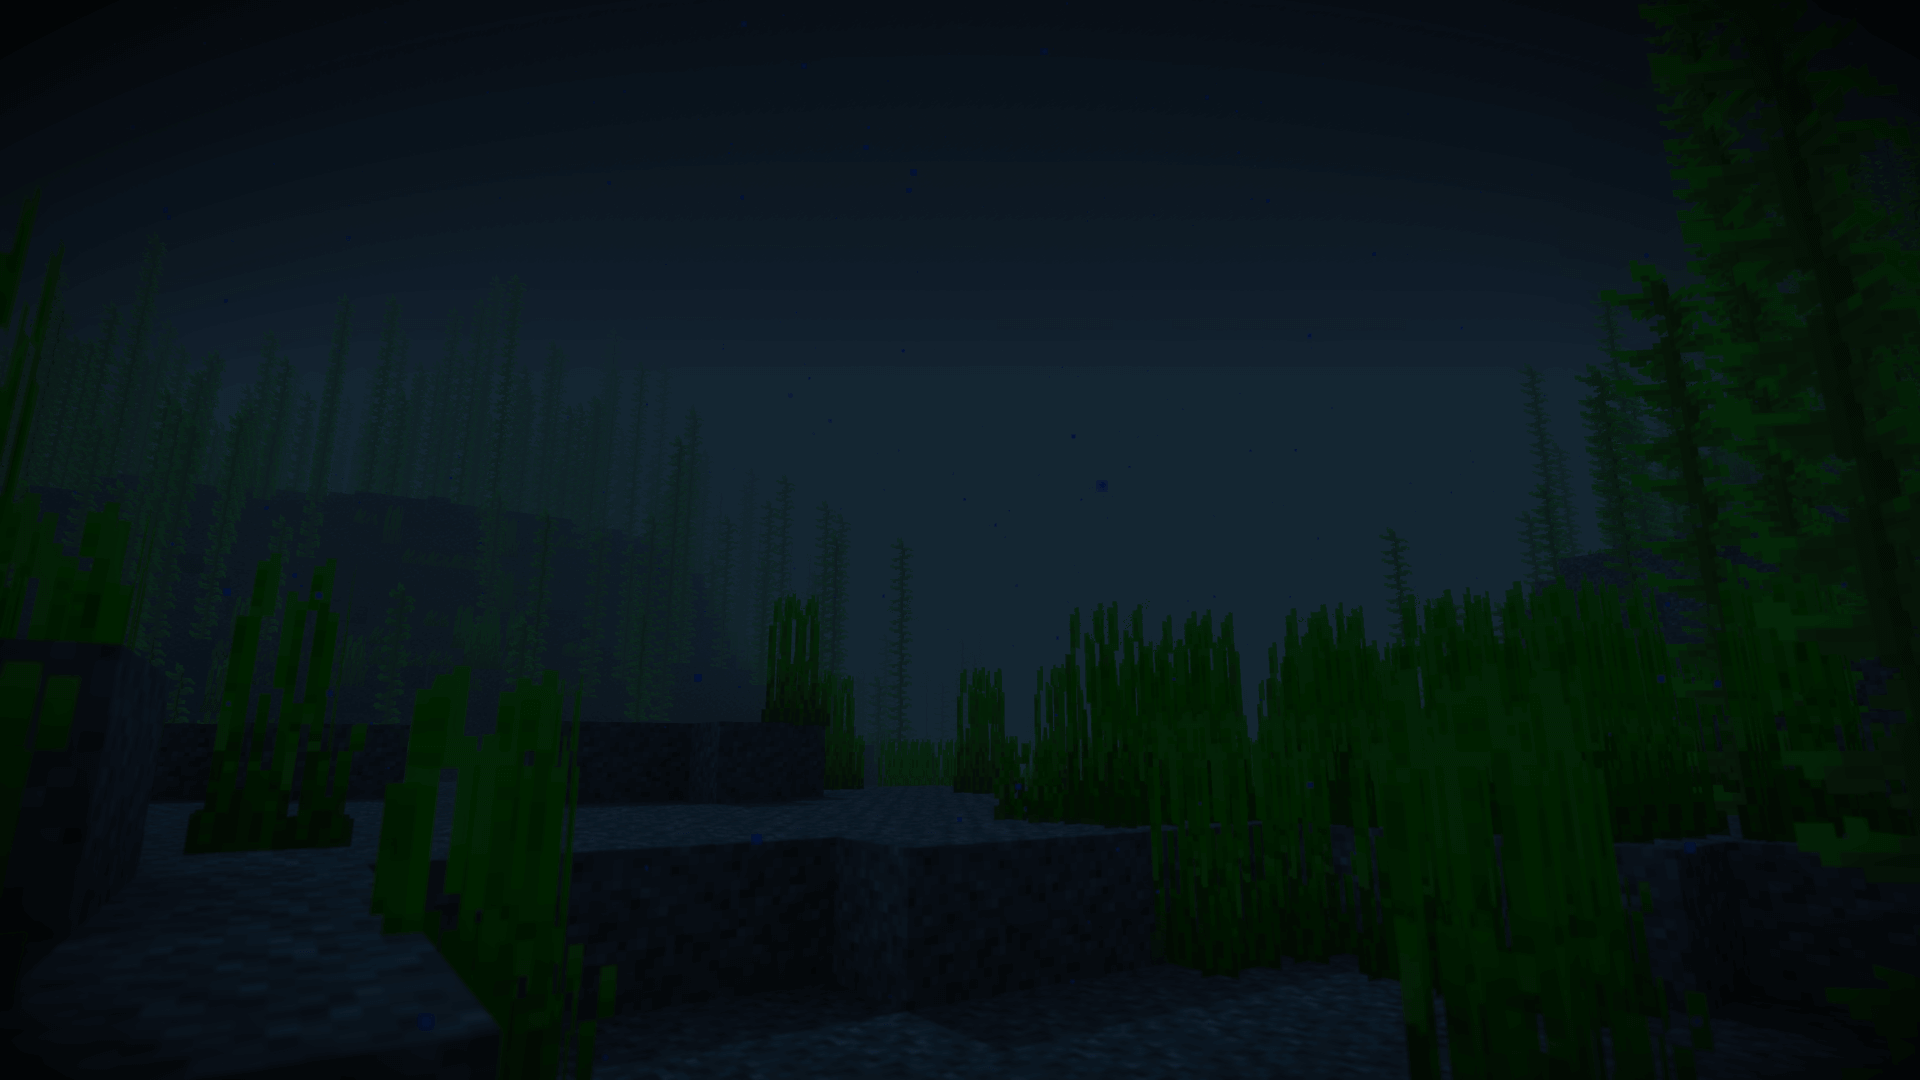
- DarkNone
- Enjoy exploring dark and mysterious environments, such as caves or ruins.
-
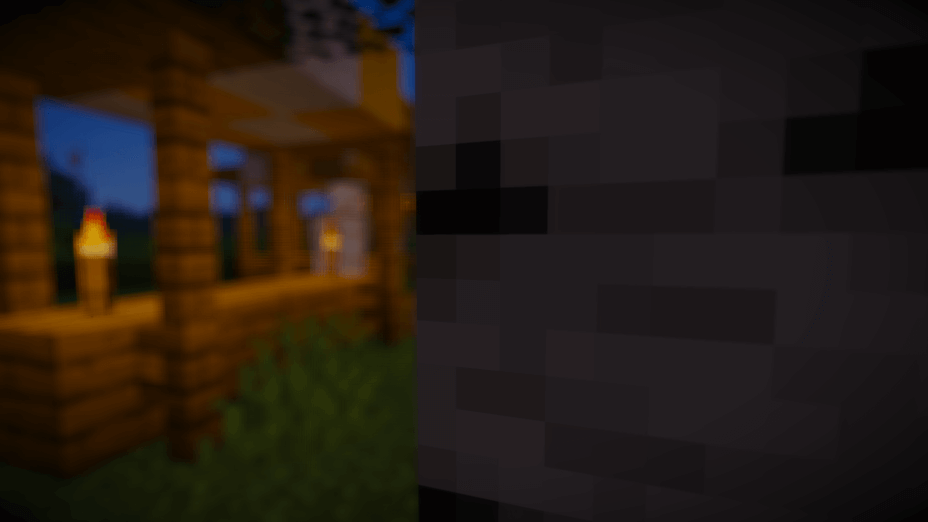
- Depth of FieldMedium
- Making objects closer to the camera appear sharp and in focus, while objects farther away appear out of focus and blurry.
-
- Lens FlareSmall
- Simulating the way light scatters and reflects inside a camera lens.
-
- LightMedium
- Enhance the game's overall visual quality.
-
- Motion BlurHigh
- Simulates the way that fast-moving objects appear to blur in the real world.
-
- Moving CloudsMedium
- Simulates the movement of clouds across the sky and can be used to create the appearance of a dynamic and ever-changing sky
-
- Normal MapSmall
- Add depth and detail to surfaces without increasing the number of polygons.
-
- Photorealistic SkyboxesMedium
- Replacing the in-game sky with high-resolution, realistic images of the sky.
-
- POMHigh
- Realism of textures by simulating the way light interacts with surfaces.
-
- Realistic NightskyMedium
- More realistic and immersive night sky.
-
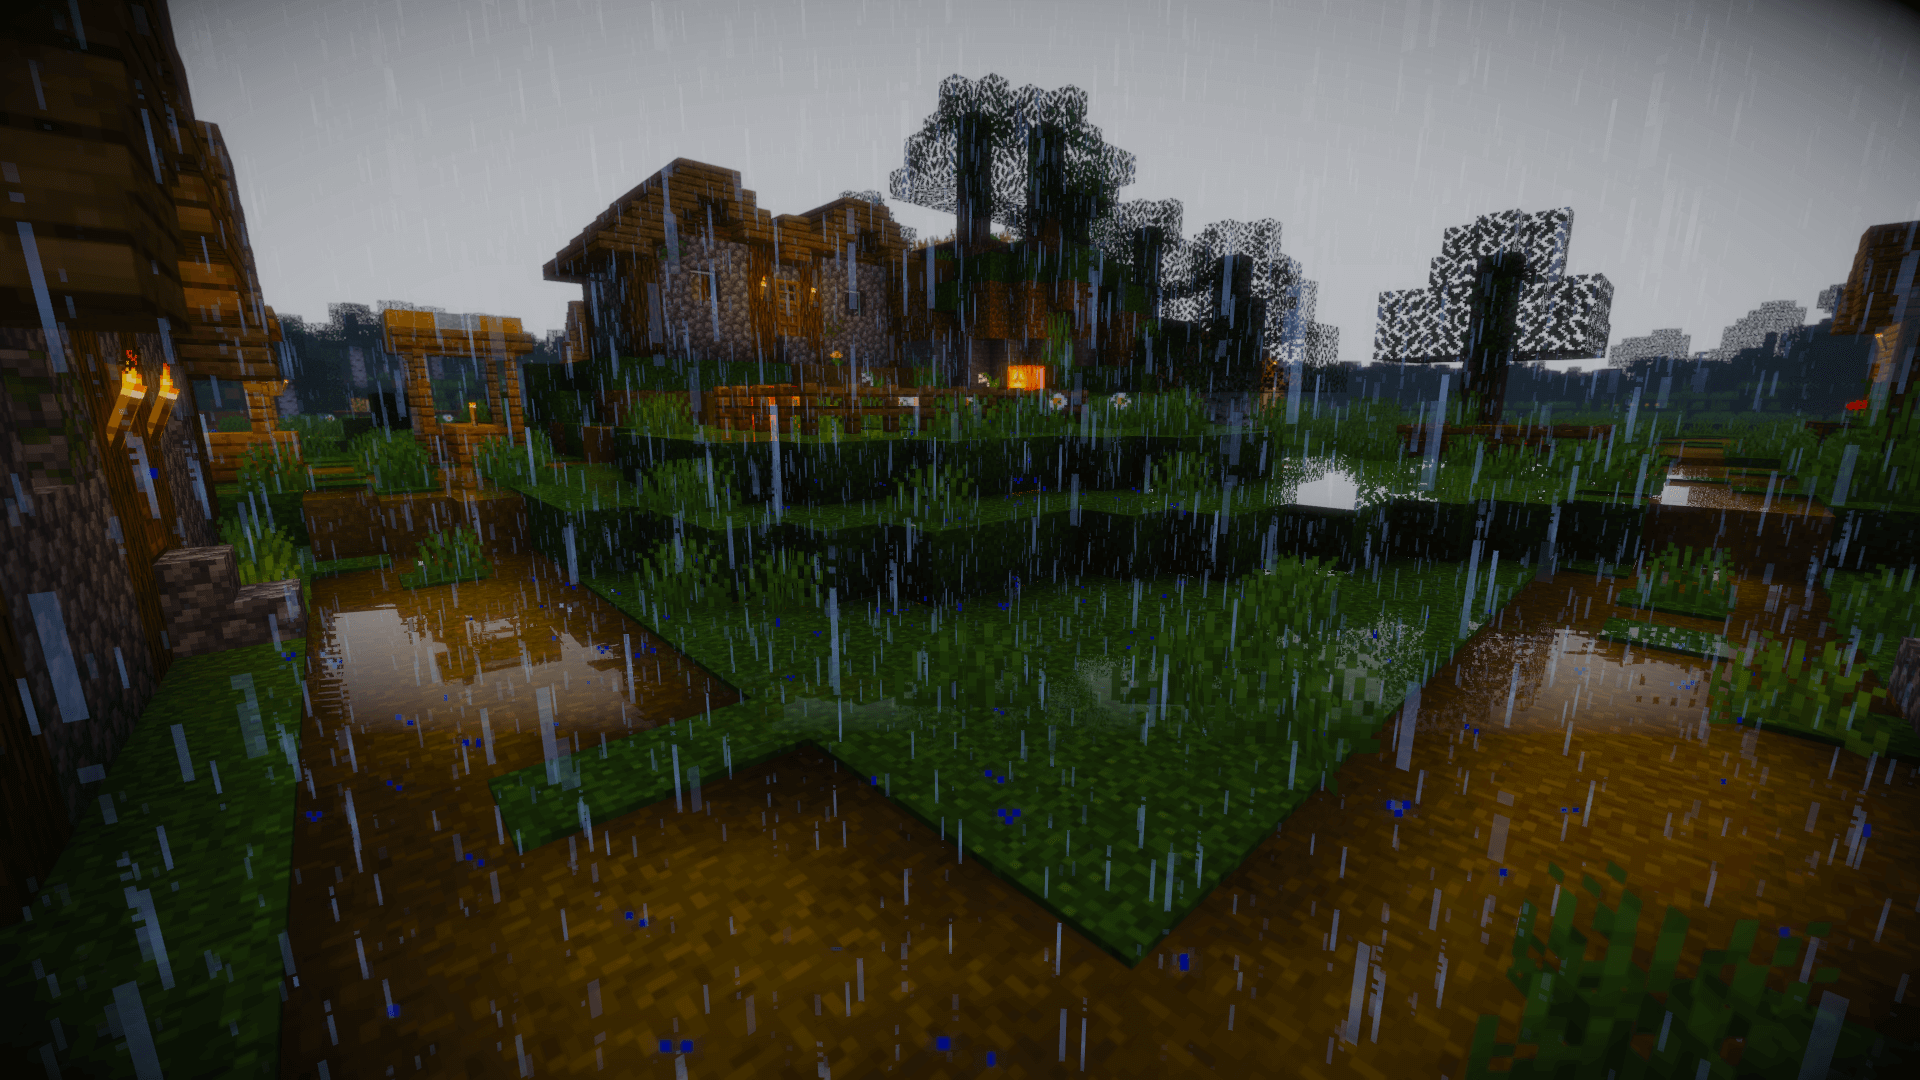
- Realistic RainMedium
- More natural and immersive rain experience.
-
- Realistic SkyMedium
- More realistic and immersive sky experience.
-
- Realistic WaterHigh
- More realistic and immersive water experience.
-
- ShadowsSmall
- Simulate how light is blocked and scattered by objects in the environment.
-
- Sun RaysMedium
- Simulate the appearance of sunlight streaming through trees leaves, objects, clouds, or other atmospheric conditions.
-
- SunriseSmall
- More realistic and immersive sunrise experience.
-
- SunsetSmall
- More realistic and immersive sunset experience.
-
- Tone MappingSmall
- Adjusting the brightness, contrast, and saturation levels.
-
- VignetteNone
- Darkening effect around the edges of the screen
-
- Volumetric CloudsHigh
- Simulate the way that clouds appear to have volume and depth in the real world rather than just flat textures.
-
- Volumetric FogHigh
- Create the appearance of fog that is lit from within, casting shadows and creating a sense of depth.
-
- Volumetric LightHigh
- Simulating the scattering of light in the atmosphere and in the environment.
-
- Water WavesMedium
- Movement of waves on the surface of the water.
-
- Waving GrassSmall
- Simulating the way it moves and sways in the wind.
-
- Waving PlantsSmall
- Simulating the way they move and sway in the wind.
-
- Waving TreesSmall
- Adds movement to the leaves and branches of trees, making them look more alive and realistic.
AirLoocke42 Shaders allow you to change more than 23 settings to suit your needs.
| Settings | Description | Options |
|---|---|---|
| BLOOM |
| |
| CELSHADING |
| |
| DOF |
| |
| DYNAMIC_HANDLIGHT |
| |
| GODRAYS |
| |
| LENS_EFFECTS |
| |
| POM |
| |
| RAIN_REFLECTIONS |
| |
| SHADOW_FILTER |
| |
| SSAO |
| |
| VIGNETTE |
| |
| WATER_REFLECTIONS |
| |
| WAVING_FIRE |
| |
| WAVING_FLOWERS |
| |
| WAVING_GRASS |
| |
| WAVING_LEAVES |
| |
| WAVING_LILIES |
| |
| WAVING_SAPLINGS |
| |
| WAVING_SUGAR_CANES |
| |
| WAVING_TALLPLANTS_AND_TALLGRASS |
| |
| WAVING_VEGETATION |
| |
| WAVING_VINES |
| |
| WAVING_WATER |
|
Comparison
Our comparison tool makes it easy to compare AirLoocke42 Shaders with Minecraft vanilla and other shader packs.


How To Install AirLoocke42 Shaders
- Support Forge / Vanilla
- Extra features
- Good performance
- No modding required Support Forge
- No modding required Older versions of Minecraft are supported
Optifine Installation Guide
Note
Your device must have Java installed to run the Forge and Optifine installers.
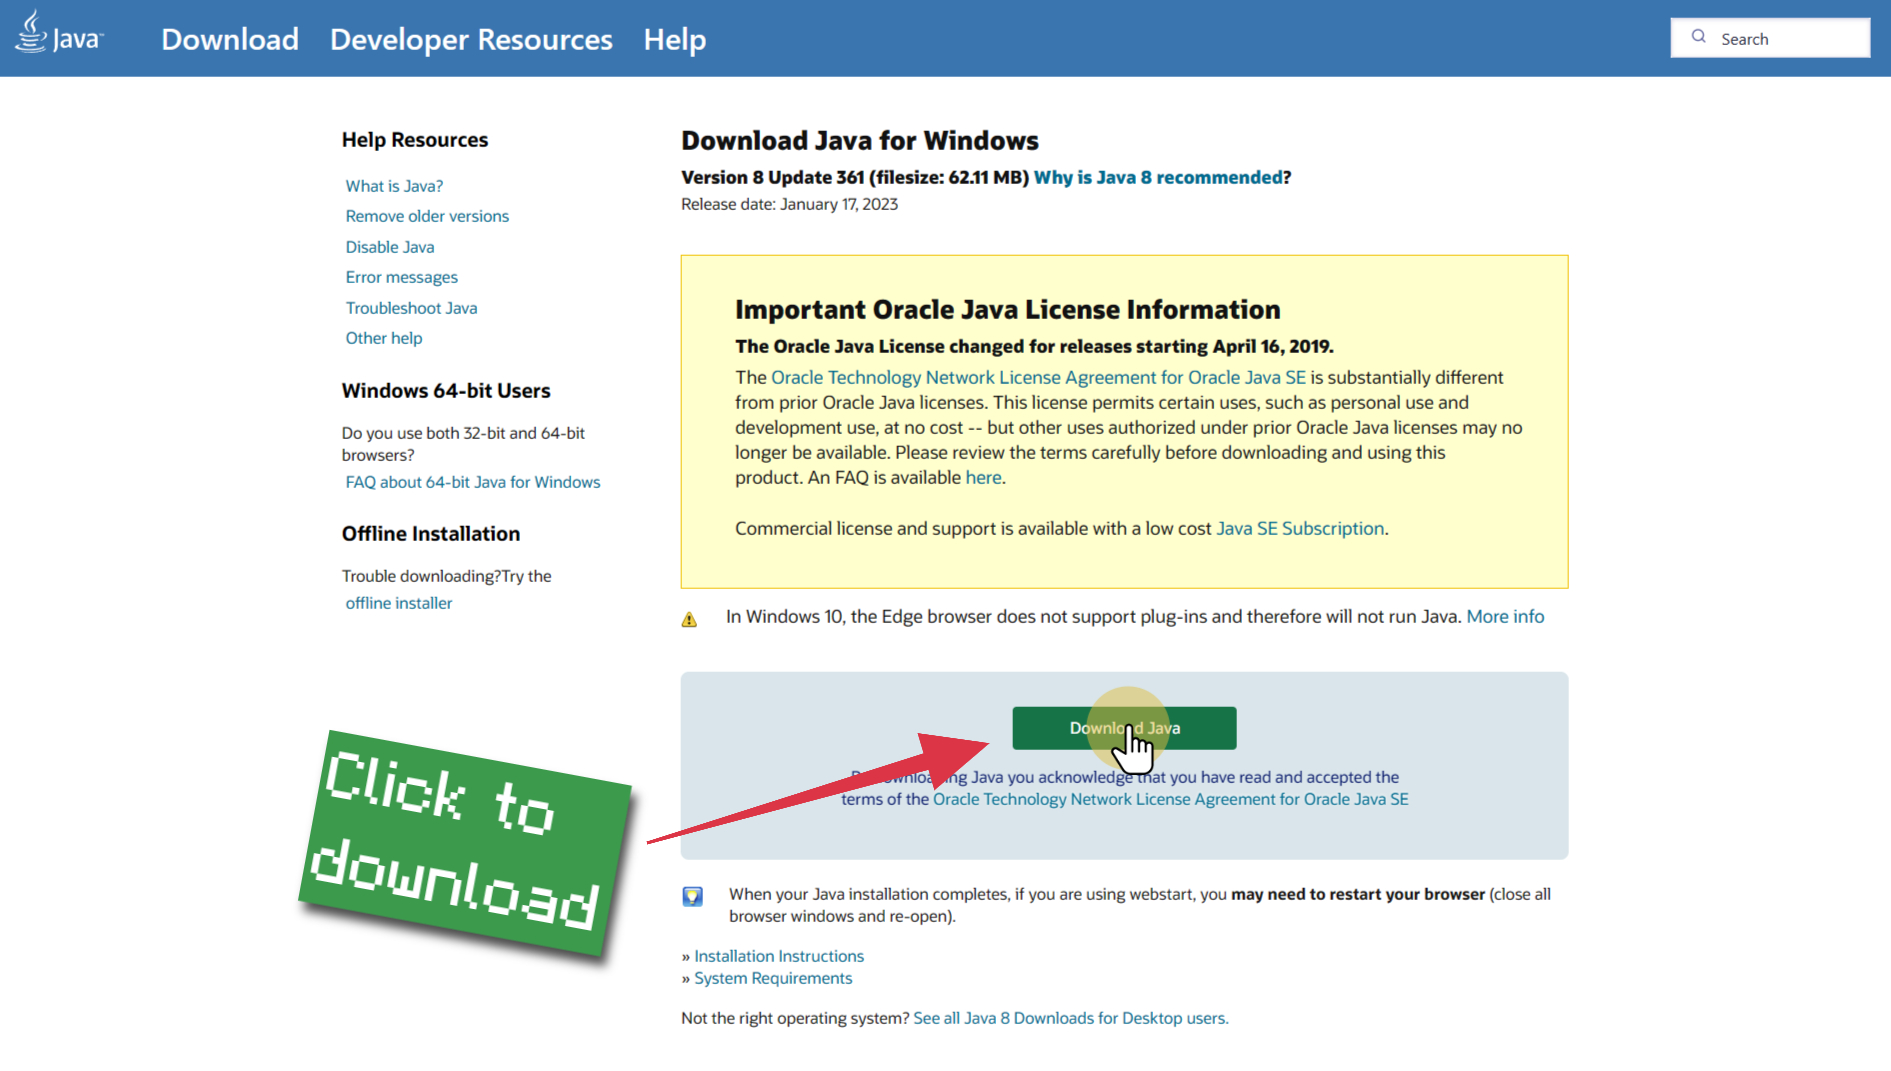
Quick Java Installation Guide
Download Java
Download the Java installer from the official website here.

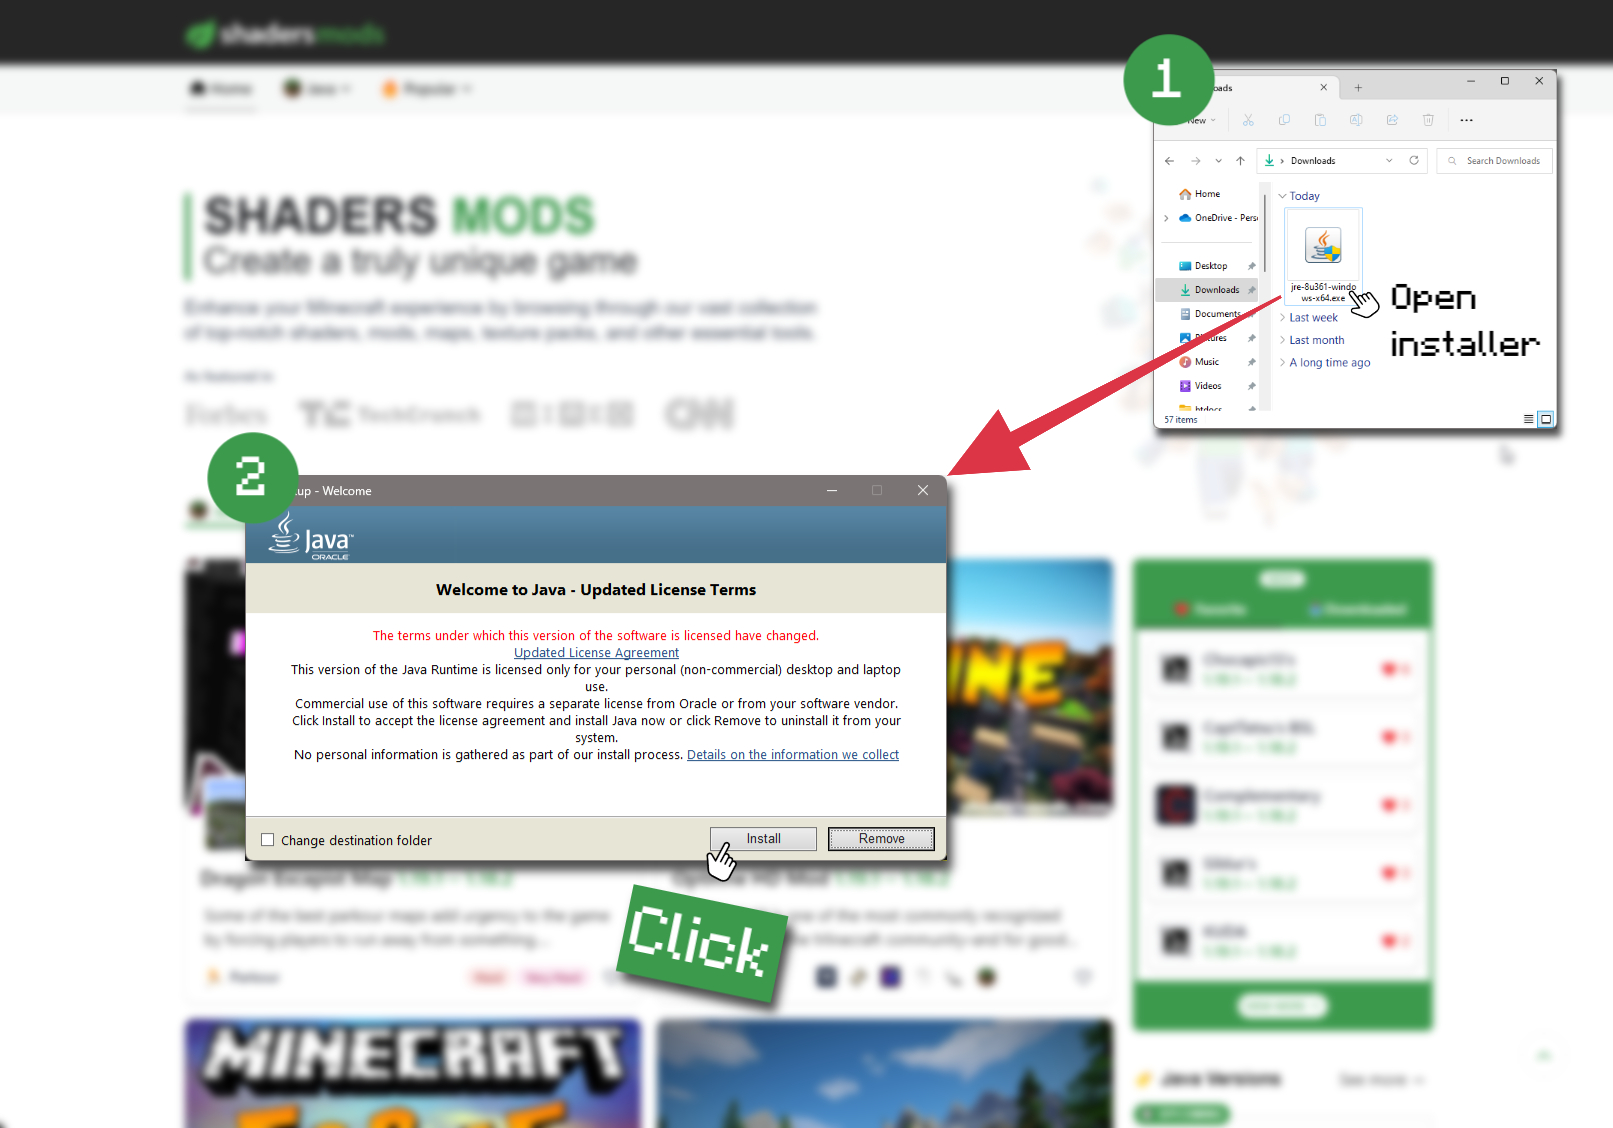
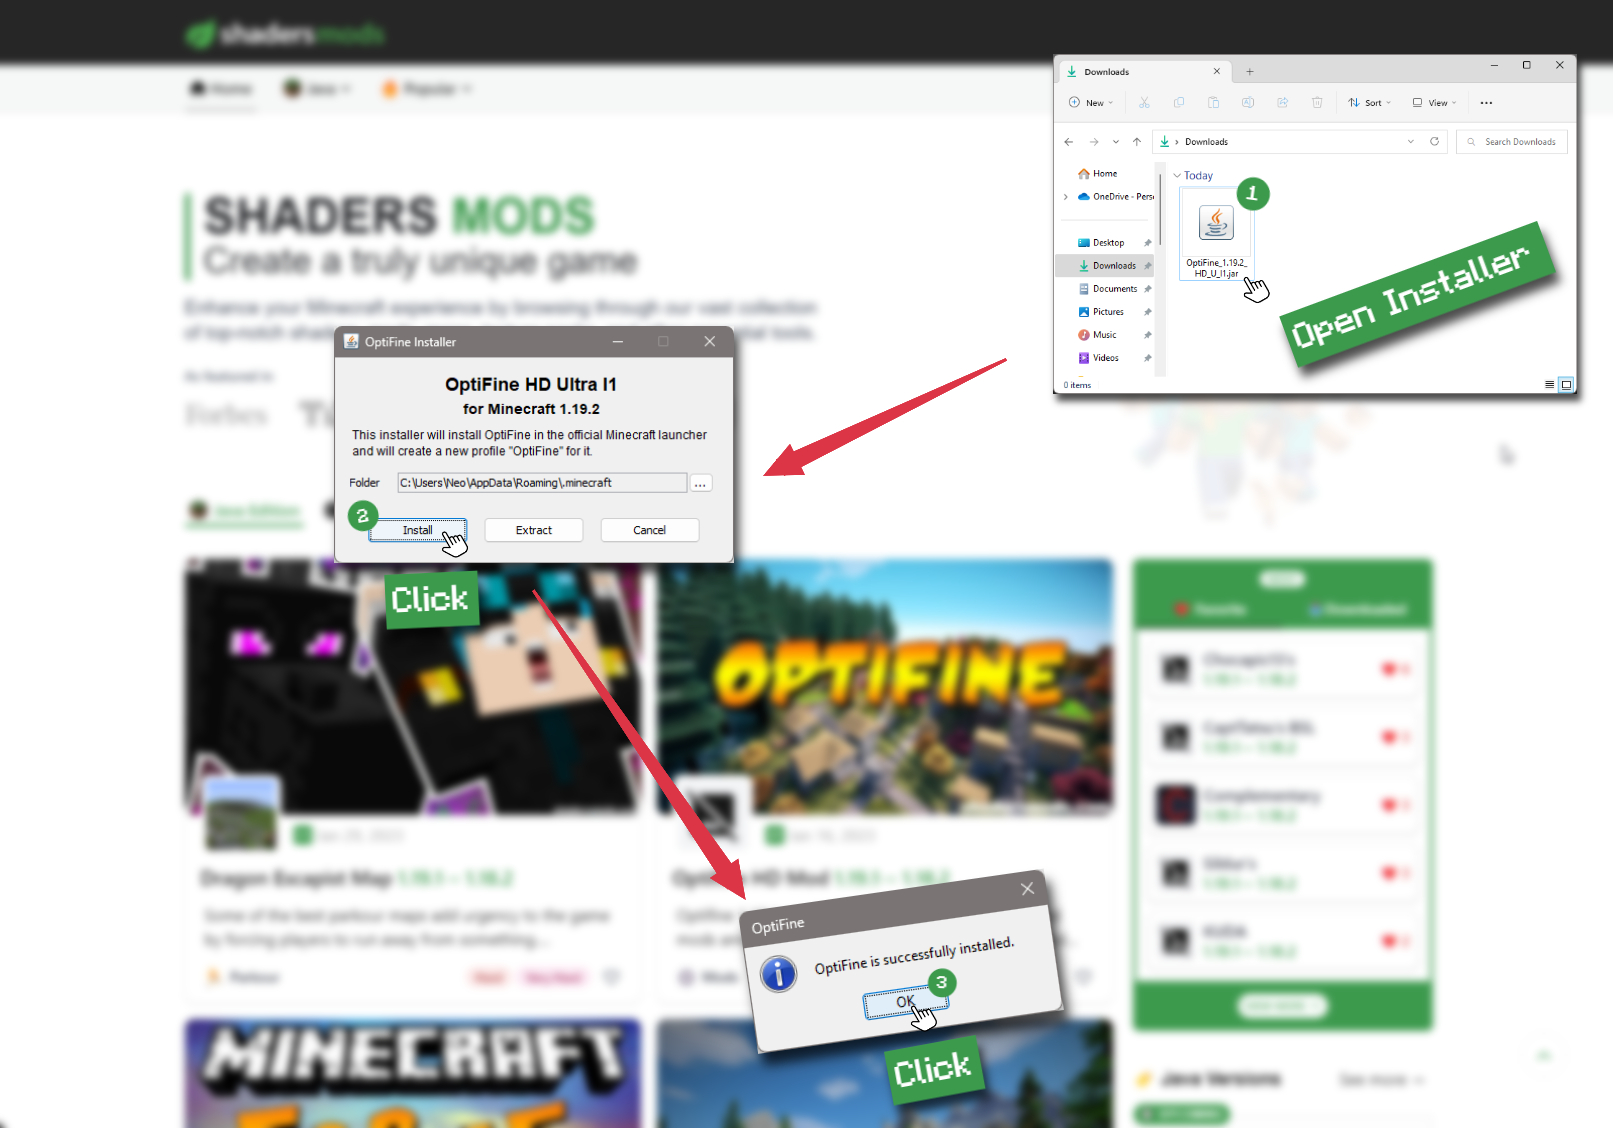
Open Installer
Once you have downloaded the file, run it and click the Install button.
How to install AirLoocke42 Shaders with Optifine?
Download Optifine
Get the latest version of Optifine for your Minecraft version.
Download OptifineInstall Optifine
Run the Optifine installer and follow the on-screen instructions to complete the installation.
Download AirLoocke42 Shaders
Go to the download section and get shaders zip file. Unzip the file if necessary, as some shader developers may bundle multiple shader versions in one zip file.
Launch Minecraft
Start the Minecraft launcher and make sure you have the Optifine profile selected.
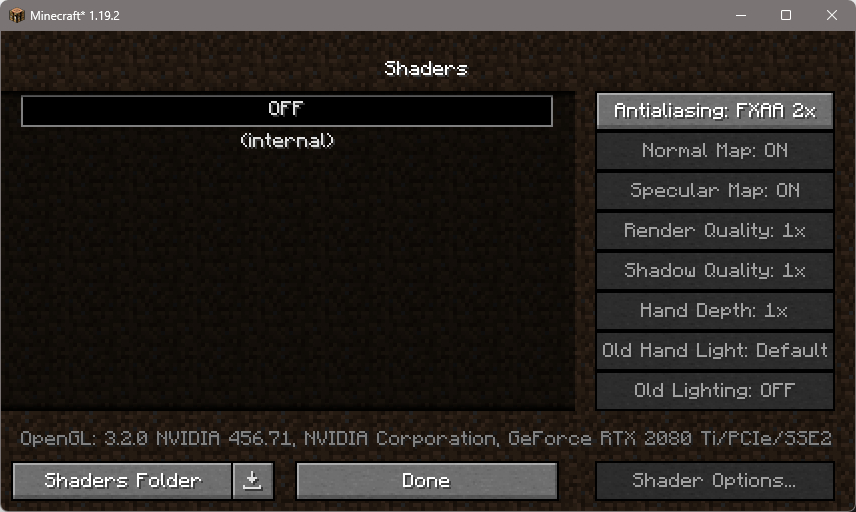
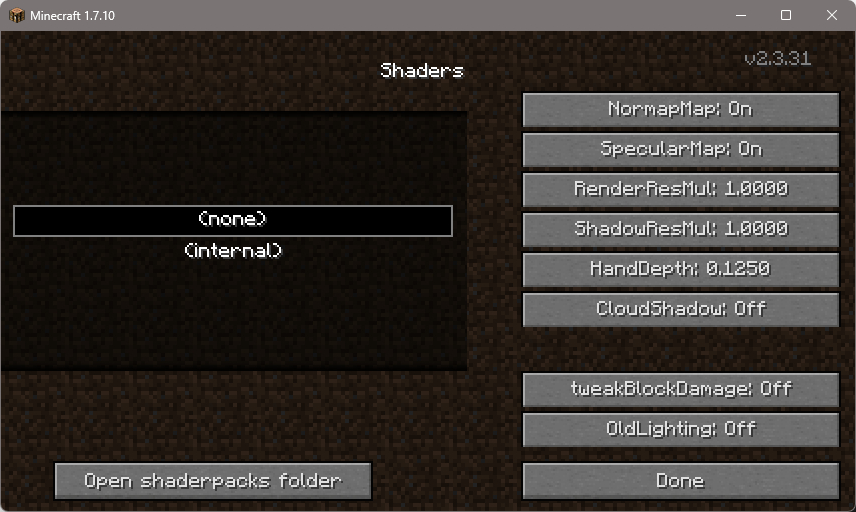
In-game Shaders menu
Go to Options > Video Settings > Shaders to access the shaders menu.
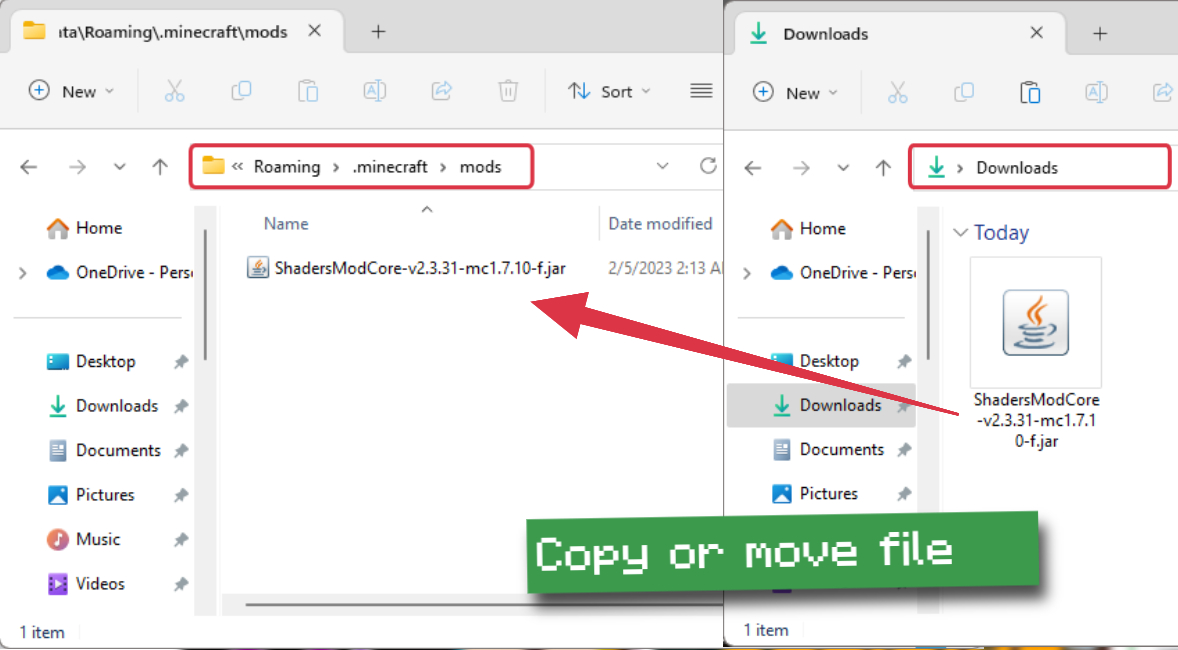
Open shaderpacks folder
Click on the "Shaders Folder" button to open the folder where shaders are stored, so you can add or remove shaders as desired.
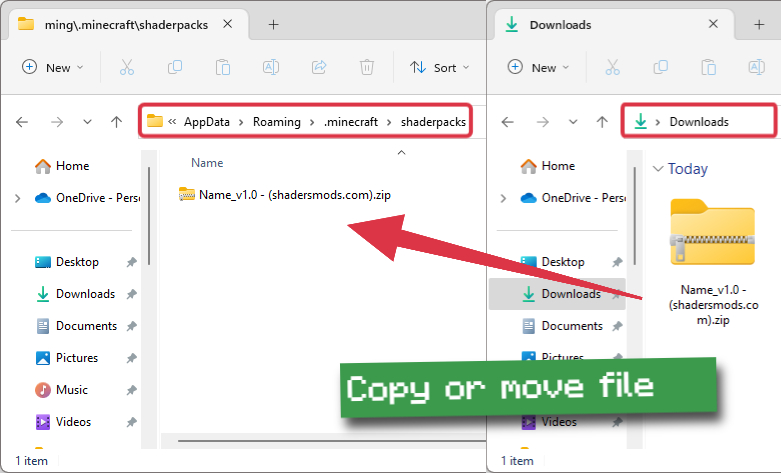
Install AirLoocke42 Shaders
Copy or move the downloaded AirLoocke42 shaders zip file into the shaderpacks folder.
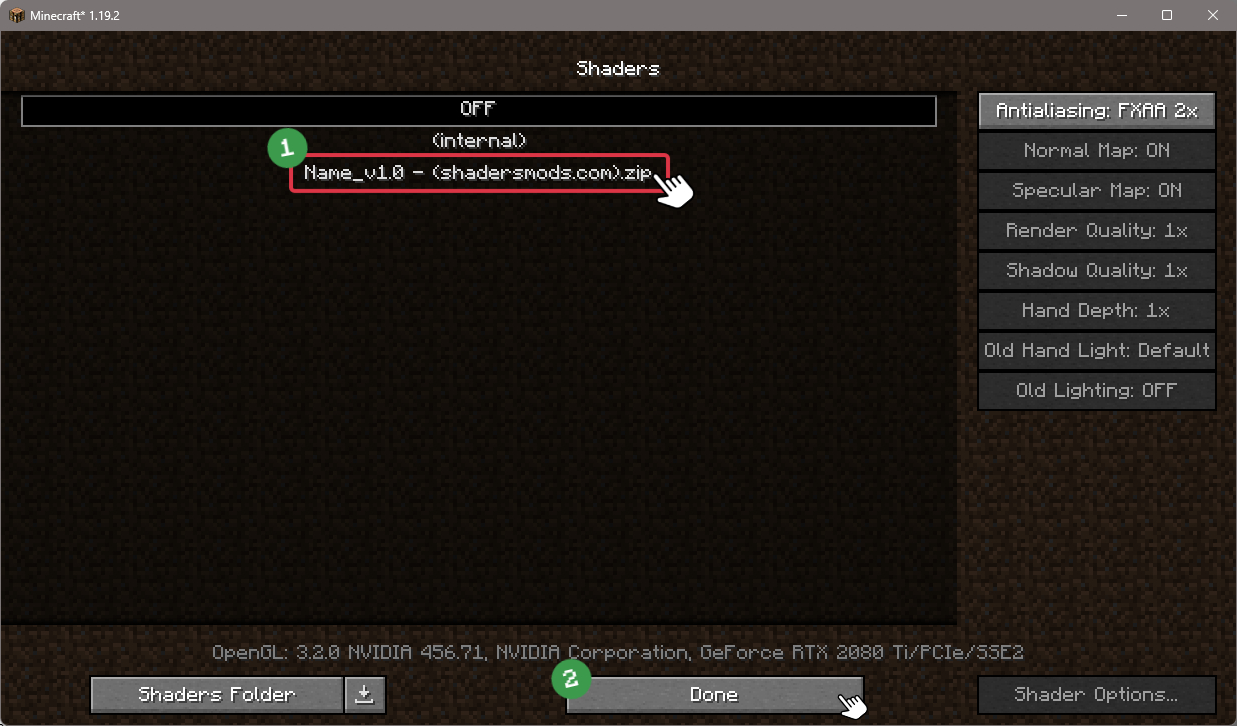
Select AirLoocke42 Shaders
Choose AirLoocke42 shader pack from the list of available shaders in the options menu.


How to install AirLoocke42 Shaders with Forge and Optifine?
Quick Installation Guide
Install Forge
Obtain the latest version of Forge that is compatible with your Minecraft version.
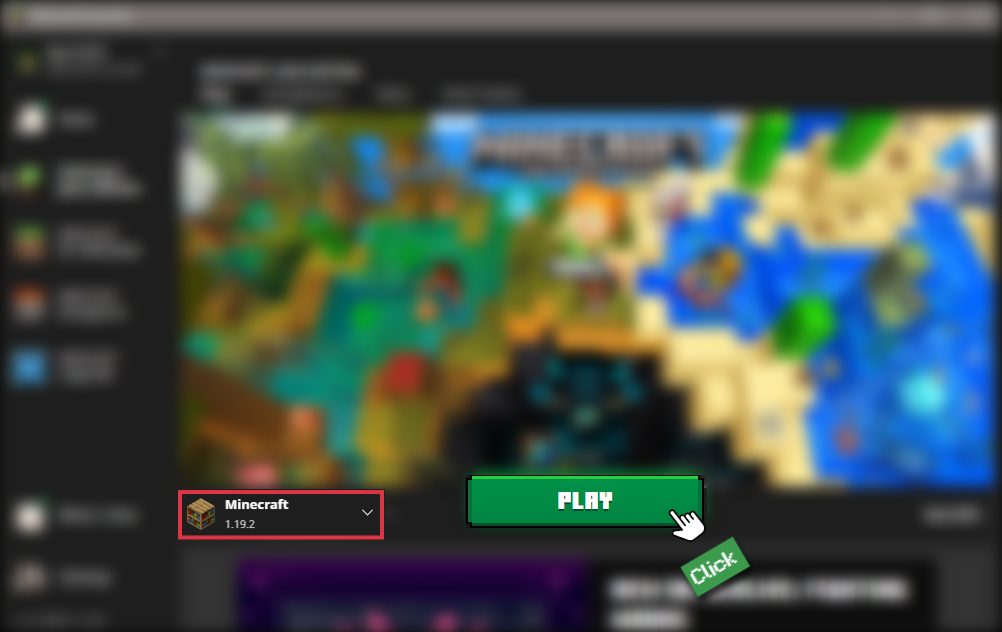
Download Minecraft ForgeLaunch Minecraft
Start the Minecraft launcher and select the version of Minecraft you want to install Forge on. Run the game once by clicking on the "Play" button to create necessary files for Forge.
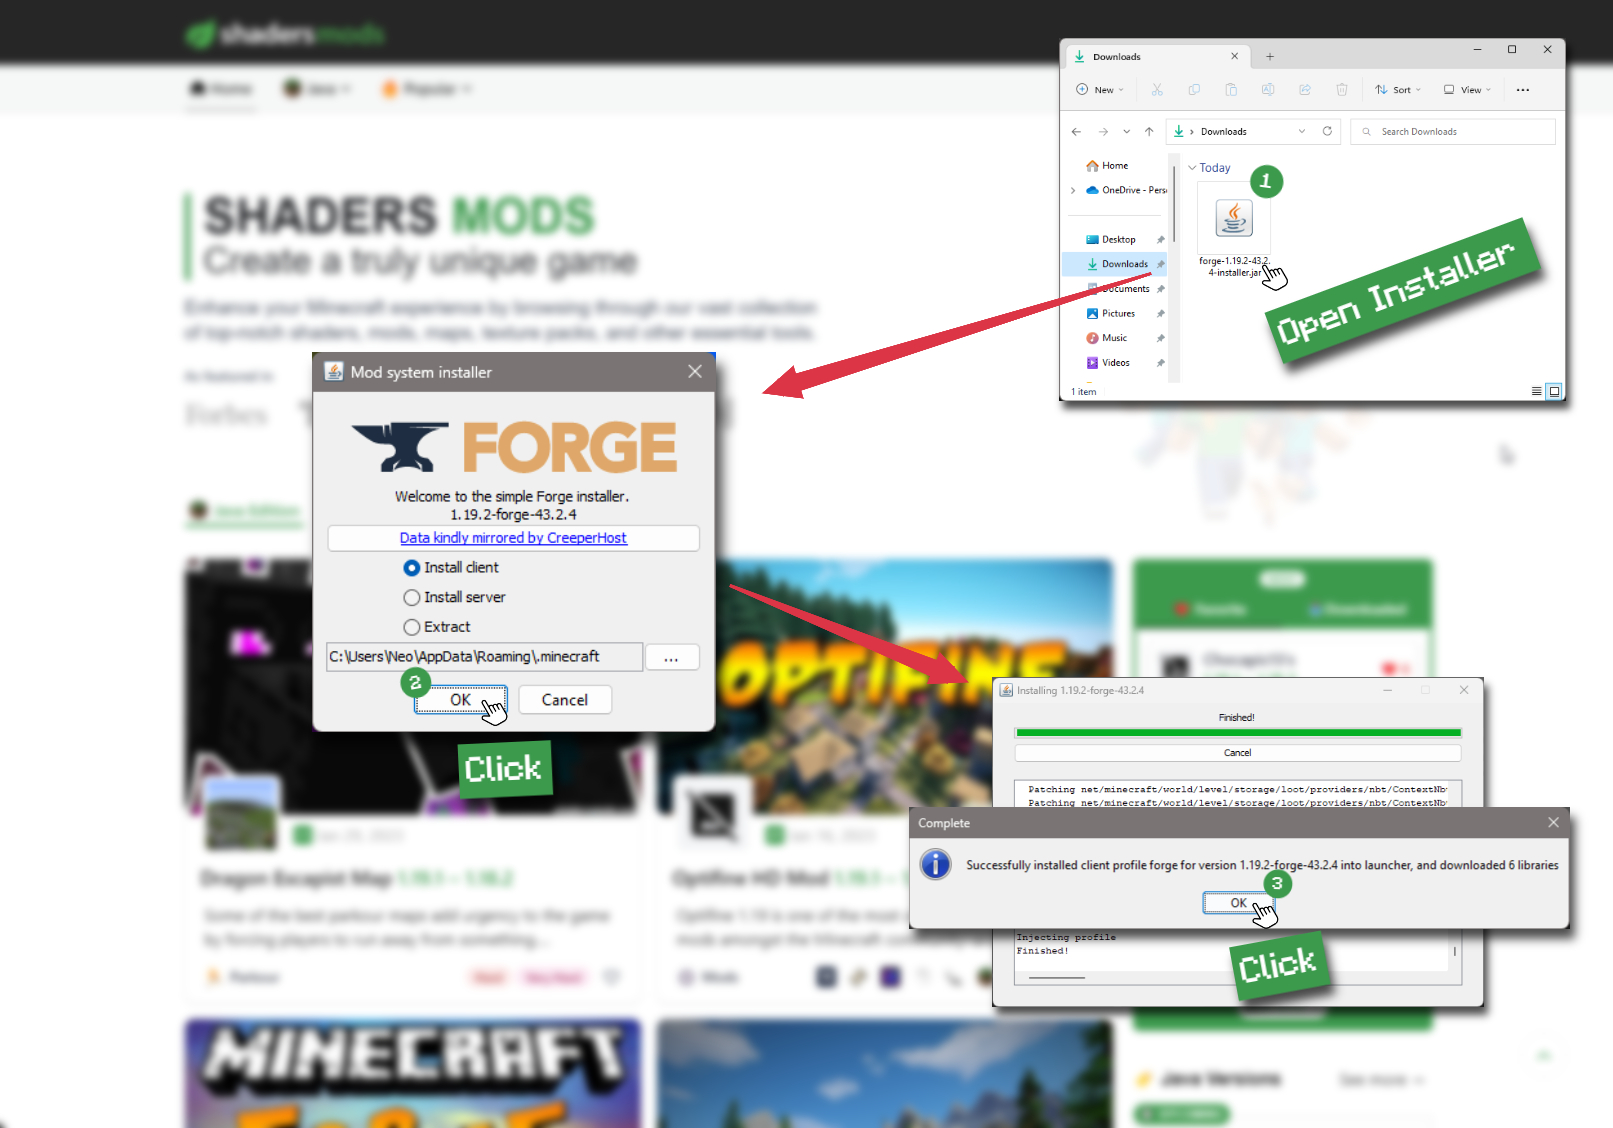
Install Forge Client
Double-click on the Forge installer jar file and choose "Install Client" in the window that appears.
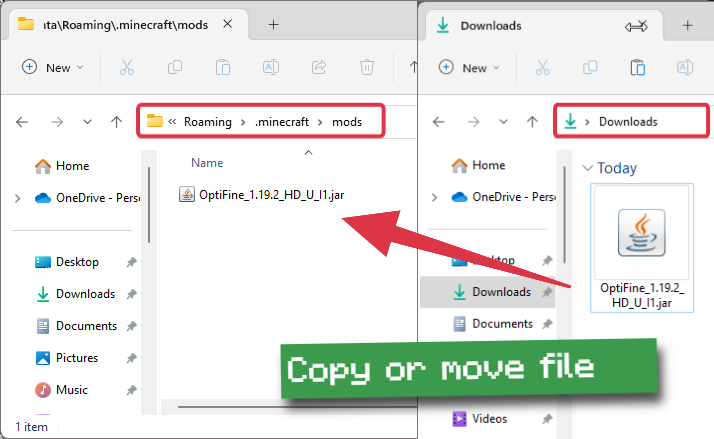
Install Optifine
Download the Optifine jar file after Forge is installed. Move the Optifine jar file to the mods folder in the .minecraft directory.
Download Optifine
Launch Forge Profile
Launch Minecraft using the "Forge" profile, Optifine will be automatically loaded along with Forge.
Install Chocapic13's Shaders
Now the installation is the same as from the above Optifine instructions, just follow the steps starting from step 5.

GLSL Installation Guide
Warning
How to install AirLoocke42 Shaders with GLSL Shaders Mod?
Install Forge
Download the latest version of Forge that is compatible with your Minecraft version.
Download Minecraft ForgeLaunch Minecraft
Start the Minecraft launcher and select the version of Minecraft you want to install Forge on. Run the game once by clicking on the "Play" button to create the necessary files for Forge.
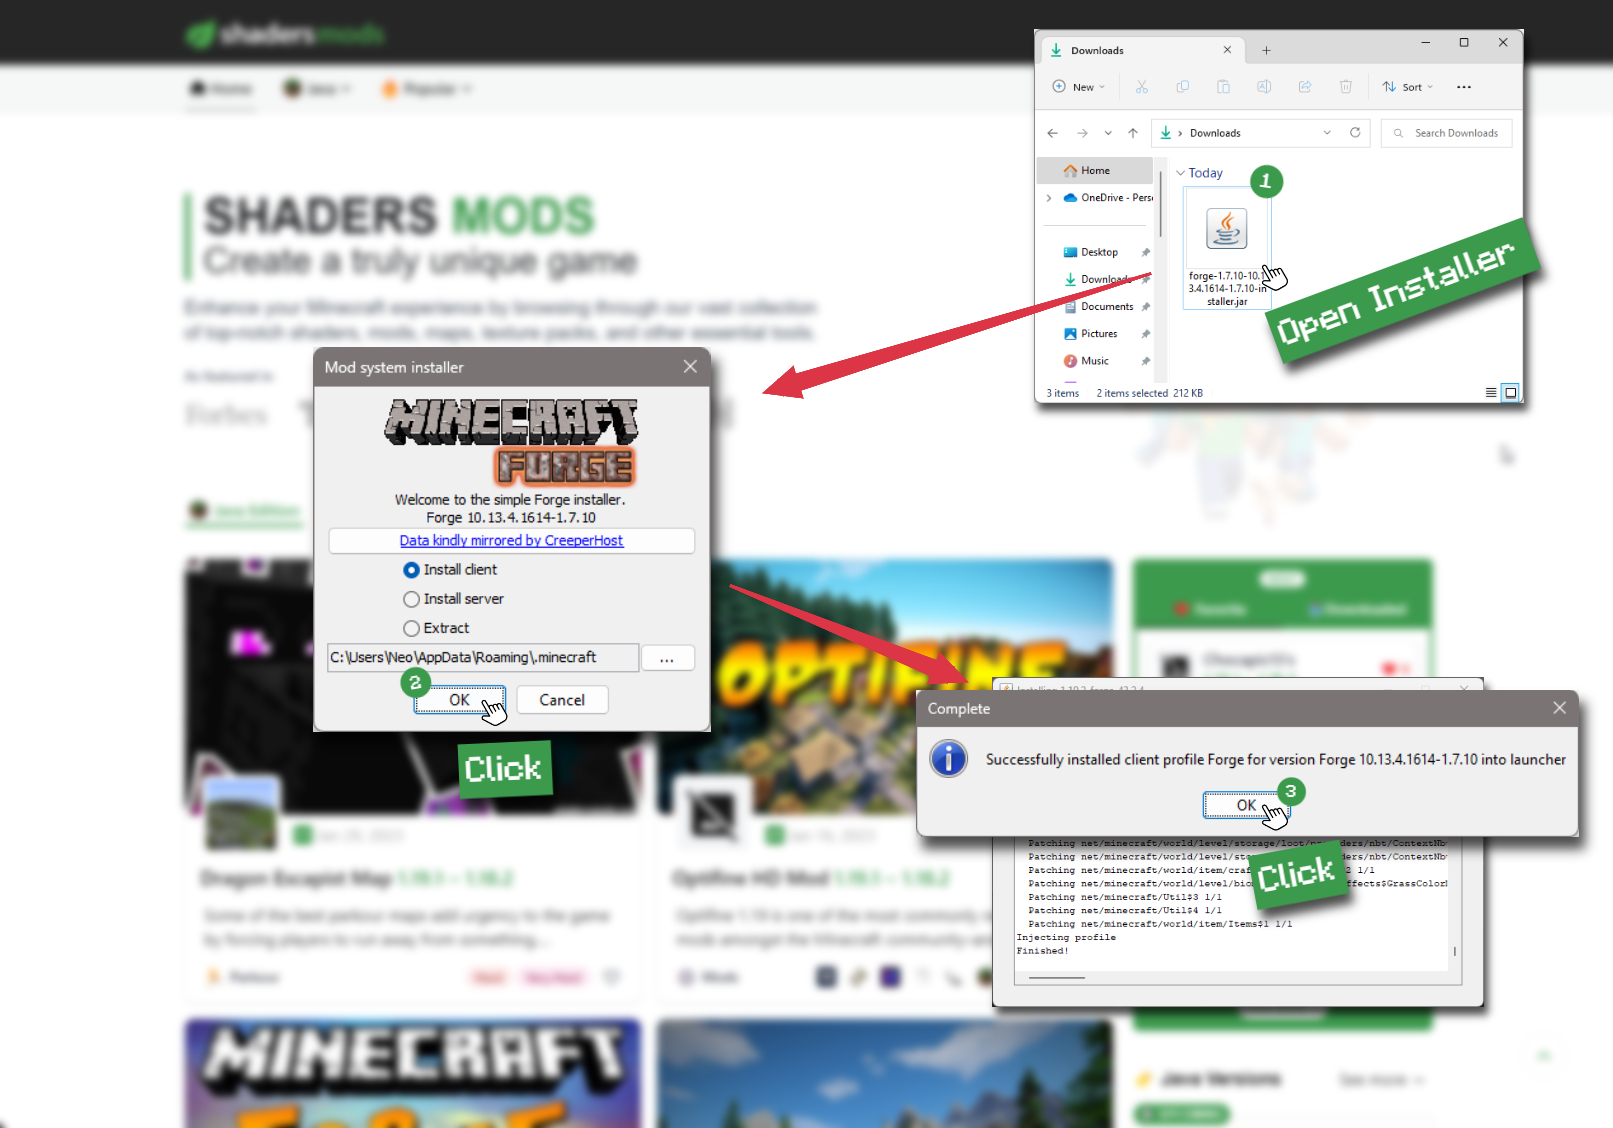
Install Forge Client
Double-click on the Forge installer jar file and choose "Install Client" in the window that appears.
Install GLSL Shaders Mod
Download the GLSL jar file after Forge is installed. Move the GLSL jar file to the mods folder in the .minecraft directory.
Download GLSL Shaders
Launch Forge Profile
Launch Minecraft using the "Forge" profile, and GLSL Shaders will be automatically loaded along with Forge.
In-game Shaders menu
Go to Options > Shaders to access the shaders menu.
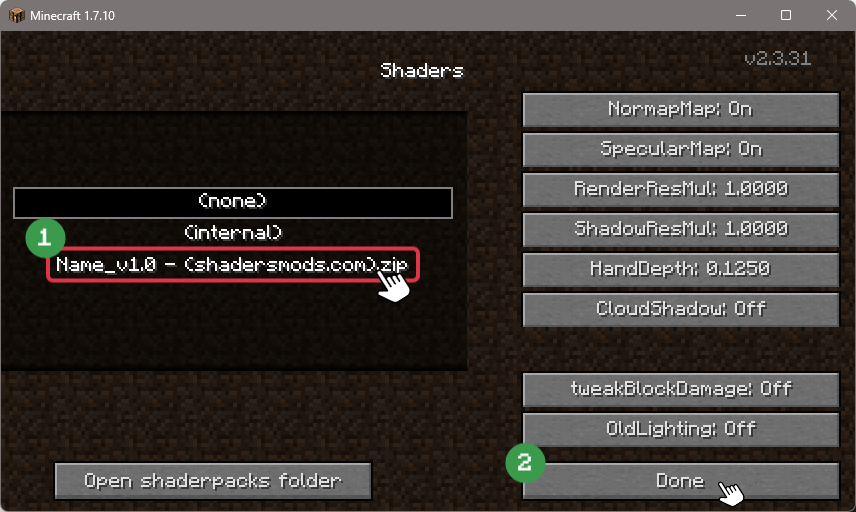
Open shaderpacks folder
Click on the "Open shaderpacks folder" button to open the folder where shaders are stored.
Install AirLoocke42 Shaders
Copy or move the downloaded shaders zip file into the shaderpacks folder.
Select AirLoocke42 Shaders
Choose AirLoocke42 shader pack from the list of available shaders in the options menu.


Info
📥 AirLoocke42 Shaders — Download
Something You Should Know
- Our links are only from the official developer, so you can be sure they are secure.
- No modifications or edits are made to the files.
Download Links:
![]() [v2.2.0] Download AirLoocke42 Shader Lite
[v2.2.0] Download AirLoocke42 Shader Lite
![]() [v2.2.0] Download AirLoocke42 Shader Standard
[v2.2.0] Download AirLoocke42 Shader Standard
![]() [v2.2.0] Download AirLoocke42 Shader High
[v2.2.0] Download AirLoocke42 Shader High
![]() [v2.2.0] Download AirLoocke42 Shader Ultra
[v2.2.0] Download AirLoocke42 Shader Ultra
![]() [v2.2.0] Download AirLoocke42 Shader Beta
[v2.2.0] Download AirLoocke42 Shader Beta
![]() [FXD] Download AirLoocke42 Shader Standard
[FXD] Download AirLoocke42 Shader Standard
![]() [FXD] Download AirLoocke42 Shader High
[FXD] Download AirLoocke42 Shader High
![]() [FXD] Download AirLoocke42 Shader Ultra
[FXD] Download AirLoocke42 Shader Ultra
🔄 Update Logs
v4.5.9
- Added 5 Offset For DOF & Static Bloom
- Added 3 New Algorithm For Screen Space Reflection
- Added 2 Specular Blocks
- Added Static Bloom
- Added Dynamic Bloom
- Added Basic Bloom
- Added Water Caustic
- Added Water Fog
- Added Water Refract
- Added Ice Reflection
v2.20
- Added 2D Cloud Procedure
- Added DOF
- Added SSAO
- Added Static Bloom
- Added Lens Flare
- Added Rain reflection
- Added Water reflection
- Added Dynamic Fog
- Added Waving Plants
- Added Shadow Filter
- Added Noisetex Water Waves
- Change Ambient / Sunlight Color

Comments (10)
is very nice
high fps then why is fps cost medium(need to be low)
it’s too bright
how do i download the shader
(you need to install WinRAR) Michael, You download the shader show it in your folder copy it go into minecraft and go into options video settings then go into shaders go to the shader folder in the left coner of your screen click on the text it should open up a shaderpack folder remember how you copyed the folder? paster it in there
same i do nat know how my son is really mad
Timothy, you’d think if you’re old enough to have a son you’d be old enough to spell. <3
i dont know how to download the shader
download the shader go to the downloads folder drag the shader to the home screen hold windowskey then press r go into .minecraft look for shader then drag the shaders
in make sure you have optifine
i have optifine but i cant find the shaders