Bloominx Shaders 1.20, 1.19.4 → 1.18.2
| Developer | 👤ShadersMcOfficial |
|---|---|
| Style | 🚀Lagless |
| Support GPUs | |
| Loaders | |
| Performance Impact | Low |
| Settings | 20 |
| Features | Ambient Occlusion |
| Created | Jun 19, 2015 |
| Updated | May 24, 2016 |
| Stats |
|
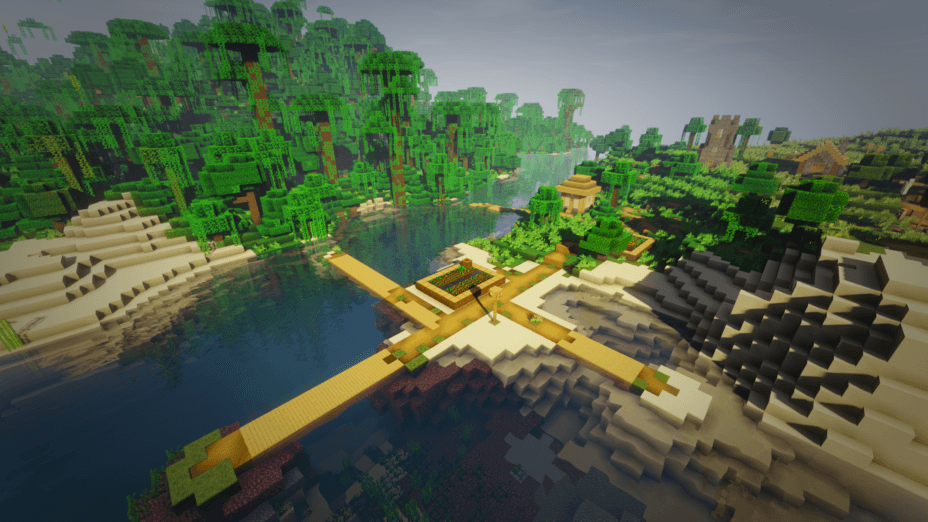
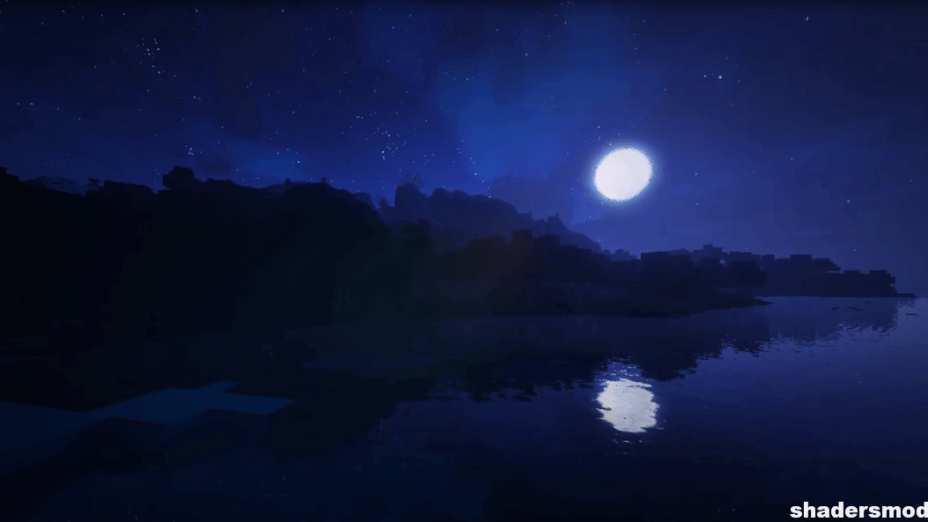
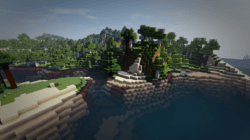
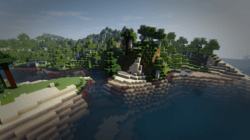
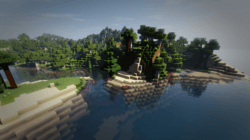
The Bloominx Shaders were first released to the Minecraft community a short time after the original KUDA shaders were launched. The former is a derivative of the latter, so if you’ve used KUDA shaders before then, you’re probably going to see some things that look familiar in Bloominx Shaders. The author states that this mod’s point was to fiddle with light-bloom effects and create more realistic ones while adding a green filter to the world. Some inspiration for this mod also comes from Chocapic13’s Shaders, though nighttime lighting, fog, and other effects have been updated.
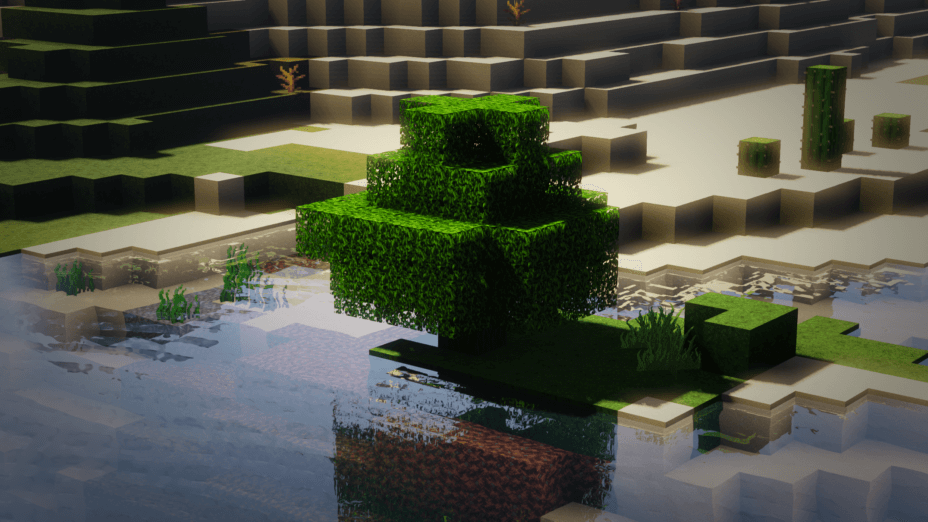
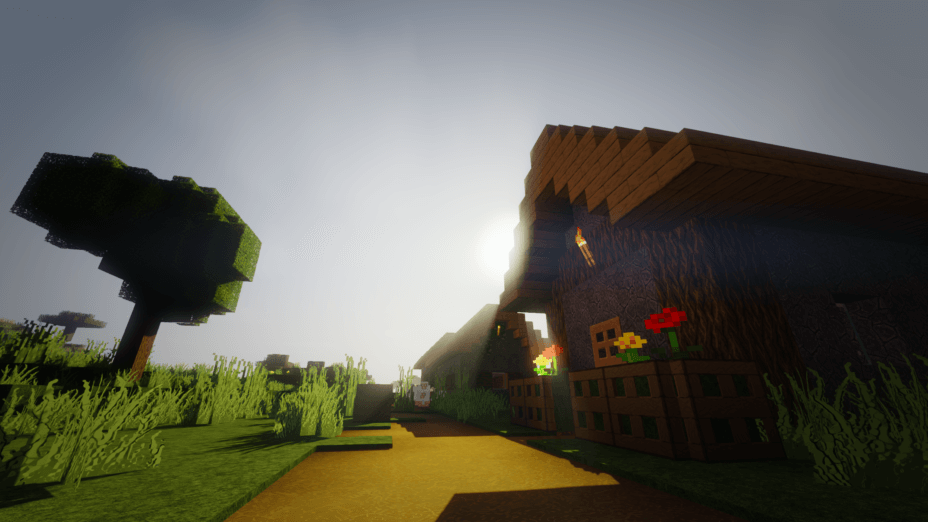
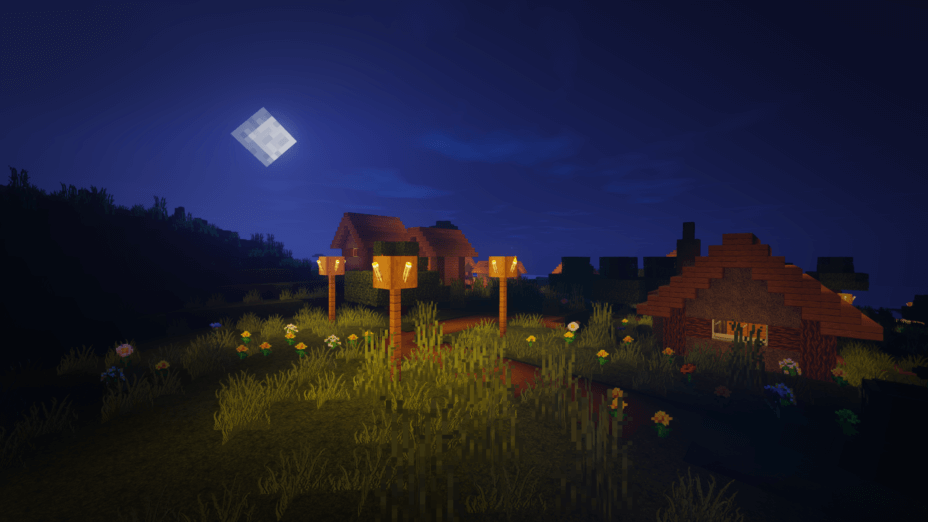
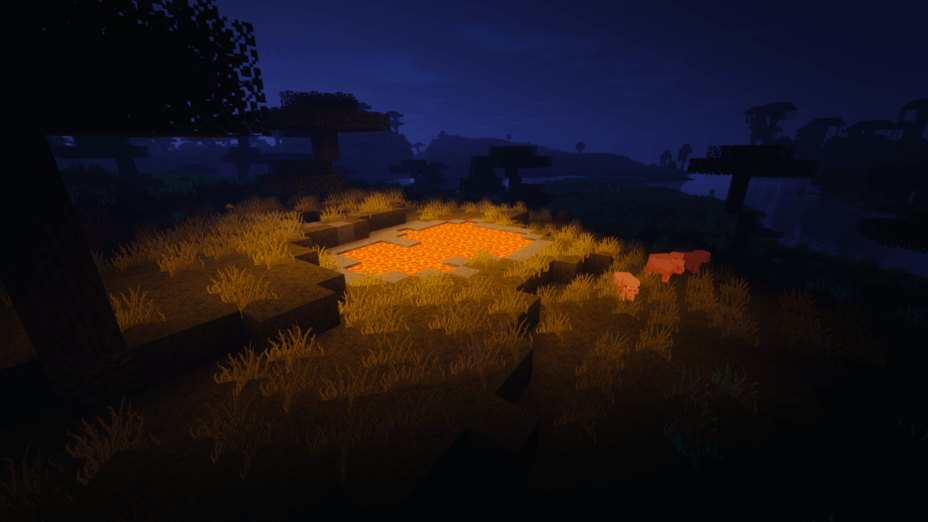
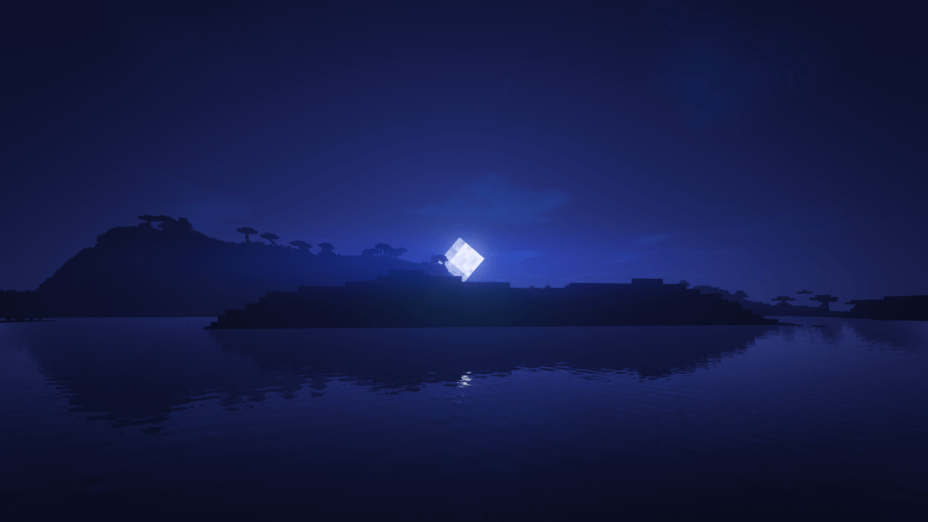
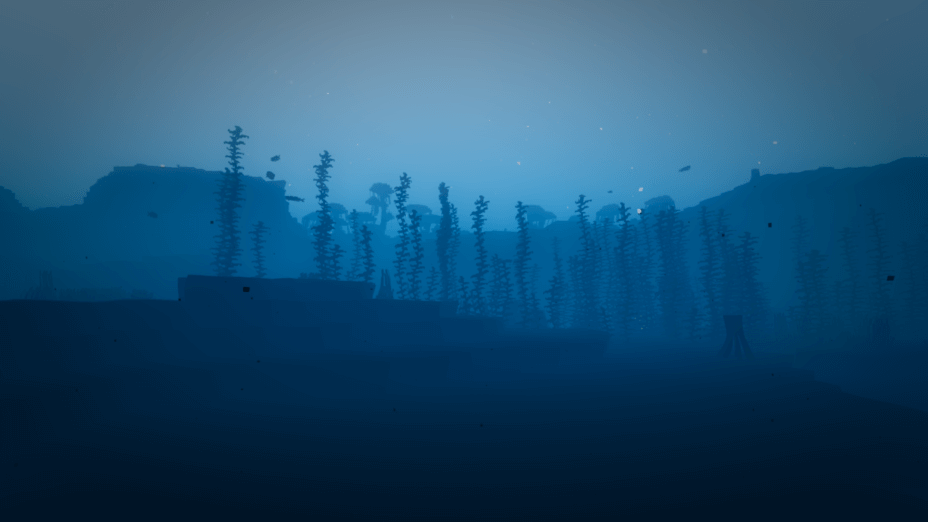
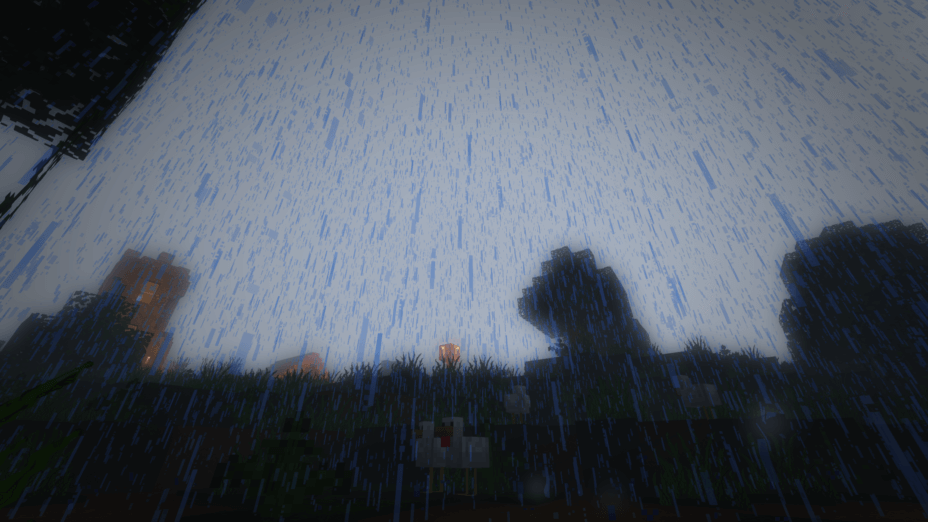
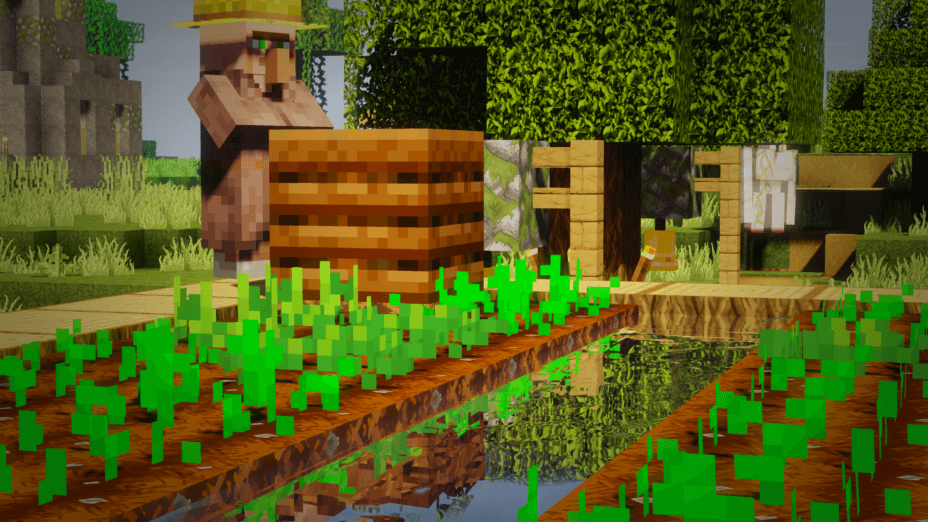
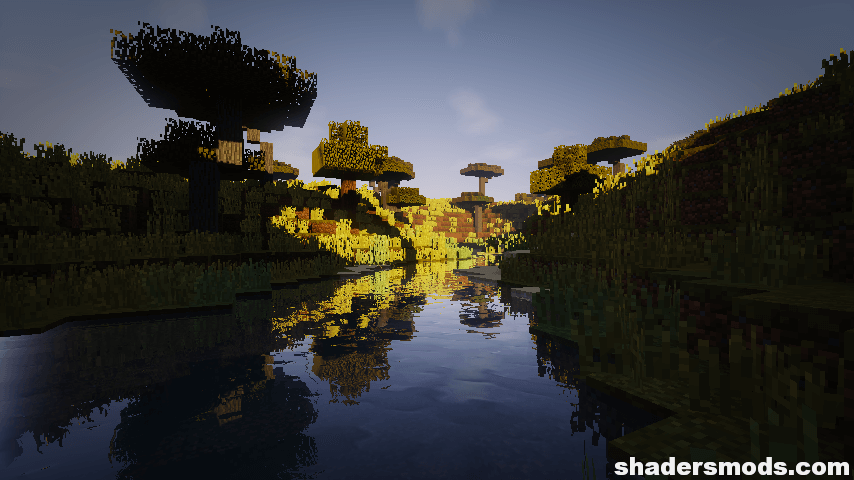
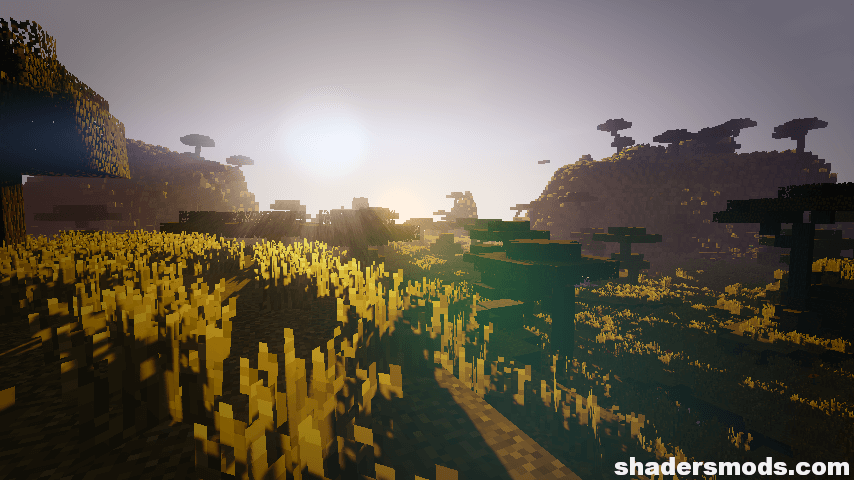
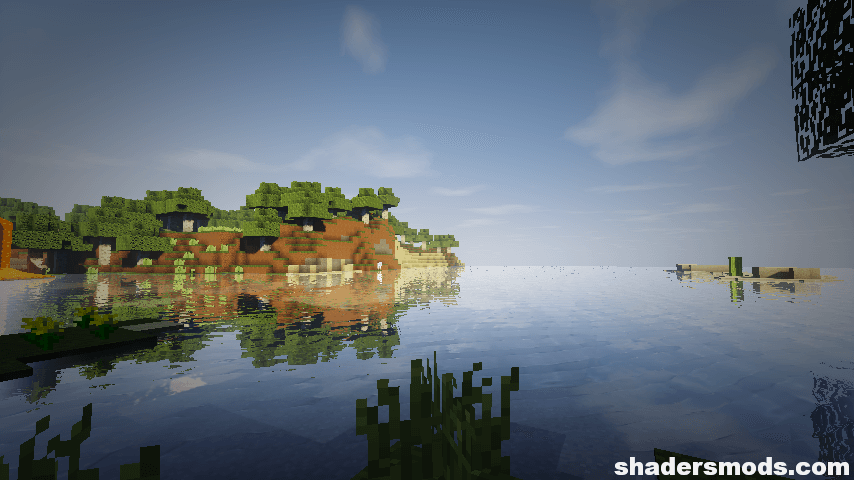
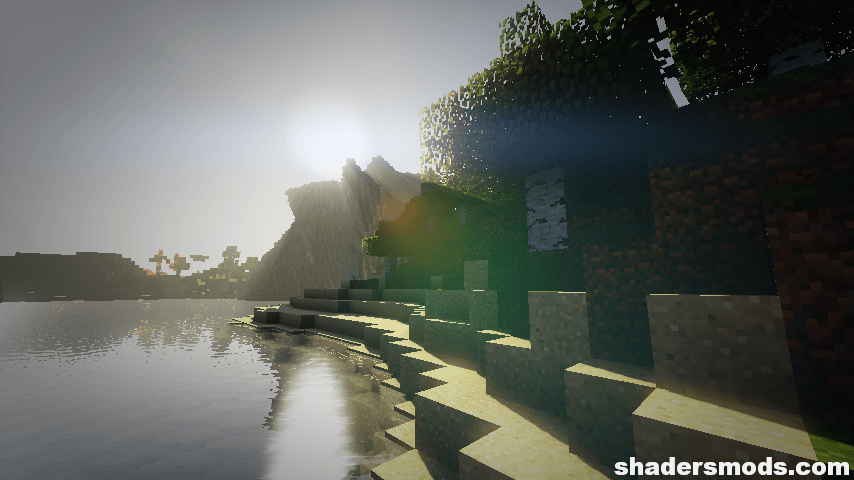
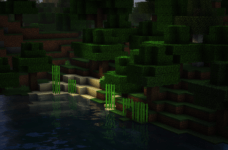
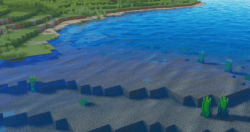
As far as how it affects the world of Minecraft, the Bloominx Shaders mod does a handful of things you probably expect from any shader pack you see. It adds realistic reflections to the surface of the water, so you can see yourself when running by the water’s edge or catch a view of a tall building nearby if it’s close enough to the water. There are some realistic shadow effects that seem to work with the clouds in the sky, creating shade for the world down below, which is pretty cool. There are custom clouds to go along with that as well.
Bloominx Shaders was designed by someone working with the constraints of Intel integrated graphics, the 4400 with the v4080 driver, to be specific, so it is a relatively simplistic shader pack that most other Minecraft players should be able to use. You don’t need Optifine or some other special software to make it work. Naturally, higher GPU power will allow the shader pack to work even better without the occasional hiccups or hardware lag you get when using integrated graphics for something like this. You’ll notice lots of bright lights and colors, but there aren’t many high-end visual effects here.
Because everything functions as intended and the Bloominx shaders pack works even with some Intel-integrated graphics setups, this is one shader pack recommended for players. Even those with low-end computers can still use it with some minor hardware lag, but players sporting better systems don’t need to worry about a slowdown. There are some known bugs, like the custom clouds rendering incorrectly or not at all, but none really interfere with the overall function of the pack. If you’re looking for something to brighten Minecraft while adding shadows, Bloominx Shaders might be it.
- 1.20
- 1.19.4
- 1.19.3
- 1.19.2
- 1.19.1
- 1.19
- 1.18.2
- 1.18.1
- 1.18
- 1.17.1
- 1.17
- 1.16.5
- 1.16.4
- 1.16.3
- 1.16.2
- 1.16.1
- 1.16
- 1.15.2
- 1.15.1
- 1.15
- 1.14.4
- 1.14.3
- 1.14.2
- 1.14.1
- 1.14
- 1.13.2
- 1.13.1
- 1.13
- 1.12.2
- 1.12.1
- 1.12
- 1.11.2
- 1.11.1
- 1.11
- 1.10.2
- 1.10.1
- 1.10
- 1.9.4
- 1.9.3
- 1.9.2
- 1.9.1
- 1.9
- 1.8.9
- 1.8.8
- 1.8.7
- 1.8.6
- 1.8.5
- 1.8.4
- 1.8.3
- 1.8.2
- 1.8.1
- 1.8
- 1.7.10
- 1.7.9
- 1.7.8
- 1.7.7
- 1.7.6
- 1.7.5
- 1.7.4
- 1.7.2
- 1.7
- 1.6.4
- 1.6.2
Bloominx Shaders — Versions
Features
Over 1 new features are available in Bloominx Shaders to enhance your gaming experience.
📊 Performance Impacts
Decrease in performance can vary from device to device, driver version, and many other factors, you should test yourself on your machine for the best result.
- None
- No performance decreases
- Small
- ~5%
- Medium
- ~10%
- High
- ~25%
- Extreme
- +50%
Bloominx Shaders allow you to change more than 20 settings to suit your needs.
| Settings | Description | Options |
|---|---|---|
| CELSHADING | Cartoon-like effect |
|
| DISTANT_BLUR | Constant distance blur |
|
| DOF | Enable depth of field (blur on non-focused objects), not compatible with motion blur! |
|
| DYNAMIC_HANDLIGHT | Emitting light around player when holding light-emitting item |
|
| GODRAYS | Enable godrays effect |
|
| HEXAGONAL_BOKEH | Disabled : circular blur shape. Enabled : hexagonal blur shape |
|
| HQ_SHADOW_FILTER |
| |
| LENS_EFFECTS | Enable lens flare effects |
|
| RAIN_DROPS | Create rain drops on screen |
|
| SHADOW_FILTER | Smooth shadow |
|
| VIGNETTE | Enable vignette effect |
|
| WAVING_FIRE |
| |
| WAVING_FLOWERS |
| |
| WAVING_GRASS |
| |
| WAVING_LAVA |
| |
| WAVING_LEAVES |
| |
| WAVING_LILYPAD |
| |
| WAVING_VINES |
| |
| WAVING_WATER |
| |
| WAVING_WHEAT |
|
How To Install Bloominx Shaders
- Support Forge / Vanilla
- Extra features
- Good performance
- Support Fabric / Quilt
- Better performance, depend on your hardware
Optifine Installation Guide
Note
Your device must have Java installed to run the Forge and Optifine installers.
Quick Java Installation Guide
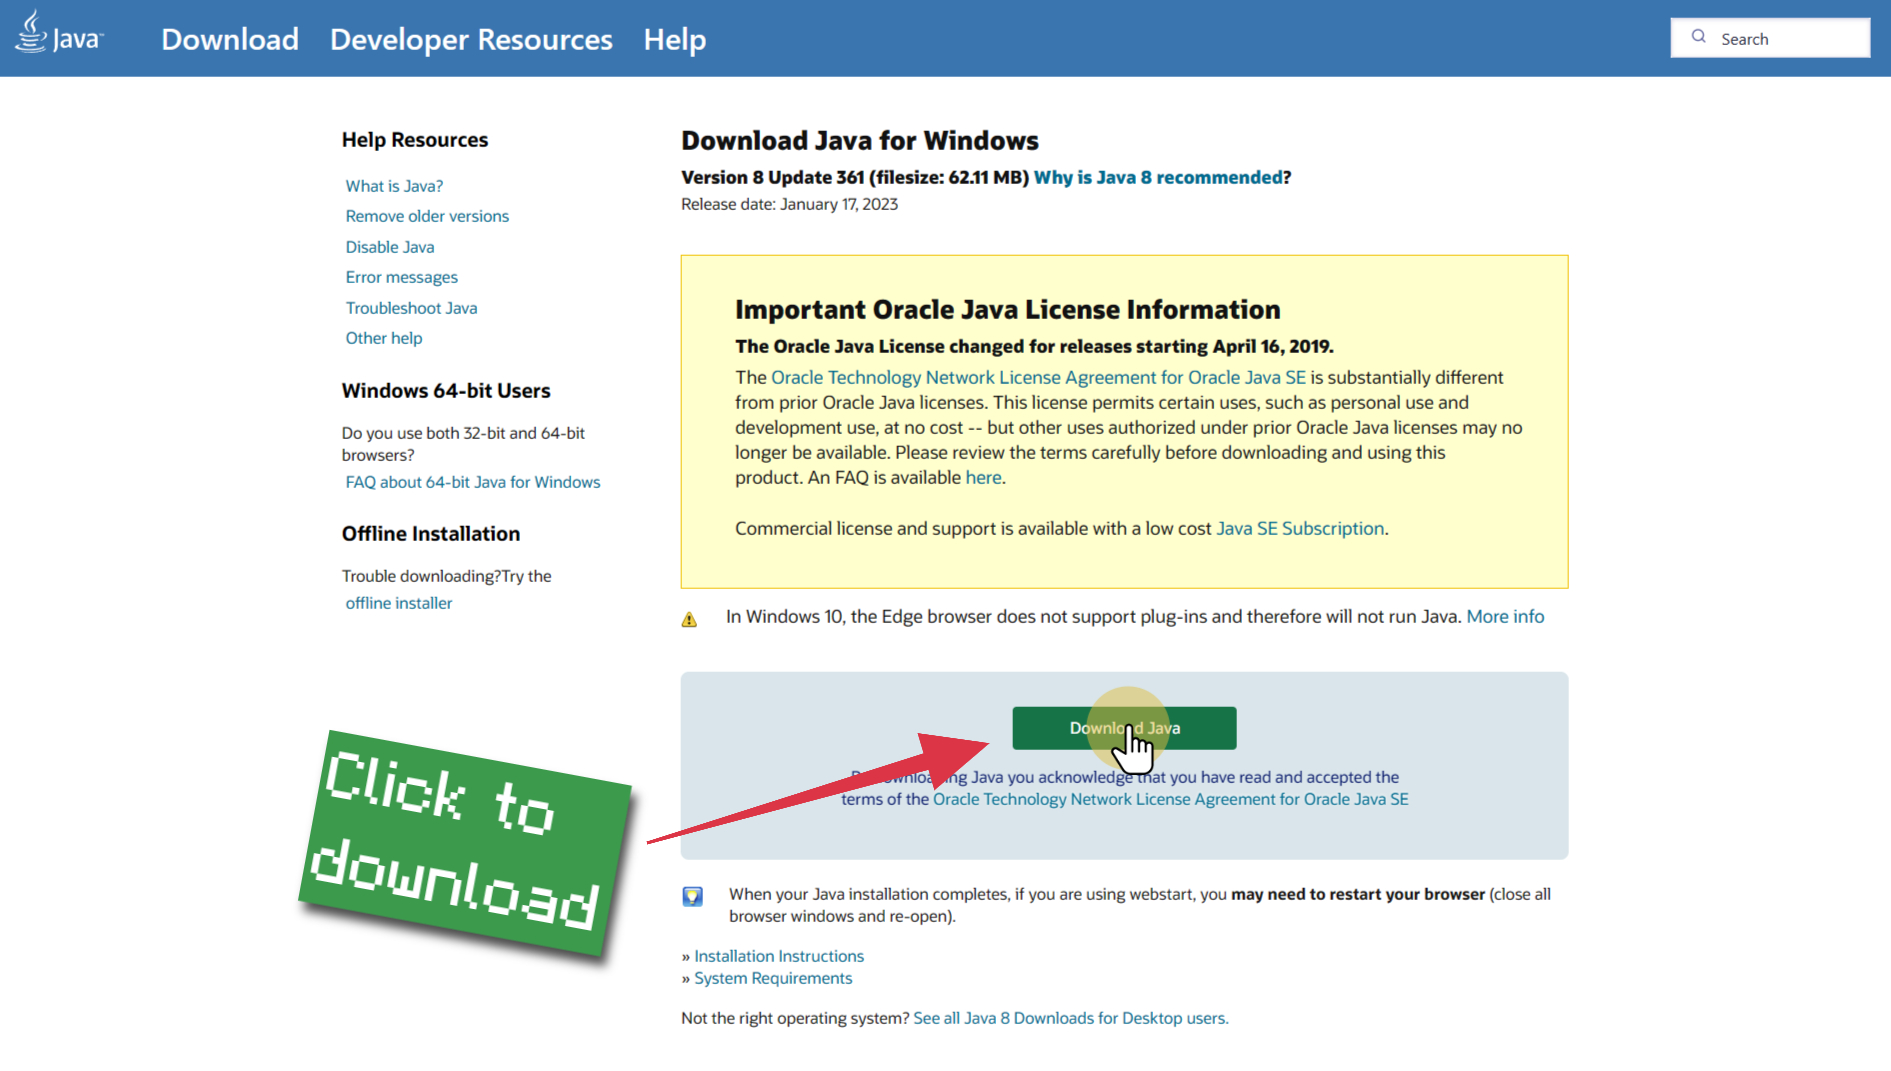
Download Java
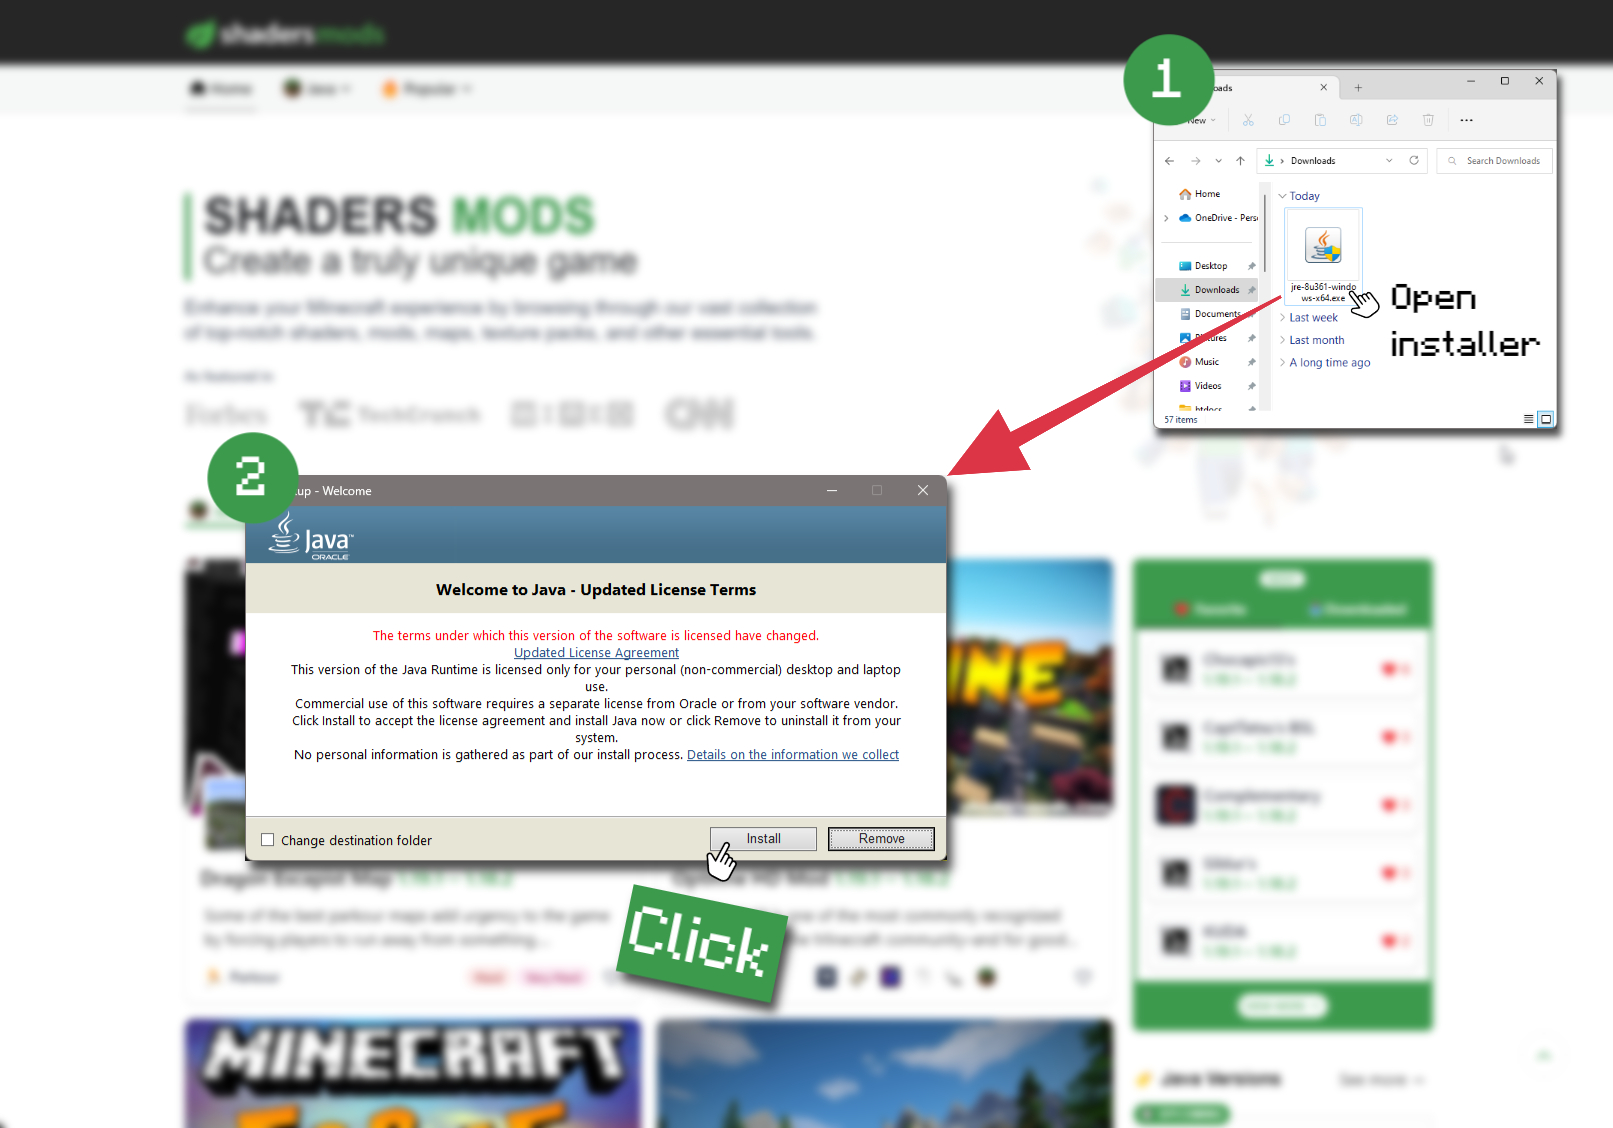
Download the Java installer from the official website here.

Open Installer
Once you have downloaded the file, run it and click the Install button.

How to install Bloominx Shaders with Optifine?
Download Optifine
Get the latest version of Optifine for your Minecraft version.
Download OptifineInstall Optifine
Run the Optifine installer and follow the on-screen instructions to complete the installation.

Download Bloominx Shaders
Go to the download section and get shaders zip file. Unzip the file if necessary, as some shader developers may bundle multiple shader versions in one zip file.
Launch Minecraft
Start the Minecraft launcher and make sure you have the Optifine profile selected.

In-game Shaders menu
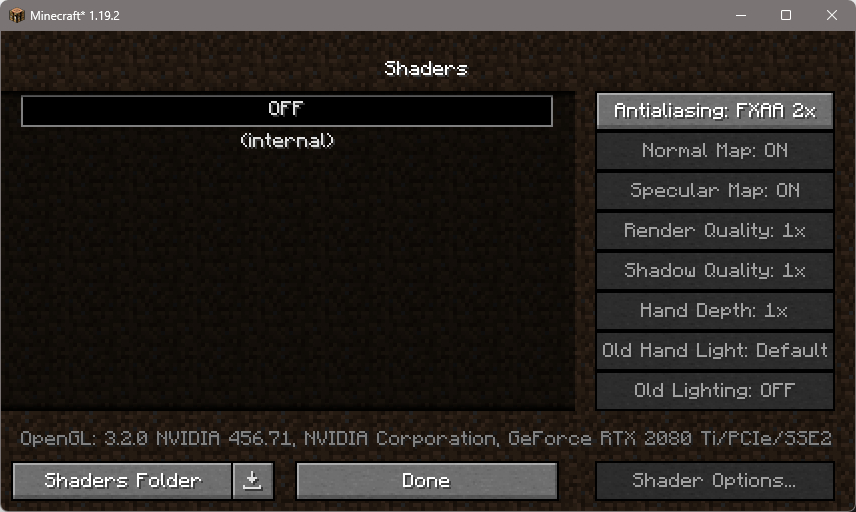
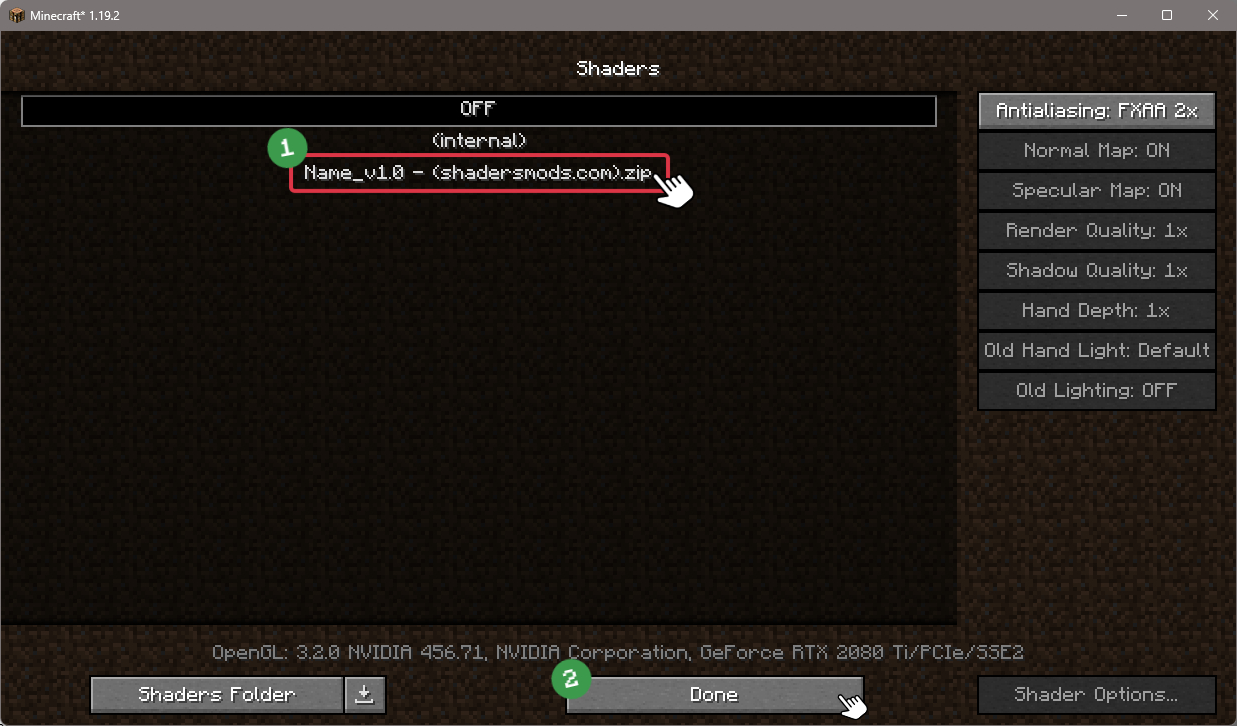
Go to Options > Video Settings > Shaders to access the shaders menu.

Open shaderpacks folder
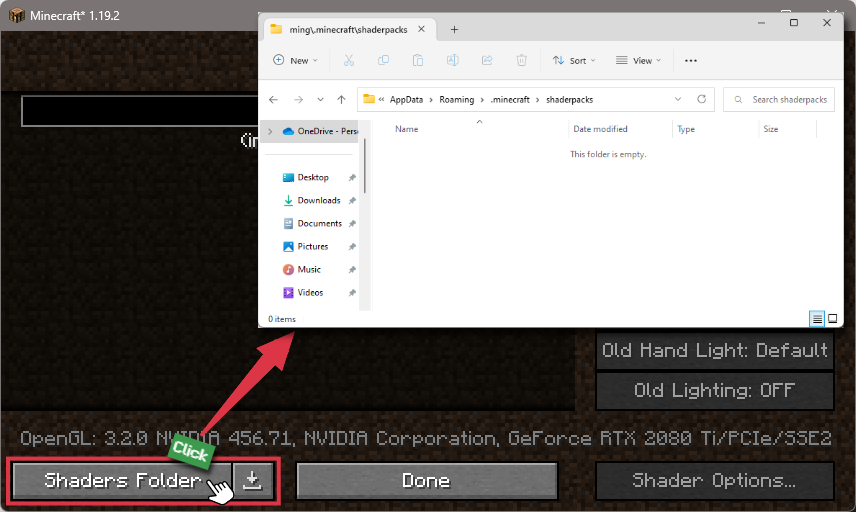
Click on the "Shaders Folder" button to open the folder where shaders are stored, so you can add or remove shaders as desired.

Install Bloominx Shaders
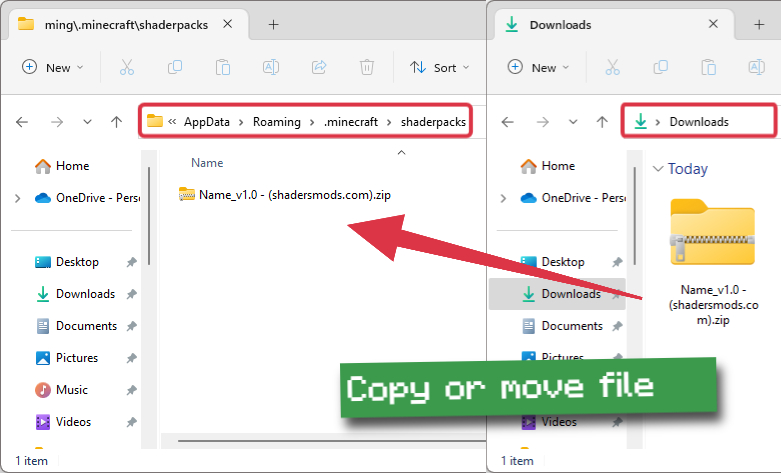
Copy or move the downloaded Bloominx shaders zip file into the shaderpacks folder.

Select Bloominx Shaders
Choose Bloominx shader pack from the list of available shaders in the options menu.

How to install Bloominx Shaders with Forge and Optifine?
Quick Installation Guide
Install Forge
Obtain the latest version of Forge that is compatible with your Minecraft version.
Download Minecraft ForgeLaunch Minecraft
Start the Minecraft launcher and select the version of Minecraft you want to install Forge on. Run the game once by clicking on the "Play" button to create necessary files for Forge.

Install Forge Client
Double-click on the Forge installer jar file and choose "Install Client" in the window that appears.

Install Optifine
Download the Optifine jar file after Forge is installed. Move the Optifine jar file to the mods folder in the .minecraft directory.
Download Optifine
Launch Forge Profile
Launch Minecraft using the "Forge" profile, Optifine will be automatically loaded along with Forge.

Install Chocapic13's Shaders
Now the installation is the same as from the above Optifine instructions, just follow the steps starting from step 5.
Iris Installation Guide
Note
Your device must have Java installed to run the Iris installer.
Quick Java Installation Guide
Download Java
Download the Java installer from the official website here.

Open Installer
Once you have downloaded the file, run it and click the Install button.

How to install Bloominx Shaders with Iris?
Download Iris Shaders
Find the latest version of the Iris Shaders installer and download it.
Download Iris InstallerInstall Iris Shaders
Open the downloaded jar file, and choose the preferred game version and installation type.
⯈ Iris Install:
If you don't plan on using any other mods with Iris, choose this option.⯈ Fabric Install:
Choose this option if you want to use Iris with Fabric and other mods. The Iris jar files will be copied to the mods folder within the .minecraft directory.
Start Installation
After selecting the game version and installation type, click the "Install" button to start the installation process.
Launch Minecraft
Start the Minecraft launcher and make sure you have the Iris profile selected.
Note
Select the Fabric profile if you opt for the Fabric installation type.
In-game Shader Menu
Open the Minecraft game and go to Options > Video Settings > Shader Packs to access the shaders menu.
Tip
To simplify the process, simply drag and drop the shader ZIP file directly into the Minecraft window, bypassing the next two steps.
Open shaderpacks folder
Click on the "Open Shader Pack Folder" button to access the folder where shaders are stored.

Install Bloominx Shaders
Copy or move the shaders zip file into the shaderpacks folder.

Select Bloominx Shaders
Choose installed shader pack from the list of available shaders in the options menu and click the "Apply" or "Done" button to select it.
Tip
When the shader pack is selected, its name will be changed to yellow.
📥 Bloominx Shaders — Download
Something You Should Know
- Our links are only from the official developer, so you can be sure they are secure.
- No modifications or edits are made to the files.
🔄 Update Logs
V2
- Smoother fog during the day and night.
- Improved bloom for the ultra version.
- Less dark and gloomy at night.
- Smoother and better-blended torch color.
- Cleaner and more realistic god rays.





Comments (24)
Many people say it doesn’t work, it worked first try for my friend, I tested it out and it worked for me too, this is a pretty good shader for low end computers, most low end shaders dont have wavy leaves or crops but this does, I recommend it, if you have the same problem as most people where it does nothing to your game, then try what Sfekke said in the comments section this comment is in, if you can’t find it this is what he said “Check the ZIP archive morons.
Open it extract ‘shaders’ folder & zip it again.
Kids these days do not know how to use WinRAR .. anyhow that is the fix lookin’ great OP!”
good
so good