
Skylec Shaders 1.19.4 → 1.18.2
Skylec shader pack enhances Minecraft's graphics with realistic water, shadows, clouds & glowing ores; no lag for low-end devices.
| Developer | 👤YamaRinG |
|---|---|
| Style | 🚀Lagless |
| Support GPUs | |
| Loaders | |
| Performance Impact | Low |
| Settings | 13 |
| Features | Shadows+16 |
| Created | Mar 17, 2021 |
| Updated | Apr 4, 2021 |
| Stats |
|
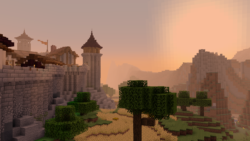
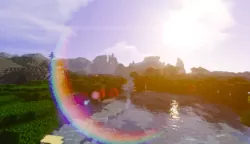
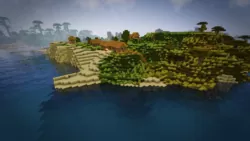
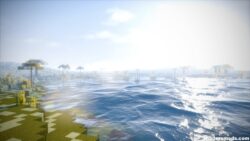
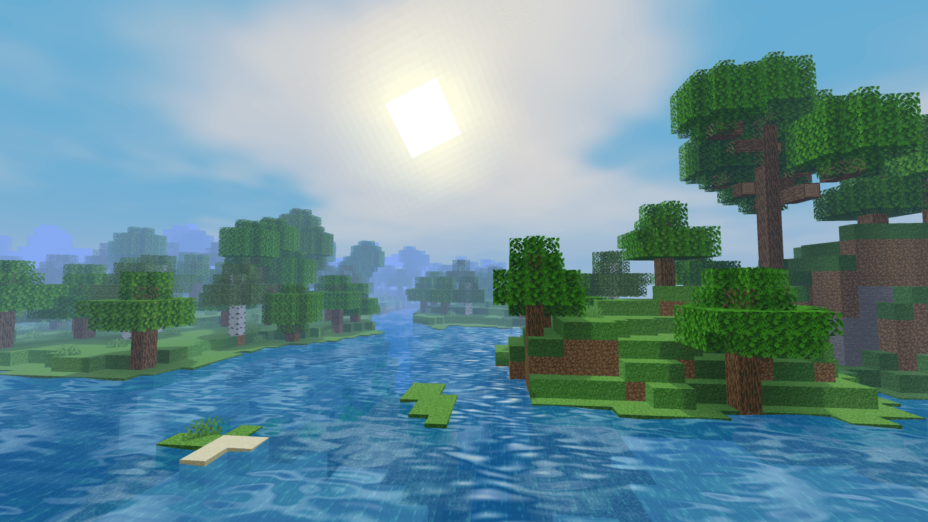
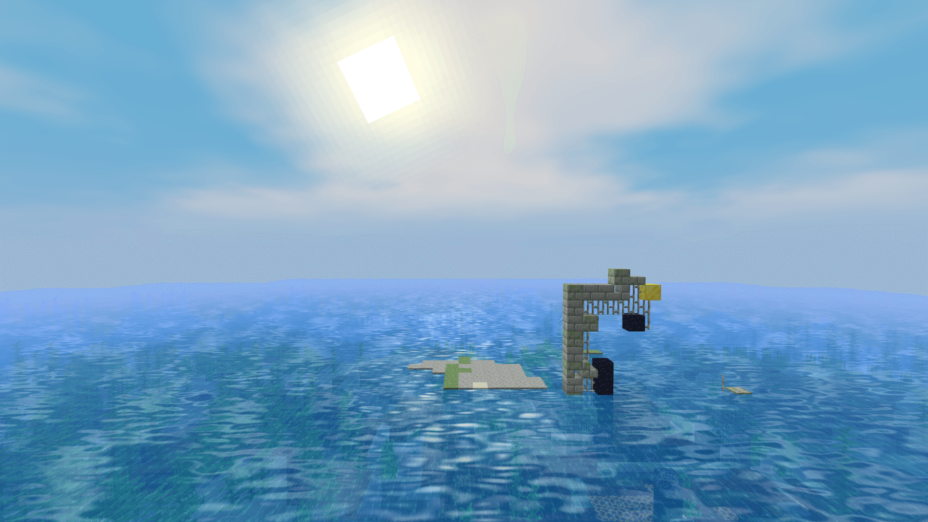
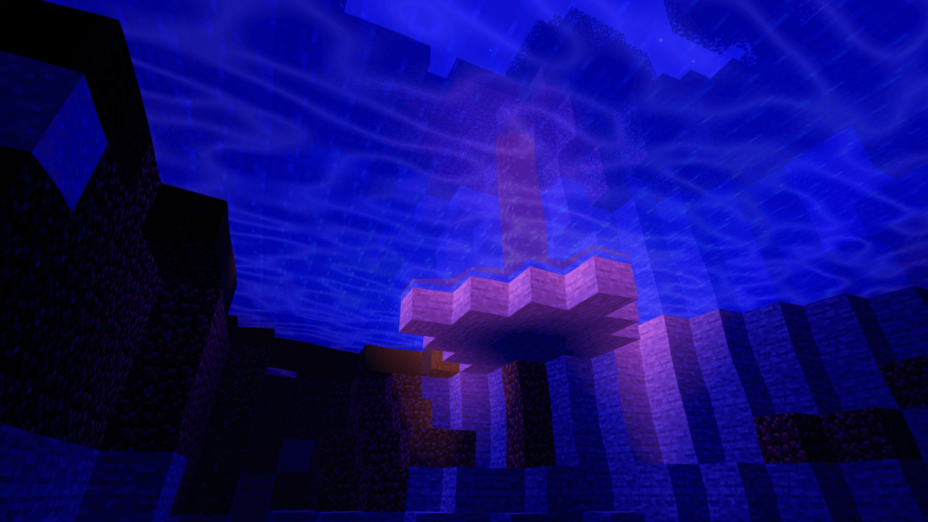
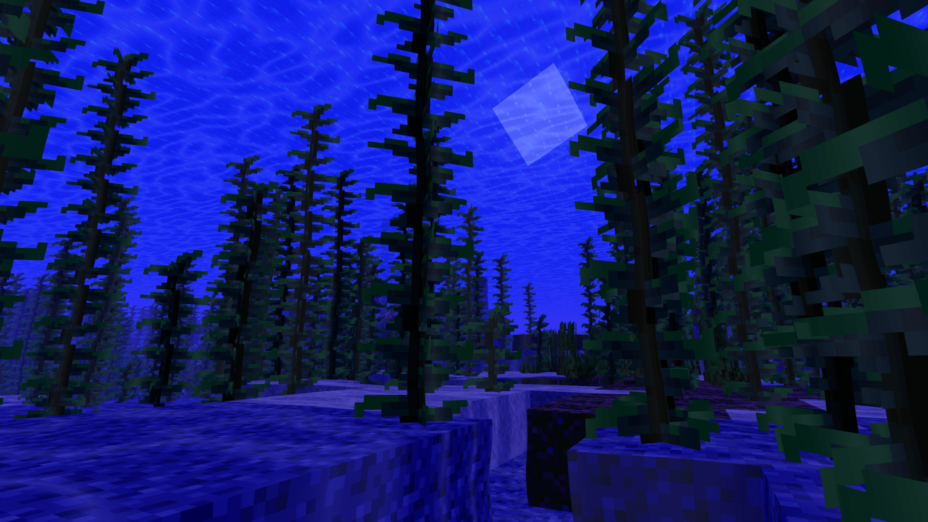
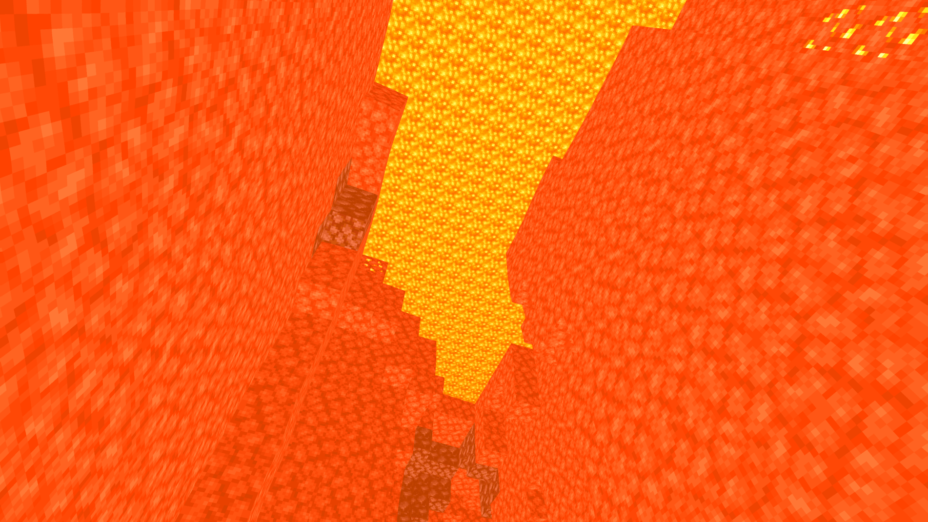
Skylec Shaders, designed to load through Optifine or Iris, is a shader pack for Minecraft that doesn’t have a particular focus, but makes a wide range of changes, big and small, to give Minecraft a brand-new look. There are realistic shadows, though somewhat basic, as well as flickering torchlight, realistic and puffy clouds rather than the standard blocky ones, and water-rippling effects, just to name a few right away. Those water effects might be the best change of the bunch, since the clarified liquid will allow you to see to the bottom of rivers, lakes, and ponds, though you’ll still be diving in the dark if you boat out into the middle of the ocean.
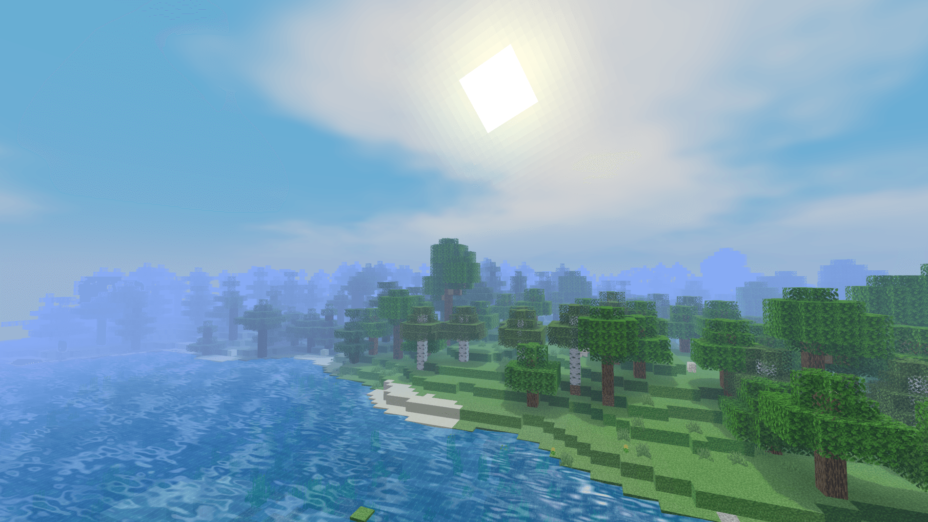
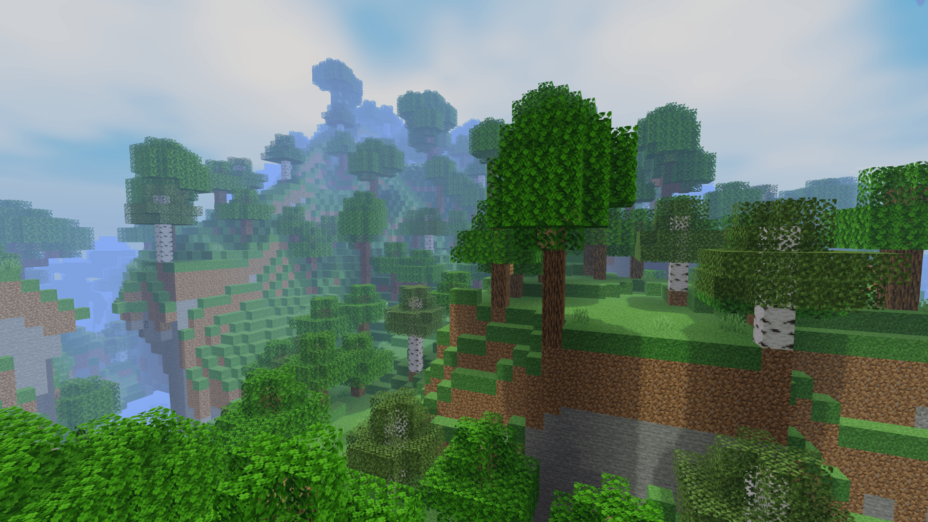
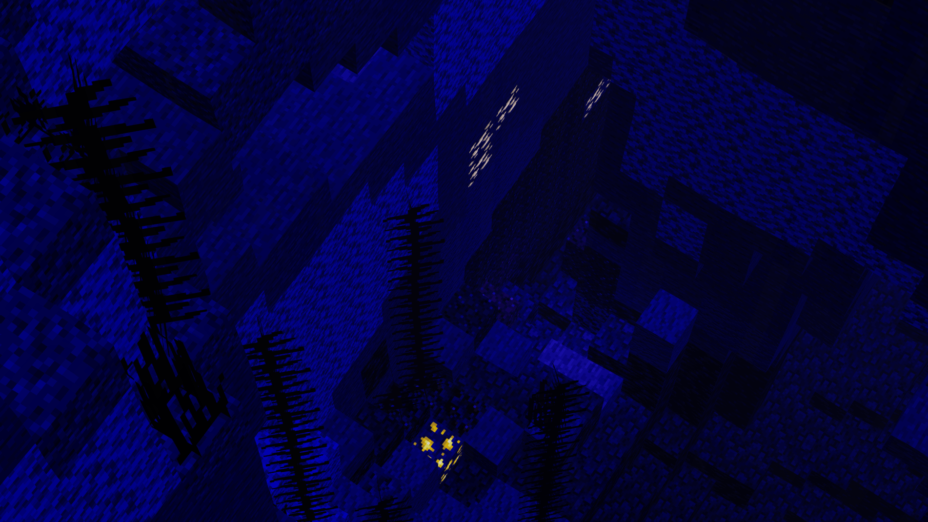
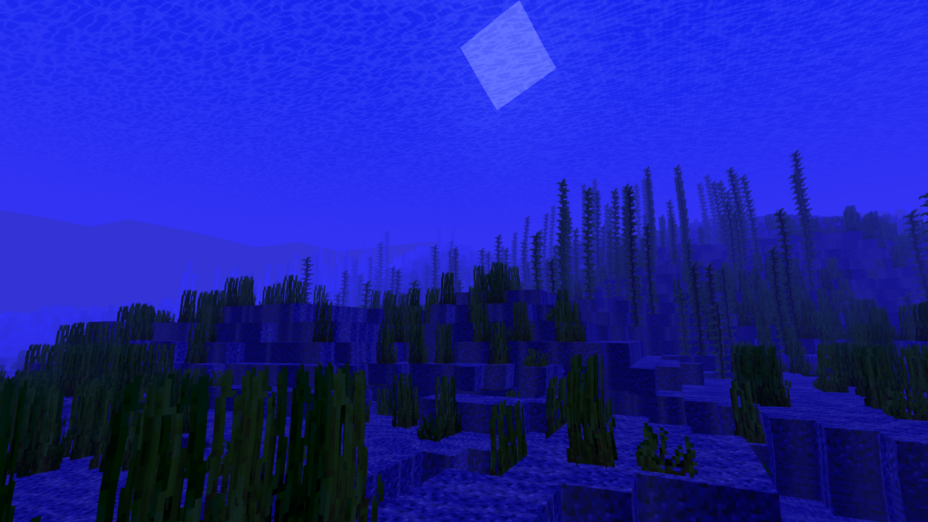
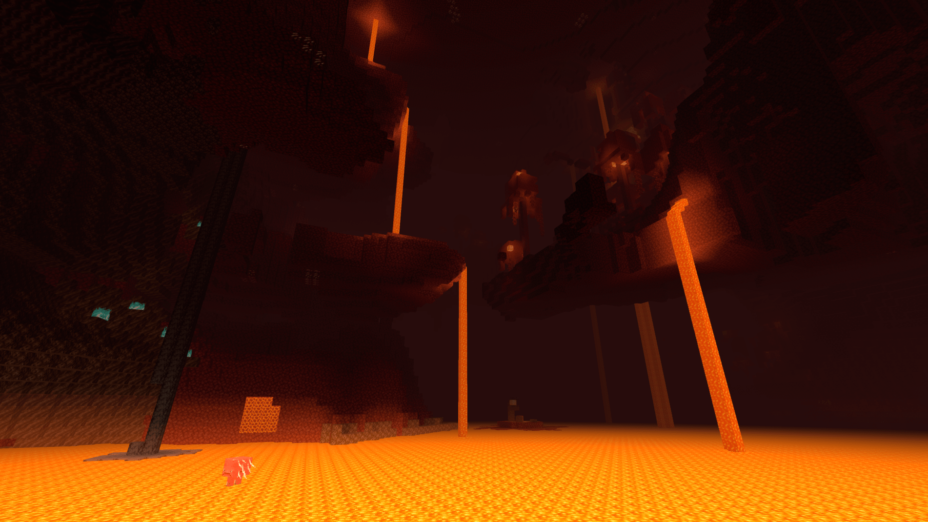
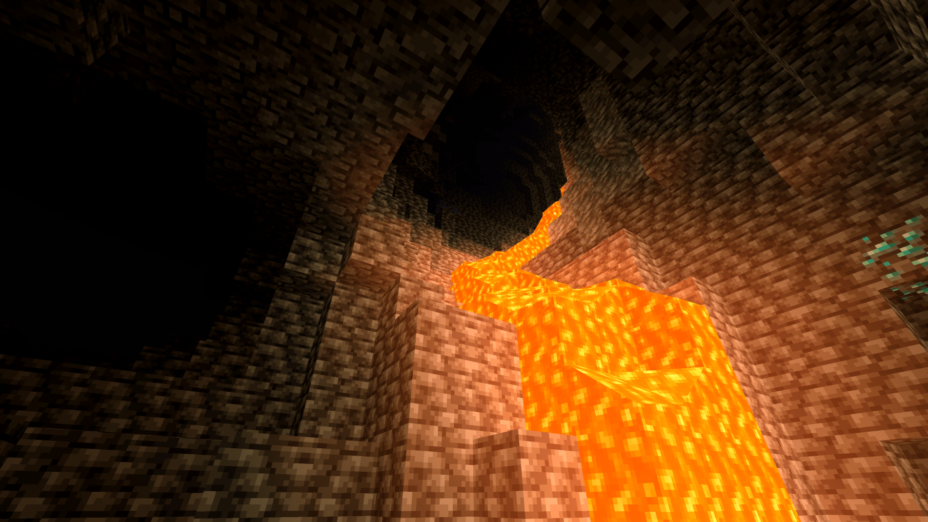
Light hitting the water will refract, bouncing around and rippling just like the liquid. This pack is a great option if you’ll be doing a stranded playthrough on an island or something like that. Skylec Shaderrs adds some wavering effects to grass and trees too, making the world seem more alive. No wind effects, but with the way things move, thanks to these shaders, it looks well enough like constant breezes are blowing. Bright purples, pinks, and blues roll through the sky with the rising and falling of the sun, making for beautiful early mornings and evenings. Even the underground is beautified thanks to glowing ores, though it’s silly that coal glows too.
Skylec Shaders hasn’t been updated since Minecraft 1.16 was a thing, but all functions still working on the latest version of Minecraft. But, if you don’t mind making that little adjustment, what you get from Skylec Shaders is big boosts to visual fidelity. These shaders were designed to do this without hindering performance very much, but players with lower-end systems will notice a slowdown.
- 1.19.4
- 1.19.3
- 1.19.2
- 1.19.1
- 1.19
- 1.18.2
- 1.18.1
- 1.18
- 1.16.5
- 1.16.4
- 1.16.3
- 1.16.2
- 1.16.1
- 1.16
- 1.15.2
- 1.15.1
- 1.15
- 1.14.4
- 1.14.3
- 1.14.2
- 1.14.1
- 1.14
- 1.13.2
- 1.13.1
- 1.13
- 1.12.2
- 1.12.1
- 1.12
- 1.11.2
- 1.11.1
- 1.11
- 1.10.2
- 1.10.1
- 1.10
- 1.9.4
- 1.9.3
- 1.9.2
- 1.9.1
- 1.9
- 1.8.9
- 1.8.8
- 1.8.7
- 1.8.6
- 1.8.5
- 1.8.4
- 1.8.3
- 1.8.2
- 1.8.1
- 1.8
- 1.7.10
Features
Over 16 new features are available in Skylec Shaders to enhance your gaming experience.
📊 Performance Impacts
Decrease in performance can vary from device to device, driver version, and many other factors, you should test yourself on your machine for the best result.
-
- None
- No performance decreases
-
- Small
- ~5%
-
- Medium
- ~10%
-
- High
- ~25%
-
- Extreme
- +50%
-
- Atmospheric SkySmall
- Simulates realistic atmospheric scattering.
-
- CustomizationNone
- Customize various aspects of the game's visual effects.
-
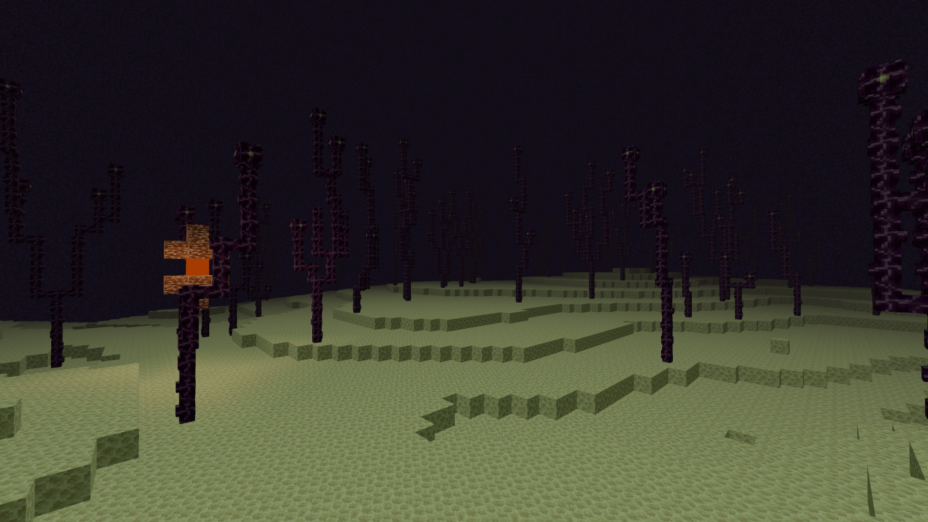
- Glowing OresSmall
- Glowing effect to ore blocks, making them more visible and easier to find.
-
- LightMedium
- Enhance the game's overall visual quality.
-
- Moving CloudsMedium
- Simulates the movement of clouds across the sky and can be used to create the appearance of a dynamic and ever-changing sky
-
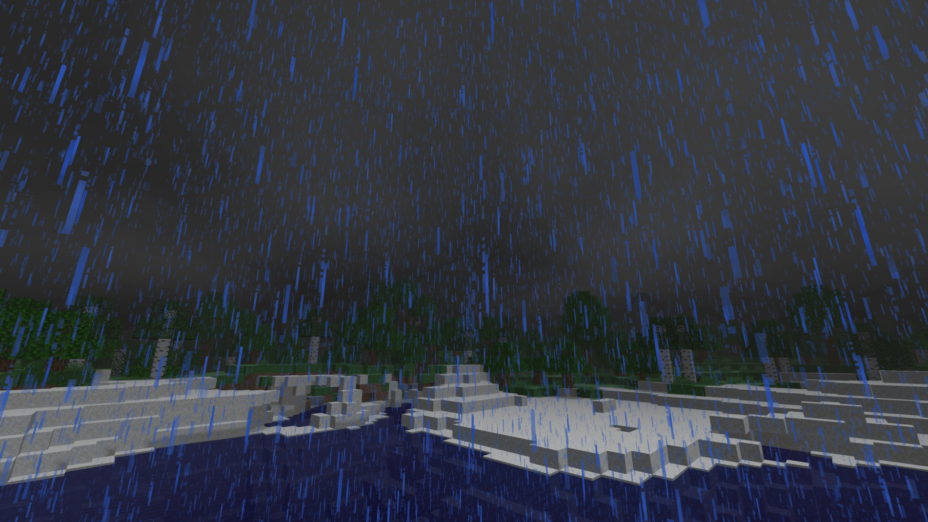
- Rain ReflectionsMedium
- Reflections during rainy weather by simulating the way light reflects off of wet surfaces.
-
- ShadowsSmall
- Simulate how light is blocked and scattered by objects in the environment.
-
- SunriseSmall
- More realistic and immersive sunrise experience.
-
- SunsetSmall
- More realistic and immersive sunset experience.
-
- Tone MappingSmall
- Adjusting the brightness, contrast, and saturation levels.
-
- Underwater ReflectionsMedium
- Simulate the appearance of light reflecting off of the water's surface.
-
- Volumetric FogHigh
- Create the appearance of fog that is lit from within, casting shadows and creating a sense of depth.
-
- Water WavesMedium
- Movement of waves on the surface of the water.
-
- Waving GrassSmall
- Simulating the way it moves and sways in the wind.
-
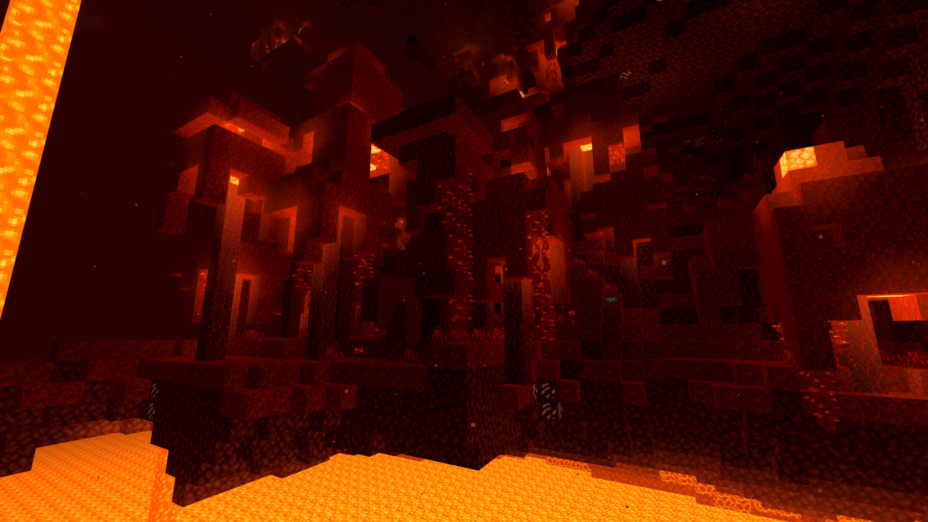
- Waving LavaSmall
-
- Waving TreesSmall
- Adds movement to the leaves and branches of trees, making them look more alive and realistic.
Skylec Shaders allow you to change more than 13 settings to suit your needs.
| Settings |
Description |
Options |
|---|---|---|
| Tone Map |
| |
| Fog |
| |
| Sky Color |
| |
| Clouds |
| |
| Rain Effect |
| |
| Underwater Reflection |
| |
| Waves |
| |
| Vanilla Clouds |
| |
| Shadows |
| |
| Light Color |
| |
| Original Water |
| |
| Glowing Ores |
| |
| Sun & Moon Rotation |
|
How To Install Skylec Shaders
- Support Forge / Vanilla
- Extra features
- Good performance
- Support Fabric / Quilt
- Better performance, depend on your hardware
Optifine Installation Guide
Note
Your device must have Java installed to run the Forge and Optifine installers.
Quick Java Installation Guide
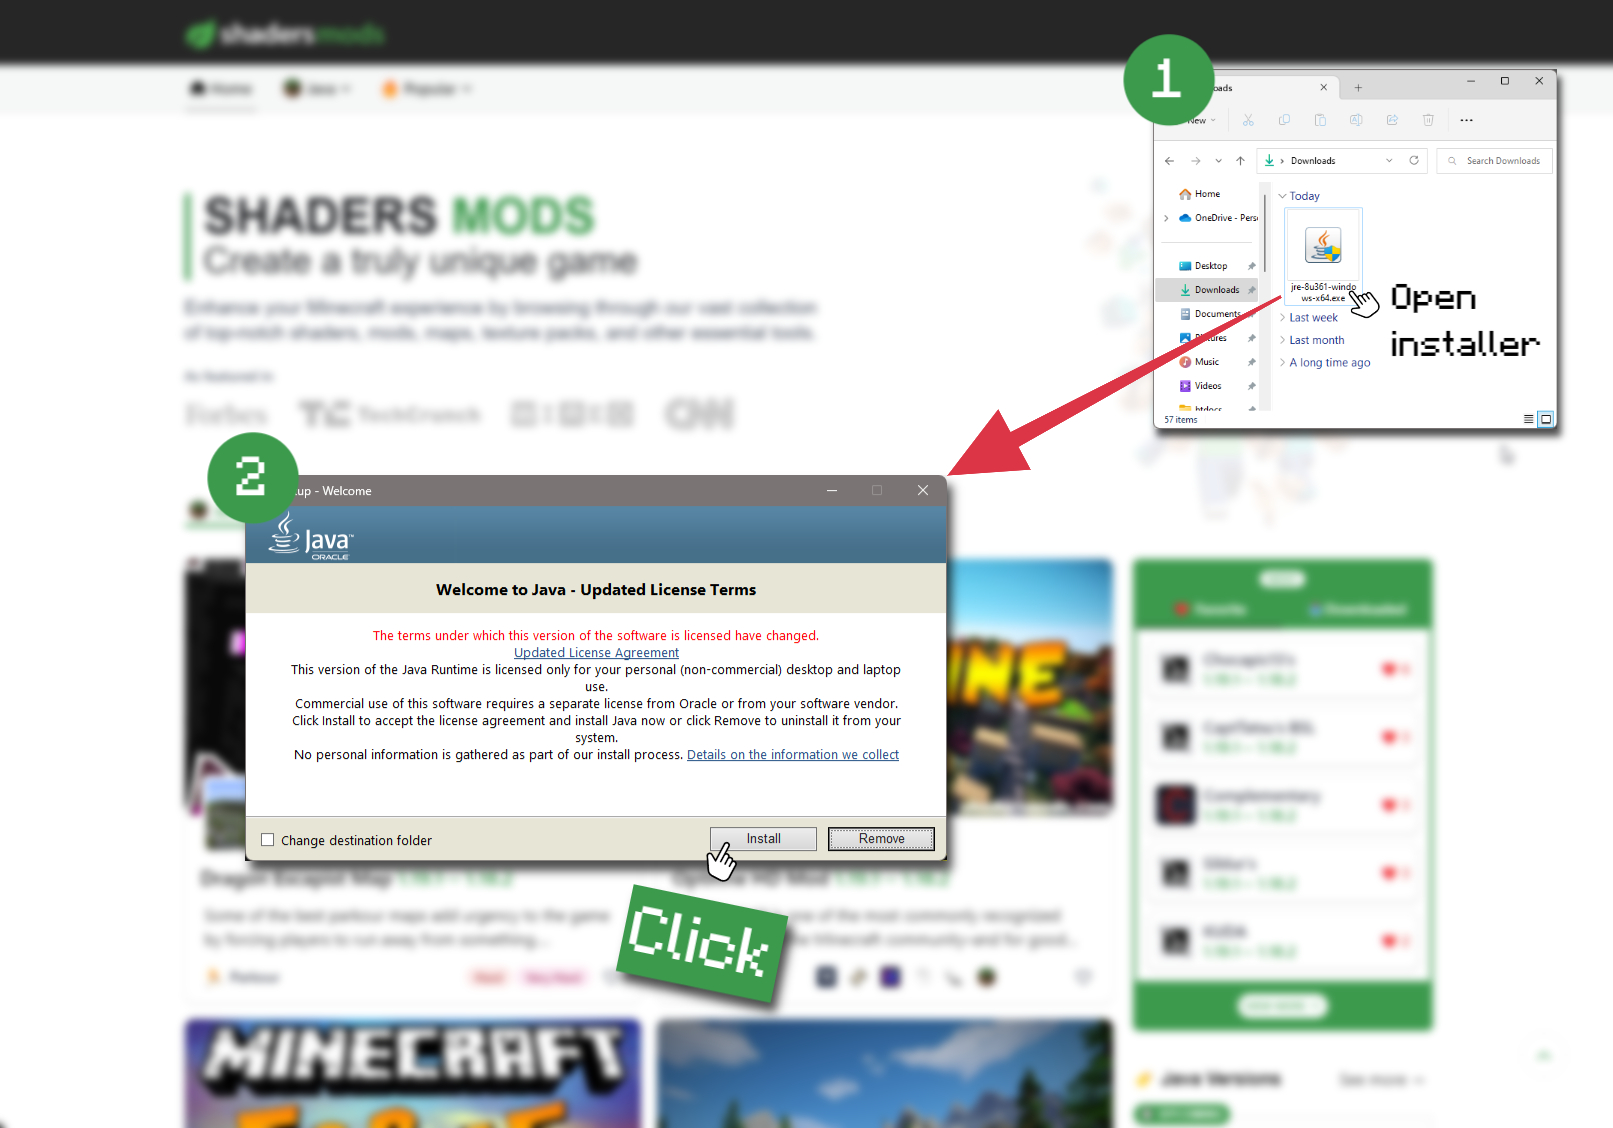
-
Download Java
Download the Java installer from the official website here.
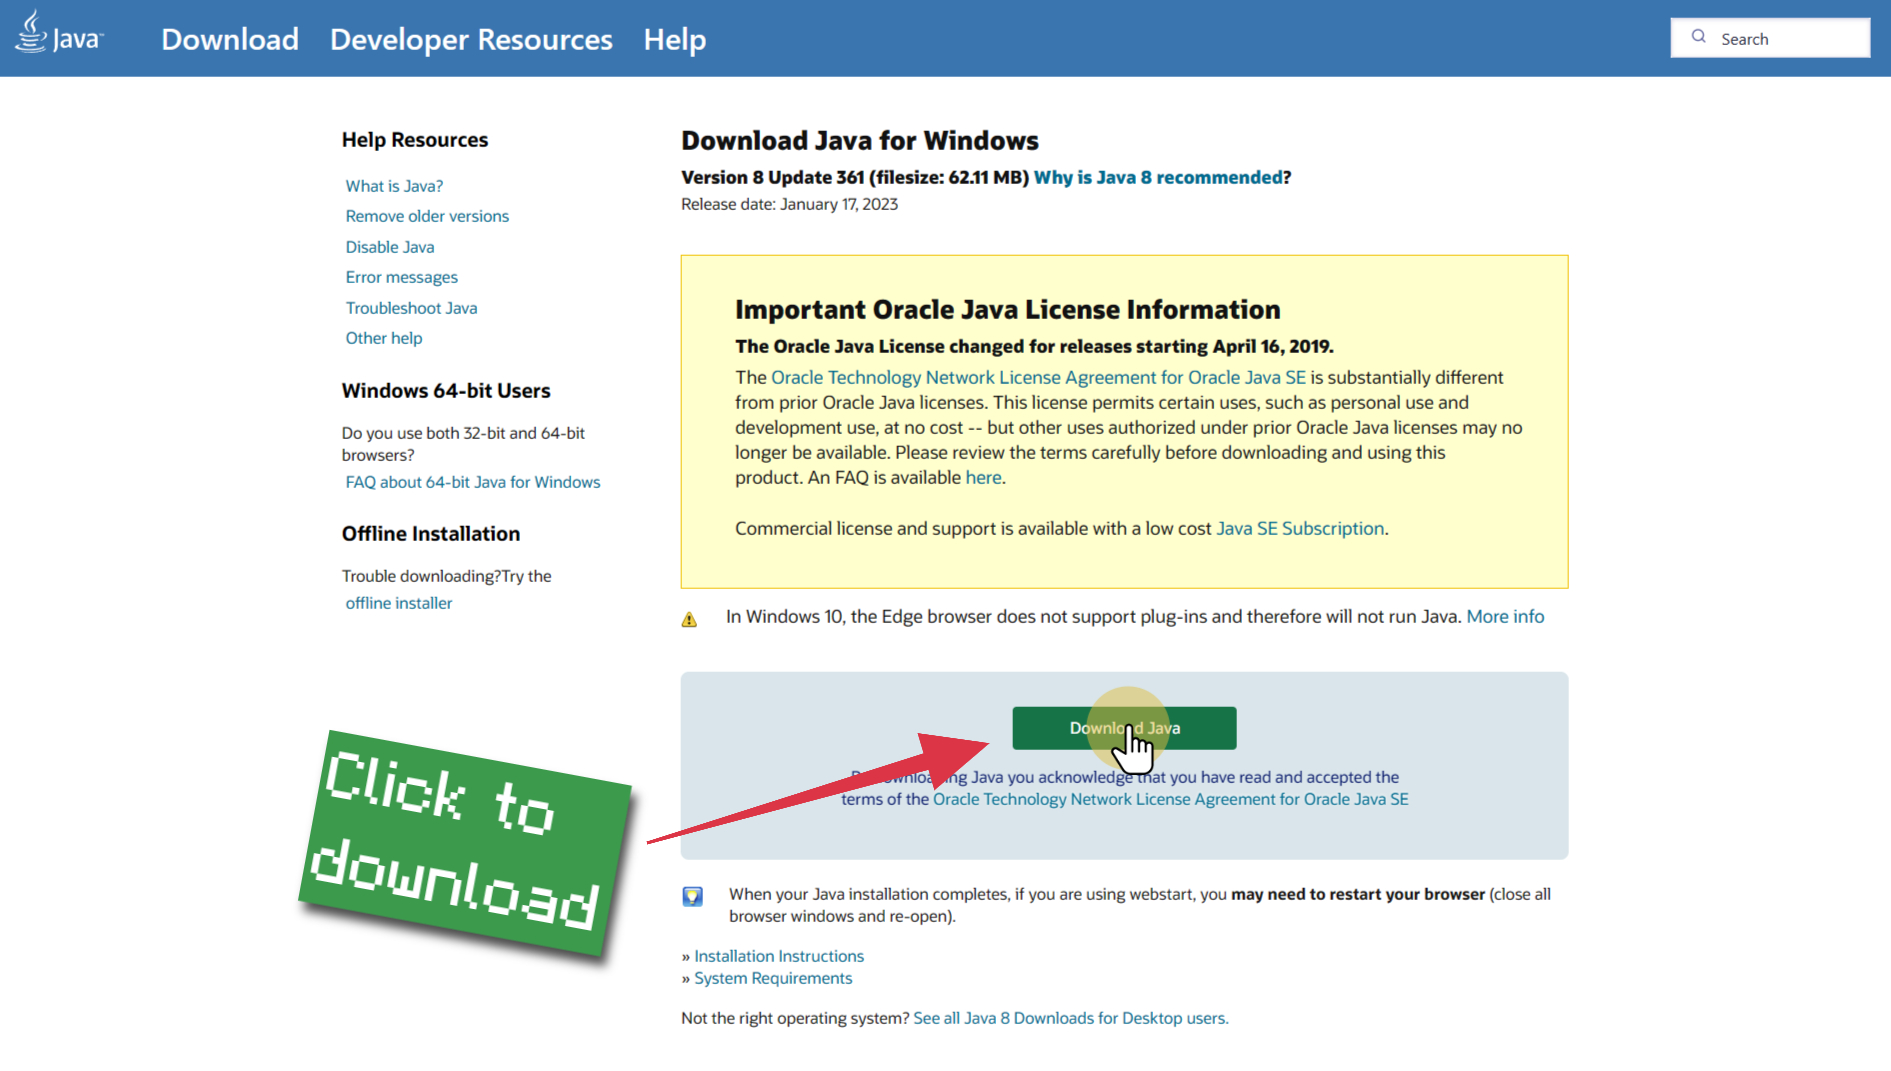
-
Open Installer
Once you have downloaded the file, run it and click the Install button.
How to install Skylec Shaders with Optifine?
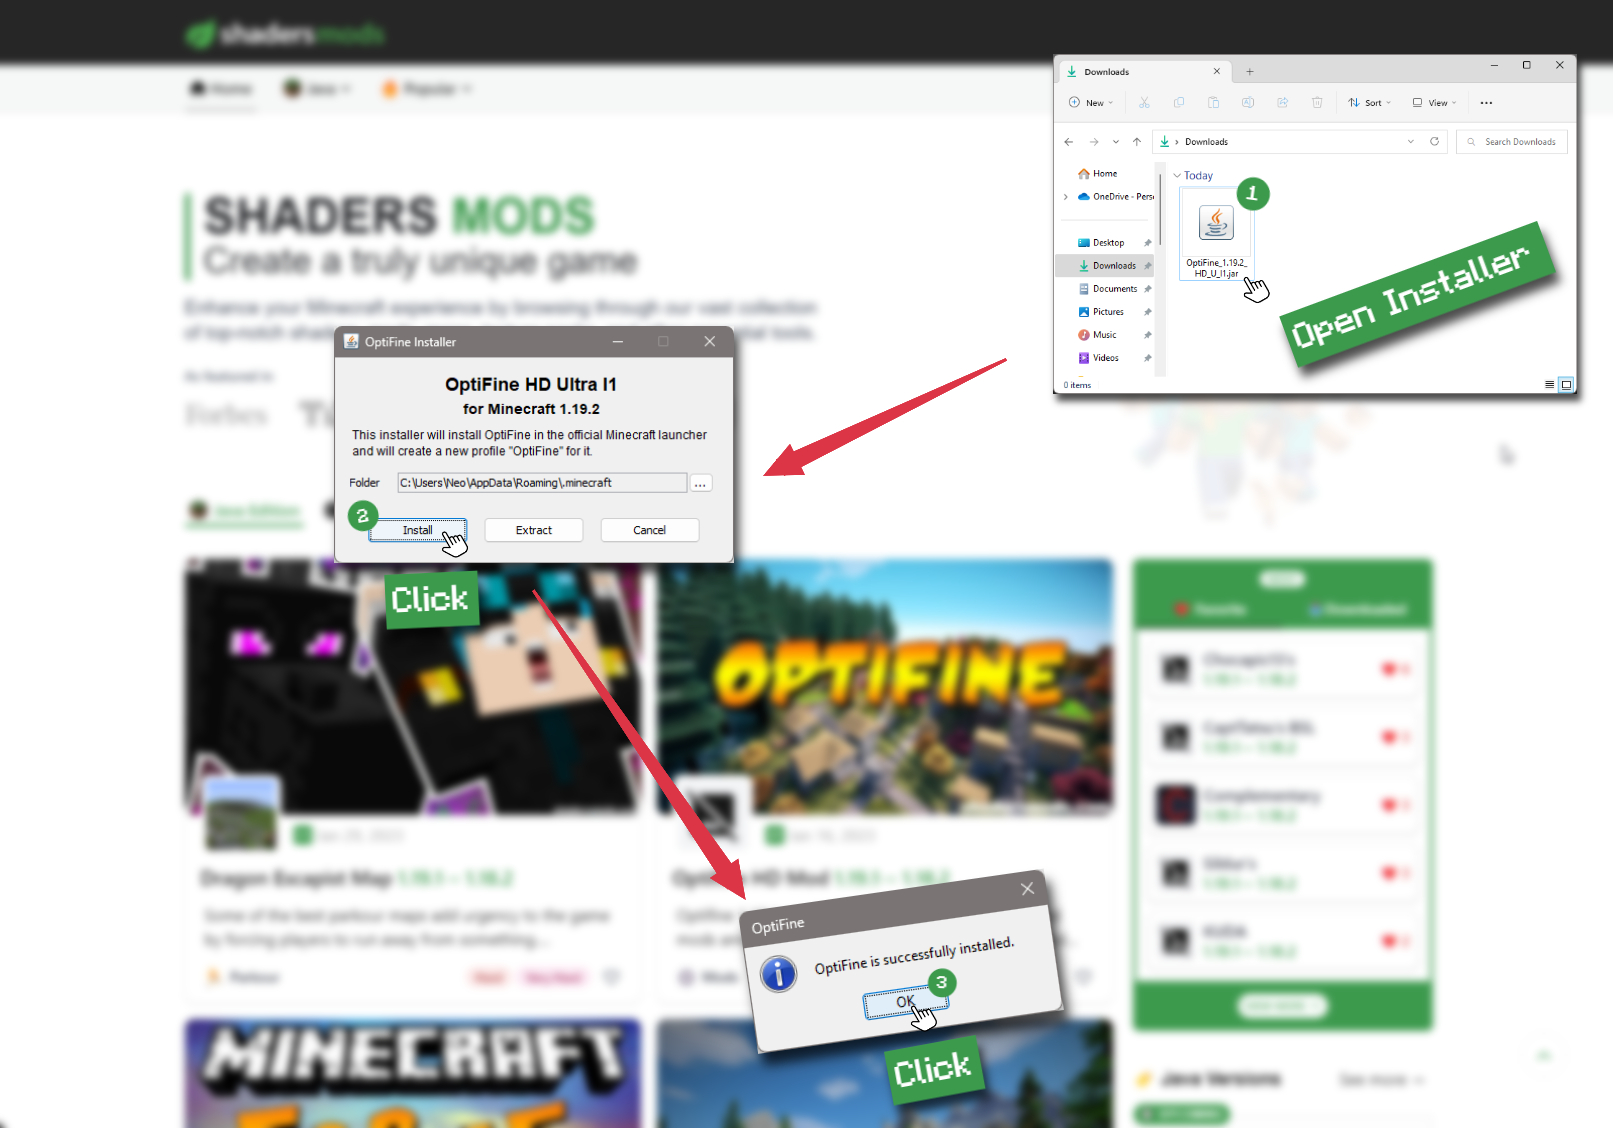
-
Download Optifine
Get the latest version of Optifine for your Minecraft version.
Download Optifine -
Install Optifine
Run the Optifine installer and follow the on-screen instructions to complete the installation.
-
Download Skylec Shaders
Go to the download section and get shaders zip file. Unzip the file if necessary, as some shader developers may bundle multiple shader versions in one zip file.
-
Launch Minecraft
Start the Minecraft launcher and make sure you have the Optifine profile selected.

-
In-game Shaders menu
Go to Options > Video Settings > Shaders to access the shaders menu.
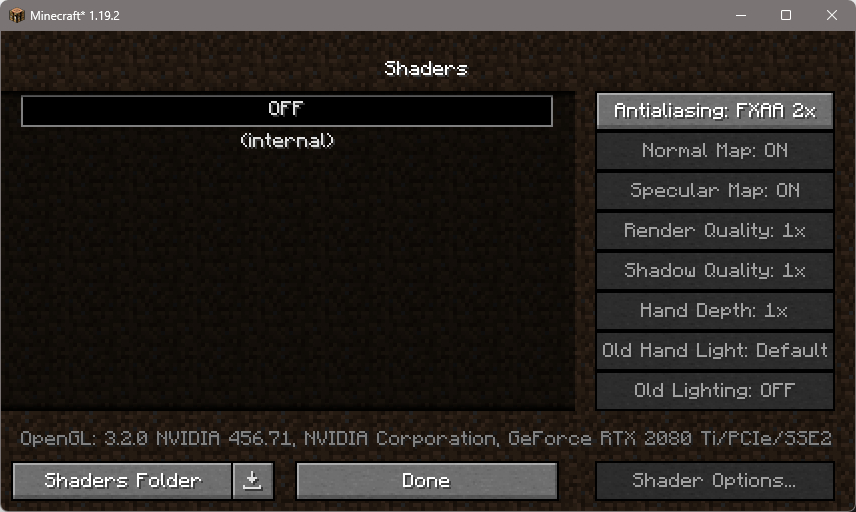
-
Open shaderpacks folder
Click on the "Shaders Folder" button to open the folder where shaders are stored, so you can add or remove shaders as desired.

-
Install Skylec Shaders
Copy or move the downloaded Skylec shaders zip file into the shaderpacks folder.

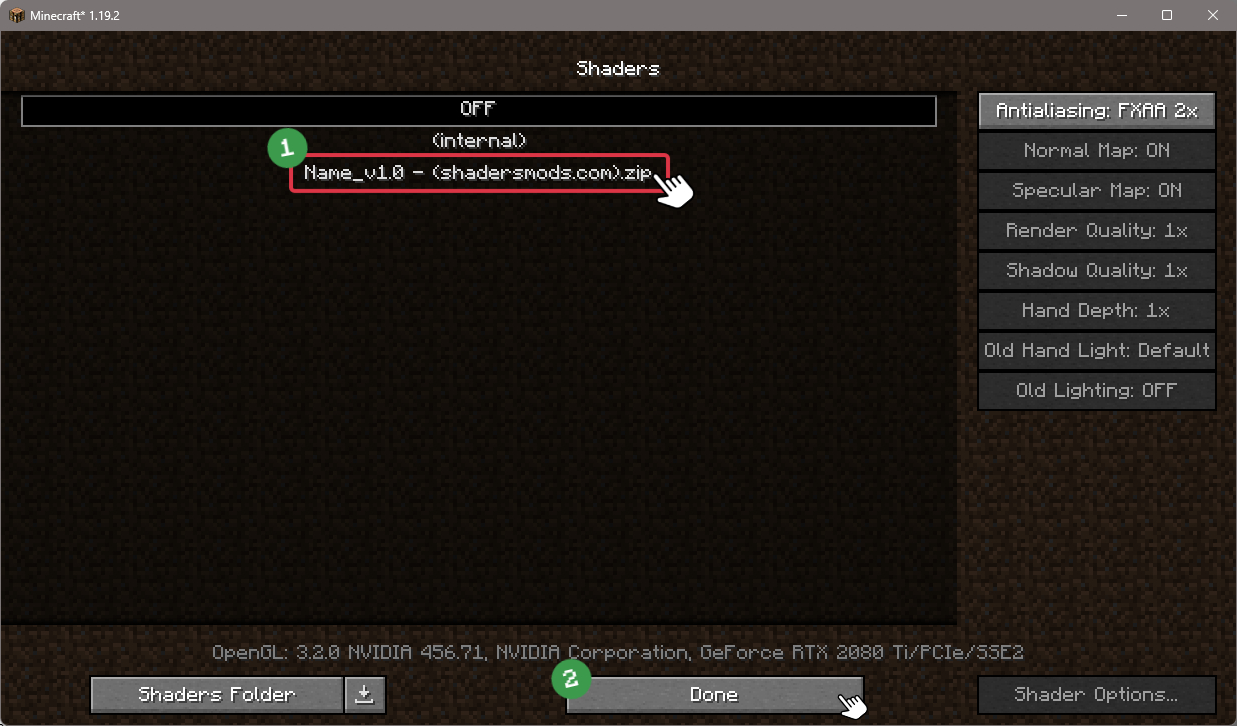
-
Select Skylec Shaders
Choose Skylec shader pack from the list of available shaders in the options menu.
How to install Skylec Shaders with Forge and Optifine?
Quick Installation Guide
-
Install Forge
Obtain the latest version of Forge that is compatible with your Minecraft version.
Download Minecraft Forge -
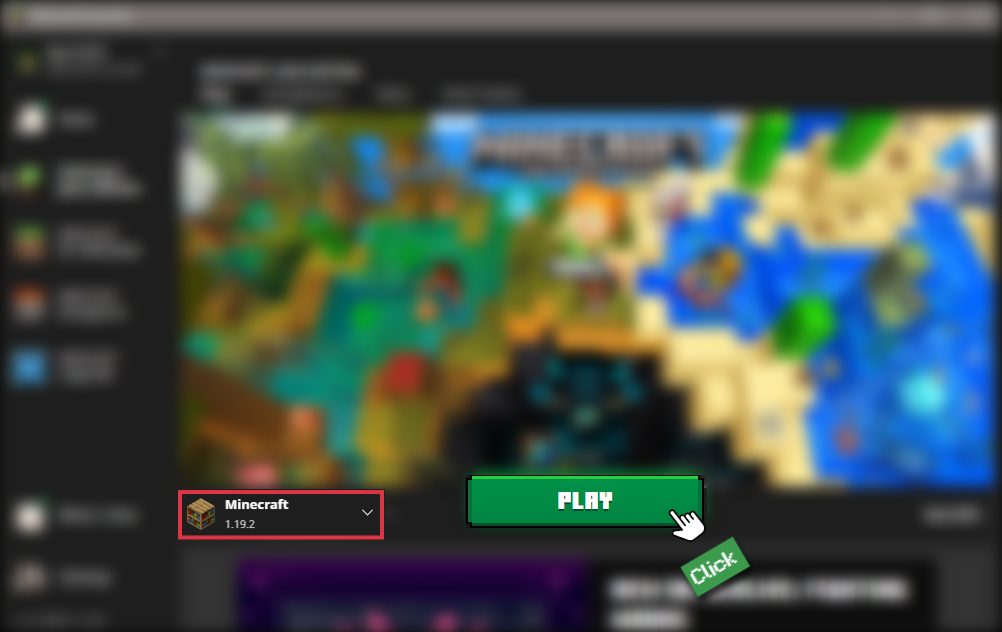
Launch Minecraft
Start the Minecraft launcher and select the version of Minecraft you want to install Forge on. Run the game once by clicking on the "Play" button to create necessary files for Forge.
-
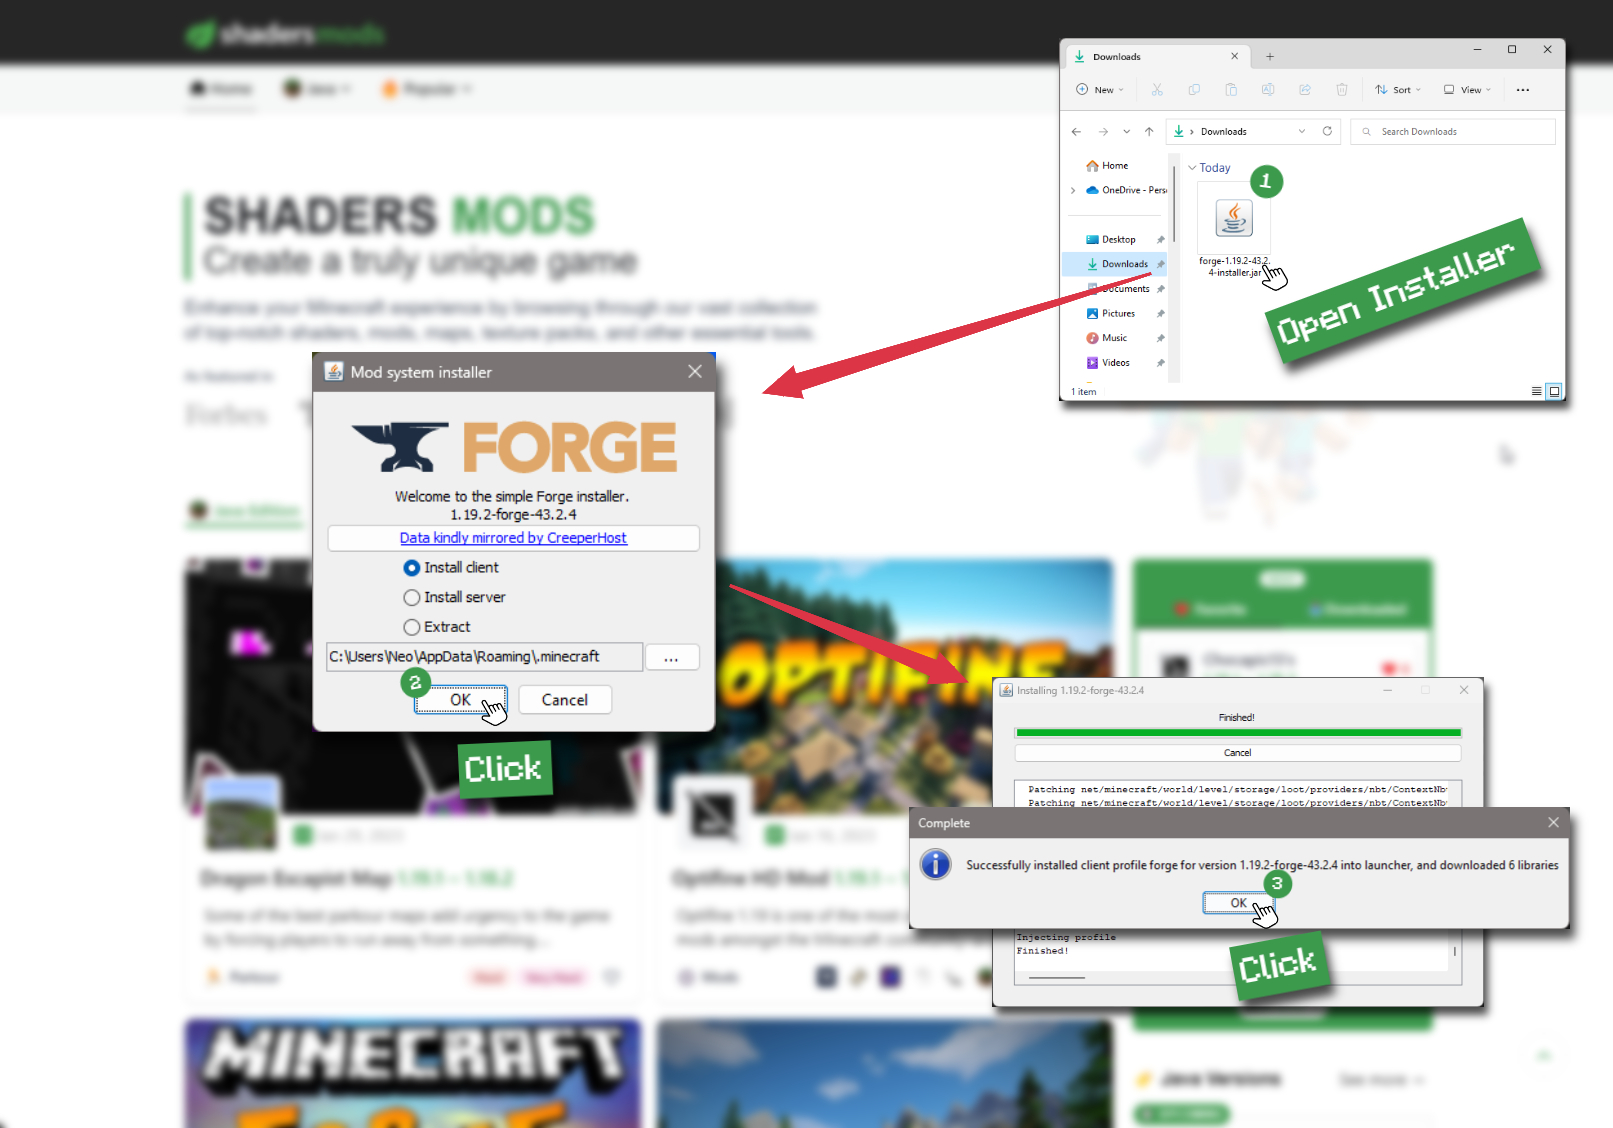
Install Forge Client
Double-click on the Forge installer jar file and choose "Install Client" in the window that appears.
-
Install Optifine
Download the Optifine jar file after Forge is installed. Move the Optifine jar file to the mods folder in the .minecraft directory.
Download Optifine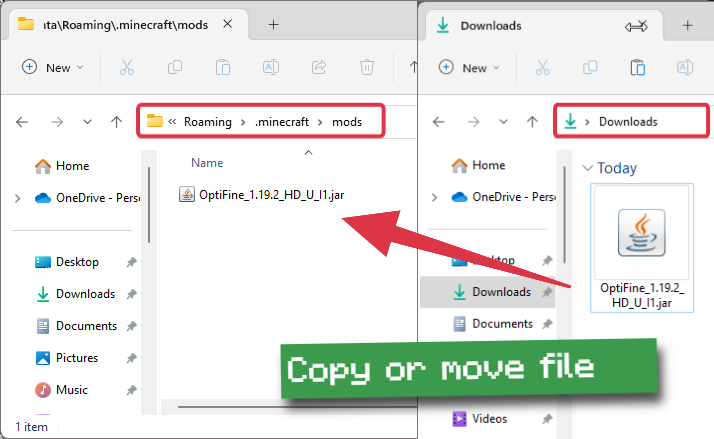
-
Launch Forge Profile
Launch Minecraft using the "Forge" profile, Optifine will be automatically loaded along with Forge.

-
Install Chocapic13's Shaders
Now the installation is the same as from the above Optifine instructions, just follow the steps starting from step 5.
Iris Installation Guide
Note
Your device must have Java installed to run the Iris installer.
Quick Java Installation Guide
-
Download Java
Download the Java installer from the official website here.
-
Open Installer
Once you have downloaded the file, run it and click the Install button.
How to install Skylec Shaders with Iris?
-
Download Iris Shaders
Find the latest version of the Iris Shaders installer and download it.
Download Iris Installer -
Install Iris Shaders
Open the downloaded jar file, and choose the preferred game version and installation type.
⯈ Iris Install:
If you don't plan on using any other mods with Iris, choose this option.⯈ Fabric Install:
Choose this option if you want to use Iris with Fabric and other mods. The Iris jar files will be copied to the mods folder within the .minecraft directory.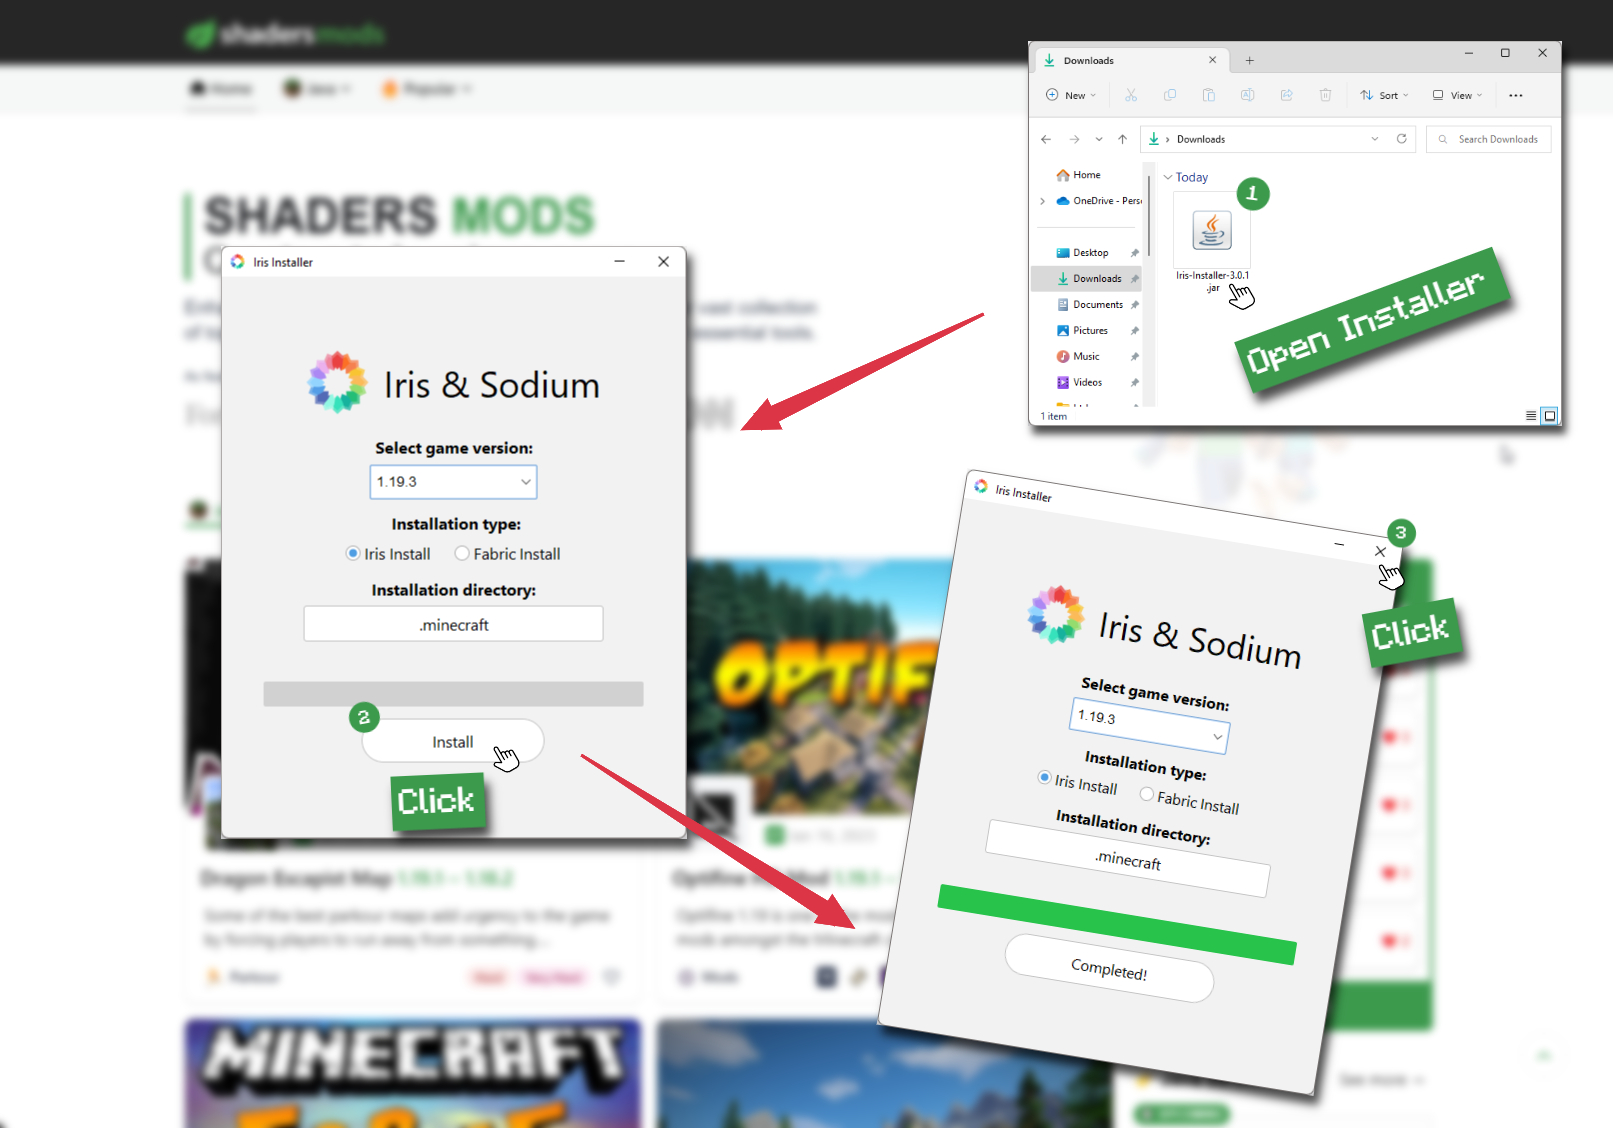
-
Start Installation
After selecting the game version and installation type, click the "Install" button to start the installation process.
-
Launch Minecraft
Start the Minecraft launcher and make sure you have the Iris profile selected.
Note
Select the Fabric profile if you opt for the Fabric installation type.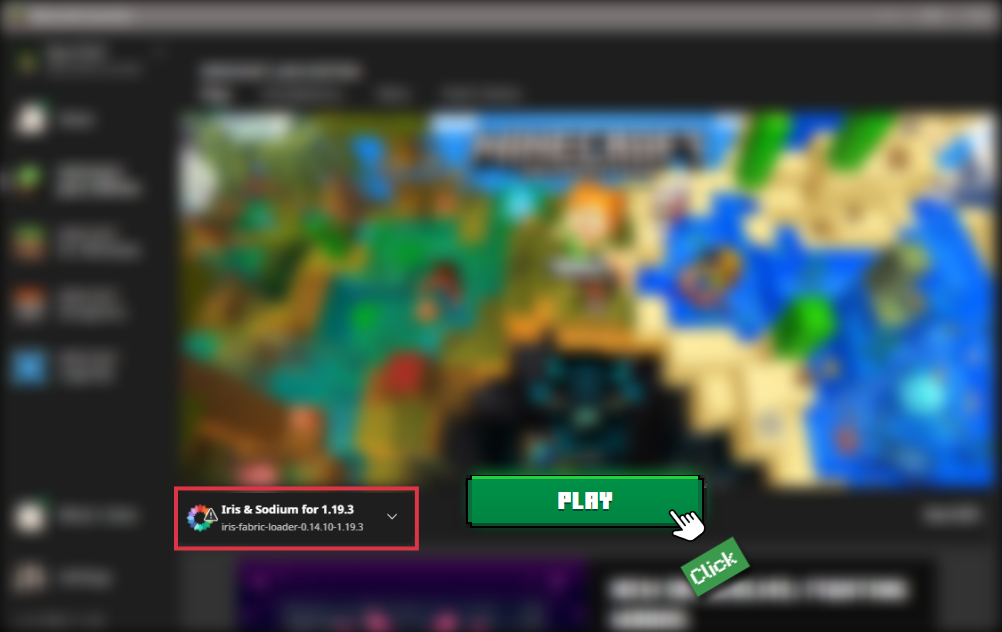
-
In-game Shader Menu
Open the Minecraft game and go to Options > Video Settings > Shader Packs to access the shaders menu.
Tip
To simplify the process, simply drag and drop the shader ZIP file directly into the Minecraft window, bypassing the next two steps.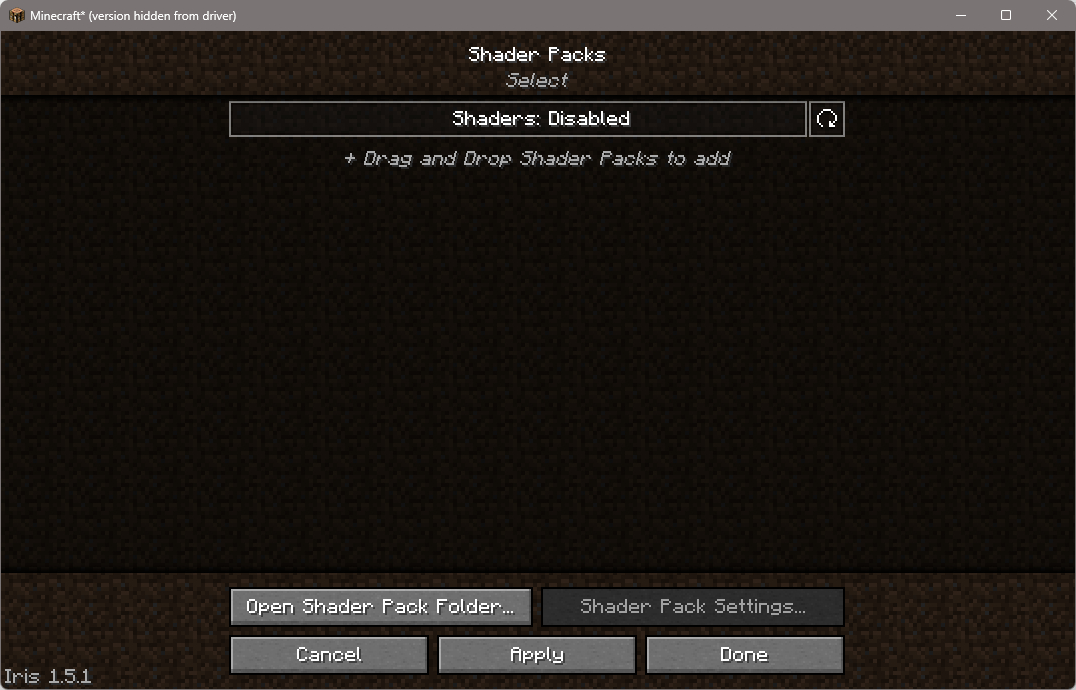
-
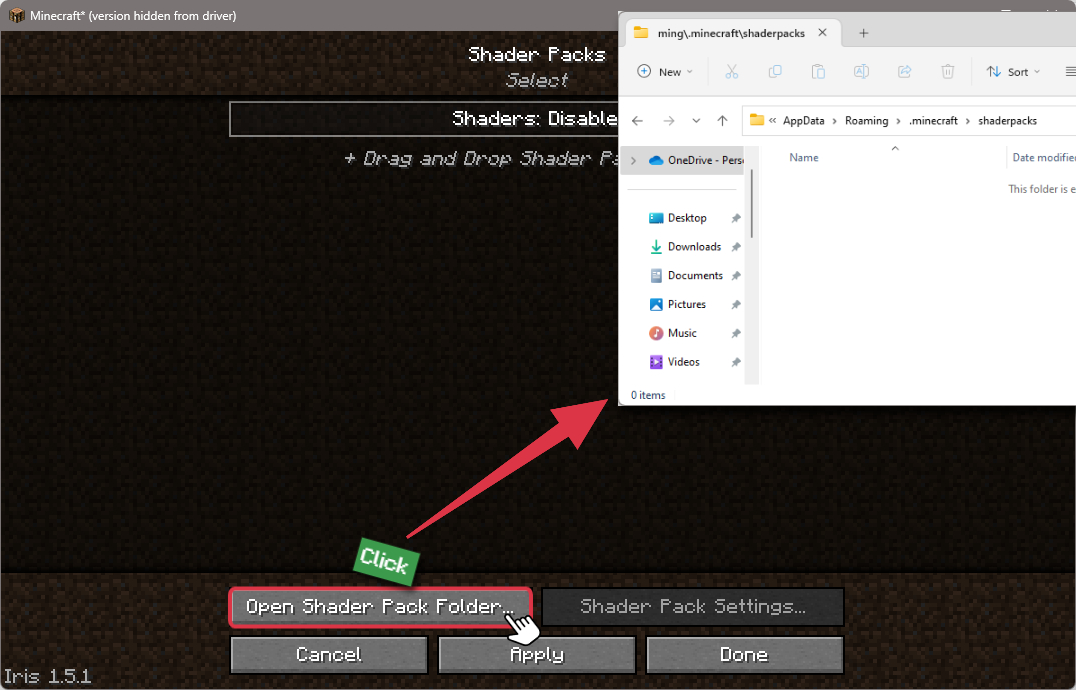
Open shaderpacks folder
Click on the "Open Shader Pack Folder" button to access the folder where shaders are stored.
-
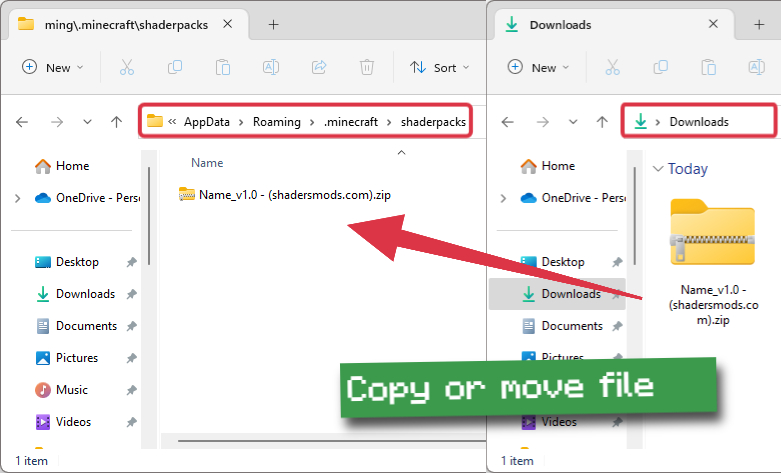
Install Skylec Shaders
Copy or move the shaders zip file into the shaderpacks folder.
-
Select Skylec Shaders
Choose installed shader pack from the list of available shaders in the options menu and click the "Apply" or "Done" button to select it.
Tip
When the shader pack is selected, its name will be changed to yellow.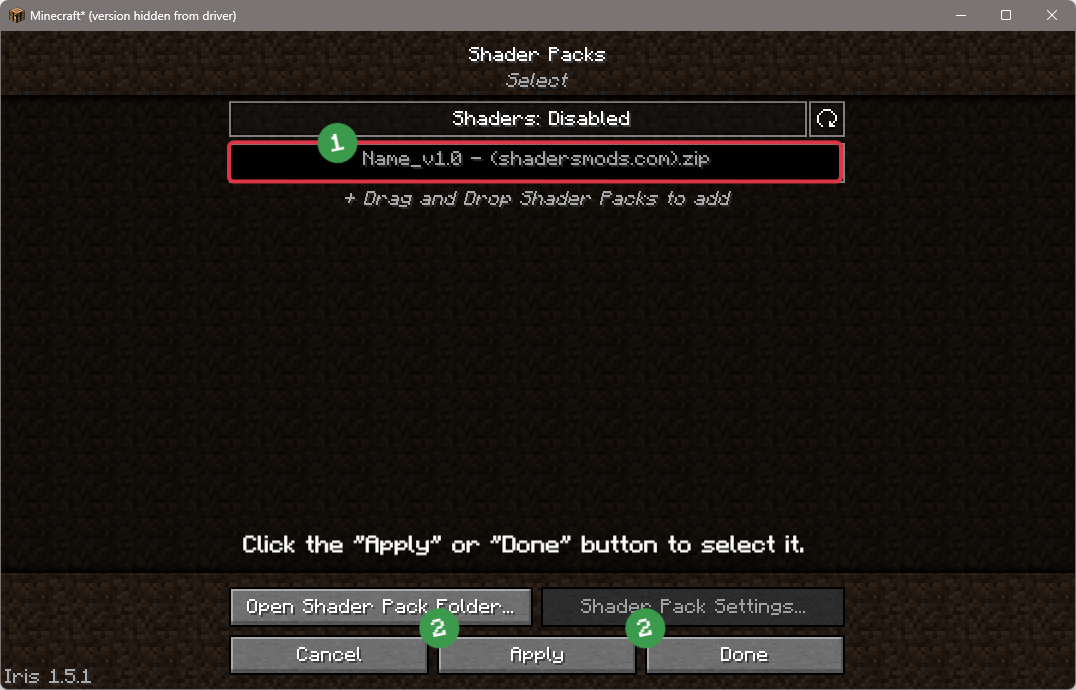
📥 Skylec Shaders — Download
Something You Should Know
- Our links are only from the official developer, so you can be sure they are secure.
- No modifications or edits are made to the files.